

For realistic toy photos, adjust lighting and shadows to highlight features and enhance depth. Tweak colors subtly for vibrancy without losing realism. Keep the focus sharp with a controlled depth of field to blur backgrounds. Correct perspective and distortions to avoid warped toy appearances. Finally, integrate natural textures and backgrounds that complement your toy's theme for authenticity. Immerse yourself in these tips, and you'll uncover even more techniques to perfect your toy photography.
Adjust Lighting and Shadows for Depth
When capturing the perfect toy photo, adjusting lighting and shadows is essential to adding depth and dimension. Start by choosing a light source that highlights the toy's features without overwhelming them. Natural light is often the easiest to work with, but a softbox or adjustable lamp can provide consistent results. Position the light to create interesting shadows, enhancing textures and contours.
Next, use a reflector or white card to fill in unwanted harsh shadows, balancing the scene. Experiment with the angle and distance of your light source to see how it affects the mood. Don't hesitate to tweak the exposure settings on your camera or photo editing software to perfect the balance. With practice, you'll find the right lighting setup to make your toy photos truly stand out.
Enhance Colors for Vibrancy and Realism
To make your toy photos pop, enhancing colors is key to achieving both vibrancy and realism. Start by adjusting the saturation and contrast. Boosting saturation can make colors more vivid without overdoing it. Increase contrast slightly to add depth and bring out details. Pay attention to the hues; correct any color casts by tweaking temperature and tint settings. If your toys have specific colors, verify they're true to life by comparing them with the actual toy. Use selective color adjustments to emphasize certain areas, making them stand out. Always keep your edits subtle; drastic changes can make photos look unnatural. Preview your edits on different screens to guarantee consistency across devices. This approach will help create intriguing, lifelike images.
Utilize Focus and Sharpness for Detail
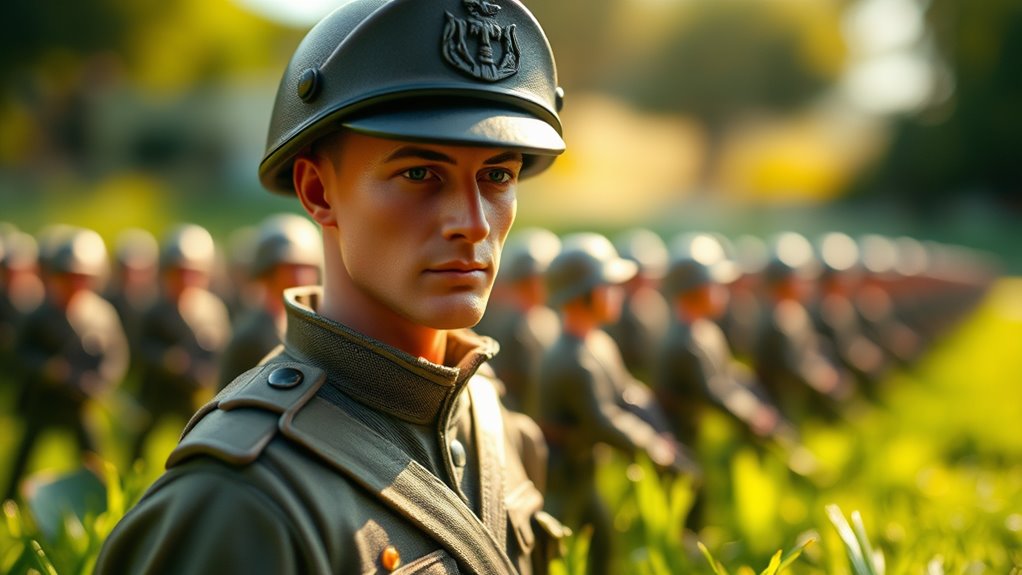
After enhancing colors for vibrancy and realism, focus and sharpness become your next tools for capturing detail in toy photography. Start by guaranteeing your subject is crisply in focus. Adjust your camera's aperture settings to control depth of field, keeping the toy sharp while gently blurring the background. This creates a striking contrast that highlights intricate details.
When editing, use sharpening tools sparingly. Over-sharpening can introduce noise and make the image look unnatural. Aim for a balance that enhances details without losing authenticity. Focus on the toy's textures, like fabric or plastic, to make them stand out.
Zoom in on high-resolution images to fine-tune sharpness. This helps you maintain consistency and guarantees every little detail pops, making your toy photos more lifelike and engaging.
Correct Perspective and Distortion
Although often overlooked, correcting perspective and distortion is vital for achieving professional-looking toy photos. When capturing tiny subjects, your camera can introduce unwanted distortions, making toys appear warped or disproportionate. To fix this, adjust the perspective using editing software tools like lens correction or warp. It's important to guarantee that lines meant to be straight are actually straight, enhancing the overall realism of your shots.
Start by identifying any skewed angles or bent lines in your image. Use grid overlays in your editing software to align these elements correctly. Adjust the vertical and horizontal perspectives until your toy looks as intended. Don't forget to keep an eye on the edges; they often reveal unwanted distortions. Correcting these issues will make your toy photos more engaging and believable.
Add Natural Textures and Background Elements
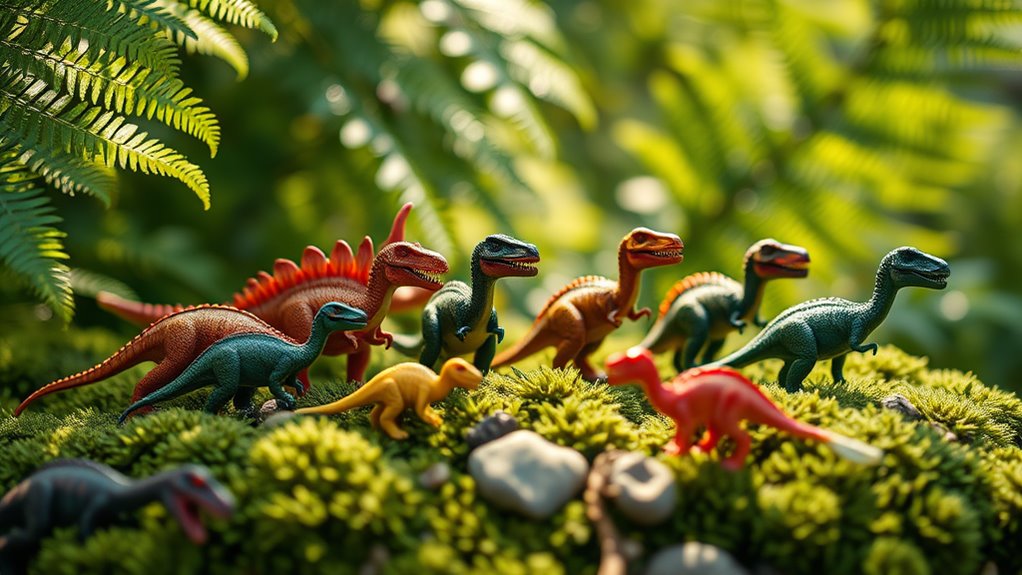
With perspective and distortion corrected, it's time to enhance your toy photos by adding natural textures and background elements. This step brings depth and authenticity, making your toys look like they belong in a real world. You can achieve this by blending in details that mimic the toy's environment, like grass or sand. Use these tips to elevate your edits:
- Add Texture: Incorporate realistic surfaces like dirt or wood to ground your toy in its surroundings. This makes the photo more immersive.
- Select Backgrounds: Choose backgrounds that complement your toy's theme. A forest scene works wonders for adventure figures, while a cityscape might suit superheroes.
- Adjust Lighting: verify shadows and highlights match the added elements for a seamless look. This creates a natural appearance.
Frequently Asked Questions
How Do I Choose the Best Camera Settings for Toy Photography?
To choose the best camera settings for toy photography, consider your lighting conditions. Use a low ISO for crisp images and adjust the aperture for depth of field. Don't forget to experiment with shutter speed for action shots.
What Software Is Recommended for Editing Toy Photos?
You might think editing software is complex, but Adobe Lightroom's intuitive interface makes it easy. It's perfect for adjusting lighting and colors. If you prefer free options, GIMP offers powerful tools to enhance your toy photos effectively.
How Can I Create a Sense of Scale in Toy Photography?
You can create a sense of scale by positioning toys with real-life objects, using forced perspective, and adjusting focus. Experiment with angles and lighting to enhance depth and make the toys appear more lifelike in your photos.
What Are Some Common Mistakes to Avoid in Toy Photo Editing?
Imagine oversaturating colors so your toy looks unnatural. Avoid this by balancing hues. Don't over-sharpen; it can make details look fake. Keep shadows realistic to maintain depth. Pay attention to sizing; it affects realism.
How Do I Maintain Consistency Across a Series of Toy Photos?
You maintain consistency by using the same lighting, color grading, and background settings across your series. Establish a style guide with your preferred settings, and save presets in your editing software for quick application.
At a Glance
Mastering the art of editing toy photos is like painting a vivid picture; every stroke, or in this case, every edit, brings the image to life. By adjusting lighting and shadows, enhancing colors, sharpening details, correcting perspective, and adding natural textures, you breathe realism into your shots. Don't hesitate to experiment with these techniques. With practice, your toy photos will pop with authenticity and charm, enchanting anyone who takes a moment to look.


