For studio toy photography, choose LED panels for consistent lighting and softboxes with diffusers to soften shadows. Position a key light and fill light for depth, adding a backlight to separate toys from backgrounds. Utilize reflectors to enhance details, and pick contrasting backgrounds to make toys pop. Experiment with colored gels for creative effects and adjust camera settings for sharp images. Explore placement and techniques to elevate your photography skills to the next level.
Selecting the Right Lighting Equipment
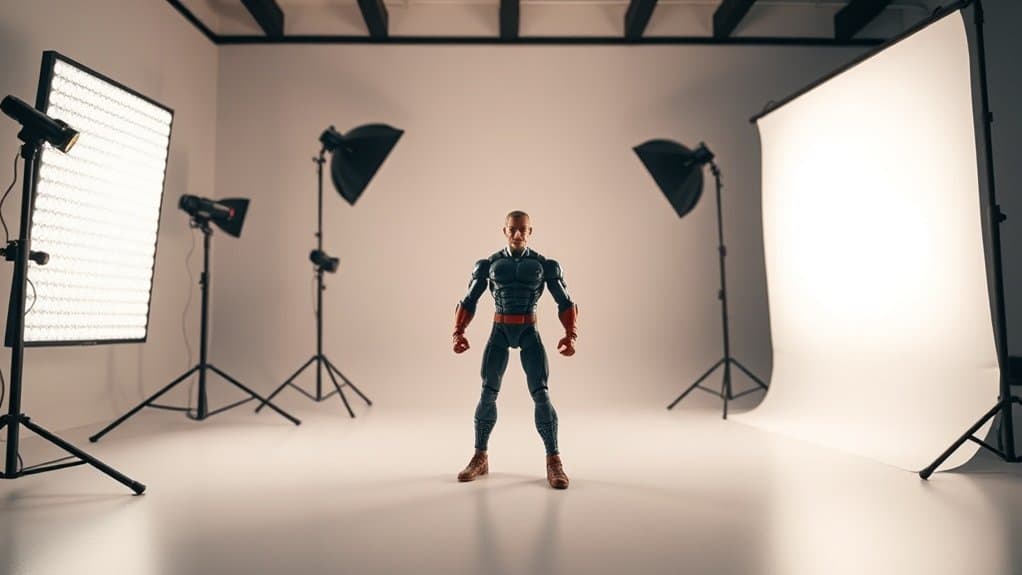
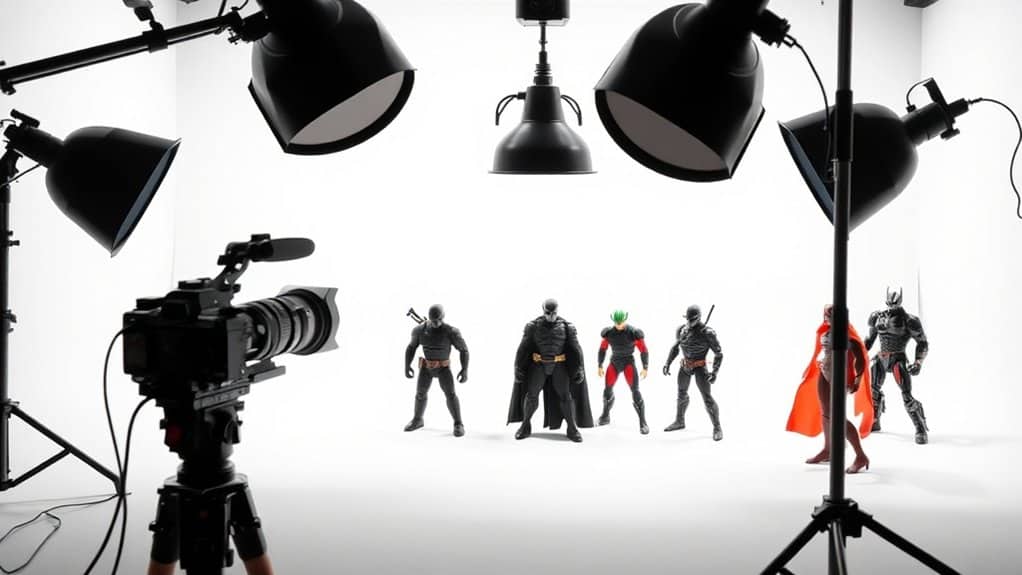
When it comes to studio toy photography, choosing the right lighting equipment is essential for bringing your creations to life. You’re aiming for crisp, clean images that showcase every detail of your models. Start by considering LED panels or softboxes, as they provide consistent and controllable illumination. LEDs are energy-efficient and stay cool, which is crucial for long sessions. Additionally, think about using reflectors to bounce light and eliminate harsh shadows for more dynamic photos. Experimenting with different angles and distances can also enhance the overall composition of your shots. For further guidance, check out various toy photography lighting tips that can elevate your work to the next level.
Don’t forget about diffusers—these help soften shadows and balance the light, ensuring your toys aren’t lost in harsh contrasts. If you’re on a budget, consider clip-on lights or adjustable desk lamps; they’re versatile and surprisingly effective. Investing in a few light stands will give you flexibility to position your lights exactly where you need them. Remember, the right tools make all the difference in achieving stunning results.
Understanding Light Placement
- Key Light: Main source, creates shadows.
- Fill Light: Opposite key, softens shadows.
- Backlight: Adds depth, separates from background.
Utilizing Reflectors and Diffusers
When you’re capturing toy photos, using reflectors and diffusers can really help enhance light distribution. They allow you to minimize shadows effectively, ensuring your toys are well-lit and vibrant. By strategically placing these tools, you can create balanced lighting that highlights every detail.
Enhancing Light Distribution
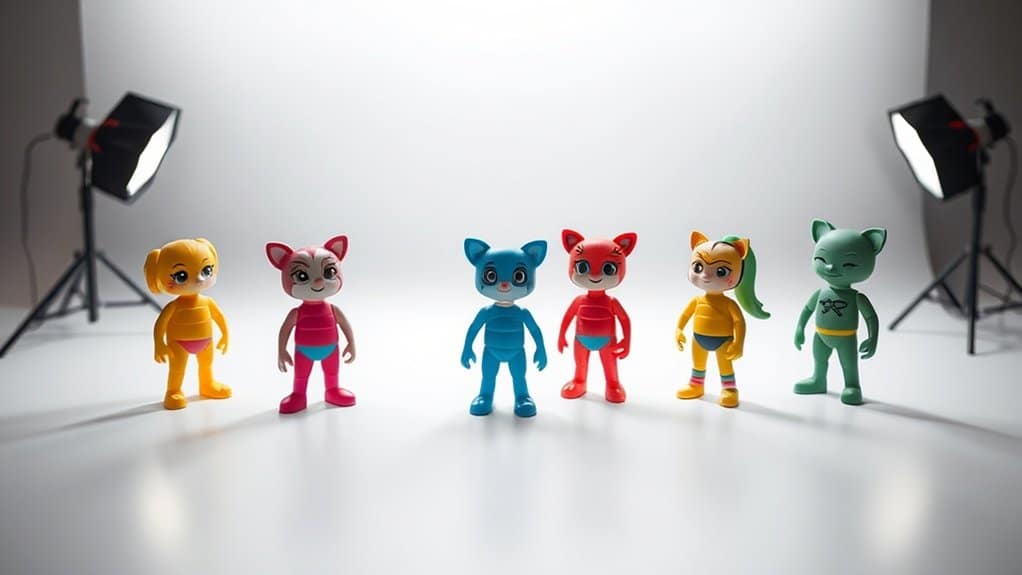
Achieving the perfect light distribution in studio toy photography often hinges on the strategic use of reflectors and diffusers. They help you control the direction and intensity of light, making your subject pop. Reflectors bounce light back onto your toy, reducing harsh shadows and highlighting details. Meanwhile, diffusers soften the light, creating a more even illumination. To enhance your setup:
- Position Reflectors: Place them opposite your primary light source to fill in shadows and add depth.
- Choose the Right Diffuser: Use materials like softboxes or translucent sheets to spread light evenly.
- Adjust Angles: Experiment with different angles and distances to find the ideal balance for your scene.
Mastering these techniques guarantees your toy photos are sharp and vibrant.
Minimizing Shadows Effectively
While photographing toys in a studio, minimizing shadows is essential to achieving professional-quality images. Start by using reflectors to bounce light onto your subject. Place them opposite your light source, directing the light back onto the toy to fill in harsh shadows. You can use white foam boards or specialized reflectors for this purpose.
Next, employ diffusers to soften the light. Position them between your light source and the toy. This helps scatter the light, reducing harsh edges and creating a more even illumination. You might use softboxes or translucent materials for diffusion.
Experiment with the angles and distances of both reflectors and diffusers to find the best setup for your scene. With practice, you’ll master shadow control, enhancing your toy photography.
Experimenting With Backlighting
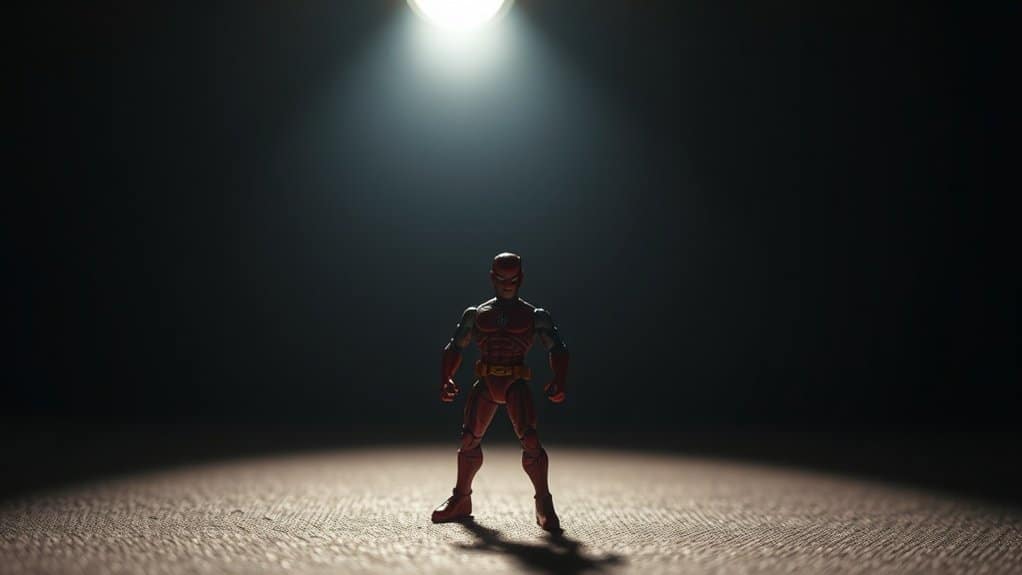
Backlighting can dramatically transform your toy photography by adding depth and intrigue to your images. By placing a light source behind your subject, you create a halo effect that emphasizes the toy’s silhouette. This technique brings a new dimension to your shots, making them stand out. To master backlighting, follow these steps:
- Position the Light: Place your light directly behind the toy. Adjust the height and angle to create the desired effect.
- Adjust Exposure: Experiment with your camera’s exposure settings. Lowering the exposure can enhance the silhouette, while increasing it can reveal more details.
- Use Diffusion: Soften the backlight with a diffuser. This reduces harshness and creates a more natural look.
Experiment with different setups to discover what works best for your style.
Creating Depth With Shadows
Shadows can add depth and drama to your toy photography, making your images more engaging. To create these shadows, position your light source at an angle, rather than directly in front of the subject. This approach casts shadows that define the toy’s contours, adding a sense of three-dimensionality. Play with different angles to see how the shadows change—a slight shift can transform the mood of your image.
Experiment with diffusers to soften shadows and reflectors to redirect light, ensuring balance between illumination and shadow. Consider using multiple light sources to control shadow intensity and direction. By mastering shadow play, you’ll give your figures a dynamic presence, enhancing the storytelling aspect of your photos. Remember, shadows are as important as light in creating engaging visuals.
Choosing the Best Background
When choosing the best background for your toy photography, focus on color and texture to complement the toy’s features. Use seamless background techniques to keep the viewer’s attention on the subject without distractions. Experiment with different combinations to see what enhances your toy’s visual appeal the most.
Color and Texture Selection
Selecting the perfect background color and texture can transform your toy photography from ordinary to extraordinary. To achieve that standout shot, you need to evaluate how the background complements your subject. First, think about color contrast. A contrasting background color makes your toy pop, drawing viewers’ eyes. Second, focus on texture. Smooth surfaces can create a clean, modern look, while more textured materials add depth and interest. Finally, pay attention to thematic relevance. A background that aligns with the toy’s theme enhances the storytelling aspect of your photo. For example, a rustic wooden texture might suit an action figure, while a sleek, metallic surface could better highlight a sci-fi character. Choose wisely to elevate your toy photography game.
Seamless Background Techniques
With the right color and texture in mind, it’s time to explore seamless background techniques that can elevate your toy photography. Start by selecting a background that complements your figure’s colors without overpowering them. A roll of white or colored paper can provide a clean, uninterrupted look, making your toys the focal point. For a more dynamic effect, consider gradient backgrounds that add depth to your shots.
Ensure your background is wrinkle-free; creases can distract the eye. To achieve this, secure the paper with clips or tape, allowing it to curve naturally from the vertical to the horizontal surface. If you’re using fabric, steam it to remove wrinkles. A seamless background not only enhances your photos but also allows your creativity to shine.
Adjusting Camera Settings for Optimal Lighting
To achieve the perfect shot in studio toy photography, it’s crucial to adjust your camera settings to optimize lighting. Start by setting your camera to manual mode. This gives you control over three critical elements:
- ISO: Keep it low, around 100-200, to minimize noise and guarantee sharp images. Higher ISO settings can introduce grain, which detracts from the clarity of your toy’s details.
- Aperture: Use a small f-stop (like f/8 or higher) to increase depth of field, ensuring your toy is in sharp focus from front to back.
- Shutter Speed: Balance it with lighting conditions. A slower shutter speed lets in more light but requires a tripod to avoid motion blur. Experiment to find the sweet spot that captures your toy perfectly.
Exploring Creative Lighting Techniques
Although mastering your camera settings is essential, exploring creative lighting techniques can truly transform your studio toy photography. Start by experimenting with colored gels on your lights to introduce mood and depth. Use diffusers to soften harsh shadows, creating a more natural look. Try backlighting to make your figures pop against the background, adding drama and emphasis to their features.
Don’t shy away from playing with shadows. Positioning a light source at different angles can cast intriguing patterns, adding a dynamic element to your shots. Reflectors can help bounce light, highlighting details you want to emphasize. Consider using fairy lights or LED strips for a whimsical or futuristic effect. Remember, creativity in lighting can make your toy photography stand out and captivate viewers.
Frequently Asked Questions
How Can I Prevent My Figures From Appearing Too Shiny in Photos?
You’re worried about shine on your figures? Use diffused lighting to soften reflections. Position lights at angles to reduce glare, and consider using a matte spray. Experiment with your setup until you achieve the desired result.
What Is the Best Way to Reduce Reflections on Glossy Surfaces?
To reduce reflections, use diffused lighting, like a soft cloud covering the sun, to soften the shine. Adjust angles to minimize direct light hitting glossy surfaces. Experiment with polarizing filters; they’re your secret weapon.
How Do I Maintain Consistent Lighting in Different Shooting Sessions?
To maintain consistent lighting, set up a dedicated shooting space. Use the same lighting equipment, position, and camera settings each time. Document your setup with photos or notes, so you can easily replicate it in future sessions.
What Are Some Budget-Friendly Alternatives to Professional Lighting Equipment?
Imagine a painter with a limited palette. You can use desk lamps, LED strips, and white sheets as your canvas. Position them creatively to mimic professional lighting without breaking the bank. Let your imagination light the way!
How Can I Achieve a Natural Look Without Harsh Shadows?
To achieve a natural look without harsh shadows, position your light source at a 45-degree angle. Use a diffuser to soften the light. You can also bounce light off a white surface to spread it evenly.
At a Glance
In your quest to capture the essence of your favorite figures, channel your inner Da Vinci with light as your brush. You’ve learned to select the right lighting equipment, master light placement, and play with shadows like a maestro. With reflectors, diffusers, and creative techniques, your studio becomes a stage where figures come alive. Keep experimenting and adjusting those camera settings, and soon your toy photography will be as legendary as the Mona Lisa’s smile.


