To master toy photography, start by using the rule of thirds to position toys for balance and interest. Create depth by adjusting distances and angles, giving a larger-than-life effect. Utilize leading lines and symmetry for polished visuals. Choose backgrounds that enhance your toy’s theme, like nature or urban landscapes. Experiment with lighting to create mood and texture. Post-processing can further refine your shots. Discover these techniques to enhance your creative photography journey.
Understanding the Rule of Thirds

When you’re diving into toy photography, understanding the rule of thirds can dramatically enhance your shots. This classic composition principle involves dividing your frame into nine equal parts with two horizontal and two vertical lines. By positioning your toy subjects along these lines or at their intersections, you create a more balanced and engaging image. Your viewer’s eyes naturally gravitate towards these points, making your photos more dynamic and enthralling.
Instead of placing your toy smack dab in the center, try shifting it to the left or right third of your frame. This simple adjustment draws attention and adds interest. Don’t forget to reflect on your background, too. It should complement your subject without overpowering it. Mastering this technique gives your shots a professional edge.
Exploring Depth and Perspective
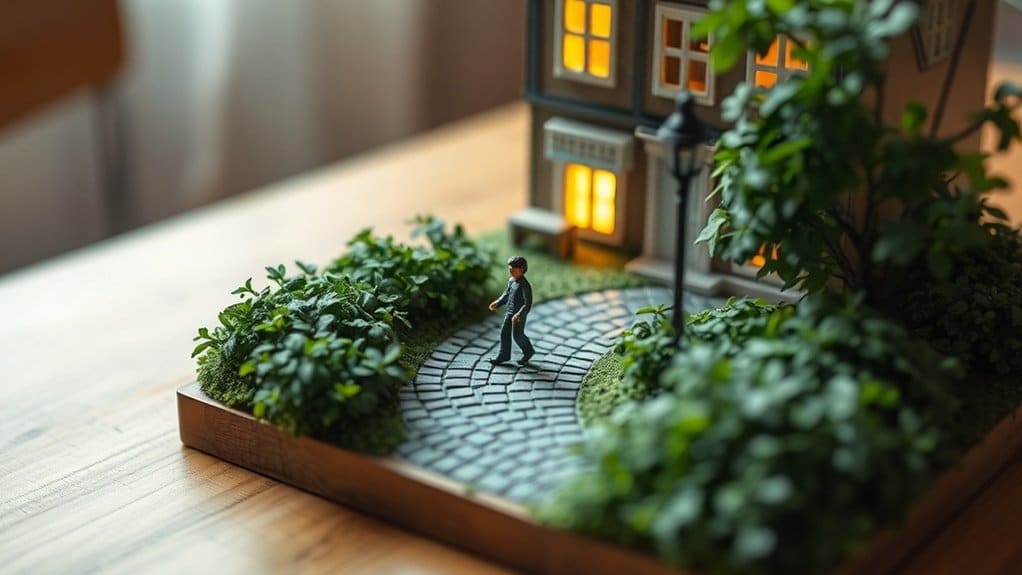
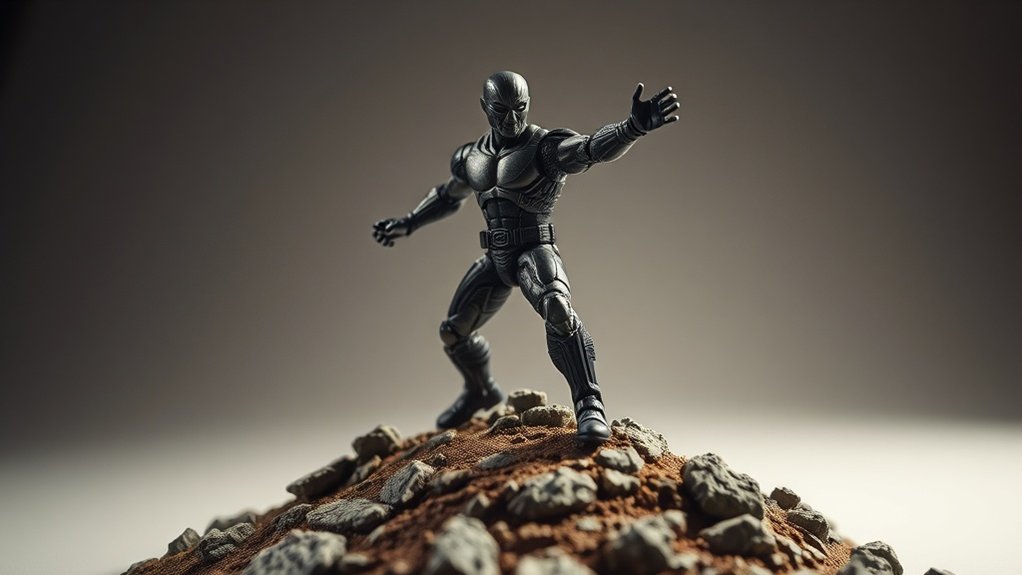
While mastering the rule of thirds enhances composition, exploring depth and perspective can bring your toy photography to life. You can create a sense of scale and immersion by playing with the distance between your toy and the background. Try placing the toy closer to the camera to make it appear larger than life, or position it further away to create a sense of distance.
Experiment with angles by shooting from higher or lower positions. This can dramatically alter the viewer’s perception, making your toy scenes more dynamic. Consider using props or natural elements like plants or rocks to add layers. By varying focus, you can emphasize your subject while blurring the background, drawing attention where you want it. Don’t be afraid to try new perspectives to enrich your storytelling.
Utilizing Leading Lines and Symmetry

When you’re setting up your toy photography, think about using leading lines to guide the viewer’s eye and enhance depth perception. Symmetry in your composition can create balanced visual harmony, making your photos more engaging. By combining these techniques, you’ll give your images a professional and polished look.
Enhancing Depth Perception
Although toy photography might seem straightforward, mastering depth perception can transform your images from flat to dynamic. By incorporating leading lines and symmetry, you can create a sense of depth that draws viewers into your miniature world. Leading lines, such as roads or fences, guide the eye toward your main subject, making the scene feel more expansive. Symmetry, on the other hand, provides balance and can enhance the three-dimensional feel of your photos. Experiment with different angles and perspectives to maximize depth.
Consider these ideas to evoke emotion in your viewers:
- Curiosity: Use lines to lead viewers into a mysterious scene.
- Nostalgia: Play with symmetry to evoke childhood memories.
- Wonder: Create a sense of vastness in a small space.
- Joy: Capture playful moments with balanced compositions.
- Intrigue: Position toys in unexpected, symmetrical settings.
Balanced Visual Harmony
Incorporating balanced visual harmony into your toy photography can elevate your images by using leading lines and symmetry effectively. Start by identifying natural lines in your scene. These lines guide the viewer’s eye towards your subject, making the composition more engaging. Place your toy at the convergence of these lines to draw attention.
Symmetry adds balance, creating a pleasing aesthetic. Position your toy centrally in the frame for a symmetrical look, or use the rule of thirds for dynamic balance. Experiment with reflections or duplicate elements to enhance symmetry.
Combining leading lines and symmetry guarantees your photo feels intentional and cohesive. Always assess your composition through the viewfinder, adjusting angles and positions until you achieve harmonious balance. Your toys deserve that spotlight!
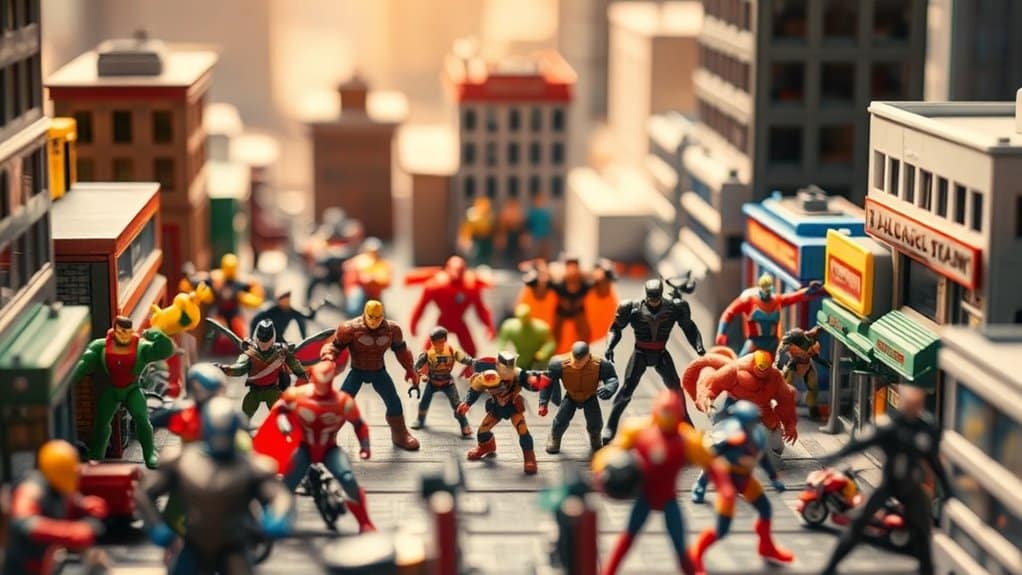
Choosing the Right Background
A fascinating background can transform your toy photography from mundane to mesmerizing. Selecting the right backdrop involves more than just aesthetics; it’s about storytelling and enhancing your subject. Consider how the background complements your toy’s theme and colors. Choose wisely, and you’ll captivate your audience’s imagination.
Here are some ideas to evoke emotion:
- Nature Scenes: Capture the innocence of a toy in the wild, embracing the beauty of the natural world.
- Urban Landscapes: Add a gritty, adventurous vibe by setting your toys against a cityscape.
- Fantasy Worlds: Craft magical settings that transport viewers to another dimension.
- Historical Backdrops: Infuse your scene with nostalgia and a sense of time travel.
- Minimalist Spaces: Focus on simplicity to highlight the toy’s intricate details.
These choices can spark wonder and admiration.
Experimenting With Lighting and Shadows
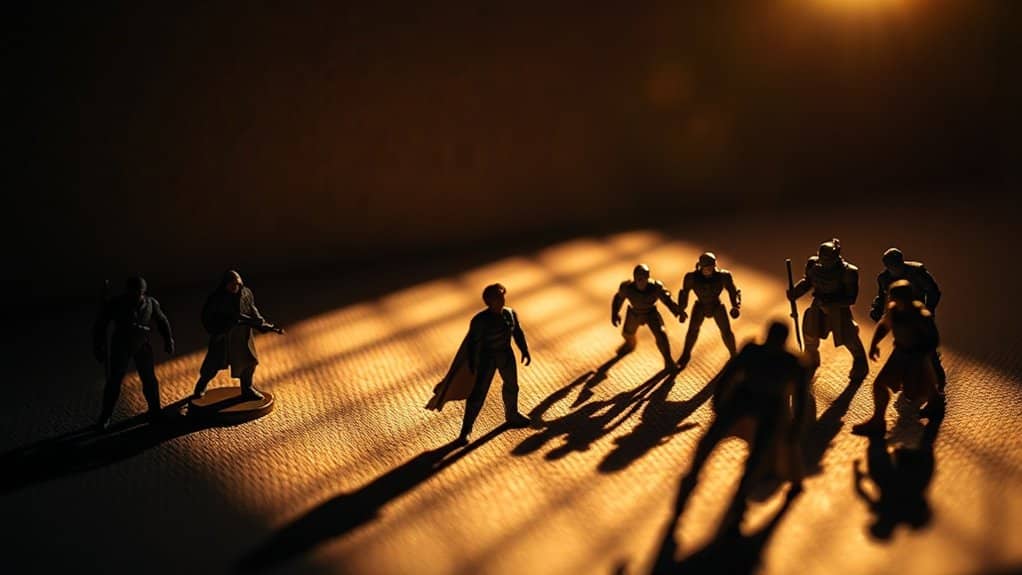
When you start experimenting with lighting and shadows in toy photography, you reveal a new dimension of creativity. Light can dramatically change your scene’s mood and highlight intricate details of your toys. Begin by using natural light from windows or soft lamps for a gentle effect. Position your light source at different angles to see how shadows fall and create depth.
Try backlighting to silhouette your toy, or use side lighting to emphasize textures. Don’t shy away from artificial lights like LED panels; they offer control and color variety. Reflectors can bounce light back onto your subject, reducing harsh shadows. Play with shadows by placing objects between the light and your toy. Each adjustment teaches you how light shapes your visual story.
Enhancing Your Shots With Post-Processing Techniques
As you master lighting and shadow techniques, enhance your toy photography further with post-processing techniques. Editing can transform a good shot into a mesmerizing image. Start by adjusting the brightness and contrast to make colors pop and details stand out. Crop your image to improve composition and focus on the subject. Play with saturation to evoke the perfect mood. Sharpen your image to highlight textures and bring toys to life. Remember, subtlety is key; avoid over-editing.
Imagine the excitement when you:
- See your toy’s expressions come alive.
- Capture vibrant colors that tell a story.
- Create a dramatic atmosphere with perfect contrast.
- Feel the satisfaction of a well-composed shot.
- Witness your artistic vision realized.
Dive into post-processing and let your creativity shine!
Frequently Asked Questions
How Can I Create a Sense of Scale in Toy Photography?
To create a sense of scale, position your toy alongside real-world objects. Use a low angle to emphasize size, and play with depth of field to blur backgrounds, making the toy appear larger. Experiment with perspective.
What Props Can Enhance Toy Photography Scenes?
Did you know 90% of impactful photos use props? Enhance your toy photography with miniature buildings or natural elements like sand and water. These props create dynamic scenes, adding depth and storytelling to your images.
How Do I Prevent Glare on Reflective Toy Surfaces?
You’re dealing with glare on reflective toy surfaces? Try diffusing your light source with a softbox or white sheet. Adjust the angle of your lights and camera to minimize reflections. Polarizing filters can also help reduce glare.
What Are Tips for Photographing Toys Outdoors?
When photographing toys outdoors, choose overcast days or golden hour for softer lighting. Use natural elements like plants for framing. Avoid direct sunlight to reduce harsh shadows. Experiment with angles and perspectives to capture dynamic shots.
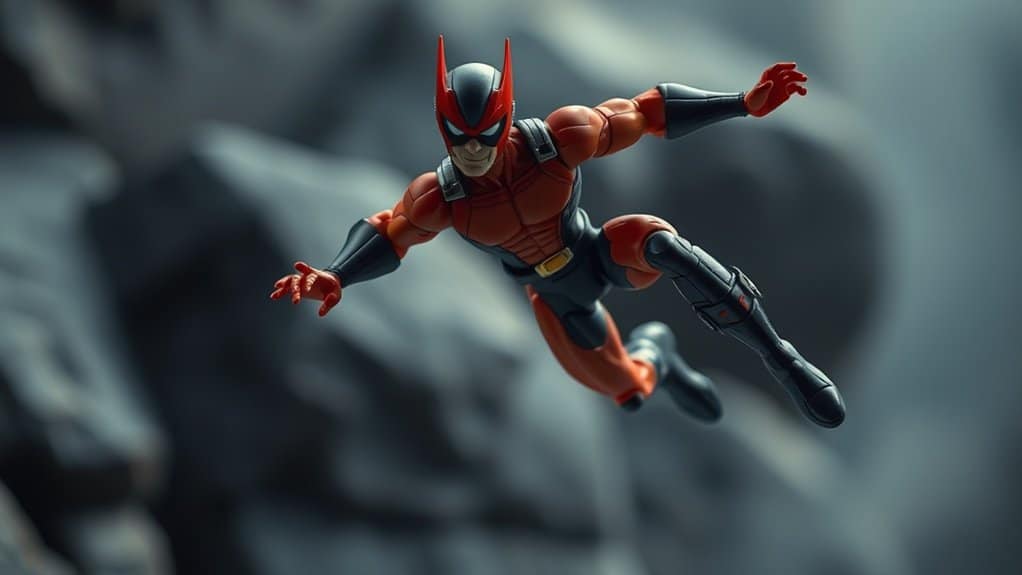
How Can I Make Toy Photos Look More Action-Packed?
Want to capture dynamic toy photography? Use dramatic angles, emphasize movement with blurred backgrounds, and play with lighting for shadows. Incorporate props to suggest motion. Experiment with perspective to create scenes that pop with energy and excitement.
At a Glance
In toy photography, mastering composition and framing can greatly boost your creativity. Did you know that over 60% of engaging images follow the rule of thirds? By exploring depth, utilizing leading lines, and choosing the right background, you create visually appealing shots. Experimenting with lighting and shadows adds drama, while post-processing techniques refine your images. Embrace these basics, and you’ll transform your toy photos into stunning works of art that capture the imagination.