
To achieve bright results in high-key toy photography, use multiple light sources, like softboxes or ring lights, to create soft, even illumination and minimize shadows. Choose vibrantly colored toys and set them against a light or white backdrop for maximum contrast. Set your camera’s ISO to 200-400, aperture to f/2.8-f/4, and shutter speed at 1/125s for clarity. Enhance your composition by considering angles and negative space. Explore further to perfect your high-key shots.
Understanding High-Key Lighting Basics

When you plunge into the world of high-key lighting, you’ll discover a technique that creates bright, evenly lit scenes with minimal shadows. This approach is perfect for toy photography, highlighting vibrant colors and intricate details without distractions. High-key lighting involves using multiple light sources to flood your scene, reducing contrast and eliminating harsh shadows. You’ll want to focus on using soft, diffused lighting to maintain this effect.
Position your lights strategically to envelop your subject from different angles. A white or light-colored backdrop can enhance the effect, reflecting light back onto your toys. Remember, the goal is to create a cheerful, inviting atmosphere that brings out the playful essence of your subjects. Practice adjusting your light intensity to achieve that perfect, luminous look.
Selecting the Right Toys for High-Key Photography
When you’re choosing toys for high-key photography, focus on color and contrast to make your images pop. Select toys that are simple and appropriately sized to keep the composition clean and uncluttered. By paying attention to these details, you’ll guarantee your photos have a bright, airy feel that’s characteristic of high-key photography.
Toy Color and Contrast
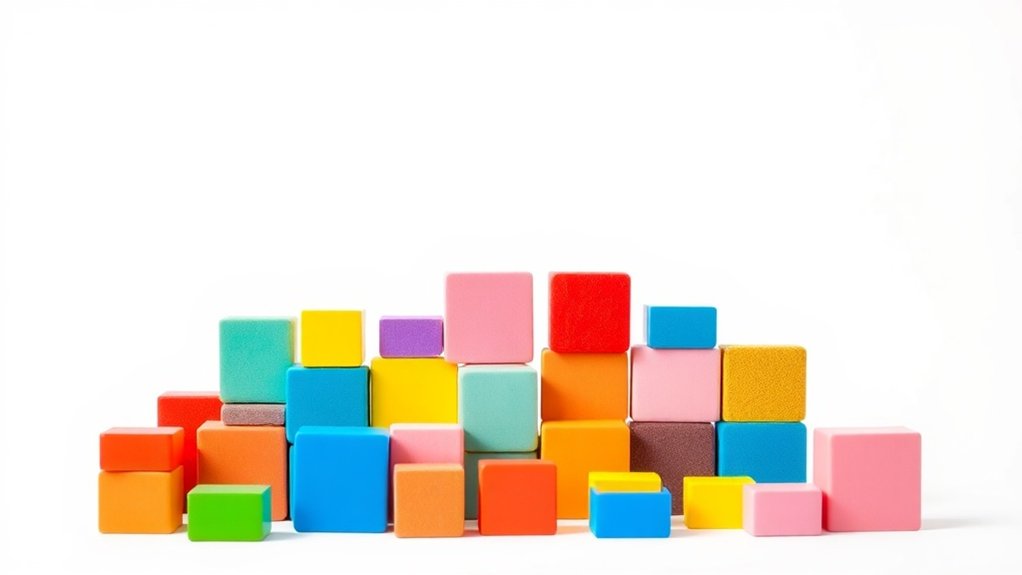
Choosing the right toys for high-key photography hinges on understanding toy color and contrast. You’ll want to focus on selecting toys with bright, vibrant colors. These colors pop against the white backgrounds typical in high-key photography, creating an eye-catching image. Avoid dark or muted tones as they might not deliver the desired bright results.
Contrast is equally important—opt for toys with distinct features that stand out. Toys with bold outlines or sharp color differences will add visual interest and help define their shape clearly. Think about how different colors interact; complementary colors can enhance each other, while similar shades may blend too much. By carefully selecting toys with the right color and contrast, you’ll elevate your high-key photography to a professional level.
Size and Simplicity
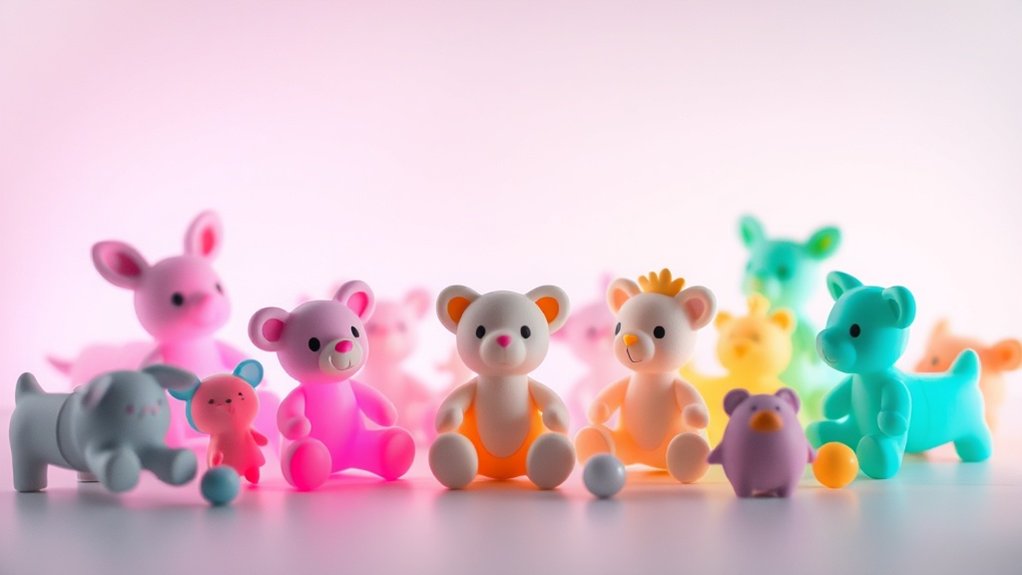
Selecting the right toys for high-key photography involves focusing on size and simplicity. You want toys that won’t overpower your scene or clutter your composition. Choose pieces that are visually clean and straightforward, allowing them to pop against a bright background. Smaller toys offer flexibility in arranging them within your frame, while simple designs guarantee the focus remains on the toy itself. Consider these aspects when selecting toys:
- Minimalist design: Avoid intricate patterns and busy details to maintain clarity.
- Compact size: Smaller toys can be easily manipulated and framed within your setup.
- Bold shapes: Look for toys with distinct outlines that stand out without excessive detail.
Choosing the Ideal Background for Bright Images
Creating bright and enchanting images requires more than just the right lighting—you also need the perfect background. Start by choosing a solid white or light-colored backdrop. This helps reflect light evenly and keeps the focus on your toy subject. You can use white poster boards or foam core for an inexpensive yet effective option.
Consider texture carefully. Smooth surfaces guarantee the light spreads uniformly, enhancing the high-key effect. Avoid busy patterns or dark colors, as they can distract from your subject and diminish the overall brightness. Confirm your background is wrinkle-free to maintain a professional appearance.
Experiment with subtle gradients or pastel shades if you want a hint of color without overpowering your subject. The right background complements your lighting, creating stunning, high-key toy photography.
Essential Equipment for High-Key Toy Photography
When you’re setting up for high-key toy photography, focus on your lighting setup, camera, and lens choices to create bright, enthralling images. Use softbox lights or ring lights to evenly illuminate your subject, reducing shadows and enhancing the details. Don’t forget to choose a clean background and appropriate props that complement your toys without distracting from them.
Lighting Setup Essentials
To capture the vibrant and crisp details of high-key toy photography, a well-thought-out lighting setup is essential. Begin by ensuring your space is well-lit and free from harsh shadows. Use multiple light sources to evenly illuminate your subject. Consider these key essentials:
- Softbox Lights: They diffuse light, eliminating harsh shadows and providing a soft, even glow across your scene.
- Reflectors: Use them to bounce light back onto your toys, ensuring every angle is bright and clear.
- White Backdrop: A plain white background enhances the high-key effect, reflecting light and minimizing distractions.
Arranging these elements strategically around your toys will allow you to highlight their intricate details. Experiment with different angles and distances to achieve the perfect balance of light and shadow.
Camera and Lens Choices
While capturing the essence of high-key toy photography, choosing the right camera and lens can make a significant difference. You don’t need the most expensive gear, but it’s essential to have a camera with manual settings. This allows you to control exposure, aperture, and ISO, which are critical for achieving bright, detailed images. Mirrorless cameras are a great choice because they’re compact and offer excellent quality.
For lenses, consider a macro or prime lens. A macro lens lets you capture intricate details, while a prime lens, with a wide aperture, guarantees sharp focus and creamy backgrounds. A 50mm or 85mm lens is versatile for this genre. Don’t forget to use a tripod for stability, keeping your shots crisp and consistent in every frame.
Background and Props Selection
A seamless background and well-chosen props are essential for high-key toy photography. They set the stage and enhance your toys’ vibrancy. Start by selecting a bright, white backdrop to reflect light evenly. This minimizes shadows and keeps your focus on the subject. Your props should support the toy’s theme without overwhelming it. Choose simple, complementary items that enhance the overall composition.
Consider these prop choices for your scene:
- Miniature furniture: Perfect for creating realistic environments.
- Natural elements: Add small plants or stones for a touch of realism.
- Colorful accents: Use bright, simple shapes to add interest without distraction.
Keep it clean and uncluttered. Emphasize your toy’s features, and let the background and props subtly improve their charm. That approach guarantees your photos pop with bright, engaging results.
Setting Up Your Lighting for Optimal Results
When you’re setting up your lighting for toy photography, considering the direction, intensity, and color of the light can transform a good shot into a great one. Start by positioning your light source to create soft, even illumination. Place it slightly above and in front of the toy to avoid harsh shadows. Adjust the intensity to keep it bright but not overwhelming, maintaining the high-key aesthetic. Use white or neutral-colored light to guarantee accurate color representation in your photos. You might want to diffuse the light using a softbox or a white sheet for a softer effect. Don’t forget to experiment with reflectors to bounce light back onto the toy, reducing shadows and enhancing details. With practice, you’ll find the perfect setup for your toy shots. Additionally, exploring various lighting techniques for toy photography can offer unique results that elevate your images. For instance, backlighting can create dramatic silhouettes, while side lighting can emphasize textures and details. Experimenting with these different angles and methods will help you discover what best showcases your toys’ characteristics.
Camera Settings for High-Key Photography
How can you capture that bright, airy feel in your toy photography? First, fine-tune your camera settings. Begin with your ISO. Raising it will increase your camera’s sensitivity to light, vital for high-key shots. Aim for ISO between 200-400 to maintain clarity without noise. Next, adjust your aperture. A wider aperture (lower f-stop) allows more light to flood your sensor, creating that soft glow.
- ISO 200-400: Balances brightness with minimal noise.
- Aperture f/2.8-f/4: Lets in ample light for a dreamy effect.
- Shutter Speed 1/125s: Captures crisp images without motion blur.
Finally, set your shutter speed to prevent overexposure. A moderate speed like 1/125s guarantees sharpness while maintaining that ethereal brightness you’re after. Keep experimenting for stunning results!
Creative Composition Techniques
With your camera settings fine-tuned for that bright, airy feel, it’s time to focus on creative composition techniques to enhance your toy photography. Start by considering the rule of thirds; position your subject off-center for a dynamic look. Experiment with different angles to give a new perspective—try shooting from a toy’s eye level or even from below for a unique view. Don’t be afraid to play with scale by incorporating larger objects in the background to create depth. Use leading lines to draw the viewer’s eye toward your subject, adding visual interest. Remember, negative space can be your friend, allowing the toys to stand out against a simple background. Finally, mix and match toys to create engaging stories and interactions.
Post-Processing Tips for a Polished Look
Post-processing is your secret weapon for transforming good toy photos into stunning visuals. With the right techniques, you can enhance details, adjust lighting, and bring your creative vision to life. Start by focusing on these key areas:
- Brightness and Contrast: Adjust these settings to make your toys pop against the background, amplifying the high-key effect.
- Color Correction: Tweak the hues and saturation to guarantee the colors are vibrant and true to life, making your toys look as realistic as possible.
- Sharpening: Enhance the details of your toys by sharpening their edges, ensuring every feature stands out crisply.
Troubleshooting Common High-Key Photography Issues
After enhancing your toy photos with post-processing, you might encounter challenges specific to high-key photography. One common issue is overexposure. A simple fix is adjusting your camera’s exposure compensation; dial it down a notch to regain lost details. Another problem is shadows that sneak into your frame. Guarantee even lighting by using multiple light sources or reflectors to eliminate harsh shadows. Color balance can also be tricky since high-key images often appear washed out. Tweak the white balance settings in-camera, or make adjustments during editing to maintain vibrant, true-to-life colors. Finally, if your photos lack contrast, increase the contrast slightly in post-processing to add depth without losing that bright, airy feel. With these adjustments, your high-key shots will shine!
Frequently Asked Questions
How Do I Handle Reflections on Shiny Toy Surfaces?
To tackle reflections on shiny toy surfaces, adjust your light angle and use diffusers. Try polarizing filters on your lens to minimize glare. Position your camera carefully to avoid capturing unwanted reflections in your shots.
Can Natural Light Be Used for High-Key Toy Photography?
Think of natural light as a paintbrush; with the right angle and intensity, it paints your toys in a bright, soft glow. Open curtains or head outside, but remember to control shadows for perfect results.
What Are Some Budget-Friendly Lighting Options for Beginners?
You can use desk lamps with daylight bulbs to create a bright atmosphere without breaking the bank. Reflectors made from white poster boards help bounce light effectively. Experiment with window light for a cost-free solution.
How Can I Avoid Overexposing My Toy Photos?
Imagine capturing a toy’s intricate details bathed in gentle light. To avoid overexposure, adjust your camera’s settings—lower ISO, faster shutter speed, and reduce aperture size. Experiment with diffused lighting for soft, balanced illumination.
How Do I Maintain Color Accuracy in Bright Lighting Conditions?
To maintain color accuracy, adjust your camera’s white balance settings to match the lighting. Use a gray card for reference and shoot in RAW format. This gives you more flexibility in post-processing to correct any color shifts.
At a Glance
You’ve now got the tools to master high-key toy photography! Did you know that images with bright backgrounds and minimal shadows are 32% more likely to catch a viewer’s eye on social media? By understanding lighting basics, selecting the right toys and backgrounds, and fine-tuning your camera settings, you’re set to create stunning, eye-catching photos. Don’t forget to experiment with composition and post-processing for that polished look. Immerse yourself and start capturing those spectacular, bright results!


