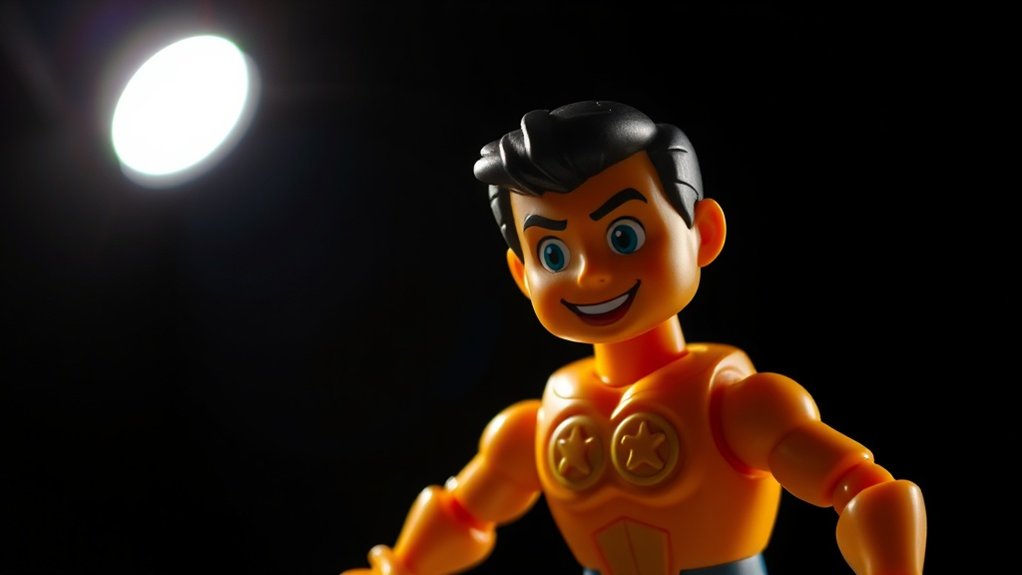
In toy photography, mastering the three-point light setup can make your shots stand out. You’ll need a key light, fill light, and backlight. Position your key light at a 45-degree angle for impact, while the fill light softens shadows. The backlight adds depth, making the toy pop against the background. Using LED panels and reflectors helps in adjusting light intensity. With these techniques, you’ll capture magical images, and there’s more to discover about refining your skills further. Experimenting with different angles and distances can significantly enhance your photos. Additionally, incorporating toy photography lighting techniques such as color gels can introduce creative effects and moods. Don’t be afraid to try unique combinations to achieve a signature style that reflects your vision.
Understanding the Basics of Three-Point Lighting
Three-point lighting is a fundamental setup you’ll want to master for enchanting toy photography. It involves three light sources: key light, fill light, and backlight. Start with the key light, your primary source, which highlights your toy and creates shadows. Position it at a 45-degree angle from your subject. Next, add the fill light on the opposite side to soften those shadows without eliminating them entirely. This balance maintains depth and detail.
Finally, introduce the backlight behind your toy, which separates it from the background, adding dimension. Adjust the intensity and distance of each light to achieve the desired mood. Experiment with the angles and distances to find what works best for your toy’s shape and texture, ensuring your photos are striking and dynamic.
Selecting the Right Equipment for Your Setup
When it comes to capturing stunning toy photography, having the right equipment can make all the difference. Start by investing in a reliable camera that offers manual settings. It doesn’t have to be the most expensive model; even a mid-range DSLR or mirrorless camera can do wonders. Next, consider your light sources. For a three-point light setup, you’ll need a key light, a fill light, and a backlight. LED panels are a great choice—they’re lightweight, adjustable, and provide consistent illumination. Don’t forget about light stands or tripods to keep everything stable. Reflectors and diffusers are also invaluable for controlling light intensity and shadows. By selecting the right gear, you’ll set the stage for creating enchanting toy photos.
Positioning the Key Light for Maximum Impact
To create striking toy photos, start by carefully positioning your key light. Experiment with different angles to add drama and depth to your scene, capturing the toy’s best features. Don’t forget to adjust the light intensity to guarantee the perfect balance of shadows and highlights.
Key Light Placement
Mastering key light placement is essential for creating striking toy photographs. Your key light is your primary light source, shaping the mood and highlighting vital details of your miniature subjects. Start by placing the light at a 45-degree angle to your toy to add depth and dimension. This position offers a balanced mix of shadows and highlights, bringing your subject to life. Remember, the distance between the light and the toy affects intensity; closer lights produce brighter, more dramatic effects, while distant lights create softer, more even illumination. Experiment with the height, too—raising the light can simulate natural sunlight and cast impressive shadows. Adjusting these elements allows you to control the overall atmosphere and emphasize your toy’s most enchanting features.
Angle for Drama
Creating drama in toy photography hinges on the angle of your key light. To capture a compelling image, position the key light to the side of your subject. This creates shadows that add depth and intrigue. Aim for a 45-degree angle to enhance the toy’s textures and contours, making it pop against the background. You’ll find that side lighting introduces mystery and emotion, which keeps viewers engaged.
Experiment with different angles to see how each affects mood. A higher angle might suggest dominance or grandeur, while a lower angle can evoke vulnerability or suspense. By adjusting the key light’s position, you control the story your toy tells. Always trust your instincts and let your creative vision guide you to the perfect shot.
Adjusting Light Intensity
When adjusting light intensity for toy photography, consider how it shapes the mood and focus of your image. Your key light should be neither too harsh nor too soft, striking a balance that highlights details without overpowering shadows. Start by setting your key light to medium intensity and observe the effect on your toy subject. If the scene feels too flat, increase the intensity to add drama. Conversely, if details are washed out, dial it down.
Utilizing the Fill Light to Soften Shadows
Even if your primary light source is well-positioned, shadows can sometimes appear too harsh in toy photography. To tackle this, you’ll want to use a fill light. The fill light’s primary role is to soften and reduce these shadows without overpowering your main light. Position it on the opposite side of your key light, but keep its intensity lower. This balance guarantees your toys don’t look flat while maintaining detail. You can experiment with different angles and distances to find the perfect setup. If you’re using natural light, a simple reflector can act as a fill light. Just aim it to bounce light back onto your subject. This technique adds a gentle touch, enhancing your toy photography without diminishing the scene’s depth.
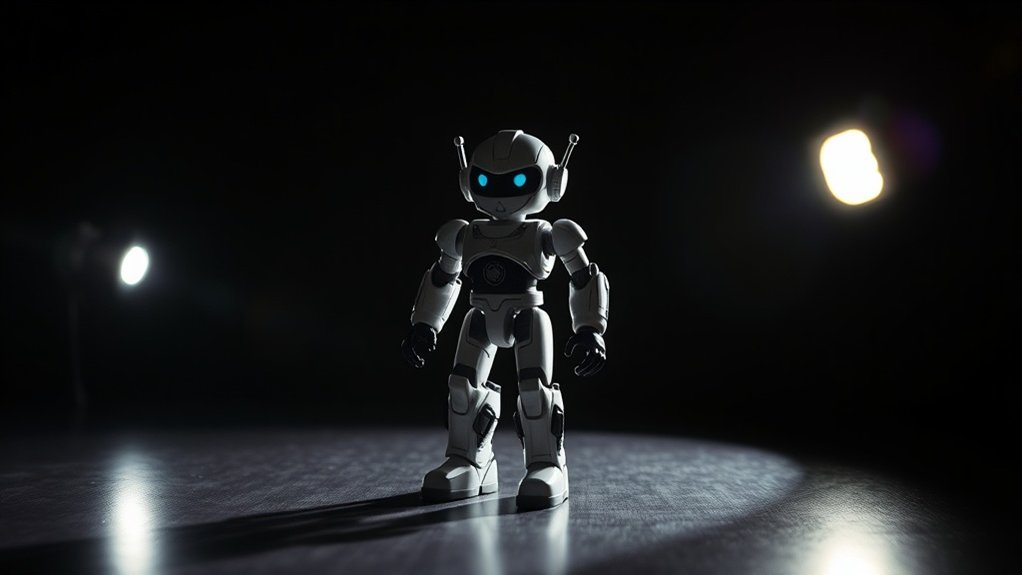
Creating Depth With the Backlight
To create depth in toy photography, use a backlight to emphasize the toy’s silhouette and make it stand out. This technique adds a dynamic element to your scene, highlighting contours and creating contrast. By carefully adjusting the backlight, you can enhance the overall depth and bring your toy scenes to life.
Emphasizing Toy Silhouettes
While capturing toy photography, emphasizing silhouettes can add a dramatic flair to your images. To achieve this effect, focus on using the backlight effectively. Position a strong light source behind your toy, which creates a glowing outline against a darker background. This technique highlights the toy’s edges, making its shape stand out and adding intrigue.
Adjust the intensity of the backlight to control the silhouette’s sharpness. A brighter backlight will create a more pronounced silhouette, while a softer glow offers a subtler effect. You can experiment with different colored gels over the backlight to introduce mood and enhance the image’s atmosphere.
Enhancing Scene Depth
How can you add more depth to your toy photography? By effectively using a backlight, you can create a sense of depth that transforms your images. Here’s how:
- Position the Backlight: Place it behind your subject, slightly above, to create a natural shadow. This will help separate the toy from the background, making it pop.
- Adjust Intensity: Use a dimmer or a softbox to guarantee the backlight isn’t too harsh. A subtle glow can add a magical touch without overwhelming the scene.
- Experiment with Colors: Different colored gels can change the mood and add layers to your photo. Try warm tones for a cozy feel or cool hues for something more dramatic.
These techniques will elevate your toy photography!
Balancing Intensity and Color Temperature
A essential aspect of toy photography is effectively balancing light intensity and color temperature to create enchanting images. Too much intensity can wash out details, while too little leaves your toys shrouded in shadows. Adjust your lights to find a sweet spot that highlights features without overpowering the scene.
Color temperature also plays an important role. Cooler tones tend to evoke a futuristic, sterile feel, whereas warmer hues add coziness and nostalgia. Use color gels or adjust your light sources to match the mood you’re aiming for. Mixing temperatures can add depth and interest, but balance them carefully to avoid clashing tones.
Always remember, the right balance can transform an ordinary shot into a mesmerizing masterpiece. Stay attentive and tweak settings as needed!
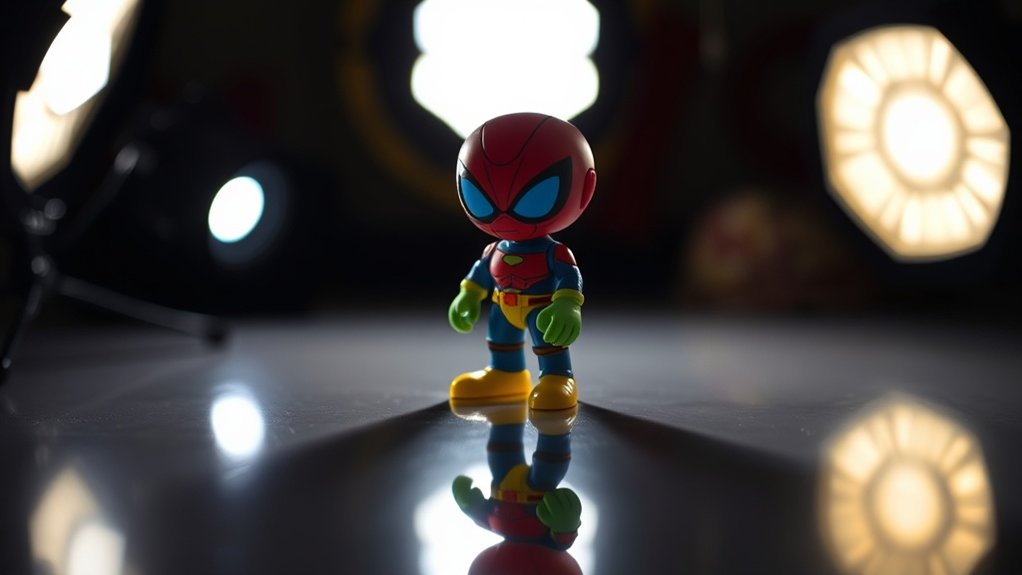
Experimenting With Light Modifiers
When experimenting with light modifiers in toy photography, you can soften shadows by using techniques like bouncing light or employing softboxes. Consider using color gels to add mood and enhance the scene’s atmosphere with vibrant hues. Explore different diffusion materials to control the light’s spread and achieve the perfect look for your miniature subjects.
Softening Shadows Techniques
Mastering the art of softening shadows can transform your toy photography from flat to fantastical. By experimenting with light modifiers, you can create softer, more appealing shadows. Here are three techniques to try:
- Diffusers: Use a diffuser to spread light evenly and reduce harsh shadows. You can use materials like white fabric or commercial diffusers. Position them between your light source and the subject.
- Reflectors: Reflectors bounce light back onto your toys, filling in shadows. A simple white card or foil-covered board can work wonders. Experiment with angles to achieve the desired effect.
- Softboxes: These are perfect for creating soft, even lighting. Place the softbox over your light source to diffuse it, and adjust its position to control shadow intensity.
Experiment and watch your toys come to life!
Color Gel Applications
Softening shadows lays the groundwork for introducing vibrant elements into your toy photography. Now, let’s explore color gel applications. By adding color gels to your lights, you can transform the mood and atmosphere of your scene. Start by choosing gels that complement your toy’s colors or create an interesting contrast. Attach the gel to your light source, keeping in mind that different colors evoke different emotions—reds for intensity, blues for calmness, or greens for a mysterious vibe. Experiment with positioning: place gels on your key light for a dominating hue or on the backlight to create striking silhouettes. Don’t be afraid to mix colors for unique effects. With practice, you’ll master how color gels enhance your toy photography‘s storytelling.
Diffusion Material Options
To elevate the quality of your toy photography, exploring diffusion material options can be a game-changer. Diffusion softens harsh lights, eliminates unwanted shadows, and highlights your toy’s details beautifully. Let’s explore three effective diffusion materials:
- Softbox: Invest in a small softbox for controlled, diffused light. It’s portable and easy to set up, making it perfect for toy photography.
- White Bed Sheet: For a budget-friendly option, drape a white bed sheet over your light source. It effectively diffuses light, offering a soft, even glow.
- Tracing Paper: Tape some tracing paper to your light source for a quick fix. It’s inexpensive and provides excellent diffusion, ideal for close-up shots.
Experiment with these and watch your toy photos transform!
Adapting the Setup for Different Subjects
While each toy presents its own unique challenges, adapting your lighting setup to suit different subjects is essential for capturing stunning shots. Start by considering the toy’s size, material, and color. A small, glossy figure might require softer lights to prevent harsh reflections. On the other hand, larger toys with matte finishes benefit from stronger lighting to highlight textures. Pay attention to the toy’s features; adjust your key light to emphasize facial expressions or intricate details. Your fill light should minimize unwanted shadows without washing out the subject. Finally, position your backlight to create depth and separation from the background. Experiment with angles and distances until you achieve the desired effect. Remember, each toy tells a story, and the right lighting brings it to life.
Troubleshooting Common Lighting Issues
When capturing toy photography, you might encounter several common lighting issues that can detract from your images. Don’t worry; you can tackle these hiccups with a few simple adjustments.
- Harsh Shadows: If shadows are too strong, try diffusing your lights. Use a softbox or a piece of white fabric to soften the light and reduce shadow edges.
- Uneven Lighting: Is your subject lit inconsistently? Adjust the position of your lights. Make sure the fill light softens the shadows from the key light, creating a balanced look.
- Reflections and Glare: Glossy toys can reflect unwanted light. Experiment with changing the light angle or use a polarizing filter to reduce reflections and achieve a clearer shot.
These quick fixes can improve your photos instantly.
Enhancing Your Photos in Post-Production
Although capturing the perfect shot is essential, enhancing your photos in post-production can truly elevate your toy photography. Start by adjusting the exposure and contrast to make your images pop. Use a photo editing tool to fine-tune the colors; sometimes toys look more vibrant with slight saturation tweaks. Don’t shy away from experimenting with shadows and highlights to add depth and drama to your shots.
Cropping is another powerful tool. By focusing on the most interesting parts, you can greatly improve composition. Remove any distractions or imperfections with spot healing tools. Finally, keep your edits consistent for a cohesive look across your portfolio. Remember, post-production isn’t about altering reality, but rather highlighting the magic you’ve already captured in your photos.
Frequently Asked Questions
How Can I Achieve Natural-Looking Reflections in Toy Photography?
To achieve natural-looking reflections, position a soft light source at a low angle. Use reflective surfaces like white foam boards to bounce light gently. Experiment with angles and distances until you see the desired effect on your toys.
What Are Some Tips for Photographing Translucent Toy Materials?
For photographing translucent toy materials, start by backlighting them to emphasize their see-through quality. Use diffused light to avoid harsh shadows and adjust your exposure to capture their delicate details. Experiment with angles to find the best effect.
How Does Ambient Room Light Affect Toy Photography Setups?
Don’t underestimate ambient room light—it can either make or break your toy photos. It affects shadows and highlights, altering your setup’s balance. Control it with curtains or additional lights to guarantee consistent results in every shot.
Can I Use LED Strips Instead of Traditional Lighting for Toys?
You can use LED strips for toy photography. They offer flexibility and color variations. Position them strategically to create dynamic lighting effects. Just make sure they’re bright enough and don’t cast unwanted shadows on your toys.
How Do I Set up Lighting for Outdoor Toy Photography Shoots?
Imagine the sun casting playful shadows as you position reflectors to soften harsh light. Use diffusers to balance brightness, ensuring your toy’s details shine. Move to find the perfect angle, capturing nature’s charm in your shot.
At a Glance
You’ve mastered the three-point lighting setup, and it’s no coincidence that your toy photography now shines with professional flair. As you position each light, remember that the magic lies in the details—the subtle shadow softened by the fill light, the depth added by the backlight. Embrace experimentation and adapt your techniques for each unique subject. With practice and a touch of creativity, your photos will tell compelling stories that captivate and enchant viewers.


