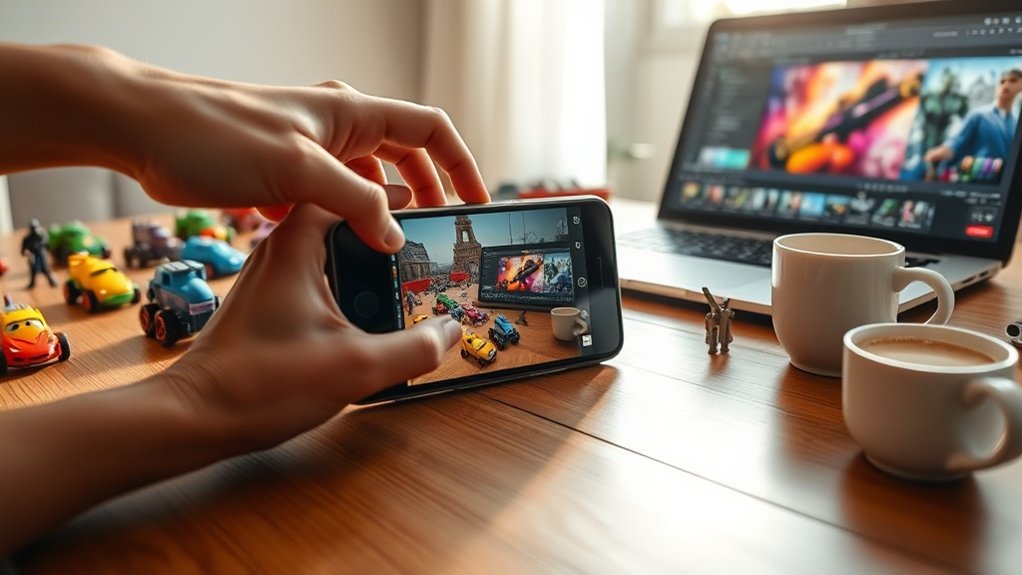
Start by choosing the right smartphone camera gear, like a tripod and lenses, and master lighting techniques with natural light and diffusers. Set the perfect scene using the rule of thirds and props. Capture dynamic angles by experimenting with low angles and overhead shots. Use your phone’s camera features, like HDR and portrait mode, to enhance your images. Apply subtle edits and filters, and then share your art online to engage with the toy photography community. Discover even more techniques to elevate your craft.
Choosing the Right Equipment for Mobile Toy Photography
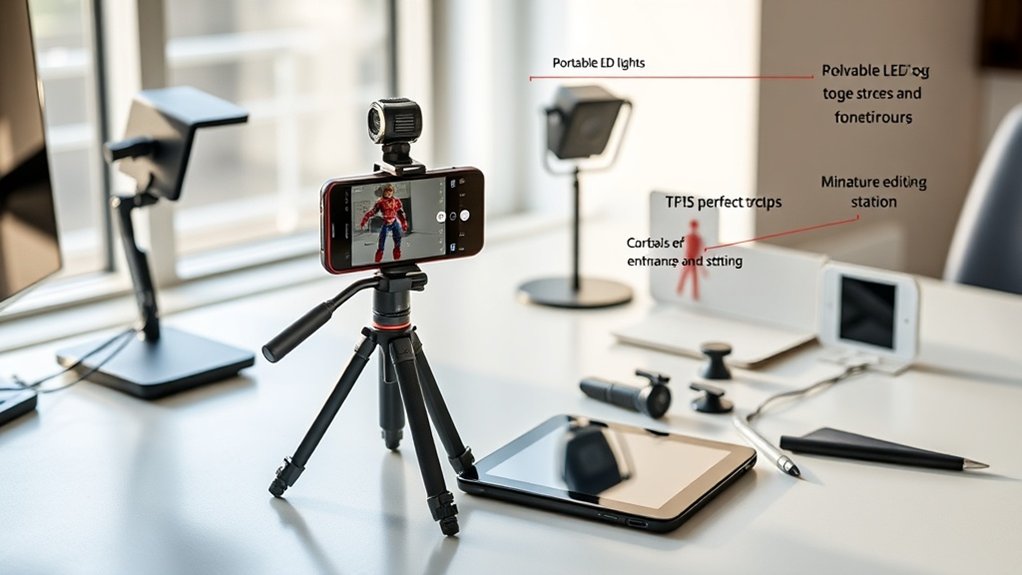
When diving into mobile toy photography, selecting the right equipment is essential. Begin with your smartphone; make certain it has a high-quality camera with good resolution and a manual mode for better control. You’ll want a stable tripod to eliminate blurry shots. Look for one with adjustable legs for different angles and surfaces. A remote shutter release can also be handy, allowing you to capture the perfect moment without jostling your device.
Consider investing in clip-on lenses, like macro or wide-angle options, to expand your creative possibilities. Don’t forget about props and backgrounds to enhance your scenes; they add depth and context. Finally, keep a portable power bank on hand. It guarantees your phone stays charged during long shooting sessions, so you never miss a shot.
Mastering Lighting Techniques for Stunning Shots
To capture stunning toy photos, you need to master the art of lighting, starting with natural light. Experiment with shadow manipulation to add depth and drama to your shots. Don’t forget that using reflectors and diffusers can help soften harsh light and create the perfect balance for your images.
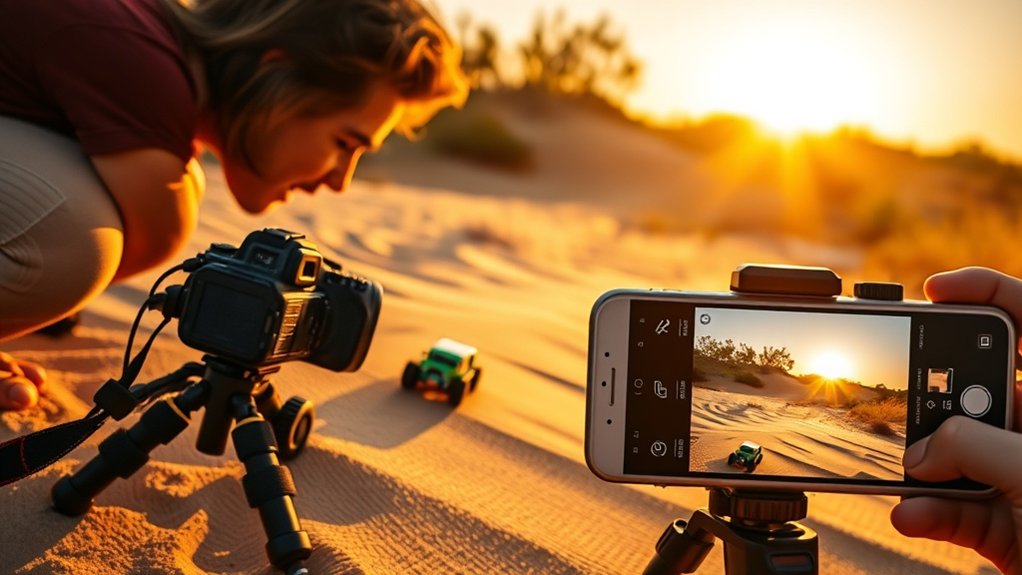
Natural Light Utilization
Although artificial lighting has its place, harnessing natural light can elevate your toy photography to new heights. Start by shooting during the golden hours — just after sunrise or before sunset — when the light is soft and warm. Position your toys to catch the sunlight at an angle, creating depth and dimension without harsh shadows. If you’re indoors, use a window as your primary light source. Diffuse the light with sheer curtains for a softer effect. Overcast days are also your friend, providing even lighting without direct sunlight. Experiment with different times of day and weather conditions to find what works best for your toys. Remember, natural light changes quickly, so shoot efficiently to capture that perfect moment.
Shadow Manipulation Techniques
Building on the use of natural light, mastering shadow manipulation can dramatically enhance your toy photography. Shadows add depth and dimension, making your shots more dynamic. Start by experimenting with the angle of light. Move your light source around to see how shadows shift and alter the scene’s mood.
Use shadows to create contrast, highlighting the toy’s features. Look for opportunities to cast dramatic shadows using objects like leaves or blinds, adding texture and interest. Don’t shy away from harsh shadows; they can evoke mystery and drama.
Control the intensity by moving your toy closer or further from the light source. Remember, shadows can tell a story too. Play with them to convey emotion and create a fascinating narrative in your images.
Reflector and Diffuser Use
When it comes to mastering lighting in toy photography, reflectors and diffusers are your best allies. They help you control light precisely, enhancing the mood and detail of your shots. Use a reflector to bounce light onto your toy, filling in shadows and adding depth. Experiment with angles to see how the light changes the toy’s appearance. On the other hand, a diffuser softens harsh light, creating an even, flattering glow. This is especially useful in outdoor settings where sunlight can be intense. Simply position a diffuser between your light source and the toy to achieve a balanced look. By using these tools effectively, you’ll elevate your toy photography and capture stunning, professional-quality images right from your mobile device.
Setting Up the Perfect Scene and Composition
Creating an eye-catching scene in toy photography starts with a keen sense of composition and detail. First, choose a backdrop that complements your toy’s theme, whether it’s a simple colored sheet or a detailed diorama. Consider the rule of thirds; it helps balance your subject within the frame, drawing viewers’ eyes naturally. Arrange props thoughtfully to enhance the story without overcrowding the scene. Lighting is vital—position it to highlight textures and add depth. Natural light works wonders, but a small lamp or LED can provide creative effects. Pay attention to shadows; they can add drama or be distracting. Always check your scene through your camera’s viewfinder to guarantee everything aligns before snapping that perfect shot.
Capturing Dynamic Angles and Perspectives
To capture dynamic angles and perspectives in toy photography, experiment with creative composition techniques like shooting from unexpected viewpoints. By changing angles, you can enhance depth perception and make your subjects more engaging. Don’t hesitate to get up close or shoot from ground level to add drama and intrigue to your shots.
Creative Composition Techniques
Capturing dynamic angles and perspectives transforms ordinary toy photography into a mesmerizing art form. By experimenting with creative composition techniques, you can elevate your mobile shots. Here’s how:
- Low Angle Shots: Get down to the toy’s level. It adds drama and makes the subject appear larger than life.
- Overhead Views: Capture toys from above for a fresh perspective. It’s perfect for showcasing intricate layouts or scenes.
- Tilted Frames: Slightly tilt your camera when shooting. This adds energy and movement to otherwise static scenes.
- Foreground Elements: Incorporate objects in the foreground to frame your subject. It creates a natural frame and draws the viewer’s eye.
Incorporating these techniques will make your toy photography stand out and tell a story with each shot.
Enhancing Depth Perception
Ever wondered how to make your toy photos pop with depth and intrigue? Start by capturing dynamic angles and perspectives. Instead of shooting straight-on, lower your camera to toy level. This technique creates a sense of scale and immerses viewers in the toy’s world. Experiment with angles; shoot from above for a commanding view or from below for a dramatic effect.
Use leading lines to guide the viewer’s eye through the scene. Position toys to interact with their environment, creating layers that suggest depth. Don’t be afraid to tilt your camera for a creative twist. Reflections and shadows can add an extra dimension. By playing with perspectives, you’ll transform flat images into engaging, three-dimensional masterpieces that showcase your toys in the best light.
Utilizing Smartphone Camera Features to Your Advantage
While exploring the world of mobile toy photography, it is crucial to harness the full potential of your smartphone camera’s features. These tools can elevate your toy photos from good to extraordinary. Here’s how you can make the most of them:
- Portrait Mode: Use this to create depth and blur the background, making your toy the focal point.
- HDR (High Dynamic Range): Capture a wider range of details in both bright and dark areas, ensuring your toys look vibrant.
- Grid Lines: Enable them to follow the rule of thirds, improving composition and balance.
- Manual Controls: Adjust settings like ISO and shutter speed for better control over lighting and exposure.
Exploring Editing Apps for Professional-Quality Finishes
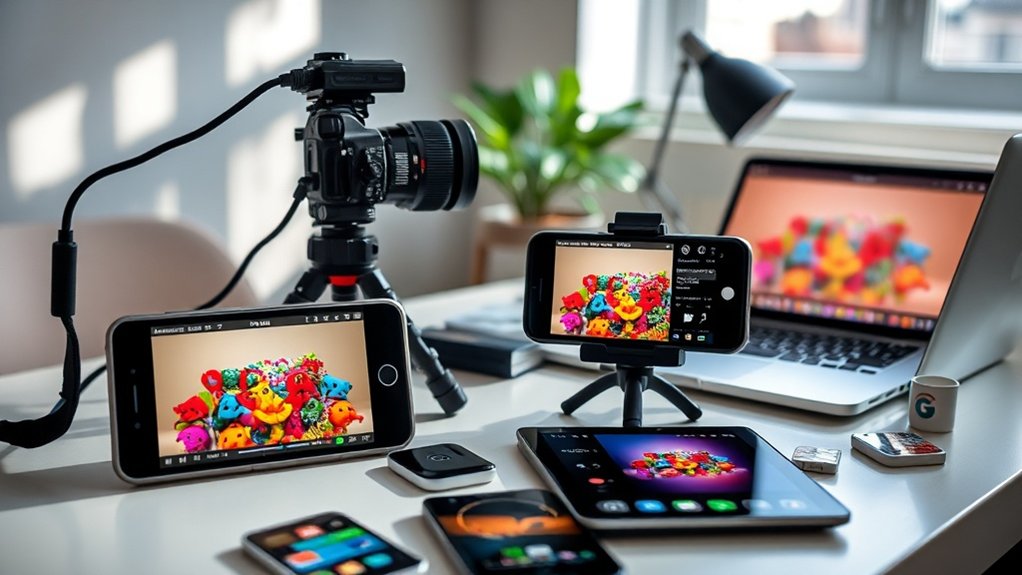
To achieve professional-quality finishes in your mobile toy photography, you should explore a variety of editing apps that can transform your images. Start with Adobe Lightroom, a favorite for its precise control over exposure, contrast, and color balance. You’ll appreciate its non-destructive editing and presets that streamline your workflow. Snapseed, developed by Google, offers powerful tools like selective adjustments and healing brushes, letting you enhance details effortlessly. Don’t overlook VSCO; its minimalist interface and advanced editing options are perfect for refining your photos. For more creative adjustments, try Afterlight, which provides textures and advanced crops. Each app brings unique features, so experiment to find what best complements your style. Mastering these tools will elevate your toy photography to new heights.
Applying Filters and Effects to Enhance Your Images
When enhancing your toy photos, choosing the right filter can instantly set the mood and style of your image. Don’t overlook subtle effects like adjusting shadows or highlights, which can bring out details without overpowering the scene. Experiment with different combinations to find what best complements your composition.
Choosing the Right Filter
How do you transform a simple toy photo into an enchanting piece of art? Choosing the right filter is key. Filters can dramatically alter mood and style. You want to match the filter to the story you’re telling. Here’s how to select one:
- Consider the Subject: Bright colors might pop with vibrant filters, while vintage toys could shine with a sepia tone.
- Mood Matching: Want a dreamy look? Go for soft pastels. For drama, choose high-contrast black and white.
- Test Multiple Options: Don’t settle on the first filter. Try several to see what best enhances your photo.
- Stay Subtle: Overdoing filters can distract from your subject. Less is often more.
A well-chosen filter can make your toy photography fascinating.
Enhancing With Subtle Effects
After selecting the perfect filter, it’s time to enhance your toy photography with subtle effects that elevate the overall impact. Start by adjusting the brightness and contrast to bring out the details, making your toys pop against the background. Use vignette effects sparingly to draw attention to the subject without overwhelming the image.
Add a touch of sharpness to highlight intricate textures, but avoid overdoing it, as this can create an unnatural look. Play with shadows and highlights to add depth, giving your toys a more three-dimensional appearance. Consider adding a slight blur to the background for a professional touch that simulates depth of field.
Organizing and Managing Your Photo Library Efficiently
As you begin your journey in mobile toy photography, keeping your photo library organized and manageable becomes crucial for maintaining efficiency and creativity. An orderly collection helps you find images quickly and keeps your creative juices flowing. Here’s how you can manage your library efficiently:
- Create Folders: Set up folders by theme, date, or project. This way, you’ll easily locate specific shots when needed.
- Use Tags: Assign tags to your photos. It allows for quick filtering and searching through your collection.
- Regular Clean-Up: Schedule time to delete duplicates or unwanted shots. Keeping only your best work guarantees a streamlined library.
- Backup: Regularly back up your files to cloud storage or an external drive to prevent data loss.
Implement these steps for a seamless workflow.
Sharing Your Art on Social Media With Impact
Ever wondered how you can make your mobile toy photography stand out on social media? Start by crafting a unique style. Consistency in color schemes and themes helps your work become instantly recognizable. Use hashtags strategically—not too many, but enough to reach your audience. Focus on popular tags related to toys and photography.
Captions matter. Create engaging, concise narratives that invite interaction. Ask questions or share stories behind the shot to spark conversations. Timing is essential; post when your audience is most active. Analyze your insights to find ideal times.
Collaborate with influencers or feature your work on popular toy photography pages for greater reach. Finally, interact with comments promptly, showing your audience you value their engagement and fostering loyalty.
Engaging With the Toy Photography Community Online
Building a strong social media presence is just one piece of the puzzle; connecting with the toy photography community online can elevate your art to new heights. Engaging with fellow enthusiasts not only boosts your visibility but also enriches your creative journey. Here’s how you can immerse yourself in this vibrant community:
- Join forums and groups: Participate in platforms like Reddit and Facebook groups where toy photographers share their work and insights.
- Interact and comment: Leave thoughtful comments and feedback on others’ posts to build relationships and foster community spirit.
- Collaborate on projects: Partner with other photographers for joint projects or challenges that inspire and push your creativity.
- Attend virtual events: Participate in webinars, workshops, and online meetups to learn and network with like-minded individuals.
Frequently Asked Questions
How Can I Ensure Consistent Color Accuracy Across Different Devices?
To guarantee consistent color accuracy across devices, calibrate your screens regularly. Use apps or tools for color profiles. Adjust white balance while editing, and always review your photos on multiple devices to spot any discrepancies.
What Are the Best Practices for Protecting My Mobile Device During Outdoor Shoots?
When you’re out capturing memories, safeguard your device by using a sturdy case and screen protector. Keep it sheltered from nature’s surprises with a waterproof pouch, and always have a backup plan for power.
How Can I Manage Battery Life Effectively During Extended Photography Sessions?
You should dim your screen and close background apps to conserve battery. Use airplane mode when not sharing photos. Carry a portable charger for extra power, ensuring your device lasts throughout your extended photography sessions.
What Steps Can I Take to Prevent Accidental Photo Deletions?
Oh, the thrill of accidental deletions! To avoid this joy, always double-check before deleting, back up your photos religiously, and enable cloud storage. You’ll finally achieve the elusive art of never losing a masterpiece again.
How Can I Achieve a Consistent Aesthetic Across Multiple Toy Photography Projects?
You can achieve a consistent aesthetic by choosing a specific color palette and lighting style. Apply the same filters and editing techniques across projects. Create a mood board for reference to guarantee your visual theme stays uniform.
At a Glance
Think of your mobile toy photography journey as a painter crafting a masterpiece. You wield your smartphone like a brush, capturing the magic of tiny worlds with skillful strokes. Light dances around your subjects, while angles and edits add depth and vibrancy to your canvas. As you share your creations, you’re not just posting pictures—you’re weaving stories into the fabric of a community that thrives on imagination, connection, and the art of play.


