For impressive water splash effects in toy photography, start with a fast shutter speed of at least 1/1000th of a second. Choose a DSLR or mirrorless camera with manual settings and pair it with a macro lens. Set up your scene with a fitting backdrop and props while maintaining proportion. Use strategic lighting for dramatic shadows and highlights. Frame your shots with burst mode to capture the perfect splash moment. Discover more techniques by exploring further.
Choosing the Right Equipment for Water Splash Photography
When you’re diving into water splash photography, selecting the right equipment is crucial for capturing those dynamic and striking images. You’ll want a camera with a fast shutter speed to freeze those dramatic splash moments. A DSLR or mirrorless camera with manual settings works best, allowing you to control exposure and focus precisely. Pair it with a macro lens to capture intricate splash details around your toys.
Consider a sturdy tripod to keep everything steady during the shoot. You’ll also need an external flash or continuous lighting to illuminate the scene and enhance splash visibility. Waterproofing gear, like clear plastic covers, guarantees your equipment remains safe from water damage. With these tools, you’re all set to create stunning, splash-filled toy photos.
Setting Up Your Toy Scene for Maximum Impact
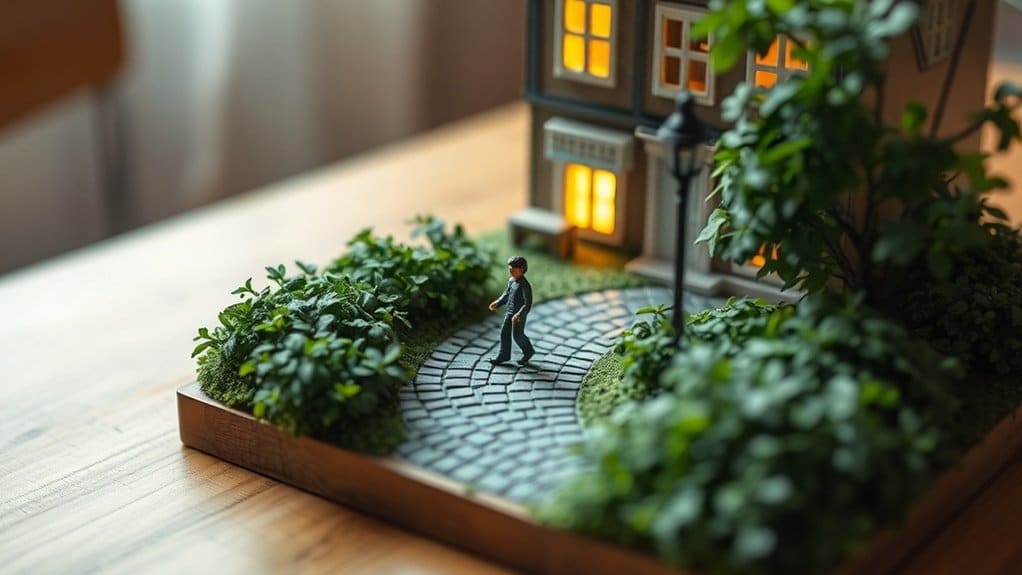
To create a visually engaging toy scene, start by selecting a compelling backdrop that complements your toy’s theme. This could be anything from a natural setting to something more abstract. Next, position your toy to emphasize its best features, making sure it’s the focal point of your composition.
Place props around your toy to add depth and context to the scene. These elements should enhance the narrative without overwhelming the main subject. Consider the scale and proportion of each prop in relation to your toy to maintain a sense of realism.
Arrange everything with an eye for balance and harmony. You want to guide the viewer’s gaze naturally through the scene, leading them to the toy. Finally, verify your setup is secure, especially when planning splash effects.
Mastering Lighting Techniques for Dramatic Effects

To create dramatic effects in your toy photography, focus on the angle and source of your light. Experiment with shadow and contrast to add depth and emotion to your images. Don’t overlook diffusion techniques, as they help soften harsh light and bring out finer details.
Angle and Light Source
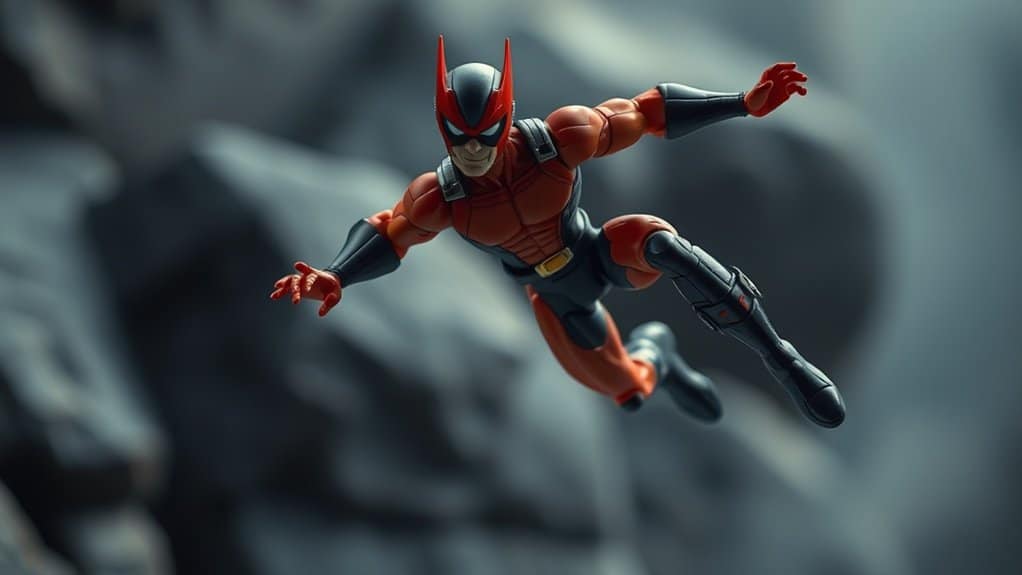
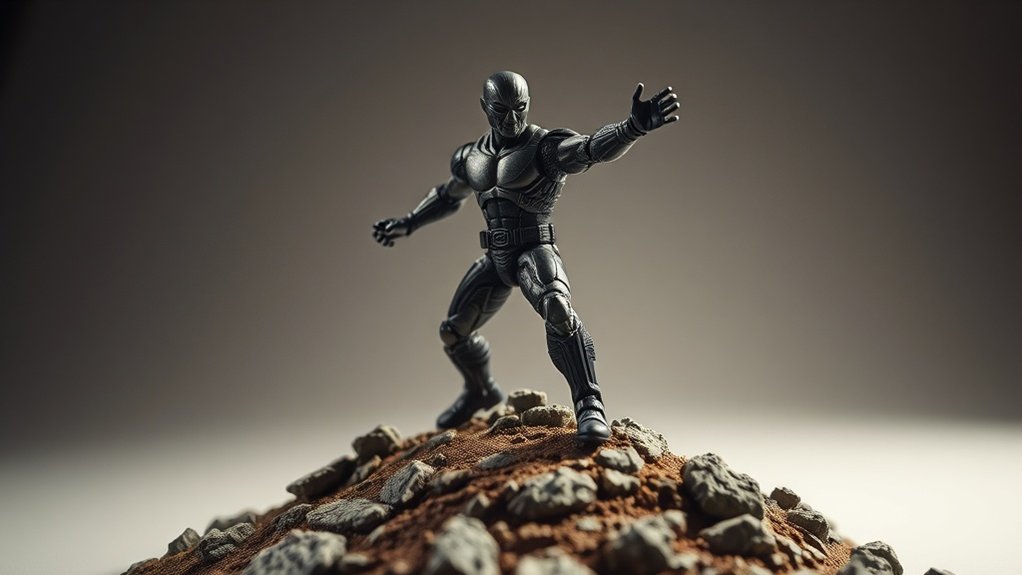
Capturing the perfect shot in toy photography often hinges on mastering the angle and light source, creating dramatic effects that bring your subjects to life. Start by experimenting with angles; a low angle can make your toy look imposing, while a high angle offers a more diminutive perspective. Don’t hesitate to move around and see what works best.
Lighting is equally essential. Natural light gives a soft, realistic touch, but sometimes, you need to get creative with artificial sources. Try using lamps or LED lights to highlight water splashes, casting dynamic reflections and enhancing textures. Position the light to emphasize the splash’s movement and energy. Remember, the right combination of angle and light transforms a simple scene into an enchanting story.
Shadow and Contrast Dynamics
When it comes to toy photography, mastering shadow and contrast dynamics can dramatically elevate your images. You want your toys to pop, and to do that, you’ll need to play with light and shadows skillfully. Start by positioning your light source to create compelling shadows. This adds depth and intrigue, making your toy figures appear more lifelike. Don’t shy away from adjusting the intensity of your light to enhance contrast. The stark differences between light and dark can highlight details you might otherwise miss. Experiment with angles and distances to see how shadows transform your shot. Use reflective surfaces or black cards to control where shadows fall. By mastering these techniques, you’ll achieve stunning, dramatic effects that make your toy photography unforgettable.
Diffusion Techniques Explained
Although mastering shadows and contrast is essential, understanding diffusion techniques can further enhance your toy photography by softening harsh lighting. You can transform your scenes by using materials like diffusion paper, sheer fabric, or even a white bedsheet to scatter light evenly. Position these between your light source and the subject, creating a gentle, natural look.
Try experimenting with different diffusion materials to see how they alter the light’s quality and the mood of the shot. Notice how diffusion reduces unwanted glare and hot spots, allowing your toy’s details to shine. You’ll find this especially useful when capturing water splash effects, where harsh light can easily overpower the scene. Mastering these techniques will give your toy photography a professional and polished appearance.
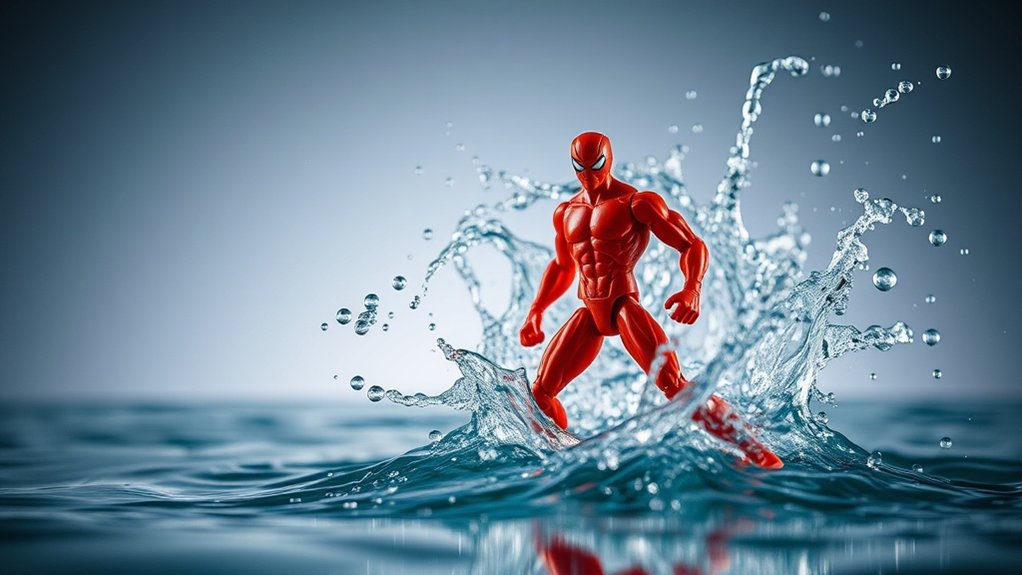
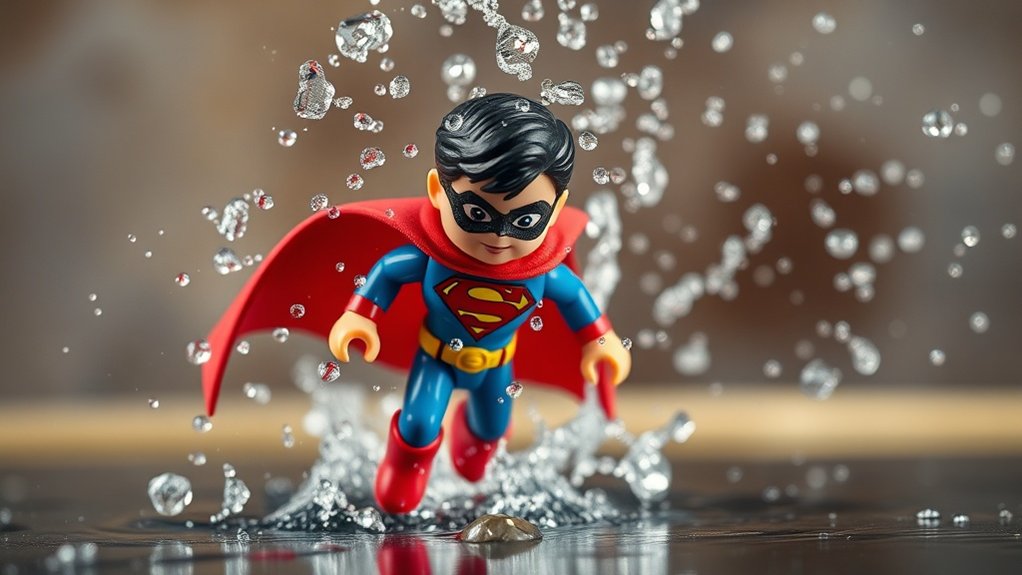
Capturing the Perfect Water Splash Moment
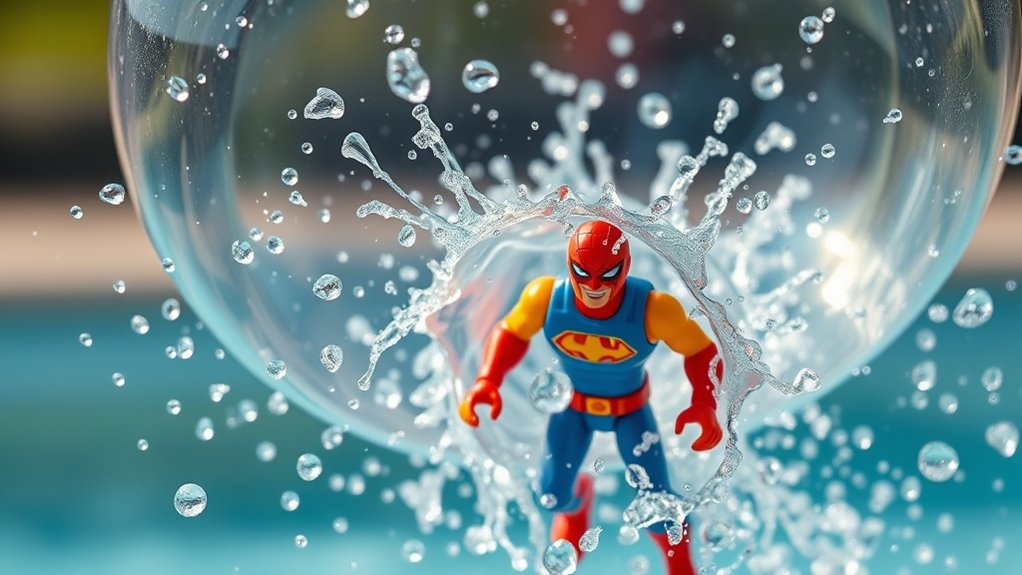
To capture the perfect water splash moment in toy photography, focus on timing your shot with precision and adjusting your camera’s shutter speed to freeze the action. Consider how lighting and angles can enhance the splash, creating dynamic and dramatic effects. Experiment with different perspectives to find the best composition that highlights both the toy and the water’s movement.
Timing and Shutter Speed
Capturing the perfect water splash in toy photography demands precision, particularly with timing and shutter speed. You’ll need to anticipate the splash moment and adjust your camera settings accordingly. Here’s a quick guide to help:
- Use a Fast Shutter Speed: Aim for at least 1/1000th of a second to freeze the splash in mid-air.
- Set Continuous Shooting Mode: Capture multiple frames per second to select the ideal shot later.
- Pre-focus Your Camera: Lock focus on the splash zone to guarantee sharpness.
- Experiment with Timing: Practice dropping or squeezing water to learn the best moment to shoot.
Mastering these elements will greatly improve your ability to capture dynamic water splash effects, making your toy photography pop with life and action.
Lighting and Angles
When it comes to capturing the perfect water splash in toy photography, lighting and angles play an essential role in enhancing the visual impact. Start by positioning your light source to create dramatic shadows and highlights. Natural light works well, but a controlled setup with lamps or LEDs gives you more precision. Experiment with side lighting to emphasize the splash’s texture.
Next, consider your shooting angle. A low angle makes the splash appear larger and more dynamic, while a high angle offers a broader perspective. Tilt your camera slightly to add a sense of motion and energy. Remember, the key is to experiment with different setups until you find the combination that best highlights your toy’s expression and the water’s fluidity.
Editing Tips to Enhance Water Splash Effects
Even though capturing the perfect water splash in toy photography can be challenging, editing software offers powerful tools to enhance these effects. With the right techniques, you can transform your image from good to stunning. Here are some tips to get you started:
- Adjust Brightness and Contrast: Boost the brightness to make splashes pop and enhance contrast to define water details better.
- Use the Clone Tool: Eliminate unwanted elements or duplicate splash patterns for a fuller effect.
- Enhance Colors: Use saturation and hue adjustments to make water appear more vibrant or match the overall theme of your photo.
- Add Motion Blur: Apply subtle motion blur to convey movement and make splashes look more dynamic.
With these tips, your toy photography will shine!
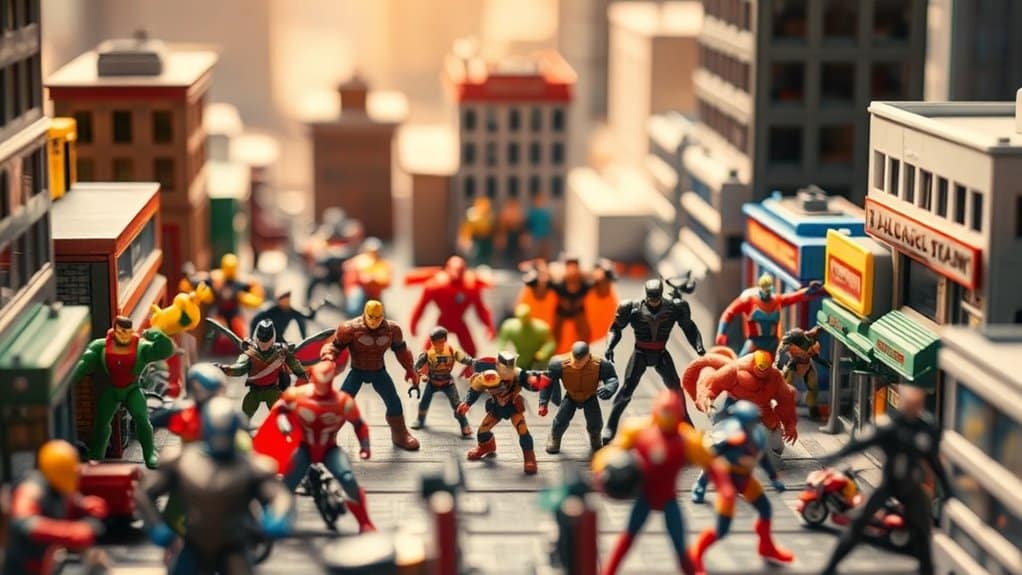
Creative Ideas to Incorporate Water Splashes in Your Photos
While traditional toy photography often stays grounded, incorporating water splashes can elevate your scene to a new level of excitement and dynamism. Try using a small container filled with water to create a controlled environment for your splashes. Position your toy near the edge for a dramatic effect. You can drop small stones or use a pipette to create ripples and splashes. Experiment with angles and lighting to capture the perfect moment when water interacts with your toy. Incorporate colored lights or gels to add mood and atmosphere. Want to make it more fun? Use props like miniature boats or animals to tell a story. Remember, practice makes perfect, so don’t hesitate to try different techniques and settings.
Frequently Asked Questions
How Can I Protect My Toys From Water Damage During a Shoot?
You’re worried about water damage during shoots, right? Use waterproof sealants or plastic wraps to cover your toys. Position them strategically to avoid direct splashes. Always dry them immediately after. You’ll keep them safe and pristine.
What Materials Can I Use for DIY Water Splash Effects?
You can juxtapose simplicity and creativity by using plastic sheets, glycerin, or clear gelatin for DIY water splash effects. Don’t forget to experiment with lighting and angles to make your shots look dynamic and enchanting.
How Do I Safely Clean up Water After a Photography Session?
After your session, grab towels or a mop to soak up water. Confirm electronics are unplugged. Use fans or a dehumidifier to dry the area. Check for any missed spots to prevent mold or damage.
What Weather Conditions Are Best for Outdoor Water Splash Photography?
Imagine capturing a magical splash as the golden sun sets. You’ll get the best results during calm, overcast days to control reflections and shadows. Just watch out for rain; it could ruin your setup and gear.
How Can I Achieve Realistic-Looking Water Splashes Without Using Actual Water?
You can use clear hair gel or glycerin mixed with a tiny bit of blue paint to mimic water splashes. Shape it with a brush or fingers, then capture the effect using strategic lighting and angles.
At a Glance
Imagine you’re a conductor orchestrating a symphony of elements, where your camera is the baton, and the toys, water, and light are the musicians. Each splash is a note, each shadow a harmony, creating a masterpiece of motion and stillness. As you capture these fleeting moments, remember that with every click, you’re crafting a visual sonnet. Embrace the chaos and creativity, for in that dance of droplets, your artistic vision finds its melody.