To enhance your toy photography, focus on foreground elements to add depth and narrative. Select toys and props wisely for emotion and scale. Use complementary backgrounds to make your toys stand out without distraction. Position items strategically, play with angles, and incorporate natural touches like twigs for realism. Master lighting to set the mood, ensuring elements are proportional and well-placed, with editing for contrast and detail. Stay tuned to discover more techniques and tips!
Understanding the Role of Foreground Elements

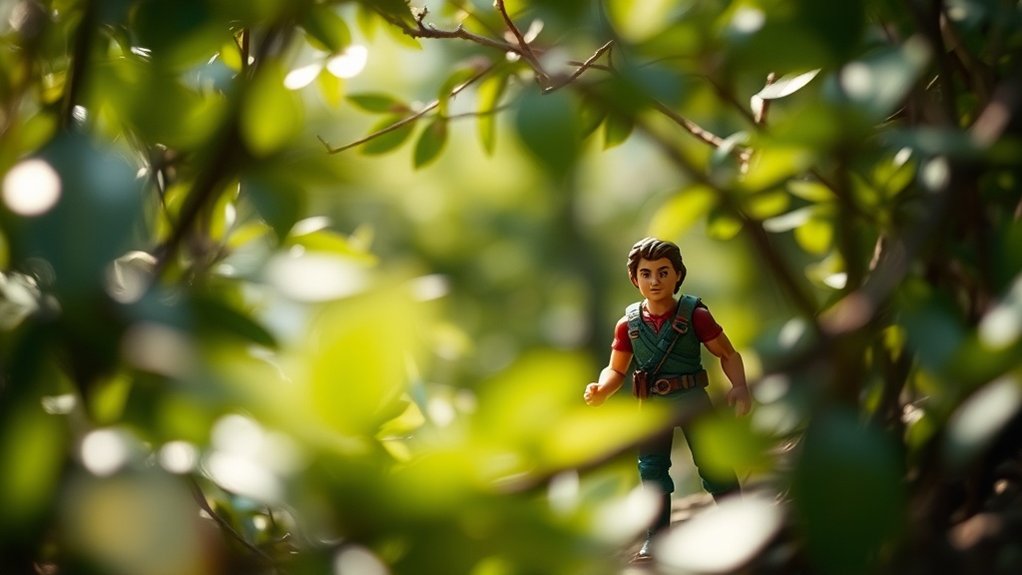
Foreground elements in toy photography add depth and intrigue to your images. By placing objects in the foreground, you create a sense of scale and context that can transform a simple shot into a compelling narrative. You might use leaves, small stones, or even household items to achieve this. These elements guide the viewer’s eye, leading them through the scene and anchoring your main subject. When you’re setting up your shot, think about how these elements can enhance the story you want to tell. Experiment with angles and distances to see how they affect the composition. Remember, the foreground shouldn’t overshadow your toys but rather complement them, adding layers to the visual story you’re crafting. So, get creative and explore the possibilities!
Selecting the Right Toys and Props
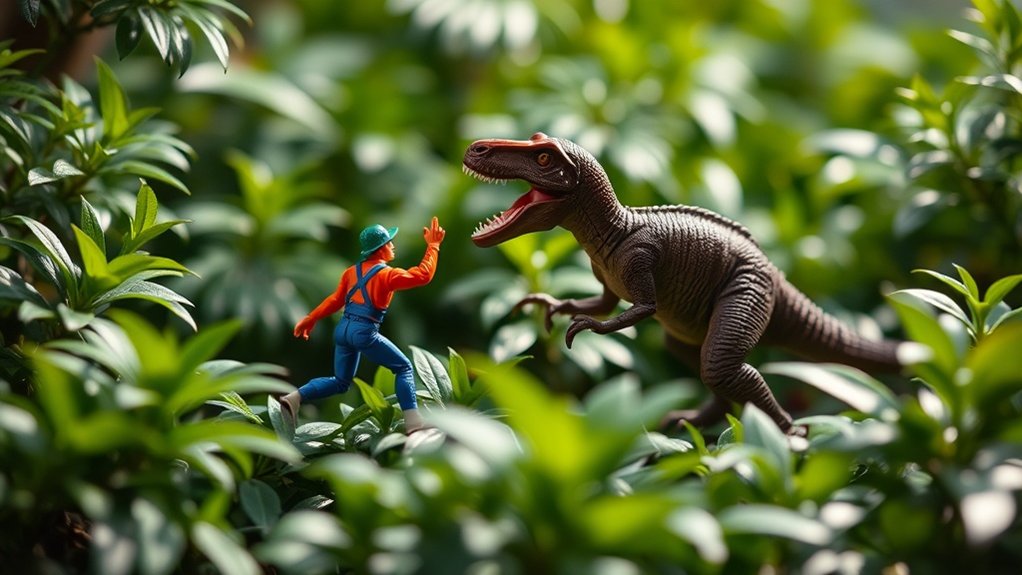
Choosing the right toys and props is essential for capturing striking toy photography. Start by selecting toys that evoke emotion or tell a story. Look for figures with expressive features and dynamic poses to create a sense of life. Consider the scale and detail of the toys to guarantee they’ll photograph well. Props should complement the scene and enhance the narrative. Think about using everyday items like leaves or pebbles for natural settings, or small objects like bottle caps for urban environments.
Mix and match toys and props to create contrast and interest. Don’t be afraid to experiment with different combinations to find what works best for your vision. Remember, the right selection can transform a simple shot into a fascinating image full of depth.
Choosing the Ideal Background for Contrast
While the right toys and props set the stage, the background plays a pivotal role in enhancing the overall composition. Choosing an ideal background guarantees your subject stands out, creating contrast and depth. Start by considering color: contrasting hues make your toy pop. If your toy is vibrant, a neutral background can create balance. Alternatively, a colorful backdrop can energize a more muted subject. Texture also matters. A smooth background highlights fine details, while a textured one adds interest. Don’t forget about patterns; they can either complement or distract, so use them wisely. Natural elements, like leaves or stones, add authenticity, while a simple paper backdrop keeps it clean. Always aim for a background that amplifies your toy’s story.
Techniques for Positioning Foreground Elements
When setting up your toy photography, think about how you can strategically place foreground elements to enhance your scene. Use layering to create visual depth, making your photos more engaging and dynamic. Balance focus and clarity by ensuring your main subject stands out while maintaining interesting details in the foreground.
Strategic Element Placement
In toy photography, strategically placing foreground elements can transform your composition and draw the viewer’s eye deeper into the scene. Start by choosing elements that complement your main subject. You’ll want to use items that add context or tell a story. Think about the placement: objects closer to the camera can create a sense of scale and depth. Don’t overcrowd your scene, though—balance is key. Use the rule of thirds to position elements effectively. This technique can guide the viewer’s gaze naturally. Also, experiment with angles and heights to achieve the desired impact. Shadows cast by foreground objects can add intrigue, so play around with lighting. Remember, every choice should enhance your story and captivate your audience.
Layering for Visual Depth
Building on the strategic placement of elements, layering for visual depth brings your toy photography to life. Start by placing larger objects in the foreground to create a three-dimensional effect. Use items like plants, rocks, or other toys that complement your main subject. By positioning these elements at varying distances from the camera, you create a sense of depth and interest.
Experiment with overlapping elements to guide the viewer’s eye through the scene. Place your main subject slightly behind a foreground object to add intrigue and dimension. Don’t hesitate to rearrange elements until you find the perfect balance. This technique not only adds realism to your scenes but also enhances the storytelling aspect of your images, making them more compelling and immersive.
Balancing Focus and Clarity
Although achieving balance in your toy photography can be challenging, mastering focus and clarity is essential for impactful images. To balance focus, make sure your foreground elements don’t overshadow your main subject. Position them slightly off-center or at an angle to guide the viewer’s eye.
Use a wide aperture to blur the foreground slightly, keeping the focus sharp on your subject. This technique creates depth while maintaining clarity. Don’t let foreground elements become too distracting; they should complement, not compete.
Utilize manual focus to gain precise control over what remains sharp. Experiment with different distances and angles to find the perfect balance between foreground and subject. With practice, you’ll create compelling compositions that draw viewers into your miniature world.
Experimenting With Different Angles and Perspectives
To bring your toy photography to life, try experimenting with low angle shots and overhead viewpoints. A low angle can make your toys appear larger and more imposing, while an overhead view offers a unique perspective that highlights their surroundings. Play around with these angles to add depth and intrigue to your photos.
Low Angle Shots
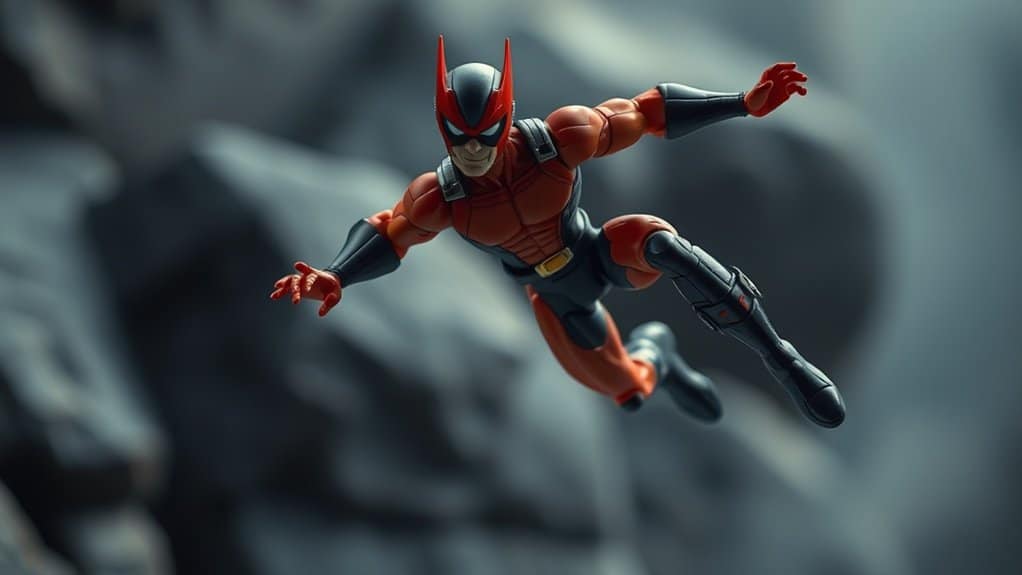
Capturing low angle shots can transform your toy photography by adding a sense of drama and grandeur. When you position your camera below the toy’s eye level, you create an imposing perspective that makes the toy appear larger and more powerful. This technique is especially effective for action figures or superheroes, emphasizing their heroic qualities.
To achieve this effect, try getting down to ground level or even lower, allowing the toy to dominate the frame. Experiment with your camera’s angle to find the most striking composition. Pay attention to the background as well; a clear sky or detailed backdrop can enhance the scene. Low angles not only highlight the subject but also introduce an engaging, cinematic feel to your shots, making them more enchanting and unique.
Overhead Viewpoints
When you explore overhead viewpoints in toy photography, you open up a new dimension of creativity and storytelling. This perspective can showcase your toy scenes in ways that aren’t possible from ground level. By shooting from above, you highlight patterns, shapes, and relationships between your toys and their environment. This angle can create a feeling of omniscience, giving viewers a bird’s-eye view of the entire scene.
To start, position your camera directly above your setup. Use a tripod or stable surface to keep it steady. Experiment with different heights and distances to find what works best for your composition. Don’t be afraid to include elements from the surrounding environment. These can add context and depth, transforming simple setups into enchanting narratives.
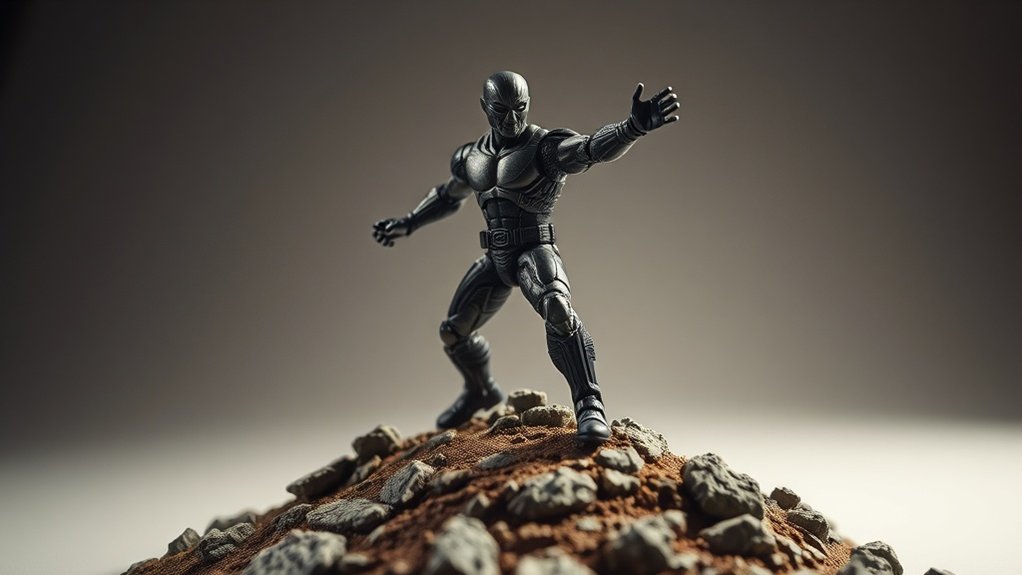
Utilizing Lighting to Enhance Depth
How can you transform an ordinary toy scene into an enchanting masterpiece? The secret lies in skillful lighting. By strategically placing light sources, you create depth that draws viewers into your mini-world. Use a combination of main and fill lights to highlight key parts of your scene. Position a light source behind your toys to cast dramatic shadows, adding layers of depth. Experiment with angles and intensities to find what best enhances your composition.
Don’t forget about color temperature; it can set the scene’s mood. Warmer light brings a cozy feel, while cooler tones add mystery. Try using colored gels for artistic flair. Remember, lighting isn’t just about brightness—it’s your tool for storytelling. Master it, and your toy photography will captivate every eye.
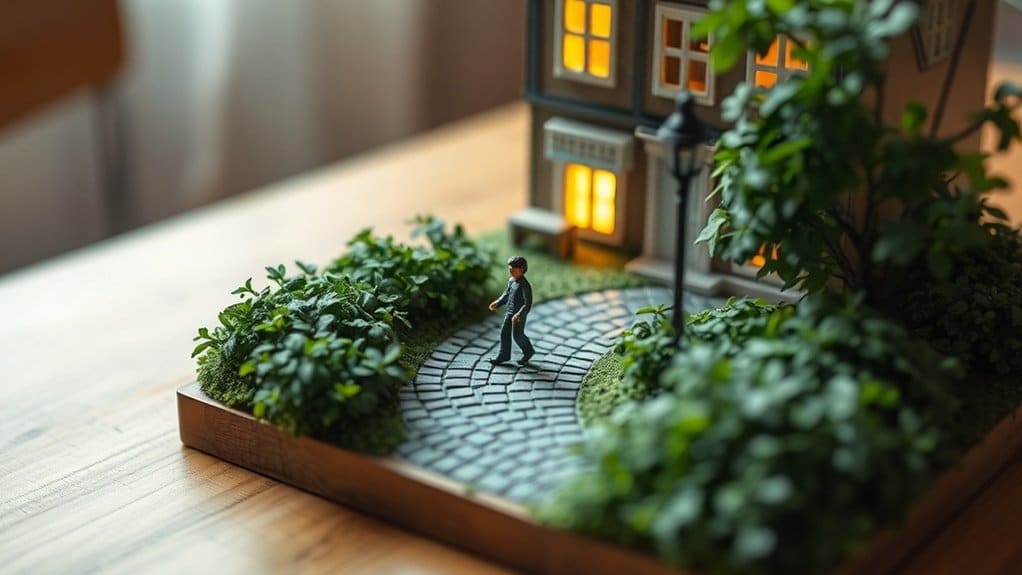
Incorporating Natural Elements for Realism
Though toy scenes often rely on crafted elements, integrating natural components can elevate their realism. Start by collecting small twigs, pebbles, or leaves from your surroundings. These items can add texture and authenticity to your setup. Place a few pebbles in the foreground to simulate rocky terrain or use twigs as miniature trees. Don’t worry about perfection; nature’s imperfections make scenes more believable.
Incorporate water for added depth and reflection. A shallow dish can mimic a pond or puddle, adding a dynamic touch to your composition. Use real sand or dirt to create landscapes with varying terrain. By blending these natural elements with your toys, you’ll create a seamless shift between fantasy and reality, drawing viewers deeper into your miniature world.
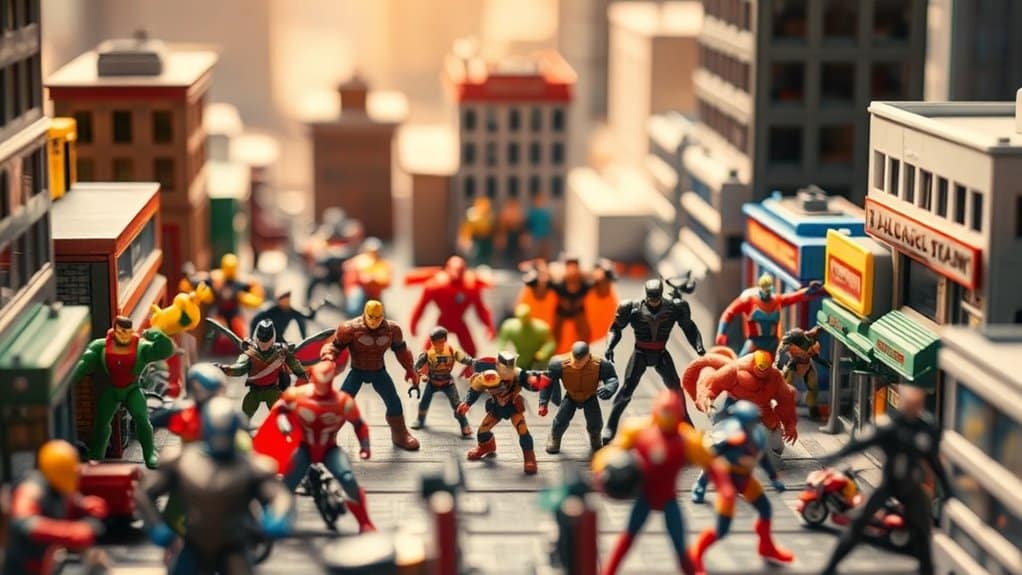
Creating a Sense of Scale in Your Images
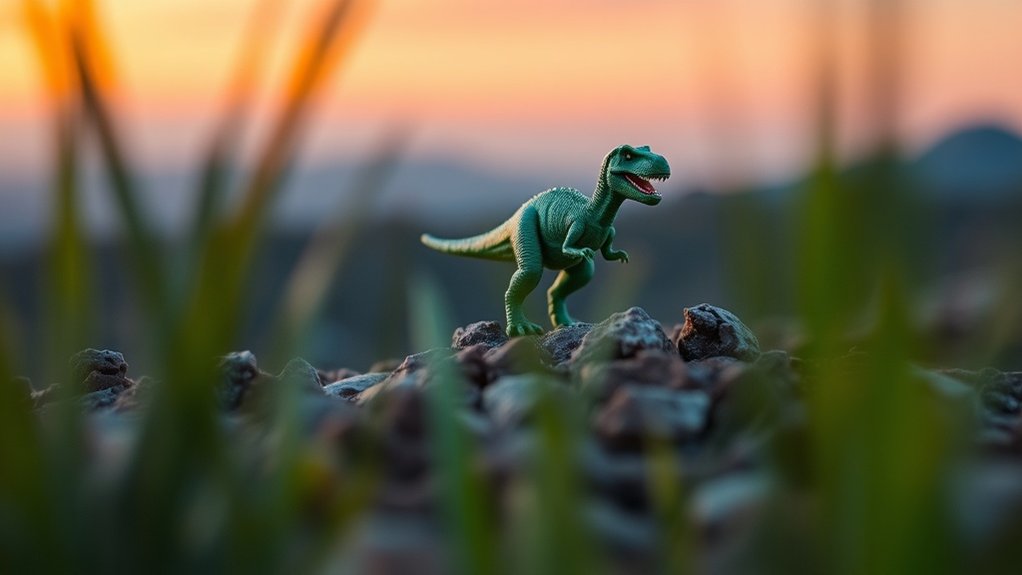
Capturing a sense of scale in your toy photography can transform a simple scene into a compelling narrative. To create this illusion, start by playing with perspectives. Position your camera at a low angle to make the toys appear larger than life. Utilize real-world objects like leaves or rocks to contrast with the toy’s size, further enhancing the effect. Experiment with distance between your camera and the subject to manipulate perceived size.
Consider these tips to enhance scale:
- Use Background Elements: Incorporate distant objects to create depth and context.
- Play with Lighting: Shadows can exaggerate or minimize size.
- Include Human Elements: A hand or finger can provide a relatable size reference.
- Vary Focal Points: Different focal lengths can alter perceived distances.
These techniques help craft a believable miniature world.
Editing Tips to Enhance Depth and Dimension
While achieving a sense of scale in your toy photography is important, enhancing depth and dimension through editing can elevate your images even further. Start by adjusting the contrast to make your subject pop against the background. Use selective sharpening to draw attention to focal points while keeping less important areas soft. Experiment with dodge and burn techniques to highlight and shadow specific areas, creating a more three-dimensional look.
Color grading also plays a crucial role in adding depth. Adjust the color balance to create a mood, making sure the foreground, middle ground, and background have distinct tones. Finally, consider using vignettes to subtly guide the viewer’s eye toward the center of your image. With these editing tips, your toy photos will have an enchanting sense of depth and dimension.
Common Mistakes to Avoid When Using Foreground Elements
In your quest to create enchanting toy photos, it’s easy to make mistakes with foreground elements that can distract rather than enhance. Overcrowding your scene can overwhelm viewers, burying your subject in a sea of clutter. Similarly, using elements that are too large or out of proportion can overshadow your toy, stealing focus. Avoid using irrelevant objects that don’t contribute to the story or mood you’re aiming for. Misplaced elements can also disrupt the natural flow of the image, pulling the viewer’s eyes away from the main subject. Keep these pitfalls in mind:
- Overcrowding: Too many elements can confuse and distract.
- Size and Proportion: Guarantee elements complement, not dominate.
- Relevance: Choose elements that add to the narrative.
- Placement: Position elements to guide the viewer’s gaze.
Frequently Asked Questions
How Can I Prevent My Camera From Focusing on the Wrong Element?
You can prevent your camera from focusing on the wrong element by using manual focus or selecting a precise focus point. Adjust your focus settings in the camera menu, ensuring it targets the intended subject clearly.
What Camera Settings Are Best for Toy Photography?
When dialing in your camera settings, remember: “the devil’s in the details.” Use a low aperture (around f/2.8), adjust ISO for proper exposure, and set a fast shutter speed to freeze action and capture sharp toy images.
How Do I Achieve a Blurred Background Effect?
To achieve a blurred background effect, set your camera to a wide aperture like f/2.8. Use a longer focal length and guarantee your subject is far from the background. This combination makes your subject pop beautifully.
Which Lenses Work Best for Creating Depth in Photos?
Imagine capturing a scene where the subject pops amidst a dreamy blur. Use a fast lens with a wide aperture like f/1.8 or f/2.8. These lenses create stunning depth, enhancing your photos’ visual impact.
How Can I Incorporate Storytelling Into My Toy Photography?
To incorporate storytelling in your toy photography, focus on creating scenes that evoke emotions or convey a narrative. Use props and backgrounds to set the stage, position toys dynamically, and capture moments that suggest a larger story.
At a Glance
By keeping these techniques in your back pocket, you’ll elevate your toy photography to a whole new level. Remember, the devil’s in the details, so pay close attention to how your foreground elements interact with the entire composition. With practice and creativity, you’ll capture scenes that leap off the page. So grab your camera, experiment with angles, and let your imagination run wild. You’ve got this—your toy photography will soon tell stories that captivate and inspire.