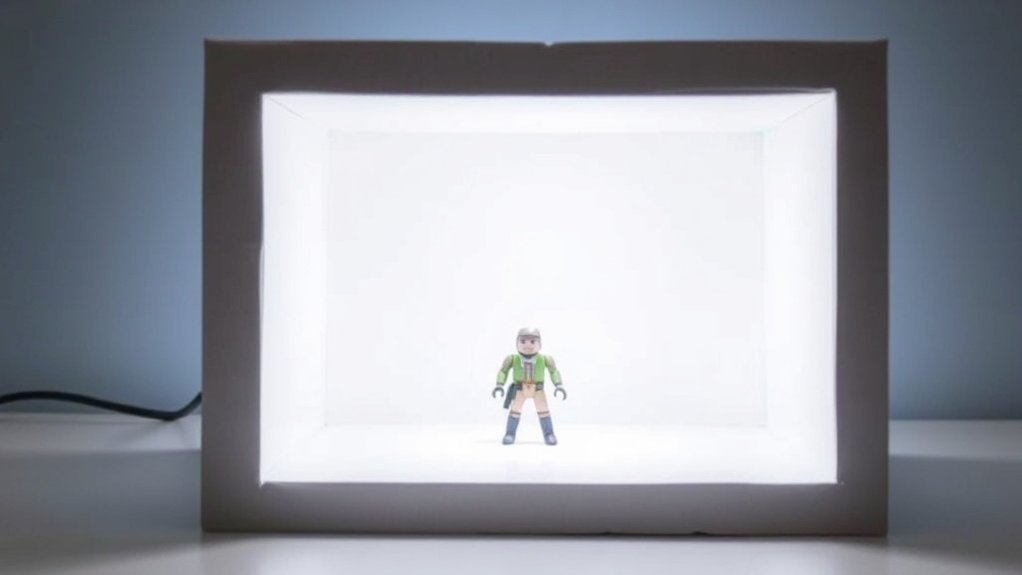
To build a mini lightbox for toy photography, start with a large cardboard box. Use a box cutter to create windows on three sides, leaving one inch from each edge for support. Cover the windows with parchment or tissue paper for even light diffusion. Add LED lights or lamps around the box, ensuring consistent lighting. Finally, set a neutral backdrop inside. This setup lets you capture stunning toy photos with ease, and there’s more to discover about perfecting the setup.
Gather Your Materials
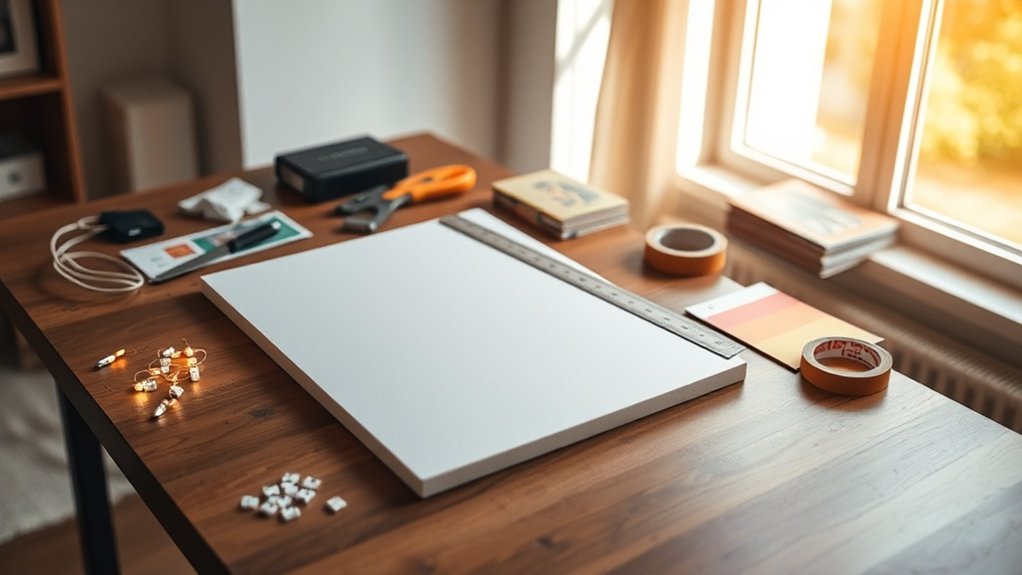
To start your DIY toy photography adventure, you’ll need to gather a few essential materials. First, get a large cardboard box; it will be the base of your mini lightbox. You’ll also need a box cutter or scissors to cut openings and adjust the box as needed. Don’t forget about white tissue or parchment paper; this will help diffuse light and eliminate harsh shadows. Next, grab some tape or glue to secure the paper in place. You’ll also want a couple of LED lights or lamps to provide consistent lighting. Finally, have a few colored construction papers on hand to use as backdrops. These simple materials will set you up for success in capturing stunning toy photos right at home.
Prepare the Box
With your materials ready, let’s transform the cardboard box into a functional lightbox. Start by selecting a box that suits the size of your toy photography needs. Ideally, it should be sturdy and large enough to comfortably fit your subjects. Next, tape up any loose flaps or edges to create a solid structure. This guarantees stability and makes the box easier to handle during the photography process.
Position your box so that the open top faces you. This orientation will allow for easy access to your subjects and lighting adjustments. Double-check the box for any labels, stickers, or markings that might interfere with your clean background. Remove or cover these with plain paper to maintain a neutral backdrop, setting the stage for your creative photo shoot.
Cut the Windows
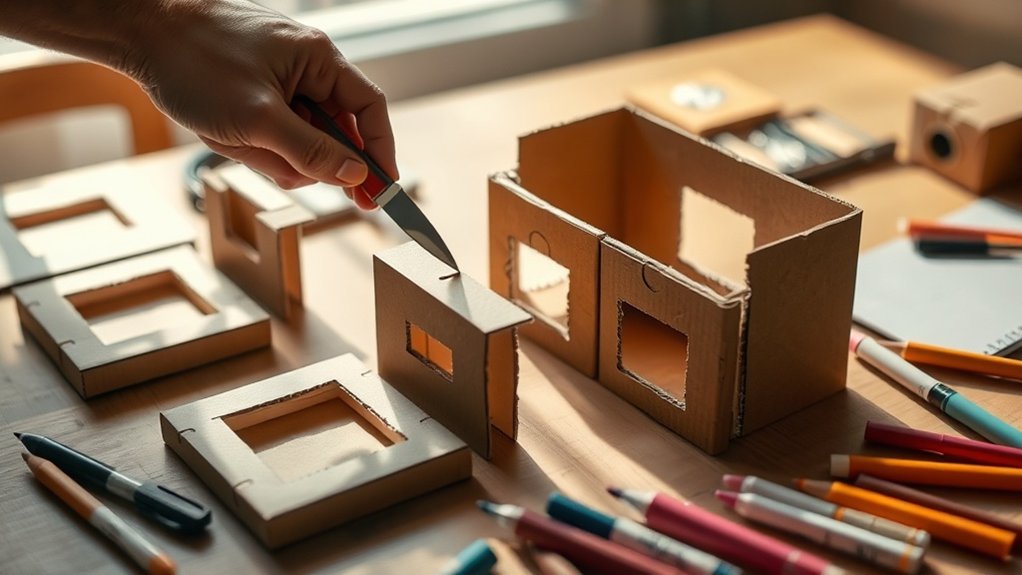
Once your box is prepared, the next step is cutting the windows to allow light to enter. Start by selecting which sides of the box will have windows. Typically, you’ll want to cut three windows: one on each side and one on the top. Use a ruler to measure and mark about an inch from each edge of the box for stability. Carefully use a utility knife or box cutter to cut along these lines. Take your time to guarantee clean, straight cuts. Remember, the windows don’t have to be perfect squares but should be large enough to let ample light through. Always cut away from your body and keep fingers clear of the blade. Discard the cut-out pieces, and you’re ready for the next step.
Add the Diffusion Material
Now that your windows are cut, it’s time to add diffusion material to soften and spread the light evenly. Grab some parchment paper or white tissue paper—both work great as diffusion materials. Cut the paper slightly larger than your windows to guarantee full coverage. You’ll want to secure the paper to the outside of your lightbox. Use tape to attach the paper securely, making sure it’s smooth and free of wrinkles. Wrinkles could cause uneven light distribution, so take your time. The goal is to create a soft, even glow inside your lightbox, minimizing harsh shadows. If you’re using tissue paper, consider layering two sheets for extra diffusion. Once your diffusion material is in place, you’re ready to move forward.
Set Up the Backdrop
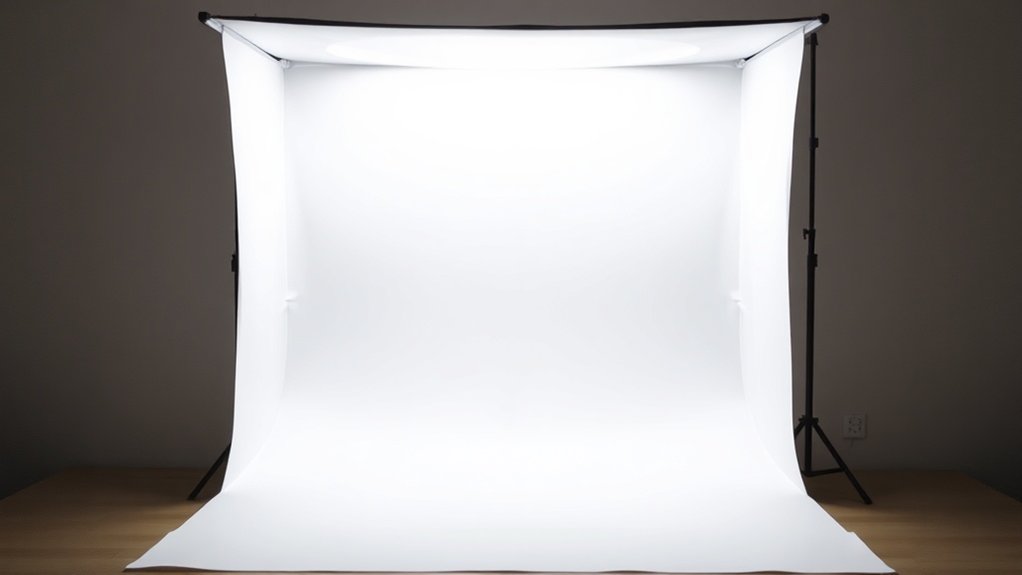
Your lightbox is ready to go with its perfect diffusion, so let’s focus on setting up the backdrop. Choose a backdrop color that complements your toy; neutral colors like white or gray work well for versatility, while bold shades can add drama. Cut a piece of poster board to fit snugly inside your lightbox. Gently curve it from the top rear corner to the bottom front edge to create a seamless background without harsh lines. This creates an infinite backdrop effect, making your subject stand out. Secure the board with clips or tape to keep it steady. Verify it’s smooth and wrinkle-free for a professional look. Now, you’re set to showcase your toys against a backdrop that enhances their features.
Assemble the Lighting
To achieve stunning toy photography, assembling the lighting setup is essential. Proper lighting will highlight the details and colors of your toys, bringing them to life. Start by gathering your light sources. You can use anything from desk lamps to LED strips. Position these lights around your mini lightbox to evenly illuminate your subject.
Consider these tips for ideal lighting:
- Diffuse the Light: Use tissue paper or a white sheet to soften harsh light.
- Avoid Shadows: Adjust the light angles to minimize unwanted shadows.
- Use Consistent Lighting: Confirm all light sources have the same color temperature.
- Experiment with Angles: Try different light positions to see what works best.
With the right setup, your toy photos will be vibrant and engaging.
Frequently Asked Questions
Can I Use Colored Lights for Different Effects in My Lightbox?
Absolutely, you can use colored lights in your lightbox for unique effects. Experiment with different hues to highlight textures or set moods. Don’t hesitate to mix colors for a creative touch in your toy photography.
What Are Some Common Mistakes to Avoid When Building a Lightbox?
Don’t use flimsy materials; they’ll collapse. Avoid uneven lighting by guaranteeing even placement of lights. Don’t skip covering windows; they diffuse light. Ascertain your backdrop is wrinkle-free. Always double-check dimensions to fit your photography needs.
How Do I Store My Lightbox When Not in Use?
When you’re not using your lightbox, store it in a cool, dry place. Collapse it if possible to save space. Keep it dust-free by covering it with a cloth or storing it in a protective bag.
Are There Specific Camera Settings Recommended for Toy Photography in a Lightbox?
Mastering toy photography is like capturing lightning in a bottle. Set your camera to a low ISO to reduce noise, use a narrow aperture for depth, and adjust the shutter speed to perfectly balance light and detail.
How Can I Create a Seamless Background for My Toy Photography?
To create a seamless background, use a large sheet of white paper or fabric. Curve it gently from the base to the back, eliminating harsh lines. Make certain your light source is soft to avoid shadows.
At a Glance
You’ve built your mini lightbox, and now you’re ready to capture stunning toy photos. Remember, practice makes perfect, so don’t hesitate to experiment with different lighting and angles. As the saying goes, “Rome wasn’t built in a day,” so give yourself time to refine your skills. With patience and creativity, you’ll soon be producing professional-looking images. Keep exploring, stay curious, and enjoy the rewarding process of bringing your toy photography to life!