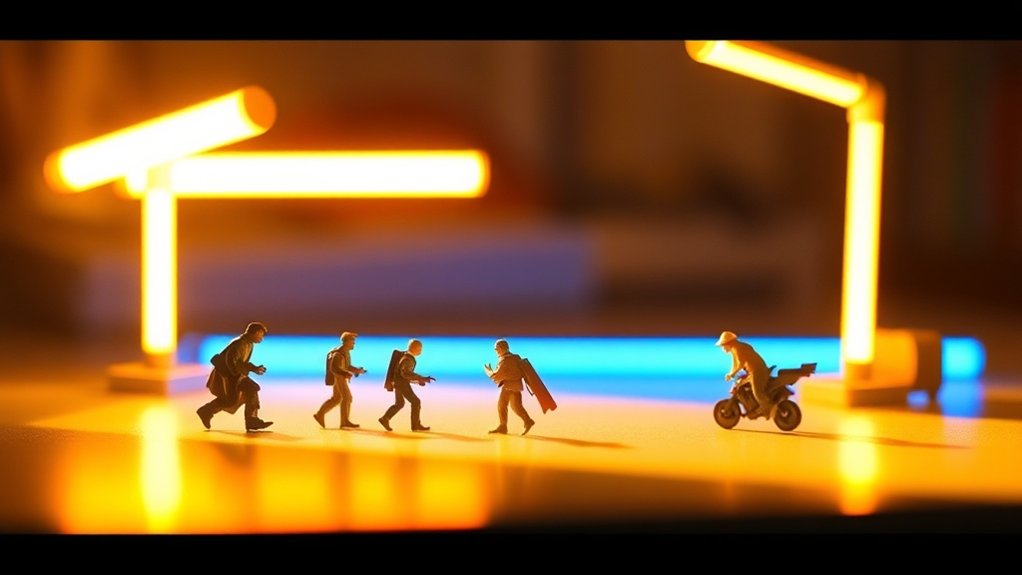
To simulate sunlight in toy photography with LED tubes, adjust their position and angle to craft natural shadows and highlights. Opt for LED tubes with a color temperature resembling daylight for realistic settings. Experiment with brightness to suit your shooting environment, ensuring it doesn’t wash out toy details. Incorporate layered lighting and diffusers for balanced light and shadow, adding depth and dimension. By mastering these techniques, you’ll discover how they elevate your photography further.
Understanding the Basics of LED Lighting
LED lighting, a revolutionary advancement in illumination technology, offers numerous benefits for toy photography. You’ll appreciate how LEDs provide consistent, high-quality light that enhances the details of your figures. Unlike traditional bulbs, LED lights emit minimal heat, ensuring your toys won’t get damaged during long photo sessions. They’re energy-efficient, so you can keep them on for extended periods without worrying about excessive power consumption. Additionally, LED panel benefits for toy photography include their versatility in creating a variety of lighting effects, allowing you to experiment with shadows and highlights to achieve the perfect aesthetic. The compact design of LED panels also makes them easy to manipulate and position for optimal angles, further enhancing your creative possibilities. With their longevity and durability, LED lights are a reliable choice for hobbyists and professionals alike.
LEDs also allow for versatile color temperature adjustments. You can easily mimic natural daylight or experiment with various moods by tweaking the light’s warmth or coolness. This adaptability lets you create stunning effects that enhance your toy photography. Plus, LEDs have a long lifespan, which means less frequent replacements, saving you both time and money in the long run.
Choosing the Right LED Tubes for Toy Photography
When you’re choosing LED tubes for toy photography, focus on brightness levels and color temperature. You’ll want to select tubes that provide enough light without washing out the details of your toys. Additionally, pick a color temperature that mimics natural sunlight to create a realistic and dynamic setting for your scenes.
LED Tube Brightness Levels
To capture the perfect shot in toy photography, choosing the right LED tube brightness levels is essential. You need to balance between too much and too little light. Start by evaluating your shooting environment. If you’re working in a dim space, opt for brighter LED tubes. Conversely, in well-lit areas, lower brightness can add subtle highlights and shadows.
Color Temperature Selection
Selecting the right color temperature for your LED tubes can dramatically influence the mood and realism of your toy photography. You’ll want to mimic natural sunlight, typically around 5000K to 6500K. Cooler tones (above 6500K) can evoke a crisp, morning ambiance, while warmer tones (below 5000K) provide a softer, late afternoon glow. Consider what time of day you want to replicate and choose accordingly. Experiment with different temperatures to see how they affect your toys’ appearance and the overall atmosphere of your scene. Also, pay attention to the color rendering index (CRI); a higher CRI guarantees colors appear more vibrant and true to life. Choose LED tubes with a CRI of at least 80 for best results.
Setting Up Your Lighting Environment
When setting up your lighting environment, start by choosing LED tube brightness that matches the time of day you want to replicate. Position the tubes to create natural shadows, adding depth and realism to your toy scenes. Finally, balance the color temperature to mimic the warmth or coolness of sunlight, enhancing the overall mood of your photos.
Choosing LED Tube Brightness
Although natural sunlight can be challenging to replicate, choosing the right LED tube brightness will help you create a realistic lighting environment for your toy photography. Start by considering the intensity of sunlight you want to mimic. For a bright, midday sun, opt for higher lumen output LED tubes. If you’re aiming for softer morning or evening light, select dimmer LEDs. Adjustable LEDs are a great choice, as they allow you to experiment with different brightness levels until you find the perfect balance.
Positioning for Natural Shadows
To create natural shadows in your toy photography, focus on positioning your LED tubes strategically. You’ll want shadows that mimic the sun’s direction and intensity. Start by placing one LED tube at a 45-degree angle above your subject. This mimics the sun’s overhead position and creates long, realistic shadows. Experiment with light distance and height to adjust shadow length. Verify there’s a background to catch and define the shadows, enhancing depth. Rotate the light slightly to achieve varying shadow angles.
Here are some tips to guide you:
- Place LED tubes at different heights for dynamic shadows.
- Use reflectors to soften shadows without losing depth.
- Adjust tube angles for sharper or softer shadow edges.
- Test multiple setups to find the perfect shadow play.
- Observe natural sunlight to replicate its nuances.
Balancing Color Temperature
Balancing the color temperature of your LED tubes is essential for achieving realistic sunlight effects in toy photography. Start by adjusting your LED lights to mimic the warm glow of the sun, typically around 5000K to 6500K. This range captures the natural daylight spectrum, making your toys appear as if they’re basking in genuine sunlight. Use a color temperature app or tool to fine-tune your settings accurately. Consider experimenting with different angles and distances between your LED tubes and the toys to enhance the lighting effect. Additionally, bear in mind that achieving the right color temperature in toy photography can significantly impact the mood and atmosphere of your images. Always review your shots and adjust the color temperature as needed to ensure your toys look their best under simulated sunlight.
Next, guarantee the balance between cool and warm tones. Too much blue can make your scene feel cold, while excessive yellow may overwhelm it. Experiment by blending different temperatures until you find that sweet spot. Remember, consistency is key, so keep your setup similar across shots to maintain a coherent and natural look in your photography.
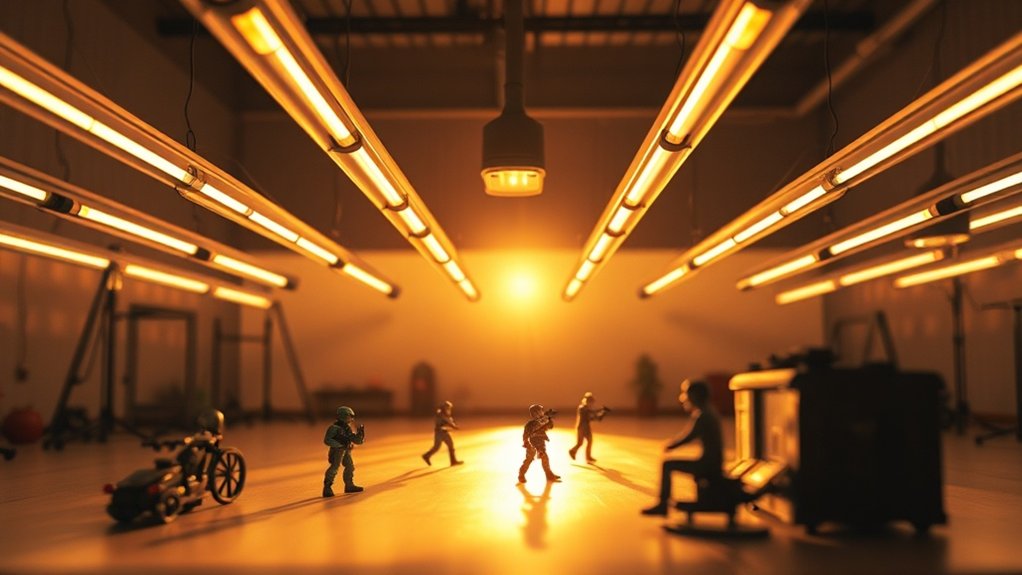
Techniques for Positioning and Angling LED Tubes
When setting up LED tubes for toy photography, proper positioning and angling can make all the difference in achieving realistic sunlight effects. Start by imagining where the sun would naturally be and place your LED tubes accordingly. Aim for angles that create dynamic shadows and highlights on your toy figures. Don’t be afraid to experiment; sometimes, the slightest adjustment can dramatically change the scene’s mood. Remember:
- Height Matters: Position the LED higher to mimic midday sunlight and lower for a sunset vibe.
- Distance: Adjust the distance for softer or sharper shadows.
- Direction: Change the angle to simulate morning or evening light.
- Tilt: Slightly tilting the LED can add depth to your scene.
- Multiple Sources: Consider using more than one tube for layered lighting effects.
Adjusting Color Temperature to Mimic Sunlight
Although mastering the art of positioning is essential, adjusting the color temperature of your LED tubes is equally important for mimicking sunlight in toy photography. You’ll want to aim for a color temperature between 5000K and 6500K, which closely resembles natural daylight. Most LED tubes allow you to tweak the temperature settings, so experiment to find the perfect balance.
Start by setting your LED tubes to a higher temperature to achieve that crisp, midday sun effect. If you’re aiming for a warmer, golden hour look, dial it down slightly. Keep an eye on how the colors in your scene respond to these adjustments. Too warm, and your toys might look unnatural; too cool, and they may appear washed out. It’s all about achieving that sweet spot.
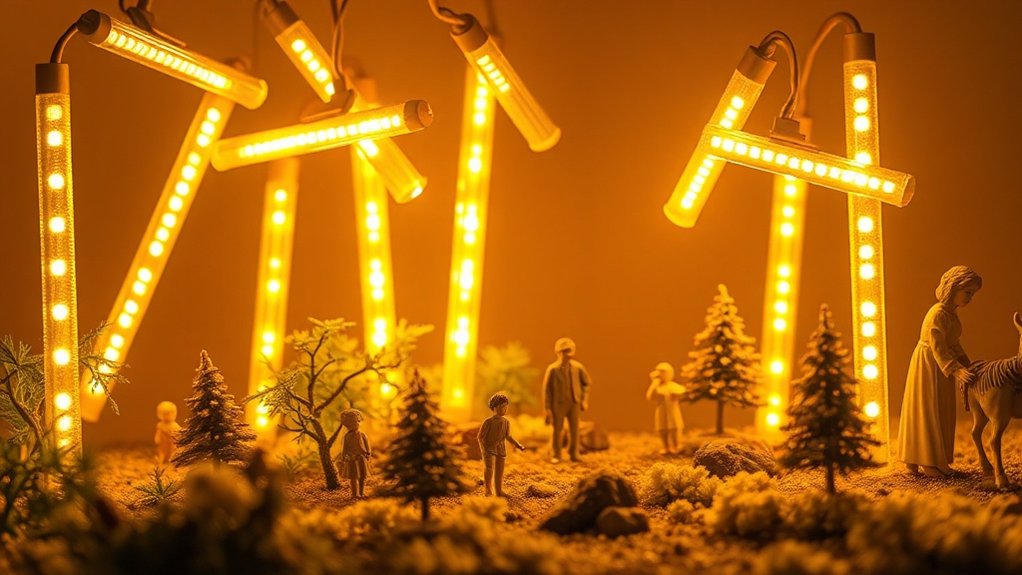
Creating Dynamic Shadows and Highlights
To add depth and realism to your toy photography, focus on creating dynamic shadows and highlights. Position your LED tubes at strategic angles to mimic natural sunlight. This approach not only enhances the three-dimensionality of your scene but also adds drama and interest. Play around with different placements and distances to see how shadows stretch and highlights pop. Remember, the balance between light and shadow is essential.
- Experiment with angles: Tilt and rotate your LED tubes to create varying shadow lengths.
- Vary light intensity: Adjust the brightness to control shadow sharpness and highlight strength.
- Use reflectors: Bounce light back onto your subject for softer shadows.
- Layer multiple lights: Combine lights to add complexity and depth.
- Observe natural light: Study sunlight patterns to replicate them authentically.
Enhancing Depth and Texture in Your Shots
Capturing depth and texture in toy photography elevates your images from mere snapshots to engrossing visual stories. Start by positioning your LED tubes at varying angles to create layered lighting. This technique highlights textures on your toys, making them appear more lifelike. Don’t forget to adjust the brightness and color temperature of your LEDs to mimic natural sunlight. This adds a realistic dimension to your scene.
Experiment with backlighting to accentuate edges and contours, giving your toys a three-dimensional appearance. You can also play with diffusers to soften harsh shadows, enhancing texture without losing detail. Remember, the key is subtlety. Too much contrast can flatten your subjects. By carefully balancing light and shadow, you’ll add depth and texture, transforming your toy photography into engrossing art.
Frequently Asked Questions
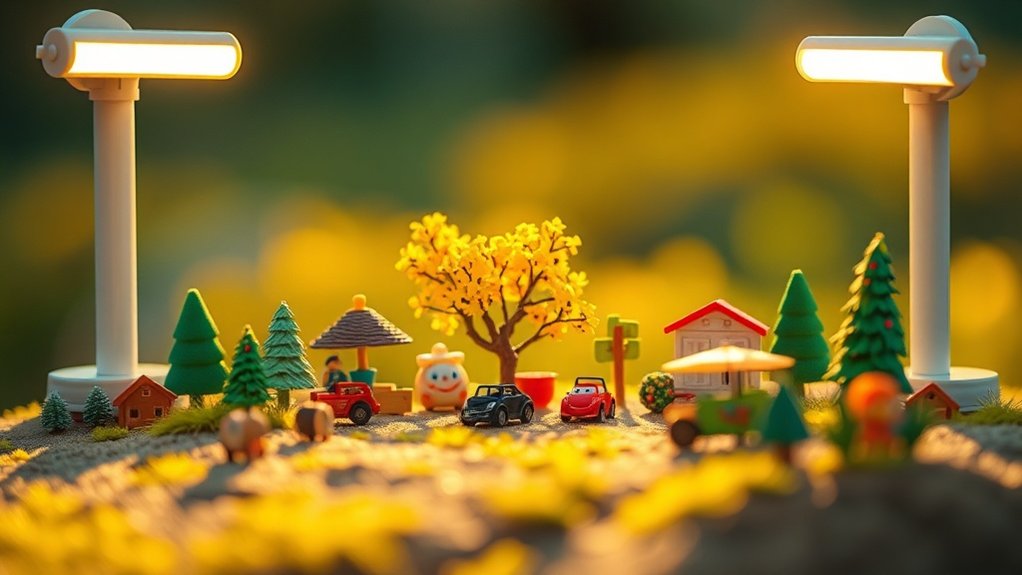
How Can I Incorporate Natural Background Elements With LED Lighting?
You can blend natural background elements by positioning them around your setup. Use LED tubes to cast light that mimics sunlight. Adjust angles and intensity to create depth and realism, enhancing the scene and making it more lifelike.
What Camera Settings Work Best With LED Tube Lighting?
Did you know 80% of photographers use manual mode with LED lighting? Set your ISO low, around 100-200, use a wide aperture, and adjust shutter speed to control exposure. Experiment for the perfect balance in your shots.
How Do I Prevent Glare From LED Tubes in Toy Photography?
To prevent glare from LED tubes, position them at an angle and use diffusers. Adjust your camera’s exposure settings and try polarizing filters. Experiment with different setups until you achieve the perfect balance without unwanted reflections.
Can LED Tubes Cause Overheating Issues During Long Sessions?
Yes, LED tubes can cause overheating if you’re running them for extended sessions. Guarantee proper ventilation and take breaks to cool down the setup. Monitor temperatures closely to prevent any damage to your toys or equipment.
What Safety Precautions Should I Take When Using LED Lights?
Make certain you’re using LED lights with proper heat dissipation. Keep flammable materials away and don’t leave the setup unattended. Always check for frayed wires or loose connections to prevent electrical hazards during your toy photography sessions.
At a Glance
By now, you’ve got the know-how to simulate sunlight with LED tubes in your toy photography. You might worry LED lights can’t match natural sunlight’s authenticity, but remember, it’s all about your creativity and technique. With the right setup, positioning, and color adjustments, your shots will come alive with realistic shadows and highlights. So, don’t hesitate—get hands-on, experiment, and let your imagination transform your toy photography into something truly enchanting. Consider using diffusion materials to soften the intensity of your mini sunlight for toy photography, creating that perfect, even glow that mimics a sunny day. Additionally, pairing your LED setup with reflective surfaces can enhance light distribution, adding depth and richness to your images. Embrace the process of trial and error; each shot will teach you something new about how to master light and create stunning visuals.


