
To create enchanting toy photography, you’ll need to master gels and reflectors. Gels add mood and emotion by applying vibrant colors like red or blue, creating dynamic atmospheres. Reflectors work magic by bouncing light to fill shadows and enhance your miniature scenes. Positioning these tools effectively brings your toys to life with rich lighting and vivid storytelling. Discover techniques to harmonize light sources, prevent overexposure, and tackle common challenges for stunning visuals.
Understanding the Basics of Gels and Reflectors
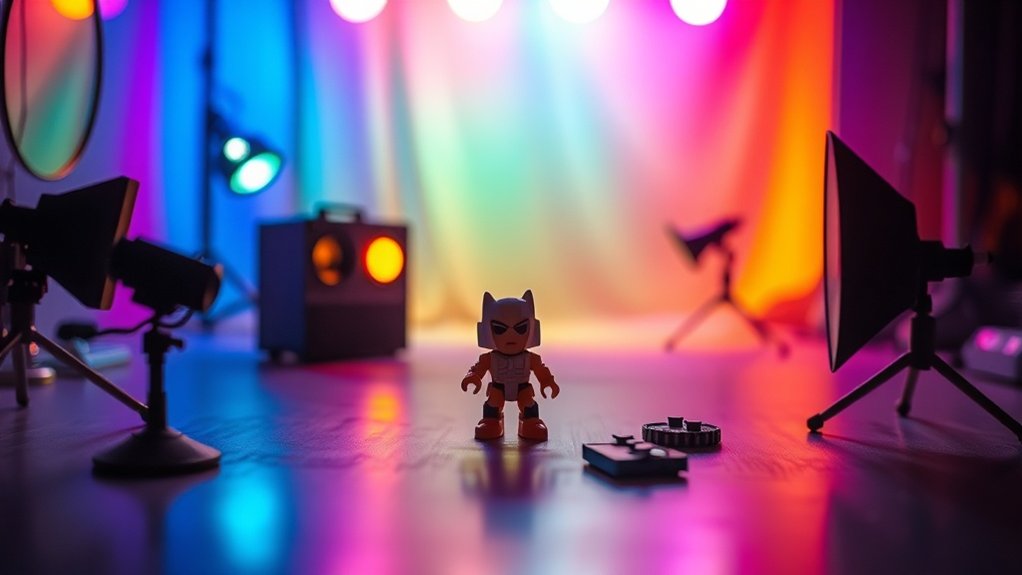
When you’re diving into toy photography, understanding gels and reflectors can dramatically enhance your shots. Gels are colored, transparent sheets you place over lights. They allow you to manipulate the mood and tone by adding colors like blue, red, or green, creating a specific atmosphere or highlighting certain features of your toy scene. Reflectors, on the other hand, help you control light by bouncing it where needed. They’re invaluable for eliminating harsh shadows or adding subtle highlights to your toys’ surfaces. You can use different reflector surfaces—like silver, gold, or white—to achieve varied lighting effects. Mastering both gels and reflectors requires practice, but once you get the hang of it, you’ll notice a significant improvement in your toy photography’s visual storytelling.
Choosing the Right Gels for Your Toy Photography
How do you know which gels are right for your toy photography? Start by considering the mood you want to create. Warm colors like red and orange evoke excitement, while cool tones like blue and green can create a calm atmosphere. Think about the story behind your toys and how colors can enhance it. Also, consider the lighting conditions. If you’re working with natural light, gels can help adjust the color temperature to better suit your theme. Test different gel colors and see how they interact with the toys’ colors. It’s important to experiment; what looks great in one setup might not work in another. Don’t forget to match the gel size with your light source for even coverage.
Techniques for Effective Use of Reflectors
When using reflectors in toy photography, start by experimenting with their positioning to achieve ideal light. You can adjust the angle to balance shadows and highlights, enhancing the toy’s features. Don’t hesitate to move the reflector around until you find the perfect lighting setup.
Positioning for Optimal Light
To make the most of your toy photography, mastering the positioning of reflectors is essential for achieving ideal light. Start by identifying the main light source. Position your reflector opposite to it to bounce light back onto the toy, minimizing harsh shadows and enhancing details. If your toy has intricate features, experiment with angling the reflector to fill in specific areas. Hold or prop the reflector at different heights to change the light’s direction and intensity. Remember, a closer reflector will create softer light, while a further one will result in a more dramatic effect. Move around, observe how light interacts with your subject, and adjust accordingly. Practice makes perfect, so don’t hesitate to try various setups until you get the desired look.
Balancing Shadows and Highlights
While capturing the perfect shot, balancing shadows and highlights can transform your toy photography. Reflectors are your best friends here. To start, place a reflector opposite your main light source. This setup bounces light back onto the toys, filling in shadows and enhancing details. You’ll want to experiment with reflector angles to control the intensity of the light.
When shadows appear too harsh, adjust the reflector’s position. A subtle shift can soften shadows, making them less prominent. For highlights, use a silver reflector to intensify light, adding a dramatic touch to your photos. A white reflector offers a softer, more natural fill.
Creating Mood and Atmosphere With Colored Gels
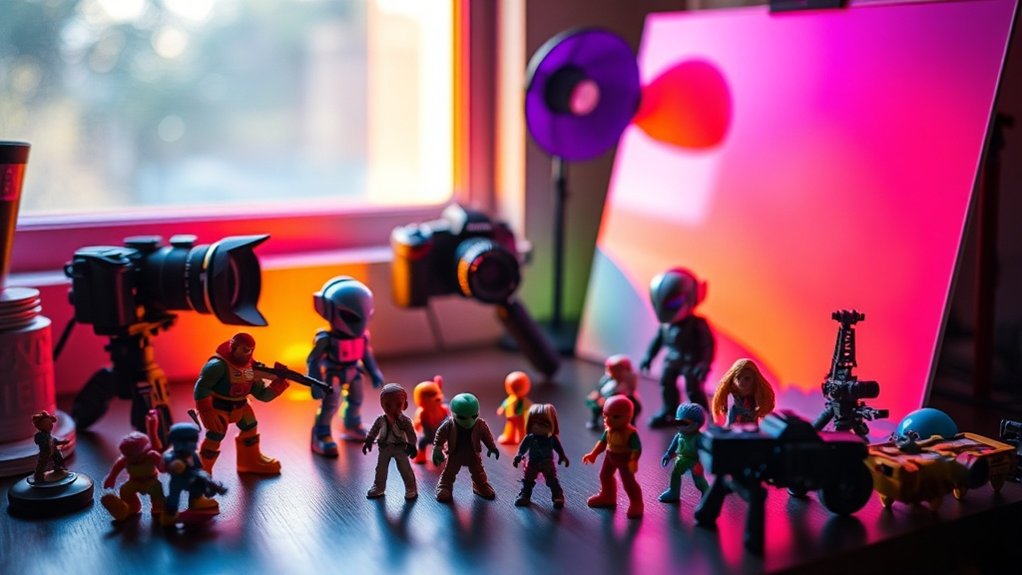
Although it might seem like a small detail, using colored gels can dramatically transform the mood and atmosphere in toy photography. By strategically placing gels over your light source, you can evoke emotions and set the scene’s tone. Want to create a sunset vibe? Use warm orange and red gels to mimic the golden hour. For a mysterious or eerie atmosphere, try deep blues or purples. It’s all about experimenting with different colors to find what best suits your vision. You’ll be amazed at how a simple gel can change the story your toys tell. Don’t be afraid to layer different colors to achieve unique effects. Remember, light is your paintbrush, and colored gels are your palette.
Balancing Natural and Artificial Light Sources
When you’re working with both natural and artificial light sources, it’s essential to harmonize them for the best results in toy photography. Pay attention to achieving the ideal light ratios, ensuring neither source overpowers the other. By carefully balancing these elements, you can create dynamic and visually appealing scenes.
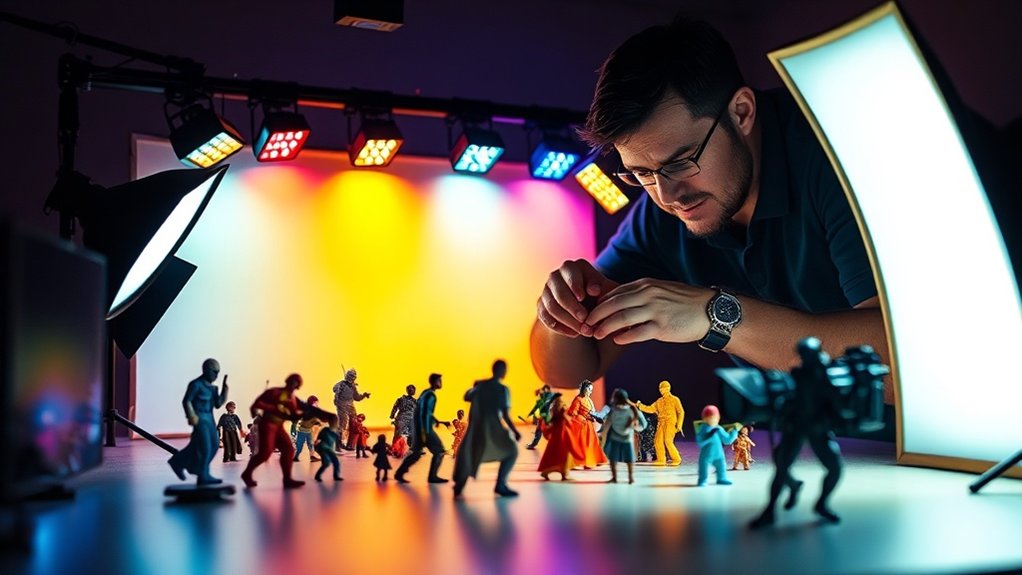
Harmonizing Light Sources
Balancing natural and artificial light sources in toy photography can elevate the scene from ordinary to extraordinary. You’ve got the power to create depth and mood by harmonizing these lights. First, observe the existing natural light: is it soft or harsh? Use reflectors to bounce light into shadowy areas, ensuring a balanced look. Next, introduce your artificial lights. Aim for soft, diffused lighting with gels to match the natural light’s color temperature. This blend creates a seamless shift between the two sources, preventing jarring contrasts. Place your lights strategically to mimic natural light direction, maintaining realism. Adjust angles and distances until the light complements your toys, bringing them to life. By blending these elements, your toy scenes will captivate viewers.
Optimal Light Ratios
To achieve striking toy photography, mastering ideal light ratios is essential. You need to balance natural and artificial light to create depth and mood in your shots. Start by identifying your main light source. If it’s natural light, position your toy to take advantage of it, using artificial lights to fill shadows. Conversely, if artificial light dominates, use reflectors to harness any available natural light, adding a soft, realistic touch.
Experiment with different ratios by adjusting light intensity. Try a 2:1 ratio, where the main light is twice as bright as the fill light, for a subtle contrast. For dramatic effects, increase the contrast with a 4:1 ratio. Always review your setup, tweaking until you’re satisfied with the balance and ambiance.
Tips for Achieving Dynamic Shadows and Highlights
Creating dynamic shadows and highlights in toy photography can elevate your images to a professional level. Start by experimenting with the position of your light source. Moving it closer will intensify both shadows and highlights, while pulling it back softens them. Use reflectors strategically to bounce light back onto your subject, adding dimensional highlights without washing out details. Try placing colored gels over your light source to introduce mood and contrast, making shadows more intriguing.
Pay attention to the angle of light; a low, side angle can create dramatic shadows, emphasizing textures and shapes. Adjust your camera settings—lowering ISO can prevent overexposure, ensuring highlights don’t blow out. Constantly review your shots, tweaking as needed, to refine the balance between shadow and light for stunning results.
Troubleshooting Common Lighting Challenges in Toy Photography
While capturing the perfect shot in toy photography, lighting challenges often arise that can detract from your intended vision. You might encounter harsh shadows or unwanted reflections that disrupt the scene. Start by adjusting your light source’s position. Moving it slightly can reduce harshness and create a more balanced look. If reflections are a concern, try changing the angle or using a polarizing filter to minimize glare.
Sometimes, colors don’t pop as expected. Experiment with gels to adjust the light’s temperature and bring your toys to life. Reflectors can help fill in dark areas, ensuring every detail is visible. If you’re struggling with overexposure, lower the light intensity or increase the camera’s shutter speed. By tweaking these elements, you’ll overcome lighting hurdles effortlessly.
Frequently Asked Questions
How Do I Store and Maintain My Gels and Reflectors?
Store your gels in a flat, dry container to prevent creasing. Keep reflectors in a protective bag to avoid scratches. Regularly clean both with a soft cloth. Avoid direct sunlight to maintain their color and effectiveness.
Can Gels and Reflectors Be Used for Outdoor Toy Photography?
Absolutely, you can use gels and reflectors for outdoor toy photography. Gels add color and mood, while reflectors balance natural light. Just make certain they’re securely placed to prevent wind issues and achieve your desired effect.
Are There Budget-Friendly Alternatives to Professional Gels and Reflectors?
You might think professional gear’s essential, but you can use colored cellophane and aluminum foil as budget-friendly alternatives. These materials work effectively, letting you explore creative lighting without breaking the bank. Give them a try!
How Can I Avoid Reflections on Glossy Toy Surfaces?
You can avoid reflections on glossy toy surfaces by adjusting your shooting angle and using a polarizing filter. Diffuse your light sources with a softbox or DIY diffuser. Experiment until you find the best setup.
What Are the Best Camera Settings When Using Gels and Reflectors?
When using gels and reflectors, you’ll want to set a low ISO to reduce noise, use a smaller aperture for depth, and adjust shutter speed to balance light. Experiment until you get the desired effect.
At a Glance
You’ve journeyed through the vibrant world of gels and reflectors, where light dances like a painter’s brush on your toy subjects. With each technique mastered, you can now craft scenes that sing with mood and atmosphere. Remember, photography is your playground—experiment and let your creativity soar. When challenges arise, tackle them like a puzzle, and watch your skills shine. Now, go forth and capture the miniature magic that only you can see.


