In toy photography, dirt and dust add authenticity and drama. Use finely ground pigments or powders to simulate these effects, and apply them using brushes or sifters. Household items like baby powder or flour work well too. Post-processing is your friend—adjust contrast and clarity to enhance details. Pay attention to color adjustments and layer masks for a realistic finish. Stick around if you want to take your toy scenes to the next level.
Understanding the Importance of Dirt and Dust in Toy Photography
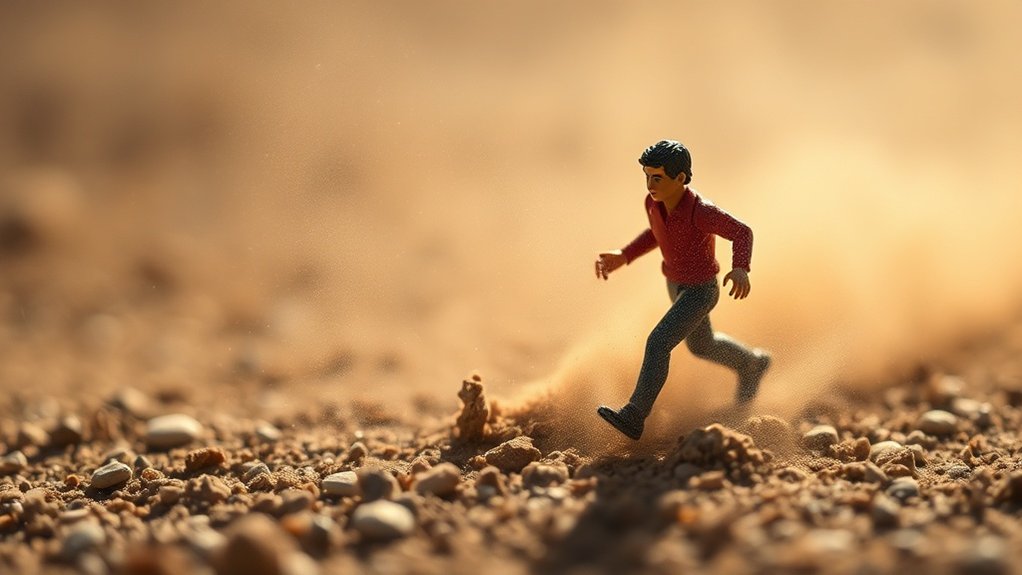
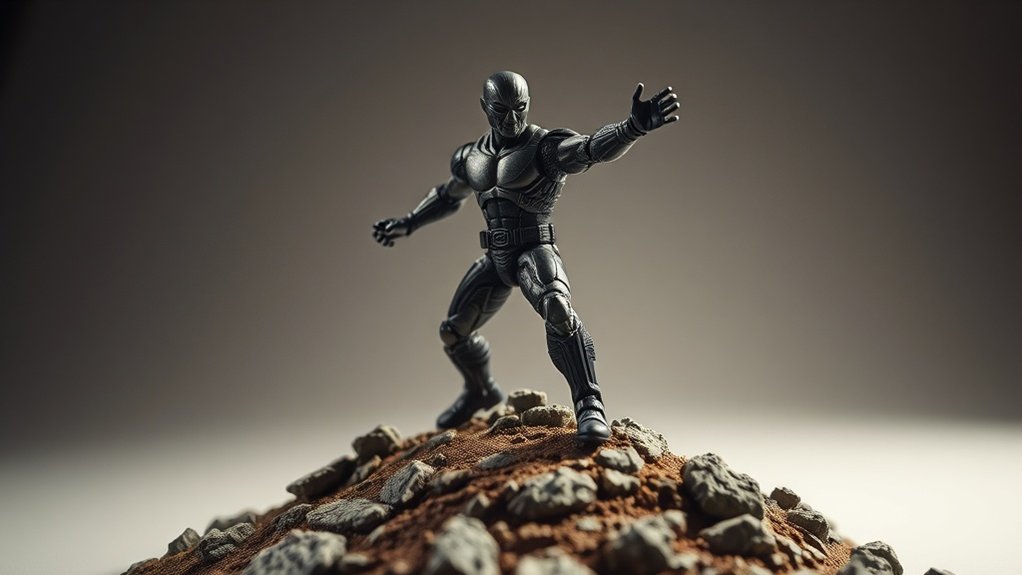
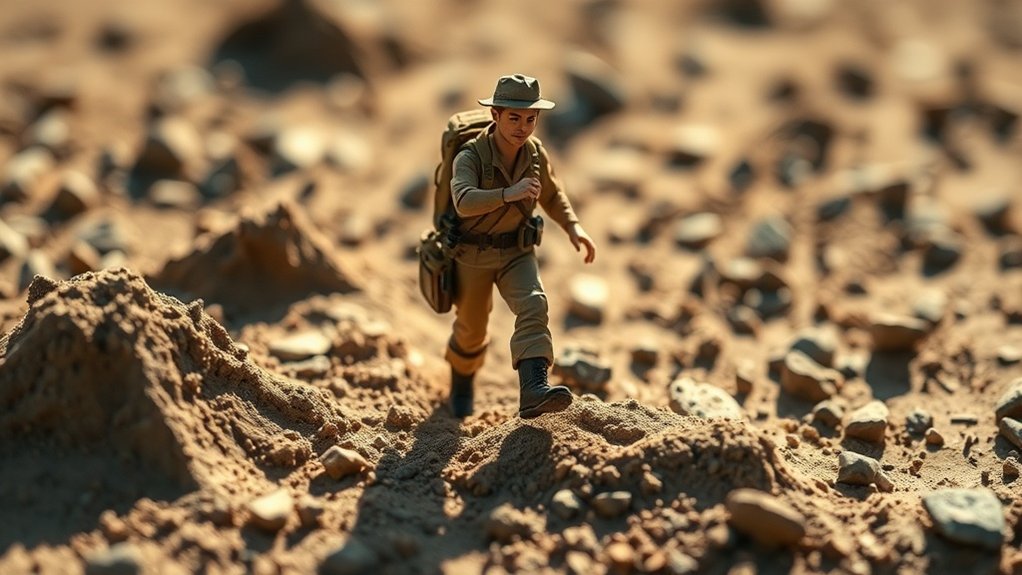
In toy photography, embracing the presence of dirt and dust can transform your images from ordinary to extraordinary. These elements add authenticity, making your scenes come alive. By incorporating dirt and dust, you create a world where your subjects truly belong. Imagine an action figure in a gritty battle scene; the dust and grime tell a story, enhancing the drama and tension.
You shouldn’t shy away from getting your hands dirty. In fact, it’s essential to experiment with different textures and densities. A subtle layer of dust can evoke a sense of age or neglect, while heavier dirt can suggest recent action or adventure. Let dirt and dust guide the narrative, engaging the viewer’s imagination and drawing them deeper into your miniature universe.
Choosing the Right Materials for Dirt and Dust Effects
When creating dirt and dust effects in toy photography, selecting the right materials is essential to achieving realism. You want to start by choosing materials that mimic real dirt and dust in scale and texture. Consider using finely ground pigments or powders; these can simulate the subtle layers of dust covering your toy scenes. Alternatively, chalk or pastel powders work well for a softer, more delicate effect.
For dirt, coffee grounds or finely crushed herbs offer a natural, earth-like appearance. Just make sure they’re not too coarse, as this could overwhelm your miniature scene. You can also mix different materials to achieve varied textures and colors, adding depth and interest. Remember, the right materials are key to making your toy photos truly lifelike.
Techniques for Applying Dirt to Your Toy Scenes
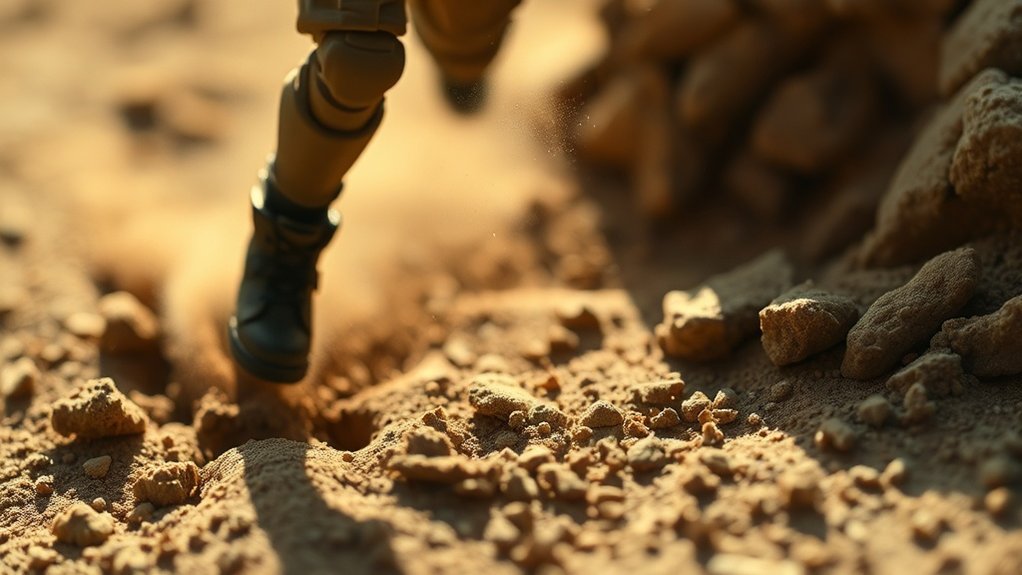
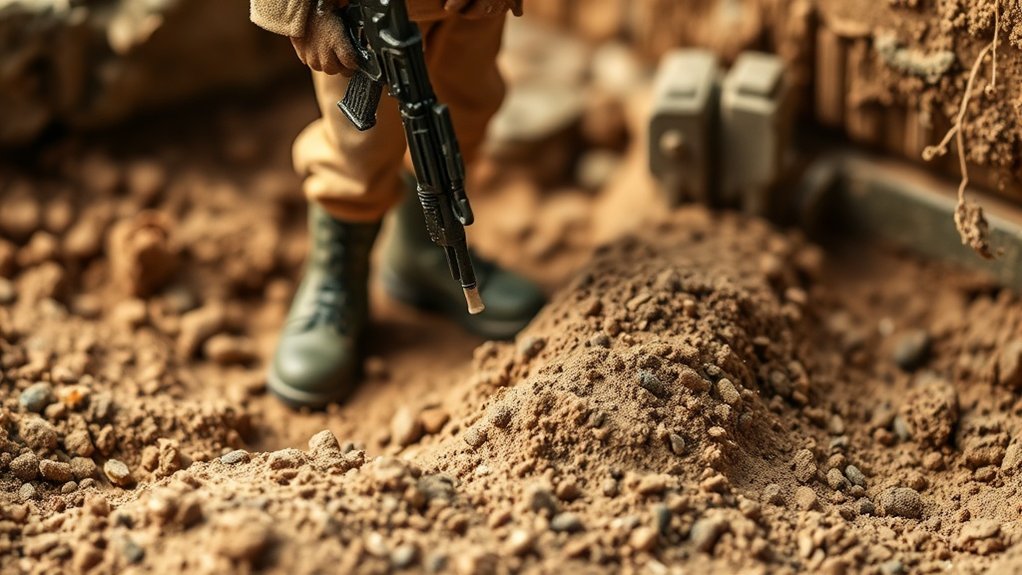
When you’re adding dirt to your toy scenes, start by considering natural dirt sources like garden soil or sandbox sand for an authentic look. Choose your application tools carefully, such as small brushes or sifters, to control the placement and amount of dirt. This approach helps you create realistic and visually appealing scenes without overwhelming your toys.
Natural Dirt Sources
Creating realistic toy scenes often involves incorporating natural elements, and dirt is a fantastic way to add authenticity. You’ve got several options for sourcing dirt, each offering unique textures and colors. First, consider using garden soil. It’s easily accessible and provides varied granularity. Simply collect a small amount from your garden or a local park. If you want finer particles, sift the soil to remove larger debris.
Sand is another great option, especially for desert or beach scenes. You can find sand at playgrounds or buy it from a craft store. Finally, clay can offer a different texture and color. Find it near riverbanks or buy modeling clay that resembles natural tones. These natural sources provide your toy scenes with authentic, earthy realism.
Application Tools Selection
To effectively apply dirt to your toy scenes, selecting the right tools is essential for achieving the desired level of detail and realism. Use soft brushes for broader areas and delicate detailing. They’re perfect for dusting small amounts of dirt or powder onto surfaces without making a mess. For more targeted application, try using cotton swabs or makeup applicators. They allow you to control where and how much dirt you place, especially in tight spots. Tweezers can help position tiny debris like pebbles or leaves, adding authenticity. Don’t forget about spray bottles; they lightly mist water, creating a damp look when combined with dirt. Experiment with these tools until you find the perfect combination that brings your toy scenes to life.
Creating Realistic Dust Effects With Household Items
Dust can transform your toy photography, adding depth and realism to your scenes. You don’t need fancy equipment to achieve this effect; household items work wonders. Start with a small flour sifter to sprinkle baby powder or flour gently over your setup. This creates a fine, even layer of dust without overwhelming your toys. Another option is to use cornstarch, which offers a slightly different texture and is easy to clean up.
For a more controlled application, try a makeup brush or a soft paintbrush. Dip it into your chosen powder and lightly tap or flick it onto your scene. This allows for precision in dust placement. Remember, subtlety is key—don’t overdo it. A little dust goes a long way in creating that perfect shot.
Enhancing Texture and Details With Advanced Tools
To enhance texture and details in your toy photography, start by using specialized brushes in your editing software. These tools can help you achieve intricate details that make your subjects pop. Master layering techniques to add depth and richness, elevating your images to a professional level.
Utilizing Specialized Brushes
While mastering toy photography, specialized brushes can elevate your work by enhancing textures and details that bring scenes to life. You don’t need to settle for generic tools. Instead, explore brushes designed specifically for adding dirt and dust effects. Look for fan brushes to create delicate, scattered particles, or stipple brushes for a more rugged look. Experiment with various brush sizes and shapes to match the scale and intricacy of your toy scenes.
Use these brushes to subtly apply pigments or powders, simulating natural weathering. Practice light strokes to build layers without overwhelming your composition. Pay attention to shadowed areas where dirt naturally accumulates, enhancing realism. With the right tools in your arsenal, you’ll transform static images into dynamic, lifelike stories, enchanting your audience.
Layering Techniques Mastery
When you plunge into the domain of layering techniques in toy photography, you’ll discover how they can dramatically enhance texture and detail. Mastering these techniques involves using advanced tools to create realistic dirt and dust effects that make your images pop. Start by layering different shades and opacities, which helps in mimicking the natural accumulation of grime.
To achieve the best results, remember these essentials:
- Blend Modes: Use blend modes to adjust how layers interact, adding depth and realism.
- Opacity Control: Adjust layer opacity to simulate varying degrees of dirtiness without overwhelming the subject.
- Fine-tune Details: Use masks to precisely apply effects, ensuring your subject retains its sharpness and detail.
Lighting Tips to Highlight Dirt and Dust in Your Photos
Capturing the gritty details of dirt and dust in toy photography can elevate the realism and storytelling of your images. To achieve this, effective lighting is essential. Use side lighting to cast shadows that accentuate the texture of dust and dirt. A low-angle light source can create dramatic shadows and bring out subtle details. Experiment with backlighting to highlight dust particles floating in the air, giving your scene a dynamic feel. Natural light is great, but if you’re indoors, use a softbox or a diffuser to mimic this effect. Don’t forget to adjust your exposure settings to prevent overexposure, which can wash out those intricate details. With the right lighting, your toy photos will come to life with added depth and authenticity.
Post-Processing Tips for Perfecting Your Dirt and Dust Effects
Enhancing the gritty details of dirt and dust in your toy photos doesn’t stop with lighting—post-processing plays a crucial role too. Use editing software to bring out textures and contrast, making the dirt and dust pop. Start by adjusting the contrast and clarity settings to sharpen the dirt particles. Next, play with shadows and highlights to add depth and mood to your scene. Don’t forget to fine-tune the colors to guarantee they match the reality you’re aiming for.
To perfect your dirt and dust effects, consider:
- Layer Masks: Use them for precise control over the dirt and dust areas.
- Dodge and Burn: Enhance light and dark areas to create more dimension.
- Selective Color: Adjust specific colors to make dust appear more realistic.
These steps will elevate your images to a new level.
Frequently Asked Questions
How Can I Prevent Dirt From Damaging My Toys?
To prevent dirt damage, you should clean your toys regularly. Use a soft brush or cloth to gently remove dust. Keep them in a display case or storage box when they’re not in use for added protection.
Are There Eco-Friendly Alternatives for Dirt and Dust Materials?
You’re wondering about eco-friendly alternatives for dirt and dust materials. Consider using natural options like cocoa powder or ground cinnamon. They’re biodegradable and won’t harm your toys. Plus, they smell great, adding an extra sensory element to your work.
Can Dirt and Dust Effects Be Safely Used Outdoors?
Yes, you can use dirt and dust effects safely outdoors. Just guarantee they’re non-toxic and won’t harm the environment. Always clean up after your shoot to protect wildlife and maintain the natural beauty of the area.
How Do I Clean Toys After Using Dirt and Dust Effects?
To clean your toys after applying dirt and dust effects, gently brush off loose particles with a soft brush. Use a damp cloth for stubborn spots, and make certain they’re completely dry before storing them to prevent damage.
What Camera Settings Work Best for Capturing Dust Effects?
Did you know 70% of photographers use a fast shutter speed for sharp dust effects? Set your camera to manual mode, increase ISO for sensitivity, adjust aperture for depth, and try various lighting setups for dynamic results.
At a Glance
Just like a master sculptor breathes life into stone, you can transform your toy photography by embracing the art of dirt and dust. These humble elements are your brushstrokes, adding depth and character to every scene. With the right materials and techniques, you’re not just capturing toys; you’re crafting stories. As you illuminate these miniature worlds, remember: even the smallest speck can turn a simple scene into a masterpiece, echoing the grand tales of forgotten lands.