Mastering scale props and textures is essential for creating realistic toy photography dioramas. It’s all about ensuring elements align perfectly, using materials like lightweight foam and balsa wood for authenticity, and experimenting with textures using sandpaper or mixed paints. Clever lighting can enhance details, and customizing with accurate color palettes brings scenes to life. Understanding these fundamentals invites viewers to suspend disbelief and fully engage with your miniature worlds. Discover how these elements transform your dioramas.
Understanding Scale and Proportion in Dioramas
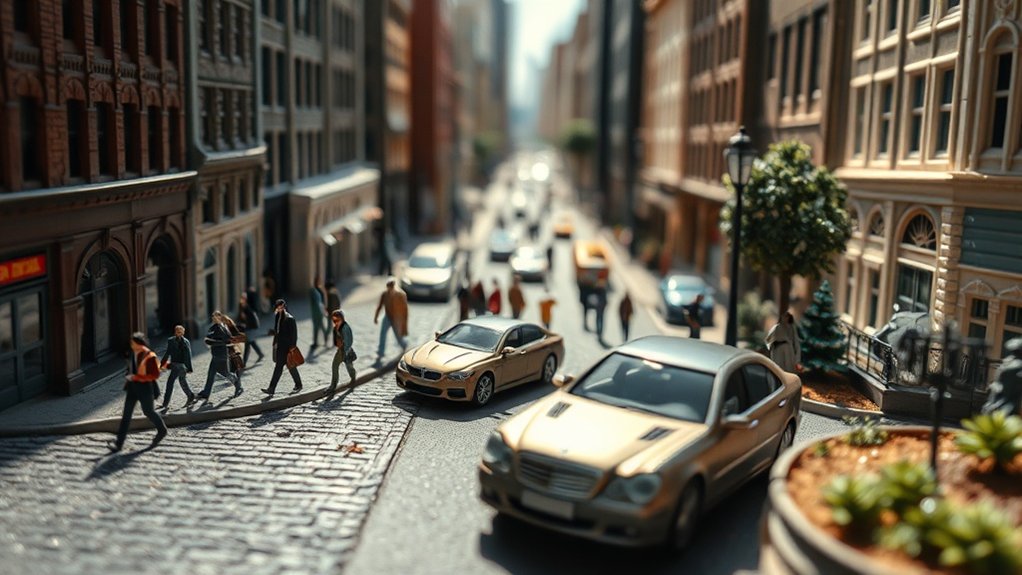
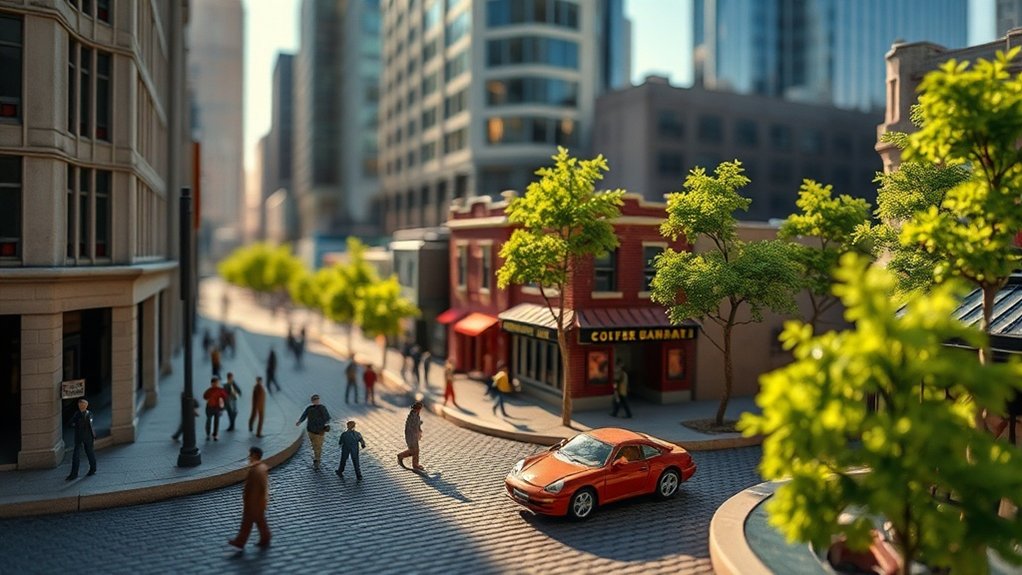
How essential is it to grasp the concepts of scale and proportion in dioramas? It’s vital because these elements define the realism and impact of your scenes. When you’re working on toy photography, understanding scale guarantees that each element, from the tiniest prop to the largest backdrop, aligns perfectly. You need to visualize how different pieces interact within the miniature world you’re creating. Proportion helps maintain balance, preventing your diorama from looking awkward or unrealistic. For instance, verifying a toy car matches the size of a toy figure maintains believability. By mastering these concepts, you’ll craft compelling, immersive scenes. Remember, a good diorama invites viewers to suspend disbelief and enter the tiny world you’ve meticulously orchestrated.
Choosing the Right Materials for Scale Props
Understanding scale and proportion is just the beginning; selecting the right materials for your scale props plays a pivotal role in bringing your diorama to life. You’ll want to choose materials that mimic real-world textures and structures. Consider lightweight foam for larger props—it’s easy to carve and paint. Balsa wood is perfect for creating realistic wooden structures like fences or furniture. For metallic effects, try using aluminum foil or metallic paints. Don’t overlook common household items; buttons and beads can transform into convincing machinery parts or decorative elements. Always keep scale in mind—ensure the materials you choose match the proportions of your scene. With a bit of creativity, the right materials will make your miniatures truly believable.
Crafting Realistic Textures for Miniature Scenes
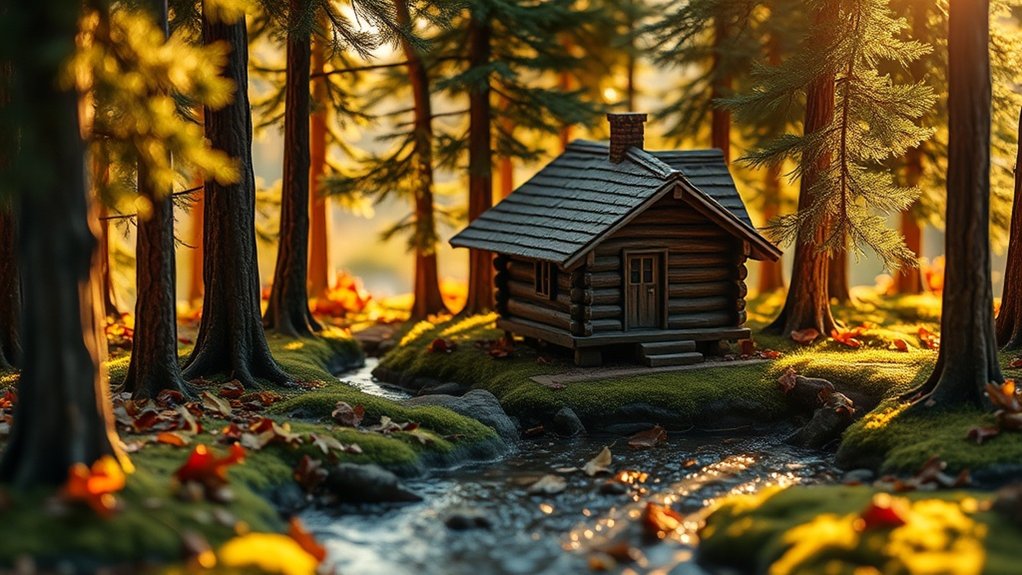
Creating realistic textures for your miniature scenes involves a keen eye and a bit of experimentation. Start by observing real-life surfaces closely—notice the cracks, bumps, and color variations. These details make textures believable. Try using materials like sandpaper for a gritty look or fabric scraps for softer textures. You can also mix paint with baking soda to create a rough, weathered surface. Don’t be afraid to layer different materials; combining textures can add depth and realism. Use a fine brush to paint highlights and shadows, enhancing the dimensionality of your textures. Practice is key, so test different techniques on scrap pieces before applying them to your diorama. Remember, the goal is to mimic real-world textures, making your miniature scenes come alive.
Incorporating Lighting to Enhance Textures and Details
While mastering textures is essential, the right lighting can elevate your miniature scenes to new heights. By strategically placing lights, you can highlight textures, create depth, and accentuate details. Experiment with different light sources—natural light, LED lamps, or even smartphone flashlights. Diffuse the light for softer shadows or focus it for sharper contrasts. Positioning is key; try backlighting to create silhouettes or sidelighting to emphasize texture. Don’t forget color temperature; warmer tones can add coziness, while cooler tones can evoke a more dramatic feel. Play with angles to see how light interacts with surfaces. Remember, lighting can transform a flat-looking scene into a dynamic, lifelike diorama. Adjust and refine until your textures and details truly stand out.
Customizing and Painting Scale Props for Authenticity

When you’re customizing scale props, choosing accurate color palettes is essential for achieving authenticity in your toy photography. Pay attention to the details, as even small adjustments in shading and texture can create strikingly realistic effects. By carefully selecting and applying your paints, you’ll elevate the overall look and feel of your miniature scenes.
Choosing Accurate Color Palettes
To achieve authenticity in toy photography, selecting accurate color palettes for scale props is essential. Begin by thoroughly researching the era or setting your diorama represents. Historical accuracy enhances realism, so pay attention to the hues typical of that time or place. Don’t shy away from using reference images; they’re invaluable for understanding color dynamics.
Once you’ve gathered your references, create a cohesive palette. Limit your colors to maintain consistency and avoid overwhelming the scene. Use color swatches or digital tools to test combinations before applying paint. Remember, lighting can alter perceived colors, so evaluate your choices under the same lighting conditions you’ll use for shooting.
Finally, trust your instincts. If a color seems off, adjust it until it feels right. Your attention to detail will shine through.
Detailing for Realistic Effects
Achieving realistic effects in toy photography hinges on your ability to meticulously customize and paint scale props. Start by selecting high-quality materials that match the textures and finishes you aim to replicate. Use fine brushes to apply layers of paint, ensuring each coat adds depth and dimension. Pay close attention to weathering techniques like dry brushing and washes to mimic natural wear and tear.
Don’t overlook details—tiny scratches or rust spots can make your props pop. Experiment with different mediums such as pastels or airbrushing for varied effects. Seal your work with a matte or gloss finish, depending on the desired look. Remember, patience and practice are key. Each prop you customize becomes an opportunity to enhance your diorama’s authenticity.
Creative Ideas for Unique and Engaging Diorama Designs
Creating unique and engaging diorama designs involves tapping into your imagination and experimenting with different elements that bring your toy photography to life. Start by thinking outside the box—literally! Use everyday items like cereal boxes for buildings or cotton balls for clouds. Incorporate natural elements like sand or leaves to add texture and realism. Don’t shy away from unusual materials; they can add unexpected flair.
Lighting plays an essential role, so experiment with different sources and angles. Try colored gels or LED strips to create mood and depth. Scale is key, so make sure props complement your toys’ size. Personalize your scenes with tiny details like graffiti or weathering. These touches make your diorama not just a backdrop, but a story in itself.
Frequently Asked Questions
How Do I Clean and Maintain My Diorama Props and Textures?
Gently dust your diorama props with a soft brush, and use a damp cloth for stubborn dirt. For textures, avoid harsh chemicals; instead, opt for mild soap and water. Keep everything stored properly to maintain condition.
What Tools Are Essential for Precise Miniature Detailing?
When crafting a detailed model car, you’d need precision tools like fine-tipped brushes, magnifying glasses, and dental picks. They help enhance intricate details, ensuring your miniature creations look realistic and enthralling to viewers.
How Can I Prevent Dust From Accumulating on My Diorama?
Keep your diorama in a display case to protect it from dust. Regularly use a soft brush for cleaning. Consider a small air purifier nearby to reduce airborne particles and maintain your diorama’s pristine condition.
Are There Software Programs That Assist in Designing Dioramas?
Designing dioramas is like painting a masterpiece. You can use software like Tinkercad or SketchUp to craft your vision. These programs offer intuitive tools, turning your imagination into a digital canvas. Immerse yourself and create!
What Are Some Storage Solutions for Finished Diorama Pieces?
You’ll find stackable plastic bins great for organizing diorama pieces. Use dividers to separate items and label each bin for easy access. Opt for clear containers so you can quickly see what’s inside without opening them.
At a Glance
You’ve now revealed the secrets to making your toy photography dioramas so lifelike, they’ll practically leap off the shelf and start a conversation with you! By mastering scale, selecting the perfect materials, and crafting textures that fool the eye, your scenes will captivate any viewer. Don’t forget the power of lighting and a splash of paint to bring it all together. Let your imagination run wild and create dioramas that are nothing short of miniature masterpieces!


