Mastering the editing workflow from RAW to final toy photography image involves organizing and backing up your files, making basic adjustments, correcting exposure, and enhancing colors. You’ll craft depth with shadows, highlights, and add creative touches like special effects. Exporting in the right format and resizing for your platform is essential. Engage viewers with enthralling showcases of your images. Continue onward to unseal more insights and techniques to perfect your toy photography editing skills.
Importing and Organizing Your RAW Files
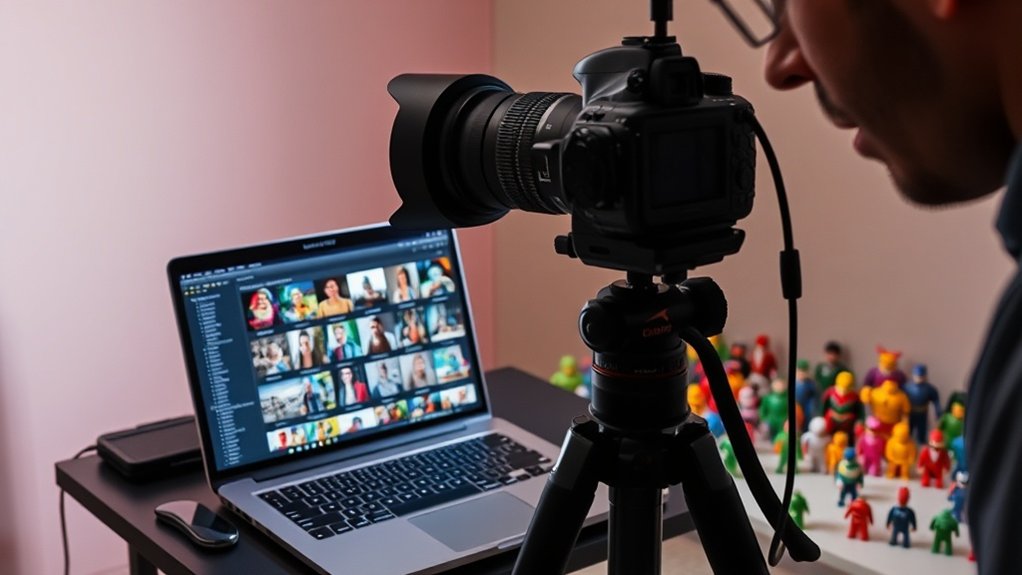
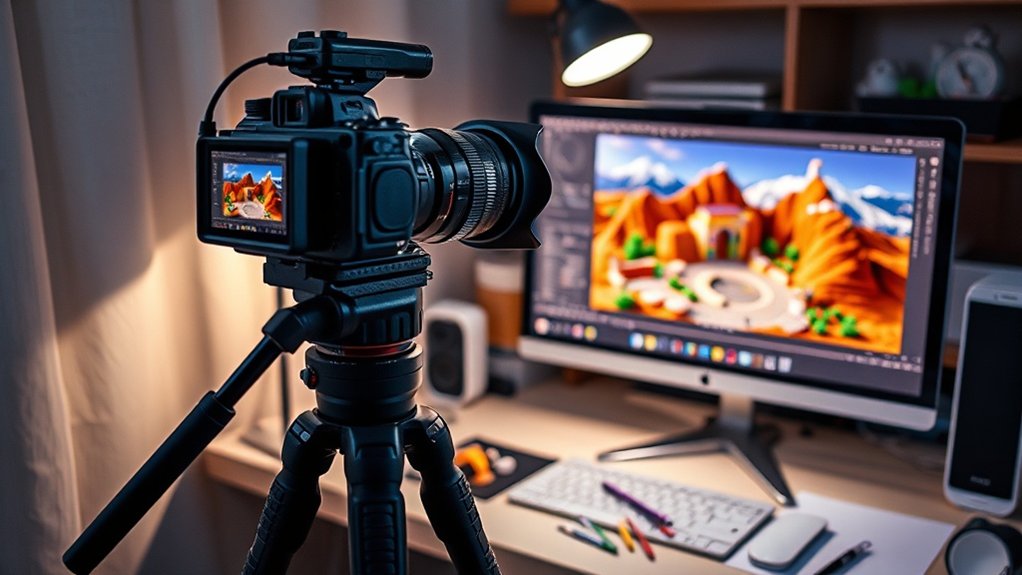
When you begin your toy photography editing process, getting your RAW files imported and organized efficiently is essential. Start by connecting your camera or memory card to your computer. Use a reliable photo management software to import your RAW files. As you import, create descriptive folders named by date or project. This helps you easily locate specific sessions later. Don’t overlook adding keywords and tags, as they’re invaluable for quick searches and categorization. Consistent naming conventions streamline your workflow, reducing time spent searching for files. Once imported, back up your files on an external hard drive or cloud storage to prevent data loss. By organizing your RAW files effectively, you set a solid foundation for a smooth editing process.
Basic Adjustments and Exposure Corrections
Though the foundation of your editing workflow begins with organization, the next step is making basic adjustments and exposure corrections to your toy photos. Start by evaluating the overall exposure. If your image appears too dark or light, use the exposure slider to achieve a balanced look. Look for details in both shadows and highlights, confirming nothing’s lost in either extreme. Adjust the contrast to bring out details and depth. Fine-tune shadows and highlights sliders to restore details that might be hidden. Don’t forget the whites and blacks sliders for adding or reducing depth. Check your histogram; it’s a great tool to verify your exposure is well-balanced. Remember, these basic adjustments set the stage for more advanced edits later.
Color Grading and Saturation Enhancements
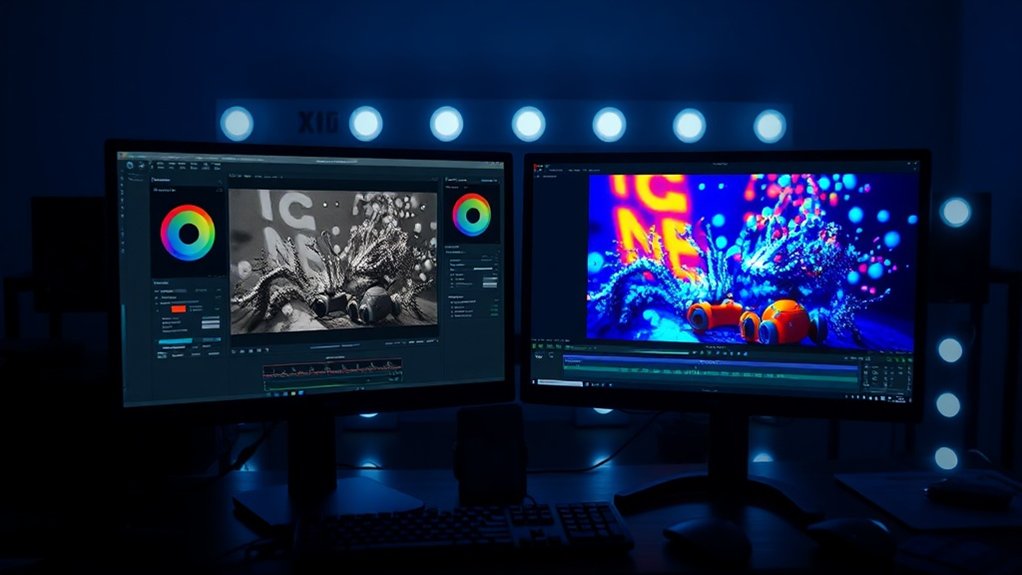
When you’re working on toy photography, adjusting color balance is essential for achieving a realistic or fantastical look. Boosting vibrancy levels can make your toys stand out, while fine-tuning hue shifts helps capture the perfect mood. Experiment with these adjustments to bring your images to life and captivate your audience.
Adjusting Color Balance
To elevate your toy photography, adjusting color balance is essential for achieving the desired mood and vibrancy in your images. Start by examining your RAW file and noticing any color casts that might need correction. Use the white balance tool to neutralize these unwanted hues and bring out the natural colors of your toys. Pay attention to the temperature and tint sliders; slight adjustments can make a big difference.
Enhancing the midtones and shadows with more precise color tweaks can add depth and dimension. Don’t hesitate to experiment with different color grading techniques to find a look that complements your subject. Remember, color balance isn’t just about correction; it’s about creativity. Your goal is to evoke emotion and bring your toy scene to life.
Enhancing Vibrancy Levels
Boosting the vibrancy levels in your toy photography can transform flat images into enchanting displays of color and energy. Begin by adjusting the saturation to make colors pop without losing detail. A subtle increase can add depth and warmth, enhancing the overall appeal. Use selective saturation to highlight specific elements, ensuring your subject stands out. Don’t forget about the vibrance slider; it targets less-saturated colors, preventing an overly dramatic look.
Work with layers to compare different vibrancy adjustments, allowing you to find the perfect balance. Be cautious not to overdo it, as excessive saturation can result in unnatural tones. Keep an eye on skin tones and natural elements to maintain realism. This process enhances your toy photos, making them enthralling and visually striking.
Fine-Tuning Hue Shifts
Although often overlooked, fine-tuning hue shifts is a powerful tool that can dramatically alter the mood and atmosphere of your toy photography. By adjusting hues, you’re able to emphasize certain emotional tones. Consider shifting blues to teal for a cooler, more futuristic vibe, or turn reds to oranges for a warm, inviting feel. When you’re in your editing software, use the hue adjustment sliders to experiment. Don’t hesitate to make small changes; sometimes the slightest shift can have a profound impact. Pay attention to how these shifts interact with saturation and vibrancy. Keep an eye on your image’s overall balance. You want to enhance it, not overwhelm it. With practice, you’ll master this subtle, yet effective technique.
Crafting Depth With Shadows and Highlights

While capturing the charm of your miniature subjects, mastering the art of shadows and highlights can greatly enhance the depth of your toy photography. Begin by adjusting the shadows to add dimension. This can make your figures pop against the background, providing a realistic touch. Use highlights to accentuate details, giving your toys a lifelike glow. It’s essential to find a balance; overdoing it might wash out details or create unnatural contrasts.
Experiment with different lighting angles to see how they affect the overall mood. Natural light can sometimes be your best friend, but don’t shy away from using artificial sources to manipulate shadows and highlights. Remember, subtle changes can substantially impact how viewers perceive the depth in your images.
Adding Special Effects and Creative Touches
In toy photography, enhancing light and shadows transforms your scene from ordinary to extraordinary. You can incorporate digital elements like sparks or rain to add an imaginative layer to your work. These creative touches bring your toy stories to life, making them more dynamic and engaging.
Enhancing Light and Shadows
Transforming your toy photography with enhanced light and shadows can make a world of difference. Start by adjusting the exposure to highlight details without losing depth. Use the dodge tool to brighten areas that need a touch of light, making them pop. Conversely, apply the burn tool to enhance shadows, adding drama and focus to your scene.
Consider the angle and intensity of light sources—experiment with virtual spotlights or vignettes for a more dynamic effect. If you want to create a mood, try adjusting the contrast; it can emphasize the textures and features of your toys. Remember, subtlety is key; overdoing it can lead to an unnatural look. By mastering these techniques, you’ll bring your toy photography to life, capturing viewers’ imaginations.
Incorporating Digital Elements
As you perfect the play of light and shadows, it’s time to explore the territory of digital elements to amplify your toy photography’s creativity. Start by adding special effects like smoke, fire, or lens flares to enhance the scene’s atmosphere. Tools like Photoshop or Lightroom make it easy to integrate these elements seamlessly. Don’t forget to adjust the opacity and blend modes to guarantee they look natural.
Next, consider incorporating digital props or backgrounds to expand your scene’s environment. This could involve placing your toys in imaginative settings, from outer space to underwater domains. Keep your elements consistent with the overall theme and style. Use layers and masks to fine-tune details, ensuring everything aligns smoothly. With these digital touches, your toy photography becomes an enchanting masterpiece.
Finalizing and Exporting Your Masterpiece
With the final steps in your toy photography editing workflow, you’ll assure that your work is polished and ready to be shared with the world. Start by reviewing your image one last time, checking for any overlooked details or inconsistencies. Adjust the levels and curves to achieve the best brightness and contrast. Fine-tune the sharpness to make your subject pop without overdoing it.
Next, choose the right file format for your needs. If you aim for high-quality prints, go with TIFF. For web sharing, JPEG is ideal. Don’t forget to resize your image appropriately to maintain quality across platforms. Finally, export your masterpiece, and save a backup of the original edited file. Now, your toy photography is ready to impress and inspire others!
Frequently Asked Questions
What Camera Settings Are Best for Shooting Toy Photography?
For toy photography, you’ll want a small aperture like f/11 for depth, a low ISO to reduce noise, and a shutter speed to match your lighting. Use a tripod to keep everything steady and sharp.
How Do You Choose the Right Toys for a Shoot?
Imagine selecting characters for a fairy tale; each toy carries a story. You choose toys that speak to your creative vision and complement the scene’s mood. Trust your instincts; let imagination guide your choices.
What Props Enhance the Storytelling of Toy Photography?
You’ll find that props like miniature furniture, foliage, or custom backdrops can transform your toy photography. They set the scene, add depth, and help tell a compelling story by creating an immersive environment around your toys.
How Can I Create Realistic Backgrounds for Toy Scenes?
Oh sure, just casually create a miniature universe. But really, you can use printed backdrops, natural elements, or digital editing to bring toy scenes to life. Experiment, because who needs reality when you’ve got imagination?
What Are Common Mistakes to Avoid in Toy Photography?
You often overlook lighting, focus, and scale in toy photography. Don’t forget to guarantee proper lighting, maintain sharp focus, and check the scale for realism. Avoid cluttered backgrounds that distract from your subject. Keep things simple and clean.
At a Glance
You’ve journeyed through the editing process like an artist refining a masterpiece, transforming raw images into vibrant toy photography. Each step, from initial adjustments to creative enhancements, adds layers of depth and personality. As you finalize and export your work, remember that your camera is like a paintbrush, capturing moments that your editing brings to life. With practice and imagination, your images will continue to tell enthralling stories, one frame at a time.


