Use natural window light to enhance toy photography by selecting a window with soft, even light at different times of day, like early morning or late afternoon. Position toys near the window to create depth, using side lighting for gentle shadows and highlights. Experiment with angles and perspectives to add dynamism and context to your shots. Adjust post-processing elements such as exposure and contrast for a polished look. Explore further to uncover more tricks to elevate your toy photography.
Choosing the Perfect Window
How do you find the perfect window for your toy photography? Start by observing which windows in your home receive the most consistent natural light throughout the day. Morning light differs from afternoon light, so note when each window gets the best illumination. Choose a window that offers soft, even light to avoid harsh shadows on your toys. South-facing windows usually provide more consistent light, but your location might affect this. Pay attention to the size of the window, too—a larger window can spread light more evenly. Experiment with different windows and times of day to see which combination yields the most pleasing results for your toy scenes. Trust your instincts and make adjustments based on your creative vision.
Understanding the Quality of Light
When you’re setting up your toy photography, consider how the softness of window light can enhance your shots. Soft light creates gentle shadows and highlights, adding depth and realism to your images. Pay attention to the direction the light comes from, as it affects how shadows fall and can dramatically change the mood of your scene.
Softness of Window Light
Even though artificial lighting setups have their merits, there’s something uniquely enchanting about the softness of window light for toy photography. It wraps around your subjects, creating gentle shadows and subtle highlights. This natural light source offers a diffused quality that enhances the textures and colors of your toys without overwhelming them. You’ll notice how the light spreads evenly, reducing harsh contrasts and eliminating unflattering glare.
To make the most of this quality, position your toys near the window. You can use sheer curtains to further diffuse the light if it’s too intense. As a result, your photos will have a dreamy, inviting look that’s hard to achieve with artificial lighting. Embrace the softness to add an extra layer of depth and emotion to your shots.
Directional Light Effects
While exploring toy photography, understanding the effects of directional light can dramatically transform your images. It adds depth, enhances textures, and creates striking contrasts that make your toys pop. Position your toys to take advantage of the angles created by window light. Notice how shadows fall, adding drama or highlighting features.
Try shooting in the early morning or late afternoon when natural light is softer and more angled. This time of day creates long shadows and a warm glow, perfect for evoking mood. Adjust your toy’s position to control shadow length and direction. Experiment with backlighting to create silhouettes or side lighting for a three-dimensional effect.
Timing Your Photoshoot for Optimal Light

Capturing toy photography at the perfect time of day can transform a simple scene into a stunning masterpiece. Natural light changes throughout the day, and knowing when to shoot can make all the difference. Early morning and late afternoon are your best bets, as the sun is lower, creating softer, more diffused light. This golden hour offers warmth and gentle shadows, enhancing the details of your toys.
Avoid midday, when sunlight is harsh and casts strong shadows, often washing out colors and details. Overcast days provide a soft, even light, making them another great option for shooting. Observe how the light moves through your windows at different times. Experiment and find the lighting that best suits your creative vision. Timing is key to capturing the magic.
Setting Up Your Photography Space
When setting up your photography space, start by picking a window location that offers consistent natural light. Arrange your background elements thoughtfully to enhance your toy’s story without overpowering it. Be mindful of managing light reflections to keep your images clear and focused.
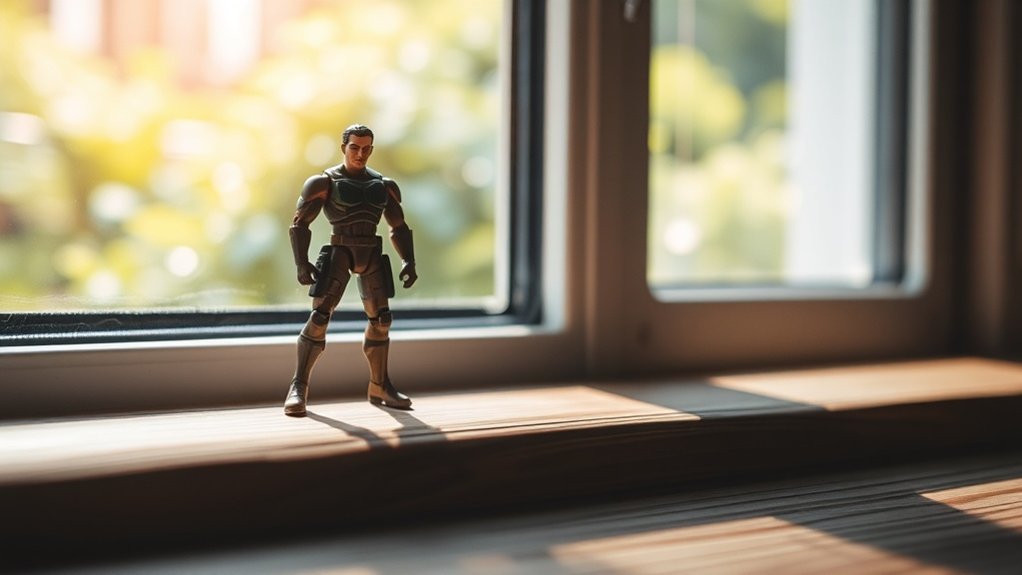
Choosing Ideal Window Location
To achieve the best lighting for your toy photography, position your setup near a window that allows ample natural light. Choosing the right window can enhance your photos, making colors pop and details sharp. Consider these factors when selecting your window location:
- Direction: North-facing windows provide consistent, soft light throughout the day, ideal for avoiding harsh shadows or glare.
- Obstructions: Verify there are no trees or buildings blocking the light; these can cast unwanted shadows or reduce light quality.
- Time of Day: Morning and late afternoon offer diffused light, which is perfect for capturing fine details in your toys without overexposure.
- Window Size: Larger windows let in more light, giving you more flexibility in positioning your toys and achieving the desired effect.
Arranging Background Elements
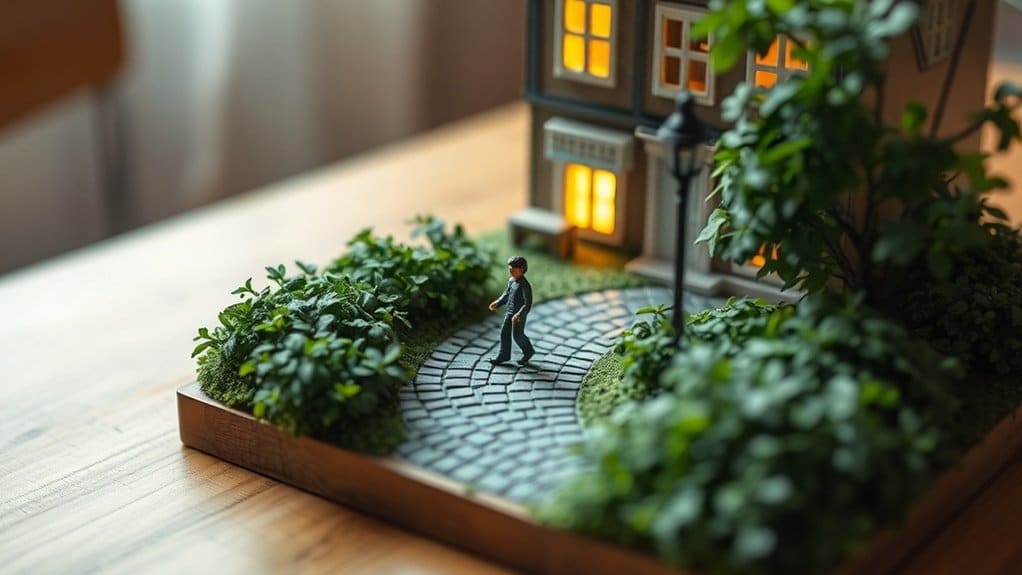
Now that you’ve found the perfect window for lighting, let’s focus on how to arrange your background elements for an engaging photography space. Start by choosing a backdrop that complements your toy’s colors and theme. Solid colors or subtle textures work well to highlight details. Position props thoughtfully to create depth and tell a story—consider using small objects like plants, rocks, or fabric for variety.
Keep the background clutter-free to avoid distracting from the main subject. Experiment with different angles and distances to find the most intriguing composition. Remember, the background should enhance, not overshadow, your toy. Adjust elements as needed to maintain balance and harmony in the scene. With careful arrangement, your background will add depth and interest, making your toy photos truly enchanting.
Managing Light Reflections
Although natural light can be your best friend in toy photography, it often brings along pesky reflections that can distract from your subject. To manage these reflections effectively, you’ll need to set up your space carefully. Here’s how:
- Adjust Your Angle: Shift the position of your toy or camera to reduce glare. A slight angle change can make a big difference.
- Use Diffusion: Softening the light with a sheer curtain or white sheet can minimize harsh reflections. It’s a simple yet effective trick.
- Eliminate Reflective Surfaces: Remove or cover shiny objects in the background that might catch the light.
- Employ Polarizing Filters: Attach these to your camera lens to control and reduce unwanted reflections, ensuring your toy remains the focal point.
Positioning Your Toys for Best Results
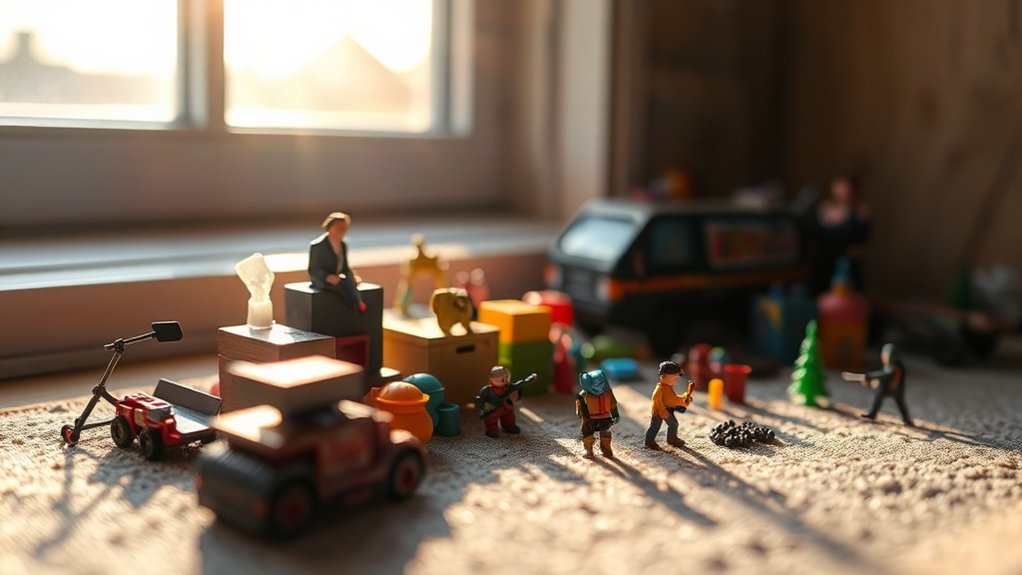
Positioning your toys effectively can make a significant difference in your photography results. Start by considering the direction of natural light coming through your window. Place your toy so it’s illuminated from the side, creating depth with gentle shadows. Avoid placing it directly in front of the light source, as this can flatten details. Experiment with angles; tilt your toy slightly to add a dynamic feel. Use props or stands to elevate or support them, ensuring they’re stable and secure.
Think about how the toy interacts with its surroundings. Position it to suggest movement or a narrative, engaging viewers’ imaginations. Keep an eye on reflections and unwanted highlights. By tweaking positions, you’ll capture the charm and personality of each toy more vividly.
Composing Your Shot for Impact
With your toys perfectly positioned, it’s time to focus on composing your shot for maximum impact. Composition is key to ensuring your toy photography tells a story and captivates viewers. Consider the following elements to enhance your composition:
- Rule of Thirds: Divide your frame into thirds, both horizontally and vertically. Position your toy along these lines or at their intersections to create a balanced, engaging image.
- Leading Lines: Use natural lines, like window frames or shadows, to draw the viewer’s eye toward your toy. This guides attention and adds depth.
- Framing: Incorporate elements in the foreground or background to frame your toy, adding context and focus.
- Perspective: Experiment with different angles and heights to present your toy in a dynamic, unexpected way.
Capturing Shadows and Highlights
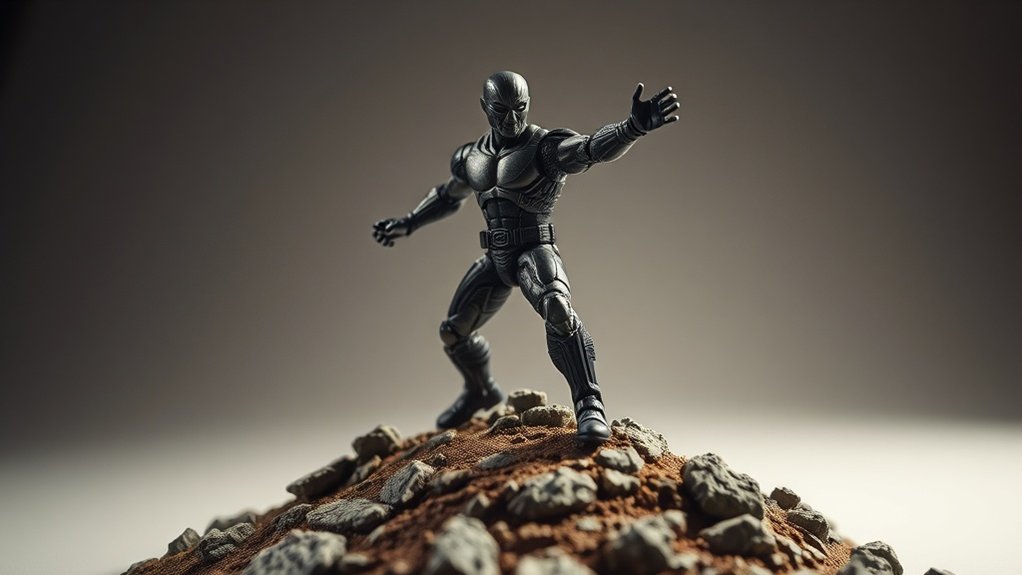
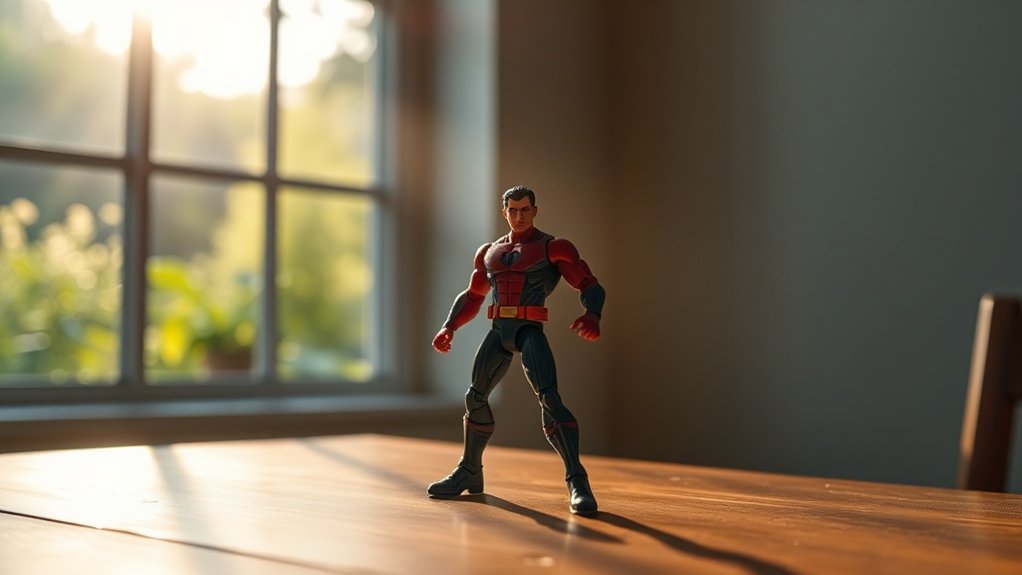
Mastering shadows and highlights can elevate your toy photography by adding depth and intrigue. Natural window light is your best friend here. Position your toy so that the light grazes it from the side, creating dramatic shadows that emphasize textures and contours. You’ll want to balance the highlights and shadows to avoid overexposing or losing detail in the dark areas.
Consider the time of day; early morning or late afternoon light often provides a softer glow, perfect for subtle highlights. Use a reflector, like a white piece of paper, to gently bounce light back into shadow areas, reducing harsh contrasts. Don’t be afraid to experiment with moving the toy or adjusting the distance from the window to achieve the perfect balance.
Experimenting With Angles and Perspectives
How can changing your angle transform your toy photos? It’s all about perspective. By adjusting your angle, you can create new dimensions and tell different stories through your lens. Here’s how to make the most of it:
- Get Low: Shooting from a low angle can make your toy seem larger than life, emphasizing its presence and power.
- Bird’s Eye View: Capture a top-down perspective to show your toy in its environment, offering a unique narrative.
- Tilted Angles: Experiment with tilting your camera to add dynamic tension or movement, making your shot more engaging.
- Close-Ups: Zoom in or get physically closer to highlight intricate details, inviting viewers to appreciate craftsmanship.
Try these techniques and watch your images come alive!
Post-Processing Tips for Natural Light Photos
Even though natural light can create stunning toy photos, post-processing is key to enhancing their beauty. Start by adjusting the exposure to guarantee your image isn’t too dark or overly bright. Use the crop tool to eliminate distractions and focus on your subject. Tweak the contrast to add depth, making the toys pop against their background.
Next, fine-tune the white balance to guarantee colors stay true to life. Sharpen the image slightly to bring out details, but avoid overdoing it, as this can cause unwanted noise. Consider using a vignette to subtly draw attention to the subject. Finally, experiment with color grading to evoke a certain mood or atmosphere. Remember, small tweaks can make a big difference in your final image.
Frequently Asked Questions
How Do Weather Conditions Affect Natural Window Light for Toy Photography?
Weather conditions directly influence your photo’s lighting. Cloudy days provide soft, diffused light, while sunny days offer stronger shadows and highlights. Adjust your shooting time and location to match the mood you want. Experiment for the best results.
Can I Use Artificial Light to Supplement Natural Window Light?
Yes, you can use artificial light to supplement natural window light. Experiment with different setups to balance shadows and highlights. Try combining lamps or LED panels to achieve the desired look while maintaining a natural feel.
What Camera Settings Work Best for Shooting Toys in Natural Window Light?
Capture your toys like Rembrandt captured light. Use a low ISO to reduce grain, a wide aperture for depth, and adjust shutter speed to prevent blur. Remember, your camera’s settings are your paintbrush for this masterpiece.
How Can I Reduce Glare on Toys When Using Natural Window Light?
You can reduce glare by positioning the toys at an angle to the light source and using a diffuser like sheer curtains or white cloth. Avoid direct sunlight and adjust your camera’s exposure settings for better results.
What Types of Toys Work Best With Natural Window Light Photography?
You’ve got the magic touch with natural window light for toys that have a matte finish or intricate details. Soft light enhances their charm, capturing their essence beautifully. Experiment with different angles to reveal their hidden stories.
At a Glance
You’ve now mastered the magic of natural window light for toy photography. By choosing the perfect window and understanding light’s quality, you’ve transformed simple setups into stunning scenes. Timing and technique, combined with creative composition, capture enchanting shots. Shadows and highlights enhance depth, while experimenting with angles adds allure. In post-processing, polish your photos to perfection. Practice persistently, and you’ll produce powerful, professional-looking pictures every time. Happy shooting, and let your toys tell their tales!