In high-key studio toy photography, focus on bright, even lighting to achieve a clean, airy look that brings toys to life. Use a camera with manual settings and softboxes or LED panels for smooth illumination. Reflectors enhance brightness and minimize shadows. Choose backgrounds and diffusion techniques that make your toys pop with vibrant colors and details. Experiment with composition and post-processing for a polished finish. Discover how lighting and techniques enhance your photography journey.
Understanding High-key Lighting
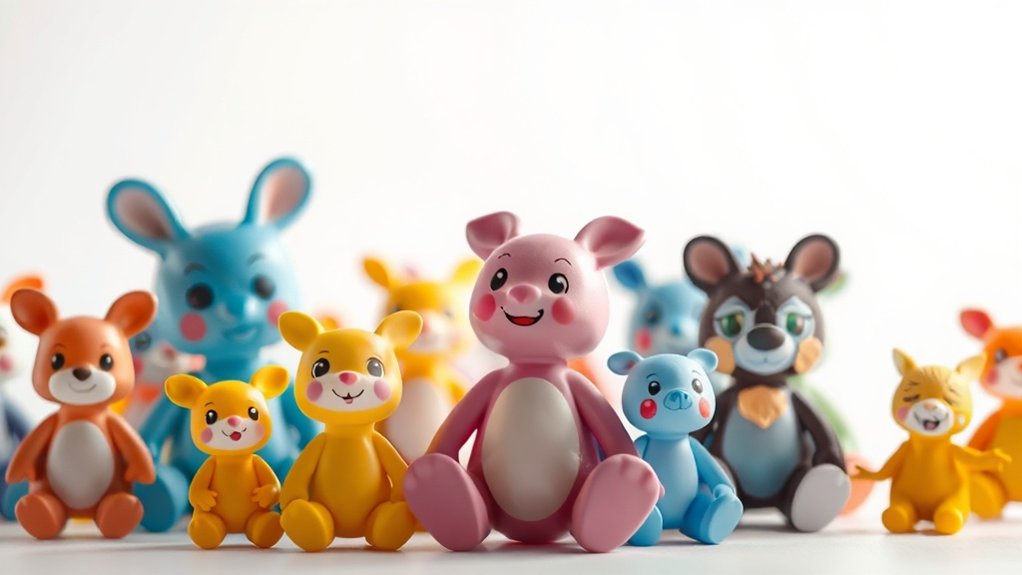
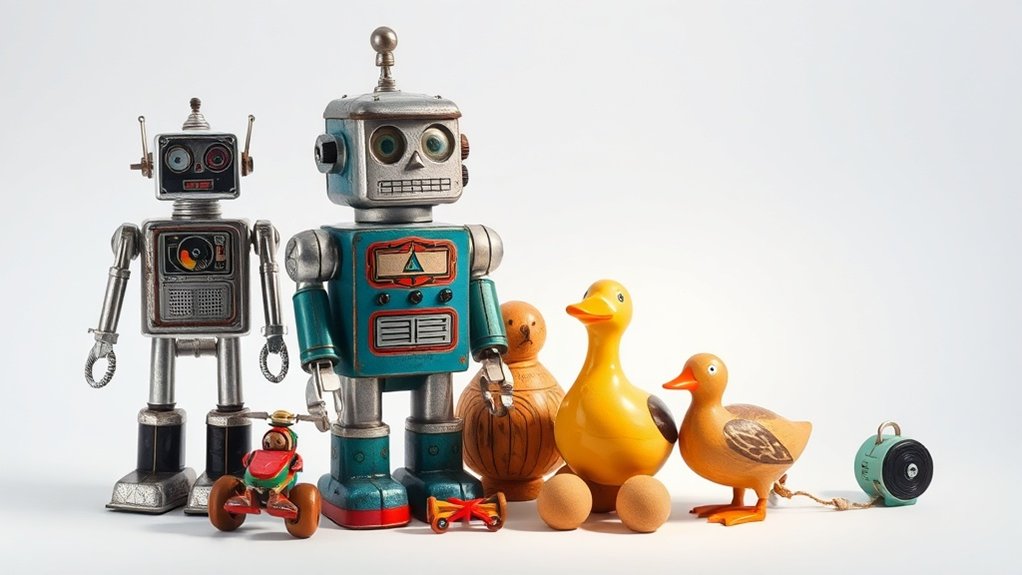
When you’re diving into toy photography, understanding high-key lighting can elevate your images considerably. This style focuses on using bright, even lighting to create a clean, airy appearance, emphasizing the playful nature of toys. By minimizing shadows and enhancing highlights, you can bring out vibrant colors and intricate details in your subjects.
To achieve this effect, guarantee your lighting setup is balanced and diffused. You want to illuminate your toy from multiple angles, reducing harsh contrasts. Position your light sources strategically to avoid dark spots and fill in shadows. Incorporate reflectors or white surfaces to bounce light back onto your subject, enhancing its features. Experiment with exposure settings on your camera to maintain brightness without losing detail. Mastering this technique will make your toy photography stand out.
Essential Equipment for High-key Toy Photography
Achieving the perfect high-key lighting setup for toy photography relies not only on technique but also on having the right equipment. You need to invest in a few essential tools to create that bright and airy look you’re aiming for. Here’s a list to get you started:
- Camera with Manual Settings: A camera that allows you to adjust aperture, shutter speed, and ISO is vital for controlling light exposure.
- Light Sources: Softboxes or LED panels provide consistent and diffused lighting, minimizing harsh shadows on your toys.
- Reflectors: These help bounce light back onto your subject, enhancing brightness and reducing shadows.
- Tripod: A sturdy tripod guarantees stability, allowing you to capture sharp images without camera shake.
With these tools, you’re set for stunning high-key shots!
Setting Up Your Studio Space
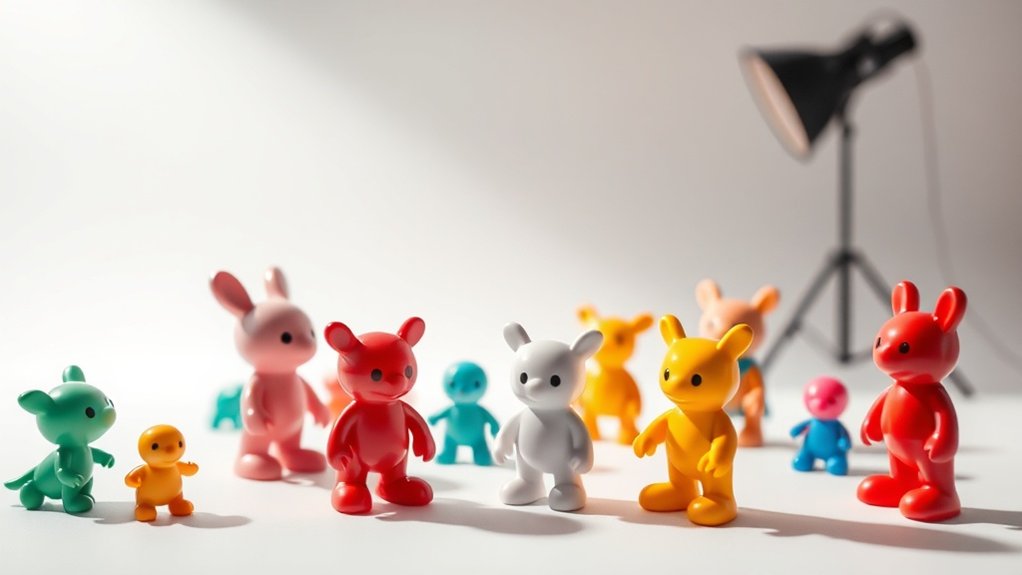
Creating an ideal studio space for toy photography is essential for consistently producing high-quality images. Begin by selecting a room with ample natural light. North-facing windows are perfect, offering soft, consistent light throughout the day. If natural light is limited, use continuous lighting with softboxes to mimic daylight. Keep your workspace organized; clutter can distract and reduce workflow efficiency. Arrange your toys and props nearby for easy access during shoots.
Ensure you have a sturdy table or surface for setting up your scenes. It should be large enough to accommodate different setups while leaving space for your equipment. Consider using a backdrop stand to easily switch between different settings, ensuring variety in your photos. With thoughtful planning, your studio space will enhance your toy photography.
Choosing the Right Background
When selecting the right background for your toy photography, focus on the color palette to enhance your subject’s features. Consider the texture and material to add depth and interest without distracting from the toy. Make sure you balance the background lighting to maintain harmony and prevent unwanted shadows.
Color Palette Selection
How do you choose the right background for your toy photography? Start by considering the color palette. A well-chosen background enhances your toy’s features and creates a harmonious image. Here’s how you can select the right colors:
- Complementary Colors: Use colors opposite on the color wheel to make the toy stand out. For instance, a red toy pops against a green background.
- Monochromatic Scheme: Stick to shades of one color for a soothing, cohesive look. This works well for toys with intricate details.
- Neutral Tones: Opt for whites, grays, or beiges to maintain focus on the toy without distractions.
- Pastel Hues: Light, airy pastels can add a gentle, whimsical touch, perfect for high-key photography.
Choose wisely to elevate your shots!
Texture and Material
Texture plays an essential role in toy photography, as it adds depth and interest to your shots. When choosing the right background, consider materials that complement the toy’s features. Soft fabrics like felt or velvet can add a subtle, airy feel, while harder surfaces like wood or stone introduce a contrasting ruggedness that highlights the toy’s details.
Don’t overlook the texture of the toy itself. If your subject has smooth surfaces, a slightly textured background can create balance. On the other hand, if the toy has intricate textures, a simple, smooth backdrop will help it stand out. Experiment with different materials, like paper or fabric, to find the perfect match. Remember, the right texture enhances your composition, making your toy pop within the frame.
Background Light Balance
Achieving the perfect background light balance is essential in toy photography, as it guarantees your subject is the star of the show. You want the background to complement, not compete. Here’s how to choose the right background:
- Color Contrast: Confirm the background contrasts with your toy. This makes your toy pop and grabs attention.
- Brightness Level: Match the background’s brightness to your subject for a cohesive look. Too bright or too dark can distract.
- Texture Choice: Smooth backgrounds keep focus on the toy, while textured ones can add depth if used wisely.
- Lighting Direction: Align background lighting with your subject’s light source to maintain harmony and avoid shadows.
Mastering Light Diffusion Techniques
In toy photography, mastering light diffusion can transform your shots from ordinary to extraordinary. Start by selecting the right diffusion materials like softboxes or diffusers to soften harsh light. Then, position your light sources strategically and balance shadows to create depth and dimension in your images.
Choosing Diffusion Materials
When you’re diving into toy photography, mastering light diffusion is key to creating stunning, professional-looking images. Choosing the right diffusion materials can make a significant difference in how light interacts with your subjects, creating that bright and airy look you’re aiming for. Here’s a quick guide to help you select the best options:
- Softboxes: These are versatile and provide even light distribution, reducing harsh shadows on your toys.
- Diffusion Panels: Perfect for larger setups, they soften the light while maintaining intensity.
- White Bedsheets: A budget-friendly option that effectively diffuses light, great for beginners.
- Translucent Umbrellas: Ideal for soft, scattered light, adding a dreamy effect to your shots.
Experiment with these materials to see which brings your toy photos to life!
Positioning Light Sources
Now that you’ve selected the right diffusion materials, let’s focus on how to position your light sources to enhance the quality of your toy photography. Start by placing your primary light source at a 45-degree angle to your subject, ensuring it’s slightly above eye level. This angle creates soft, flattering light that reduces harsh shadows. Use a secondary light on the opposite side to fill in any remaining shadows and maintain that bright, airy look. If you’re using natural light, position your toys near a window with sheer curtains to diffuse the sunlight gently. Remember, moving your light sources closer will soften the light further, creating a seamless, high-key effect. Experiment with distances and angles to find your perfect balance.
Balancing Shadows Effectively
Although mastering light diffusion techniques might seem intimidating at first, it’s essential for creating balanced shadows in toy photography. You’ll find that achieving this balance enhances your photos, making the toys pop with vibrancy and detail. To get started, consider these essential steps:
- Use Softboxes: Place them strategically around your setup. They’ll diffuse light evenly, softening harsh shadows.
- Try Reflectors: Position them to bounce light into shadowy areas. This adds subtle illumination without overpowering the scene.
- Experiment with Diffusers: Attach them to your light sources to spread the light more uniformly across your subject.
- Adjust Light Angles: Move your lights around and observe how the shadows change. This helps in identifying the best angles for diffused lighting.
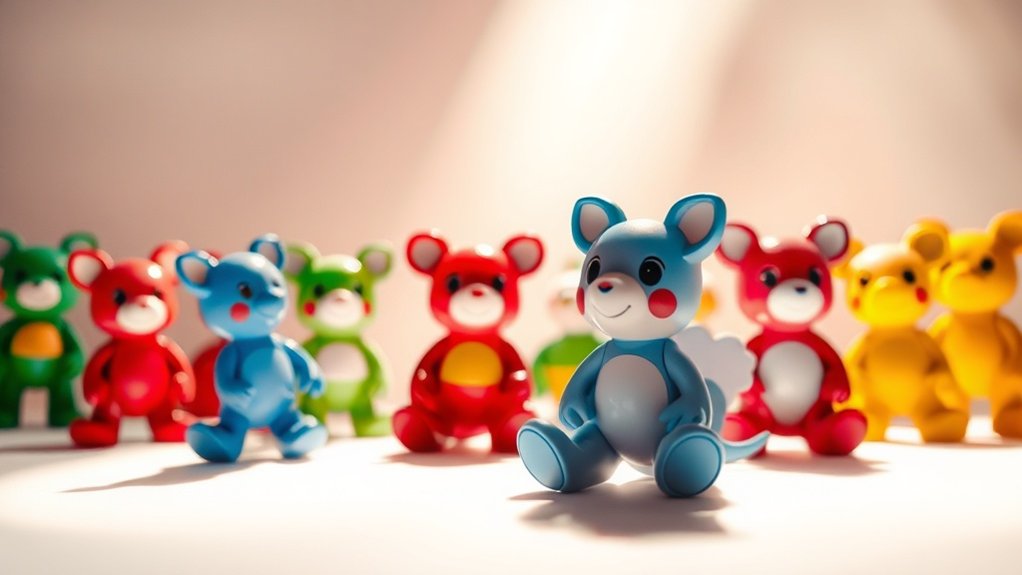
Composition Tips for Captivating Shots
Capturing enchanting shots in toy photography is all about mastering composition. Begin by focusing on the rule of thirds. Divide your frame into a 3×3 grid and place your toy along these lines or at their intersections to create balance and interest. Consider leading lines, like a toy train on tracks, to draw viewers’ eyes directly to your subject. Don’t forget about framing; use objects like blocks or other toys to naturally frame your main subject. Vary your angles—get down to the toy’s level or try overhead shots for a fresh perspective. Remember, negative space can enhance your toy’s prominence, giving your photo a clean, airy feel. Experiment with these tips and watch your shots come alive!
Post-Processing for a Polished Finish
Once you’ve captured your toy photos, post-processing is the key to achieving a polished finish. It’s where you refine your images and make the colors pop. Start by using your favorite editing software to adjust brightness and contrast. A bright and airy look is all about keeping things light and vibrant. Here’s a quick guide:
- Adjust Exposure: Guarantee the image is bright without losing details.
- Enhance Colors: Slightly boost saturation to make the toys come alive without looking unnatural.
- Sharpen Details: Use sharpening tools to make the edges crisp and clear.
- Remove Distractions: Edit out any unwanted elements in the background for a clean look.
Frequently Asked Questions
What Toys Work Best for High-Key Studio Photography?
You should choose toys with vibrant colors to make them pop against bright backgrounds. Consider using toys with reflective surfaces or interesting textures to enhance the high-key effect. Soft plush toys can add a delightful contrast too.
How Do I Prevent Overexposure in Brightly Lit Shots?
To prevent overexposure in brightly lit shots, adjust your camera’s settings. Lower the ISO, increase the shutter speed, or stop down the aperture. Use a light meter to guarantee balanced exposure, keeping highlights from blowing out.
Can I Use a Smartphone for High-Key Toy Photography?
You’ve got a smartphone, and yes, you can absolutely use it for high-key toy photography. Just make sure you adjust exposure settings, use natural light or a lightbox, and focus on composition to achieve stunning results.
How Do I Maintain Color Accuracy in Post-Processing?
A stitch in time saves nine. Always calibrate your monitor first. Use software like Lightroom or Photoshop for adjustments. Keep an eye on histograms, and compare edited images with originals to guarantee colors remain consistent and accurate.
Are There Specific Camera Settings for High-Key Photography?
For high-key photography, you’ll want to use a low ISO setting, wide aperture, and faster shutter speed. Make certain your camera’s white balance is set correctly to maintain the bright and airy aesthetic you’re aiming for.
At a Glance
In the world of high-key studio toy photography, you’re not just capturing images; you’re painting with light. By mastering the bright and airy look, you breathe life into your subjects. With the right equipment, a perfect setup, and a dash of creative flair, your toy photos become vivid stories. So, embrace the art of light diffusion and composition, and watch as your creations transform into enchanting works of art. Isn’t it time your toys told their own tale?


