To add a light saber effect in toy photography with Photoshop, start by importing your image and creating a new layer for the blade. Use the Line Tool to draw the saber, ensuring it aligns with the toy handle. Choose blending modes for a natural look and adjust the saber’s glow to enhance realism. Add a glow effect for vibrancy and refine with motion blur. Explore further to discover additional techniques for cinematic appeal.
Setting Up Your Scene
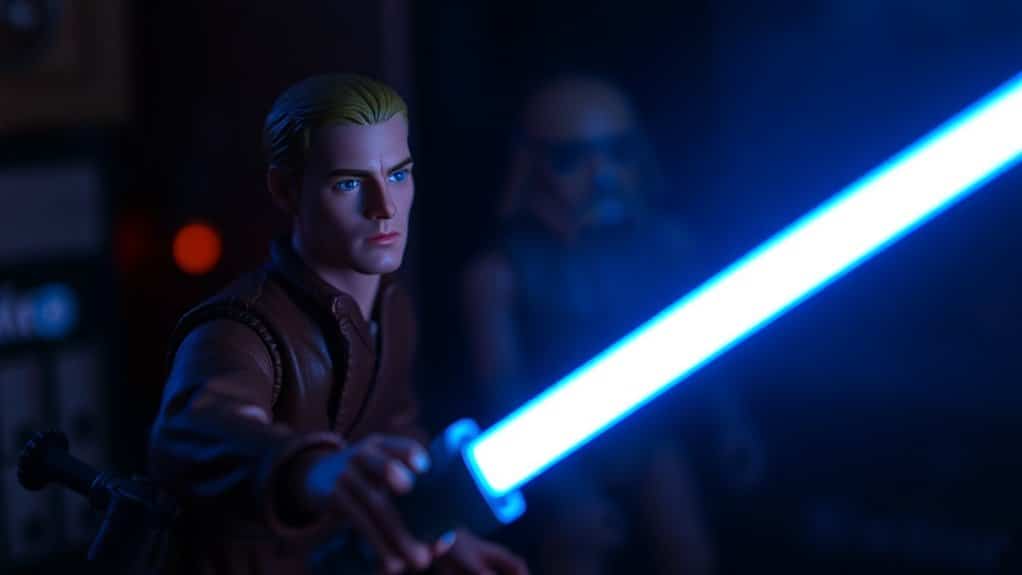
When setting up your scene for toy photography, start by choosing a location that complements your subject and enhances the overall mood. Consider backdrops that evoke the universe of your toy, like a dark alley for a brooding Jedi or a bright, open field for a heroic stance. Pay attention to the scale; small props can create an immersive environment if thoughtfully placed.
Next, think about the lighting. Natural light can be your best friend, but don’t shy away from using lamps or LED lights to create dramatic shadows or highlights. Arrange your light sources to mimic the direction and intensity you’d expect in the scene you’re recreating. This will provide a realistic base for adding light saber effects later on.
Capturing the Perfect Shot
To capture the perfect shot with light saber effects, you’ll need to fine-tune your camera settings, focusing on aperture and shutter speed. Consider your lighting and angles carefully, as they can dramatically enhance the mood and realism of your scene. Don’t forget about scene composition; positioning your toys strategically can make all the difference in bringing your photo to life.
Optimal Camera Settings
Capturing the perfect shot in toy photography demands an understanding of ideal camera settings, especially when adding light saber effects. Start by setting your camera to manual mode for full control. Choose a low ISO, around 100 or 200, to minimize noise and guarantee crisp details. Opt for a small aperture, like f/8 or f/11, to keep your toy figures sharp and in focus. A slower shutter speed, such as 1/30 or 1/60, can help capture any ambient light effectively. Use a tripod to prevent any camera shake. Don’t forget to shoot in RAW format, allowing more flexibility in post-processing. Finally, balance your white balance to match the scene’s lighting, guaranteeing accurate colors for the light saber effects later.
Lighting and Angles
How do you elevate your toy photography with dynamic lighting and angles? Start by experimenting with different light sources. Use natural light for softer shadows or LED lights for dramatic effects. Position your lights at various angles to create depth and an engaging atmosphere. Remember, the angle of your shot can transform a simple scene into something enchanting. Try shooting from a low angle to make the toy appear heroic or mysterious.
Keep these tips in mind:
- Use backlighting: It highlights the edges of your toy, enhancing the light saber effect.
- Experiment with side lighting: It adds texture and form, making your image more lifelike.
- Play with reflections: Mirrors or shiny surfaces can add an extra layer of interest and dimension.
Scene Composition Tips
Every great toy photograph starts with thoughtful scene composition. Begin by envisioning the story you want to tell with your toys. Consider your background and how it complements the action. A cluttered scene distracts from the main focus, so keep it simple and relevant to your narrative. Experiment with different perspectives and angles to create dynamic compositions. Try shooting from a low angle to give your figures a heroic stance or use diagonal lines to add energy.
Balance the scene by placing your subject off-center using the rule of thirds. This creates a more engaging and natural look. Pay attention to color contrasts, ensuring that your characters stand out. Finally, don’t forget to leave space for the light saber effects you’ll add in Photoshop!
Importing Your Image Into Photoshop
First, open your image file in Photoshop to get started on adding light saber effects. Once it’s open, create new layers to manage your edits without altering the original photo. This setup will give you the flexibility to experiment and adjust your effects easily.
Opening Image File
To kick off your journey into adding light saber effects, you’ll first need to import your image into Photoshop. Begin by opening the software and moving to the “File” menu at the top left corner. Click on “Open” and a dialog box will appear. From there, locate your desired image on your computer, select it, and click “Open” again. Your image should now appear in the main workspace, ready for editing.
Here are a few tips to enhance your experience:
- Choose the right file format: JPEGs or TIFFs work well with Photoshop for clear, high-quality images.
- Organize your files: Keep your images in easily accessible folders for quick access.
- Know your shortcuts: Use “Ctrl + O” (Cmd + O on Mac) to open files faster.
Setting Up Layers
Once your image is open in Photoshop, you’ll want to set up layers to manage your edits effectively. Begin by duplicating the original layer to preserve your base image. To do this, right-click the background layer in the Layers panel and select “Duplicate Layer.” Name this duplicate something like “Base Layer” for easy reference.
Next, create a new layer for your lightsaber effects. Click the “New Layer” icon at the bottom of the Layers panel. This will guarantee your edits are non-destructive and can be easily adjusted. Label this layer “Lightsaber” to keep things organized.
Finally, make certain the “Lightsaber” layer is selected before adding any effects. This way, every adjustment you make will be isolated to this layer, allowing for greater control and flexibility.
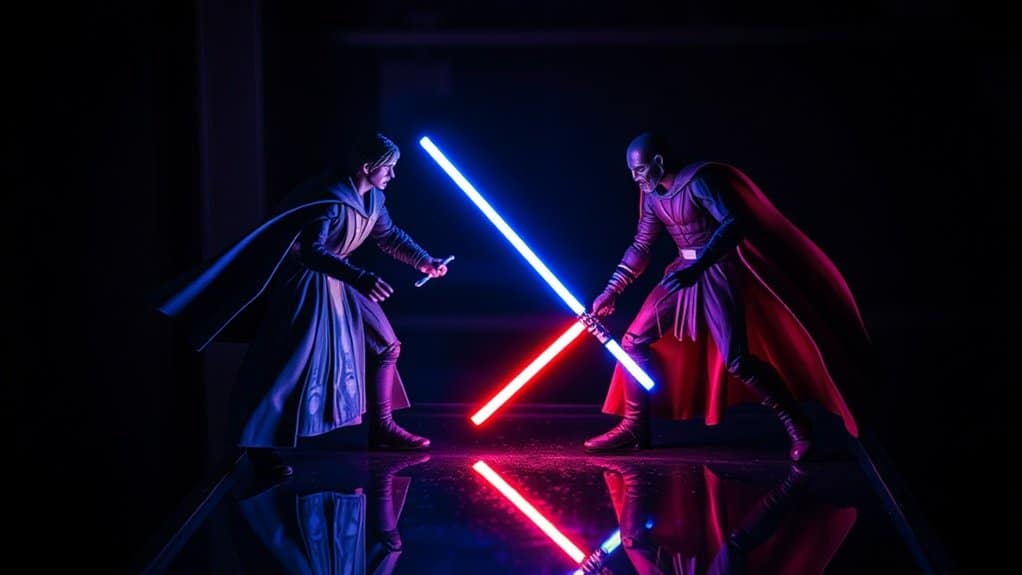
Creating the Light Saber Blade
Crafting a convincing light saber blade is an essential skill for any toy photographer aiming to capture the excitement of a galaxy far, far away. Start by creating a new layer specifically for the blade. Use the Line Tool to draw a straight line along the toy’s saber handle. Make certain the line’s thickness matches the scale of your toy figure. Select a bright white color for the blade, guaranteeing it stands out against the background.
Here are some tips to enhance your work:
- Line Positioning: Confirm the line is perfectly aligned with the toy’s existing saber handle.
- Edge Softness: Use a slightly softened edge for a more realistic appearance.
- Layer Management: Keep the blade layer separate for easy adjustments.
Adding Glow and Color Effects
While the light saber blade is essential, adding glow and color effects truly brings it to life in your toy photography. Start by choosing the right color for your saber using the Hue/Saturation adjustment layer. This allows you to easily tweak the color without altering the original image. To create a glowing effect, duplicate the saber blade layer and apply a Gaussian Blur. Adjust the blur’s radius to achieve the desired glow intensity. For a more dynamic look, set the layer’s blending mode to “Screen” or “Add”. This highlights the vibrancy of the saber, making it pop. Finally, use the Brush Tool with low opacity and a soft edge to paint additional glow around the blade, enhancing realism and drama.
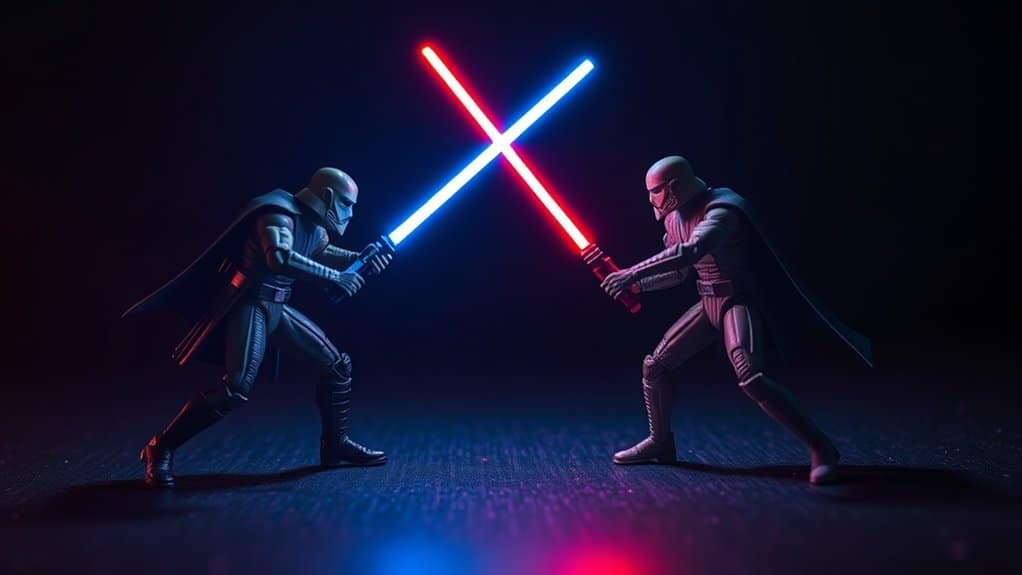
Refining and Blending the Light Saber
To achieve a seamless integration of the light saber into your toy photography, focus on refining and blending the saber with its surroundings. Start by adjusting the saber’s opacity to create a more natural look. Use the eraser tool to gently soften the edges where the saber meets the background, guaranteeing it doesn’t appear too sharp or artificial. Consider the surrounding lighting in your scene and adjust the saber’s brightness and contrast accordingly.
To enhance your work, remember to:
- Match the saber’s glow intensity: Verify it aligns with other light sources in your scene.
- Use layer masks: They help refine the saber’s edges without permanent changes.
- Check color balance: Make sure the saber’s hue complements the overall color palette.
These steps will help merge the saber effortlessly into your scene.
Final Touches and Enhancements
Once you’ve refined and blended the light saber into your scene, it’s time to elevate your toy photography with final touches and enhancements. Start by adjusting the overall brightness and contrast to guarantee your image pops. Use the dodge tool to subtly enhance highlights on your subject, especially where light from the saber would naturally fall. Consider adding a glow effect around the saber for a more dynamic look. You can also apply a slight vignette to draw focus toward the center. If your scene includes reflections, don’t forget to add corresponding highlights or glows. Finally, zoom in to check for any unintentional artifacts or rough edges. With these tweaks, your photo will captivate viewers with its cinematic appeal.
Frequently Asked Questions
What Is the Best Camera to Use for Toy Photography?
You should choose a camera with good macro capabilities, like the Canon EOS R or Sony A7 III. They’ll help you capture detailed shots of toys. Don’t forget a tripod for stability and sharp images.
How Do I Choose the Right Background for My Scene?
“Don’t judge a book by its cover.” Look at your toy’s theme and mood. Match the background to enhance the story. Keep it simple to avoid distractions. Experiment with textures and colors until it feels just right.
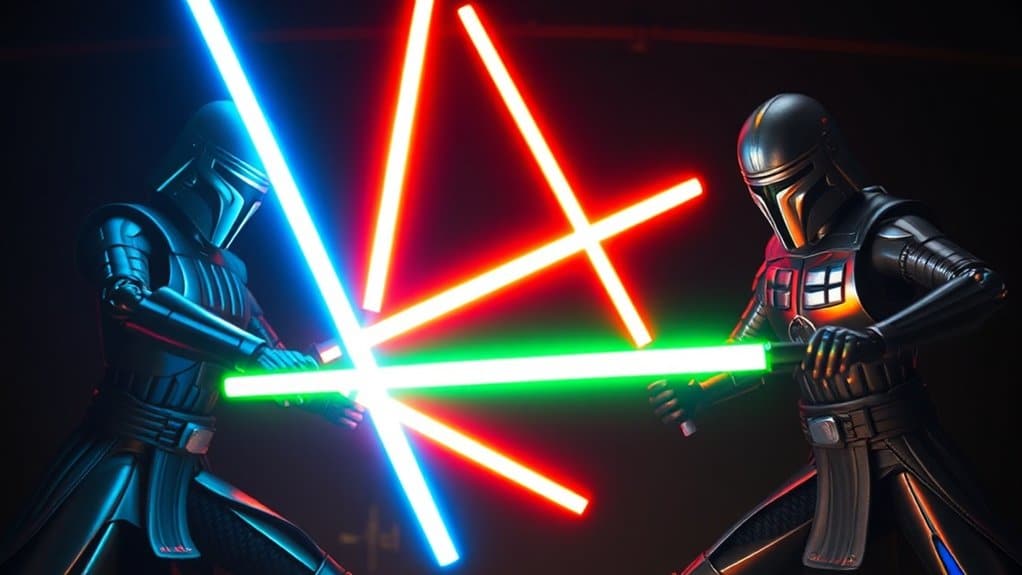
Can I Add Multiple Light Sabers to One Image?
Yes, you can add multiple light sabers to one image. Use different layers for each saber, adjust their positions, and modify the glow to give them depth and realism. Experiment with colors for a dynamic scene.
What Are Some Common Mistakes to Avoid in Post-Processing?
You absolutely don’t want to make your image look like a carnival of colors. Avoid over-saturation, stay clear of unrealistic shadows, and guarantee your layers are tidy. Remember, subtlety’s your best friend in post-processing.
How Do I Achieve Realistic Reflections and Shadows With Light Sabers?
You’ll want to guarantee the light source matches the saber’s glow direction. Use layer masks for precise reflections and refine shadows with the brush tool at lower opacity to blend seamlessly into your scene.
At a Glance
You’ve now mastered the art of bringing a galaxy far, far away into your toy photography. By wielding Photoshop like a Jedi, you’ve transformed ordinary shots into epic battles, complete with glowing light sabers. As you refine your skills, remember that every detail counts—just like the Force, it’s all about balance. So go forth, young Padawan, and let your creativity illuminate the universe. After all, the power to create is within your grasp.


