Creating composite backgrounds for toy photography involves selecting elements that complement your story, arranging props for depth, and using lighting to mimic real environments. Start by choosing elements that enhance your toys’ personalities and maintain balance. Layer and compose to draw the viewer’s eye, then refine with natural-looking lighting. Digital editing techniques allow further control, ensuring perfect color and contrast. With final touches, your scene becomes polished and engaging. Discover how each step transforms your work. By experimenting with various composite toy photography techniques, you can push the boundaries of your creativity and create unique narratives. Don’t hesitate to explore unconventional materials or backgrounds that further enhance the story you wish to convey. Ultimately, the goal is to create a captivating image that invites viewers into the world you’ve meticulously crafted. Experimenting with different masking techniques for toy photos can significantly enhance your final image, allowing you to seamlessly blend various elements while maintaining focus on your subjects. Additionally, consider incorporating dynamic angles and perspectives to create a more immersive experience, making viewers feel part of the scene. This attention to detail and creativity will elevate your toy photography, captivating your audience with every shot.
Selecting the Perfect Elements for Your Scene
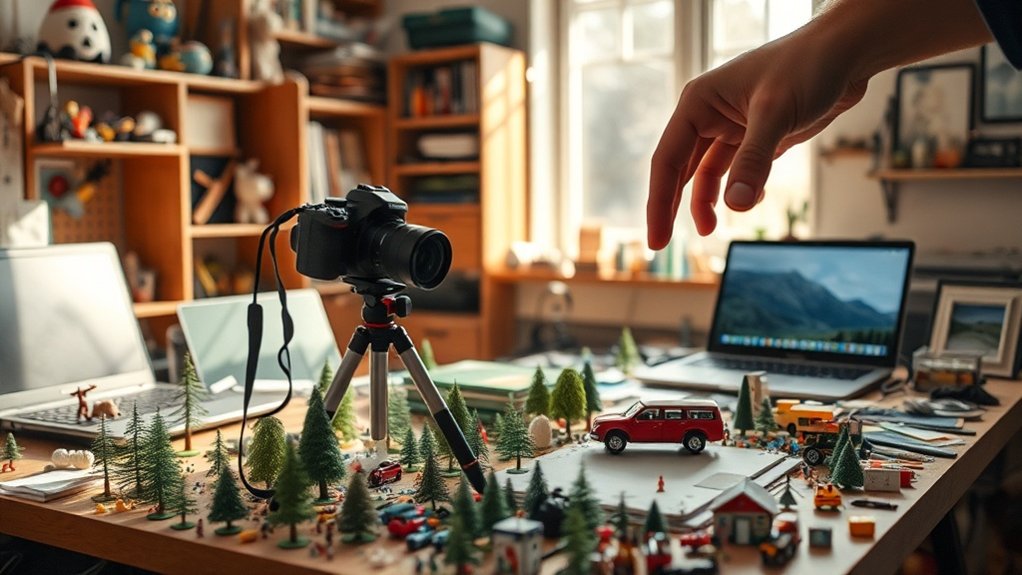
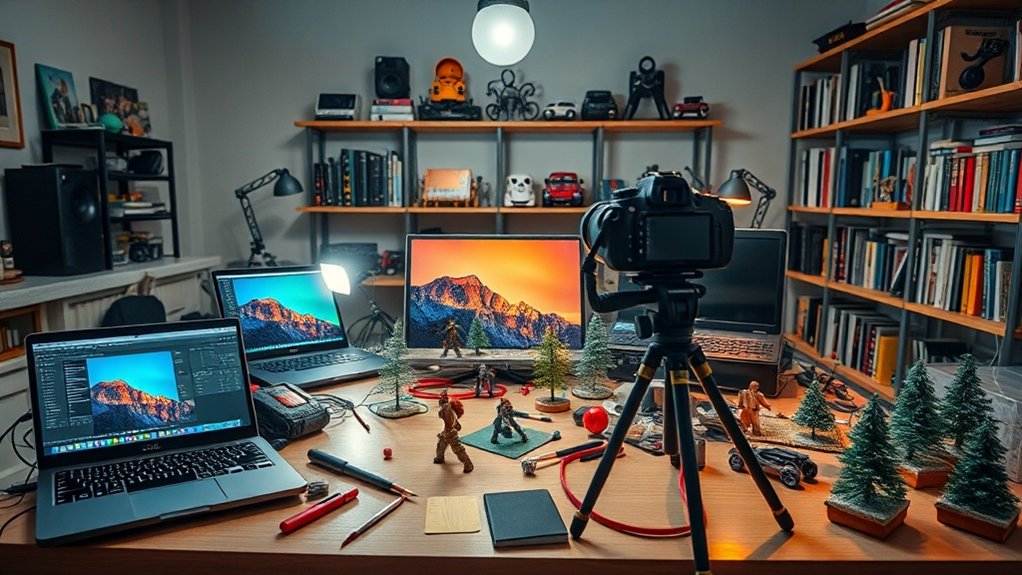
Creating an engaging toy photography scene begins with choosing the right elements that complement your vision. Start by imagining the story you want your image to tell. Are you aiming for a whimsical fantasy or a gritty urban adventure? Once you’ve got a theme in mind, select props and backdrops that enhance your toys’ personalities. Consider scale and color to maintain balance and harmony in your composition.
Look for details in everyday items, like fabric for landscapes or kitchen utensils for futuristic settings. Lighting is essential, so think about how natural light or artificial sources will interact with your scene. Don’t forget to include textures that add depth and interest. By thoughtfully choosing your elements, you’ll create an enthralling world that draws viewers in.
The Art of Layering and Composition
When mastering the art of layering and composition in toy photography, think about how each element interacts within the frame. You want to create a sense of depth and harmony, so start by arranging your toys and props in a way that draws the viewer’s eye. Use foreground elements to add depth, and place your main subjects strategically to create a focal point. Don’t be afraid to overlap elements; this adds realism and cohesion. Balance the scene by considering the rule of thirds, ensuring the composition feels natural and engaging. Experiment with different angles and perspectives to find the most dynamic view. Remember, each layer should contribute to the story you’re trying to tell, enhancing the overall visual narrative.
Using Lighting to Enhance Realism
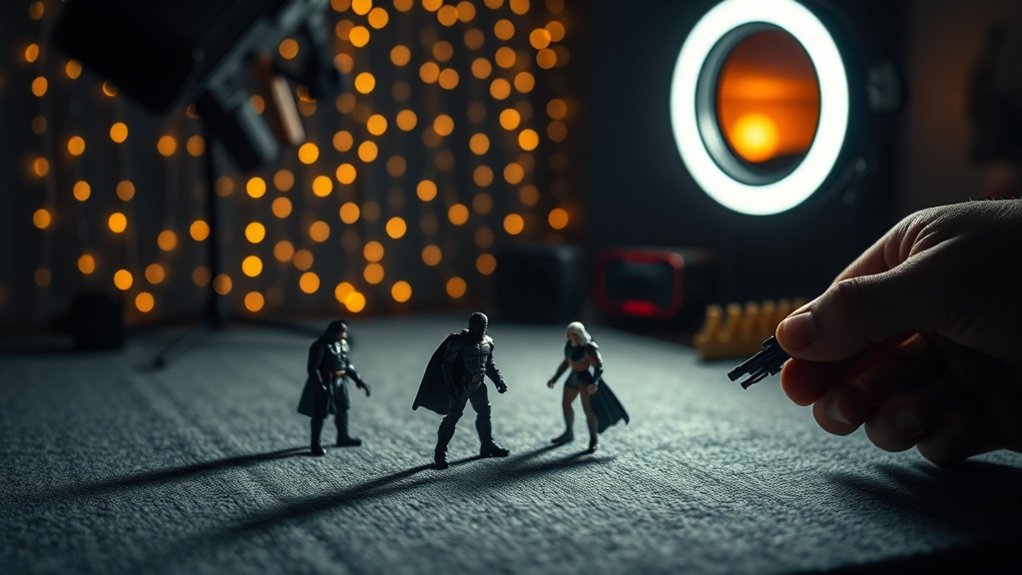
As you perfect the composition and layering of your toy photography, lighting becomes your next powerful tool for enhancing realism. Start by analyzing natural light sources in your composite background. Notice where the light falls, its direction, and its intensity. Match these characteristics with your physical lighting setup to maintain consistency. Use softboxes or diffusers to mimic gentle daylight, or position lamps at angles that replicate shadows and highlights.
Experiment with colored gels to add warmth or coolness, matching the scene’s mood. Don’t forget the importance of shadows; they ground your subjects, making them appear part of the scene. Use small reflectors or white cards to soften harsh shadows. Adjusting your lighting can transform your image, bridging the gap between reality and imagination.
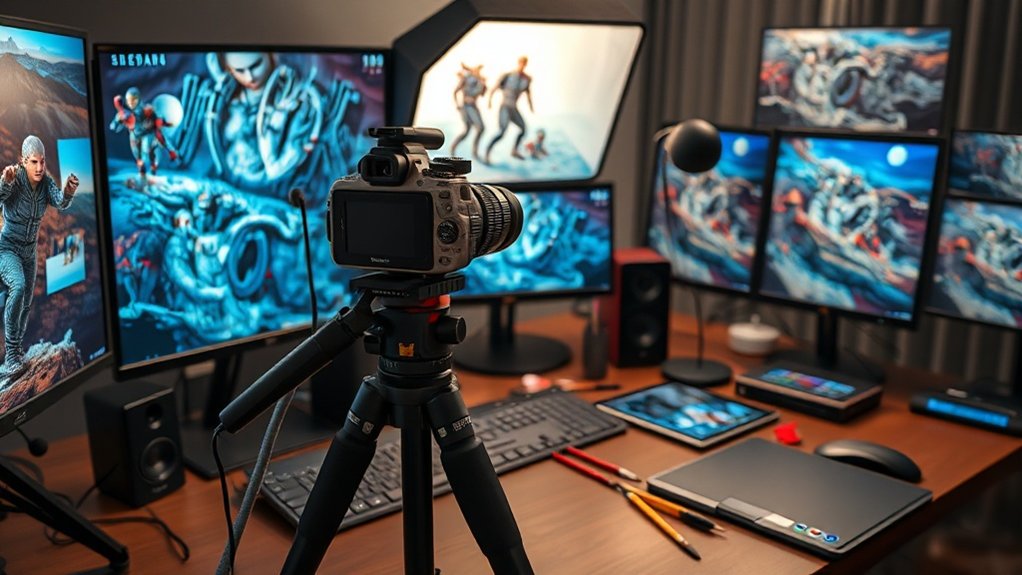
Mastering Digital Editing Techniques
While mastering digital editing techniques, you’ll reveal the full potential of your toy photography. Immerse yourself in the digital sphere where you can create stunning composite backgrounds that enhance your toy scenes. Start by learning key tools in your preferred editing software. Familiarize yourself with:
- Layers: Manage elements individually for precise control.
- Masks: Blend different images seamlessly without permanent changes.
- Adjustment Layers: Fine-tune colors and contrast to suit your vision.
These tools help you craft a cohesive and realistic look, making your toys appear as if they belong in their new environments. Experiment with different techniques to find what resonates with your style. Practice regularly, and soon you’ll see your toy photography evolve into mesmerizing art pieces that captivate and inspire viewers.
Bringing It All Together: Final Touches and Refinements
Having mastered digital editing techniques, you’re now ready to infuse your toy photography with final touches and refinements that bring your scenes to life. Start by adjusting the lighting to match the mood and atmosphere you’re aiming for. Subtle highlights and shadows can add depth and dimension, making your toys look more realistic. Pay attention to color grading; it ties all elements together and sets the overall tone.
Next, focus on fine-tuning details like sharpness and contrast, ensuring your subject stands out against the background. Use dodging and burning techniques to emphasize key features. Finally, don’t forget to clean up any distractions or imperfections. A quick review can catch overlooked details, ensuring your composite is polished and ready to captivate viewers.
Frequently Asked Questions
What Equipment Do You Use for Your Toy Photography Sessions?
You need a DSLR or mirrorless camera, a sturdy tripod, and various lenses for different perspectives. Don’t forget good lighting, like LED panels or softboxes, and a versatile editing software to enhance and perfect your shots.
How Do You Store and Organize Your Toy Photography Props?
You’ve got a mountain of props, so organization is key. Use labeled bins and shelves to keep everything tidy. Arrange by theme or size for quick access, ensuring your creative chaos never becomes an overwhelming disaster.
How Long Does It Typically Take to Complete a Composite Background?
You’re probably wondering how long a composite background takes. It typically requires a few hours to a couple of days, depending on complexity. You’ll find that patience and creativity help you achieve stunning results.
Do You Encounter Any Challenges With Scale and Perspective in Your Compositions?
You’ll face Herculean challenges with scale and perspective, like making toys look bigger than life itself. But don’t worry, by adjusting angles and using depth cues, you’ll transform tiny figures into monumental heroes effortlessly.
What Inspires Your Choice of Themes and Scenes for Your Toy Photography?
You draw inspiration from movies, books, and personal experiences. Your imagination thrives on nostalgia and fantasy, allowing you to create compelling scenes. Trust your instincts and let your passion guide your theme and scene choices in toy photography.
At a Glance
You’ve journeyed through the steps: selecting perfect elements, mastering layering, and using lighting to breathe life into your scene. You’ve danced with digital editing, adding finesse and flair. Now, as you bring it all together, remember—each detail matters, each touch counts. Like a symphony’s crescendo, your final refinements bring harmony, transforming your creation into a masterpiece of toy photography. Embrace the process, enjoy the art, and let your creativity shine.


