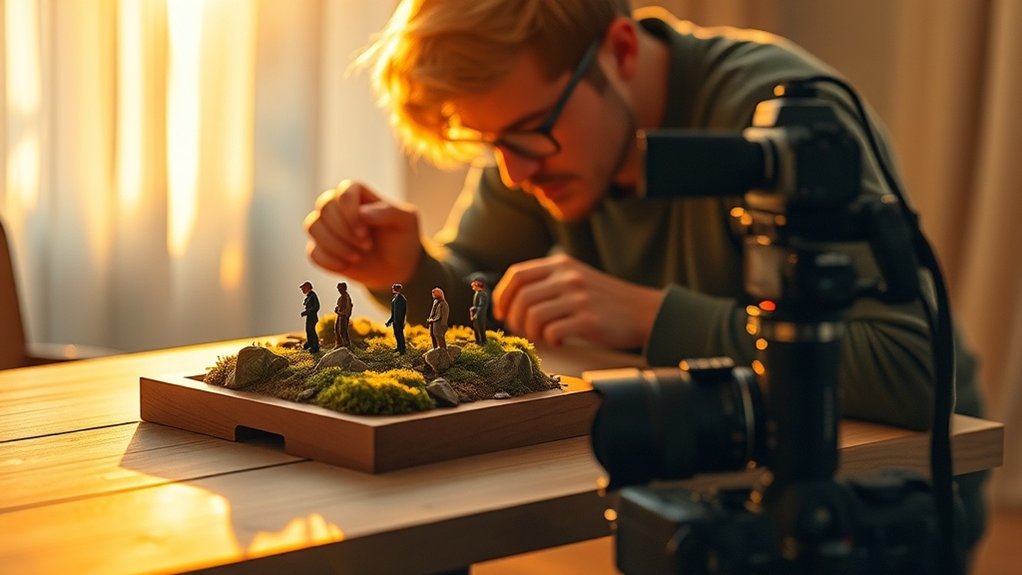
Capturing toy photography during golden hour is all about making the most of the magical light. Start by choosing vibrant toys with distinct features, ensuring their colors pop beautifully. The warm, soft light enhances textures and depth, offering a natural glow. Position your toys creatively within scenic backdrops that complement the theme. Use the right camera settings for sharpness and stunning detail. Enhance your photos with subtle post-processing for final touches. Stay tuned for more secrets to perfecting your toy photography.
Choosing the Perfect Toy Subjects
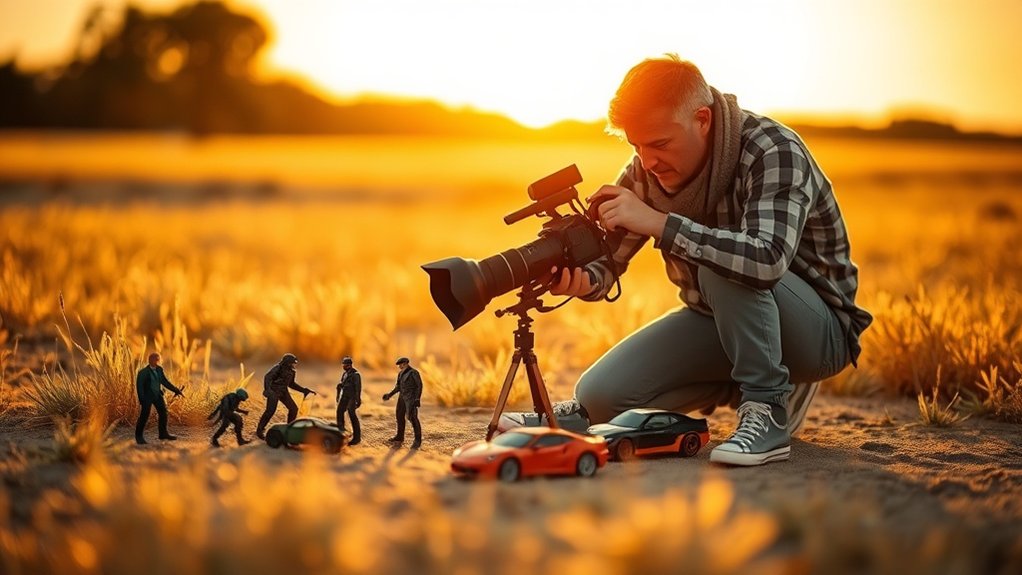
Selecting the right toy subjects is essential for fascinating toy photography, especially during the enchanting golden hour. You’ll want to choose toys that are vibrant and possess distinct features. Think about the story you want to tell. Is it adventurous or whimsical? Opt for toys that evoke those themes. Consider the texture and color of your subjects, as these will interact beautifully with the golden hour’s warm light, enhancing their visual appeal.
Experiment with scale by pairing different-sized toys to create depth and intrigue. Also, think about the surroundings where you’ll place them. A toy dinosaur might look epic against a grassy backdrop, while a doll could shine on a sandy beach. By thoughtfully selecting your toy subjects, your photography will capture viewers’ imaginations.
Understanding the Magic of Golden Hour
As the sun begins its descent, the golden hour casts a magical glow that transforms ordinary scenes into extraordinary moments. This brief period, just after sunrise or before sunset, offers a soft, warm light that enhances colors and adds depth to your toy photography. You’ll notice how shadows become elongated, creating dynamic contrasts that bring your subjects to life. The magic lies in the way this light gently wraps around objects, highlighting textures and details with a natural touch.
Capturing this enchanting light requires timing and patience. You’ll want to prepare your scene and position your toys to take full advantage of the directional light. The soft illumination can evoke emotions and tell stories, making your toy photography alluring and memorable. Embrace the golden hour’s charm, and watch your creations shine. Experimenting with different lighting modifiers for toy photography can further enhance the visual appeal of your images. From softboxes to reflectors, these tools can help you sculpt the light, creating depth and dimension that bring your toys to life. As you refine your technique, you’ll discover new ways to make each scene uniquely captivating.
Selecting the Ideal Location for Your Shoot
When selecting a location for your toy photography during the golden hour, focus on finding natural backdrops that enhance the scene’s mood. Pay attention to how light and shadows interact with your toys, creating dynamic and engaging images. Be mindful of avoiding distracting elements that could take away from the subject’s impact.
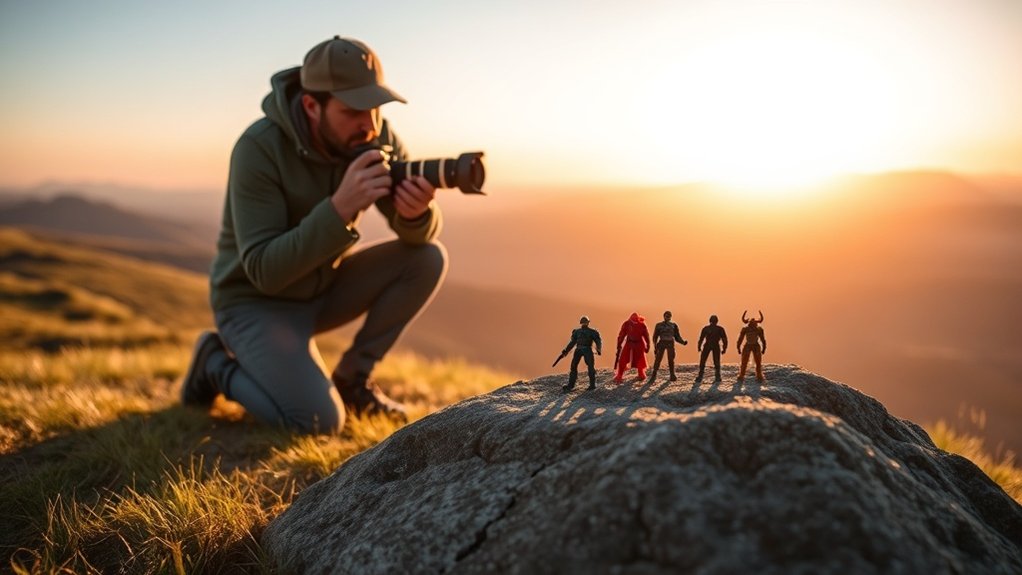
Natural Backdrops Enhance Mood
Finding the perfect natural backdrop is key to enhancing the mood of your toy photography. You need to think about what environment best complements your subject. A forest might add an adventurous vibe, while a beach could suggest relaxation or playfulness. Use elements like trees, rocks, or water to create depth and interest. Look for locations that offer a variety of textures and colors to make your scene pop.
When scouting spots, consider how the backdrop interacts with your toys. Will a grassy field make them appear larger than life? Or will a cityscape add a touch of realism? Trust your instincts and experiment. Ultimately, a well-chosen backdrop can transform your composition and bring your toys to life in unique and enchanting ways.
Light and Shadow Balance
While capturing toy photography, achieving the right balance of light and shadow is essential for a striking image. You’ll want to choose a location where the golden hour light naturally sculpts your subject. Look for spots that offer a mix of open space and natural elements, like trees or rocks, which can cast intriguing shadows and provide depth. Move around the area to see how the light interacts with your toy from different angles. Notice where the soft, warm light highlights details and where shadows create contrast, adding drama and interest. Pay attention to how the surrounding landscape influences light flow, ensuring it complements your toy photography. This attention to detail will help bring your toy scenes to life in a fascinating way.
Avoiding Distracting Elements
As you master the balance of light and shadow, choosing the right setting becomes essential to your toy photography’s success. Start by scouting locations that complement your toy’s theme. Avoid overly busy backgrounds; they can distract from your subject. Look for simple, clean environments that enhance rather than overshadow your toys. Natural elements like rocks, grass, or sand can add texture without overwhelming the scene.
Consider the time of day; golden hour provides soft, warm lighting, but also casts long shadows. Make certain these don’t interfere with your composition. Before you shoot, examine the area for unwanted elements like trash or clutter. By thoughtfully selecting your location, you’ll make sure your toy remains the focal point, allowing its story to shine through beautifully.
Crafting Intricate Backgrounds and Sets
To create compelling toy photography, start by selecting natural elements that complement your scene. Next, build miniature props to add depth and interest, ensuring they fit the scale of your toys. Finally, incorporate realistic textures to enhance the overall authenticity and draw viewers into your miniature world.
Selecting Natural Elements
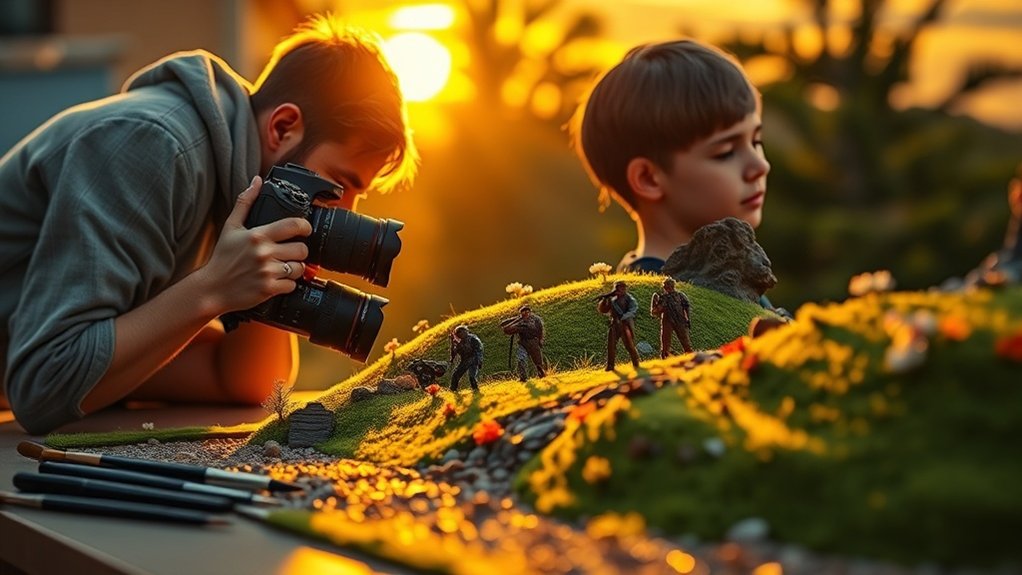
Creating enchanting toy photography involves more than just capturing the toys themselves; it requires a thoughtful selection of natural elements to craft intricate backgrounds and sets. Start by scouting your location during the golden hour, observing how sunlight dances through leaves or reflects off water. Use trees, rocks, and flowers to add depth and realism to your composition. Look for textures in the bark or the softness of moss that can enhance your scene. Consider the hues of the sky and how they complement your toy’s colors. Position your toys to interact with these elements, making them appear part of their environment. By mindfully integrating these natural features, you’ll create a more immersive and enthralling world for your toy subjects.
Building Miniature Props
While natural elements play a pivotal role in enhancing your toy photography, crafting your own miniature props brings an unmatched level of detail and creativity to your scenes. Start by choosing a theme or story for your shoot. This will guide your prop-making process. Use materials like foam board, clay, and balsa wood to create tiny buildings, furniture, or vehicles. Paint them with acrylics for vibrant colors and add small details with fine brushes to make them pop. Don’t forget to contemplate scale; props should complement your toys without overpowering them. Experiment with layering different elements to create depth and dimension. With the right props, you’ll transform your scenes into enchanting miniature worlds that elevate your golden hour photography to new heights.
Incorporating Realistic Textures
As you plunge into the world of toy photography, capturing realistic textures is essential for crafting intricate backgrounds and sets. Start by examining real-world materials. Notice how wood grain, rough stone, or soft fabric appears under different lighting. Use these observations to select textured materials for your sets. Small-scale items like sandpaper or fabric swatches can mimic larger textures effectively. Don’t hesitate to experiment with layering textures; it adds depth and dimension. You might use a piece of bark to simulate a rocky landscape or fabric to create flowing water. Experimentation is key. Try different approaches until you find what works best. Ultimately, these details will enhance your scene, making it more believable and engaging for your audience.
Mastering Camera Settings for Optimal Shots
Capturing the perfect shot during golden hour requires more than just being in the right place at the right time; it also demands a solid grasp of your camera settings. Start by adjusting your ISO to a low setting, around 100-200, to minimize noise and capture crisp details. Set your aperture to a wider setting, like f/2.8 or f/4, to create a pleasing depth of field that highlights your toy subject against the glowing backdrop. Use a fast shutter speed to freeze motion and guarantee sharpness, especially if there’s a breeze. Don’t forget to shoot in RAW format, which gives you more flexibility in post-processing. Finally, embrace your camera’s white balance settings to keep those golden hues warm and natural.
Techniques for Composing Captivating Scenes
Having mastered your camera settings, it’s time to focus on creating enchanting scenes that bring your toy photography to life. Start by considering your background, as it can dramatically affect the mood. A simple backdrop can highlight your toy’s details, while a detailed one adds depth. Don’t forget about the rule of thirds to direct the viewer’s eye and create balance in your composition. Incorporate elements that tell a story or convey a sense of motion, like adding props or adjusting angles.
Here are three techniques to elevate your scene composition:
- Use leading lines: Guide the viewer’s eye towards the main subject.
- Play with scale: Position objects to create a sense of size and perspective.
- Experiment with angles: Capture unique perspectives by shooting from different heights.
Enhancing Photos With Post-Processing Tips
Even after capturing a stunning scene, the magic of photography doesn’t end with the click of the shutter. Post-processing is your secret weapon for enhancing toy photography. Start by adjusting the exposure to balance lights and shadows, guaranteeing no details get lost. Use contrast to make colors pop, giving your toys a lifelike vibrancy. Don’t forget to sharpen your image slightly to emphasize intricate details.
Consider using saturation and vibrance to enhance colors without making them look unnatural. A subtle vignette can draw attention to your subject, adding a professional touch. Experiment with different filters and effects, but be cautious not to overdo it. Finally, always review your edits on different screens to guarantee consistency across devices. Your toys deserve the best presentation!
Showcasing and Sharing Your Toy Photography Art
How do you transform your toy photography into an admired art form? It starts with showcasing your work effectively. Consider building an online presence that reflects your style. Use social media platforms to reach a broader audience and engage with fellow enthusiasts. Here’s how you can share your art:
- Social Media Platforms: Post regularly on Instagram, Twitter, or Facebook. Use relevant hashtags to connect with the toy photography community and attract followers interested in your niche.
- Online Galleries and Portfolios: Create a professional-looking online portfolio using platforms like Behance or Adobe Portfolio. This helps you present your best work to potential collaborators or clients.
- Participate in Challenges and Contests: Engage with photography challenges or contests to gain exposure and receive feedback from peers and professionals.
Frequently Asked Questions
How Do You Keep Your Toys Stable During Outdoor Shoots?
You can stabilize toys during outdoor shoots by using stands, adhesive putty, or hidden wires. Choose methods that suit your scene. Make certain they’re not visible in photos. Try shooting on flat surfaces to prevent unexpected movement.
What Equipment Is Essential for Toy Photography Besides a Camera?
Imagine a painter’s palette; your essential tools include a sturdy tripod for stability, reflectors for perfect lighting, and creative backgrounds. Don’t forget small props! These elements transform your toy photos from snapshots to enchanting stories.
How Do You Transport Delicate Toy Setups Safely?
You transport delicate toy setups safely by using padded bags or containers. Secure each piece with bubble wrap or foam. Don’t forget to label everything, ensuring you know what’s inside without opening and risking damage.
How Can Weather Conditions Affect Toy Photography Sessions?
Weather can drastically impact your toy photography. Wind might knock over setups, rain can damage delicate toys, and changing light conditions alter your planned shots. Always check forecasts and prepare to adapt your session accordingly.
What Are the Best Ways to Avoid Unwanted Reflections on Toy Surfaces?
Think of reflections as uninvited guests at a party. You can avoid them by adjusting angles, using diffused lighting, and employing matte sprays. Don’t forget to check the background for any shiny distractions sneaking in.
At a Glance
You’ve now got the tools to transform toy photography into a mesmerizing art form. Picture each shoot as a blank canvas, where golden hour paints the scene with its magical brushstrokes. By choosing the right toys, locations, and settings, you’re ready to create miniature masterpieces. Don’t forget, the final polish comes with a bit of post-processing magic. Now, go share your art with the world and watch your creations come to life!


