In toy photography, crafting perfect miniature sets is crucial. Start with a theme to keep your scenes consistent. Use household items for creative props, like aluminum foil for water effects or cotton for clouds. Lighting sets the mood, so experiment with natural and artificial sources. Create weather effects with simple tricks like misting for rain. Capture depth with thoughtful composition, using backgrounds to frame your subjects perfectly. There’s more to transform tiny scenes into enchanting worlds.
Crafting the Perfect Miniature Set
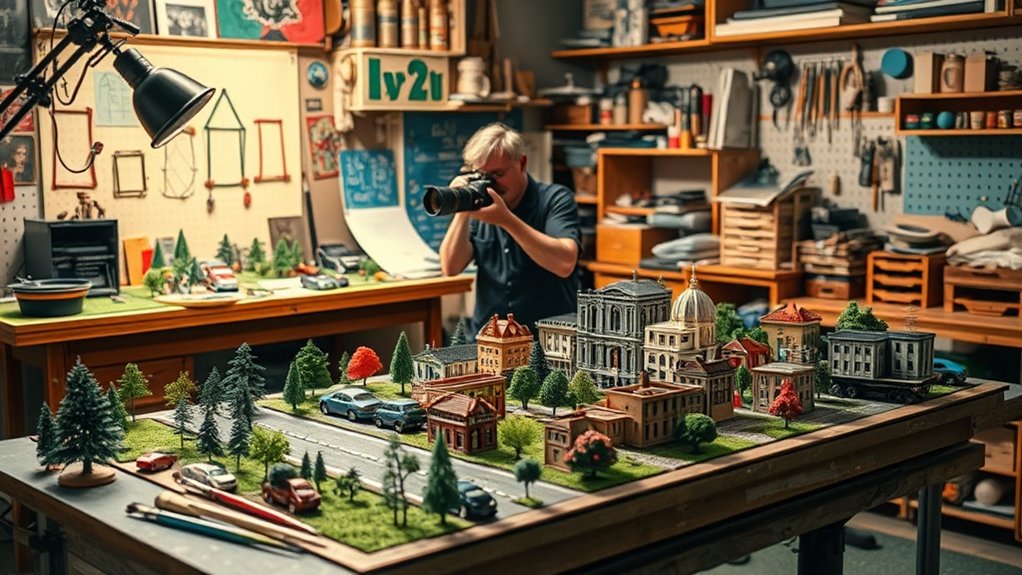
Creating an enchanting miniature set is vital for bringing your toy photography to life. Start by setting a theme or story. This decision guides your choices and guarantees consistency. Next, consider the scale of your toys. Your set should complement their size, making the scene realistic. Lighting is essential; it enhances mood and draws focus where needed. Use natural light or small lamps to create depth and shadows. Arrange your props thoughtfully, maintaining balance and perspective. Pay attention to the background, as it frames your scene. A blurred background can add depth without distraction. Finally, test different angles and compositions. Experimentation helps you discover the most intriguing shots. By focusing on these elements, you’ll craft a miniature set that fascinates viewers.
Ingenious Use of Everyday Materials
Many everyday materials can transform your toy photography into something extraordinary. Look around your home, and you’ll discover a treasure trove of props waiting to enhance your scenes. First, consider aluminum foil; its reflective surface can mimic water or create futuristic landscapes. Second, cotton balls are perfect for clouds or smoke effects, adding texture and depth to your shots. Third, colored paper can create vibrant backgrounds, setting the mood and tone of your photo. Each of these materials offers a simple yet effective way to elevate your work. Embrace creativity by repurposing items you already have. You’ll find that with a bit of imagination, the possibilities are endless and your toy photography will reach new artistic heights. Additionally, consider incorporating natural elements like leaves or small stones to bring an organic touch to your scenes. The best props for toy photography can often be found outdoors, where textures and colors can complement your miniatures beautifully. Don’t shy away from experimenting with lighting as well; using simple household lamps can dramatically change the atmosphere and bring your toys to life.
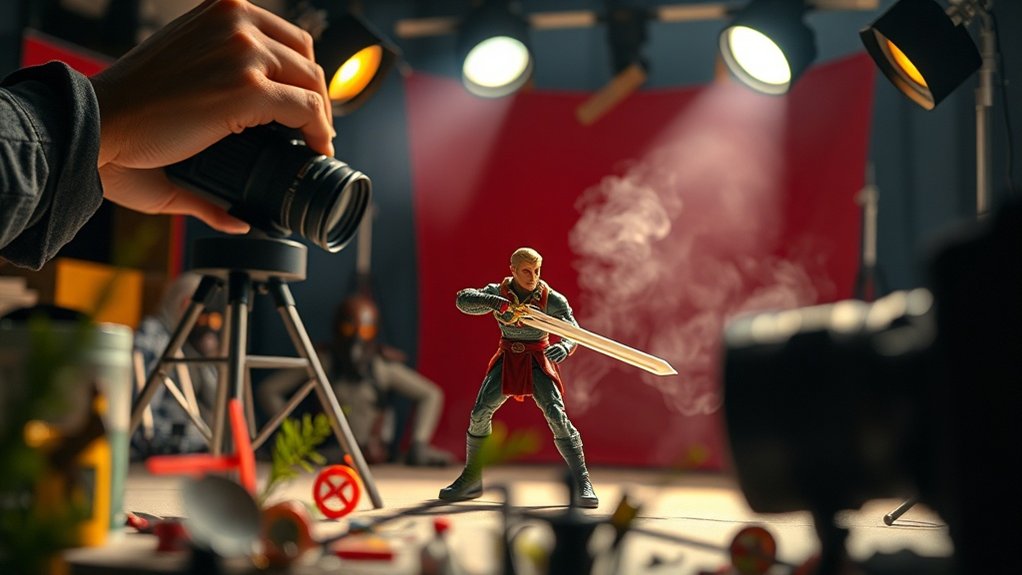
Mastering Lighting and Shadows
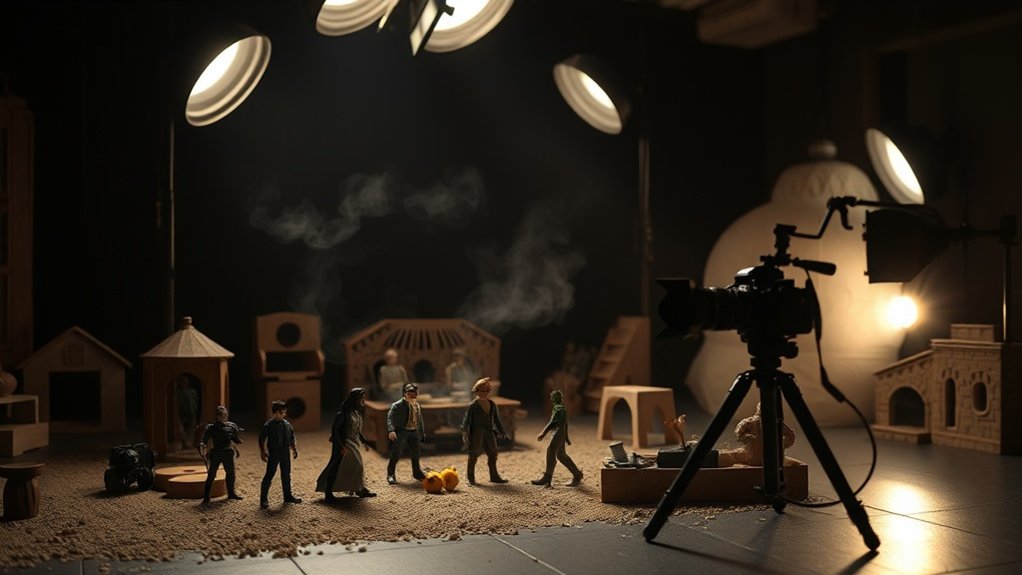
When you master lighting and shadows, your toy photography transforms from ordinary to extraordinary. Start by understanding the direction and quality of light. Natural light can create stunning effects, but don’t shy away from using lamps or flashlights for more control. Position your light source at different angles to cast dynamic shadows and emphasize textures.
Experiment with backlighting to create silhouettes or use side lighting to highlight details. Remember, shadows add depth and mood, making your scene more lifelike. Use reflectors, like white cards or foil, to bounce light into shadowed areas, softening harsh contrasts.
Practice makes perfect, so keep refining your technique. Capture the right balance, and you’ll give your toy scenes a enchanting, cinematic feel that fascinates viewers.
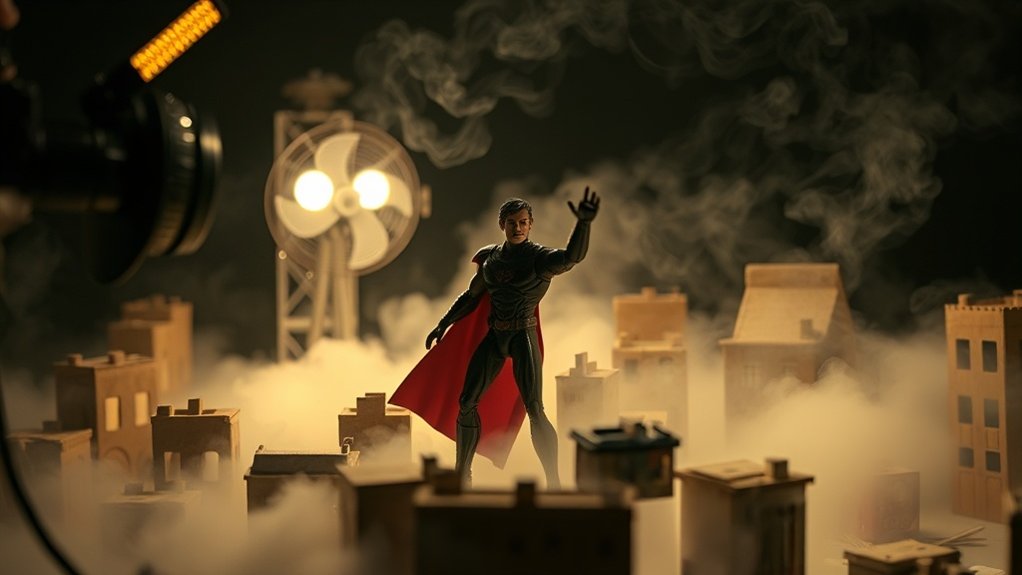
Creating Realistic Weather Effects
Although often overlooked, weather effects can add a layer of realism and intrigue to your toy photography. By simulating elements like rain, snow, or fog, you’ll make your scenes more dynamic and lifelike. Here’s how you can achieve this:
- Rain: Use a spray bottle to create a gentle mist over your scene. Adjust the nozzle for droplets that mimic a real downpour. Backlighting enhances the effect, highlighting each droplet.
- Snow: Sprinkle baking soda or flour for a fresh snowfall appearance. Use a fan to gently blow it across the scene for a natural settling effect.
- Fog: Create atmospheric fog using dry ice or a small fog machine. Position it strategically to add depth and mystery, enveloping your toys in a soft haze.
The Art of Composition and Framing
Mastering the art of composition and framing transforms your toy photography from ordinary to extraordinary. By focusing on these elements, you guide the viewer’s eye and create enchanting scenes. Start by considering the rule of thirds. Imagine a grid over your viewfinder and position key elements along these lines to balance your image. Don’t forget to experiment with angles. Sometimes lowering your camera to the toy’s level adds a dramatic and immersive effect.
Think about your background too; verify it complements, not distracts, from your main subject. Use props creatively to add depth and context. Framing with natural elements like branches or using shadows can lead to more dynamic images. Remember, each choice in composition tells a story, so choose wisely.
Frequently Asked Questions
How Do You Prevent Dust From Accumulating on Props During Shoots?
You should regularly clean your props with a microfiber cloth before and during shoots. Keep a can of compressed air handy for hard-to-reach areas. Store props in airtight containers when they’re not in use to minimize dust.
What Are the Best Adhesives for Securing Small Props?
You’ll need an adhesive so strong it could hold the universe together! Consider using tacky glue or museum putty. They’re perfect for securing tiny props without leaving a mess. Don’t overdo it, though—less is more!
How Can You Transport Fragile Props Safely?
You can transport fragile props safely by using padded containers and bubble wrap. Keep props separated to avoid damage. Use small boxes for individual items and label everything. Don’t forget to handle with care during transit.
What Are Some Tips for Storing Props Long-Term?
When you’re storing props long-term, keep them in a cool, dry place. Use bubble wrap or soft padding to prevent damage. Label everything clearly so you can find items easily. Regularly check for any signs of deterioration.
How Do You Clean and Maintain Delicate Toy Props?
When your treasured props need a little pampering, gently dust them with a soft brush. Use mild soap and water for stubborn spots. Avoid direct sunlight to keep their charm. Regular care guarantees they always shine.
At a Glance
You’ve now got the tools to dive headfirst into the world of toy photography with confidence. By crafting miniature sets, using everyday materials creatively, mastering lighting, and adding weather effects, you can bring your scenes to life. Remember, the devil’s in the details, so pay attention to composition and framing. With practice, you’ll create enchanting images that tell stories. So grab your camera, release your imagination, and let your toys speak in ways words never could. Experiment with different toy photography lighting techniques to highlight textures and create mood, transforming ordinary shots into extraordinary visuals. Play with shadows and contrasts to evoke emotions, and don’t shy away from using colored gels or natural light sources for added flair. Each session is an opportunity to learn and innovate, so let your creativity guide you as you refine your unique style. Incorporating various toy photography props and accessories can elevate your scenes, adding depth and interest that beckon viewers to explore every corner of your composition. Consider using items like mini furniture or whimsical backgrounds that complement your toys’ personalities, transforming a simple setting into a captivating narrative. As you experiment, keep a journal of your ideas and techniques to track your progress and inspire future projects.


