In toy photography, black & white conversion editing lets you shift focus from color to textures, contrasts, and narratives. Begin by using methods like channel mixers or black & white adjustment layers for precise control. Experiment with light and shadows to add drama, and try dodge and burn tools to enhance textures. Use composition techniques, such as the rule of thirds, for enthralling images. There’s much more to discover that will elevate your photography.
Understanding the Power of Monochrome in Toy Photography
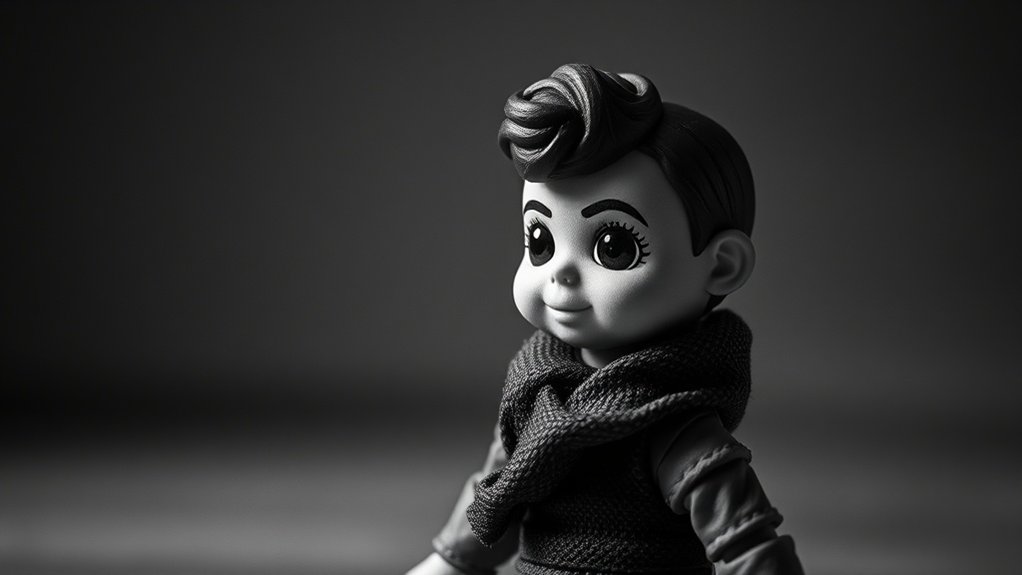
While color often dominates modern photography, the timeless allure of monochrome holds a unique power in toy photography. You’ll find that stripping away color lets you focus on shapes, textures, and contrasts, bringing your toy subjects to life in a new way. Monochrome emphasizes the details you might miss in color, like the intricate patterns on a toy soldier’s uniform or the subtle shadows cast by a toy car.
You’re not just taking pictures; you’re telling stories through light and shadow. Black and white photography challenges you to think creatively, highlighting the emotional depth and narrative potential of your toys. By removing distractions, you can capture the essence of your subject, allowing your audience to experience the scene with a fresh perspective.
Choosing the Right Toy Subjects for Black & White
When you’re picking toys for black and white photography, focus on subjects with strong contrast and rich textures. These elements can transform a simple toy into a striking image, emphasizing shadows and highlights effectively. Consider how the toy’s details will appear in monochrome, as texture can add depth and interest without the distraction of color.
Impactful Contrast Choices
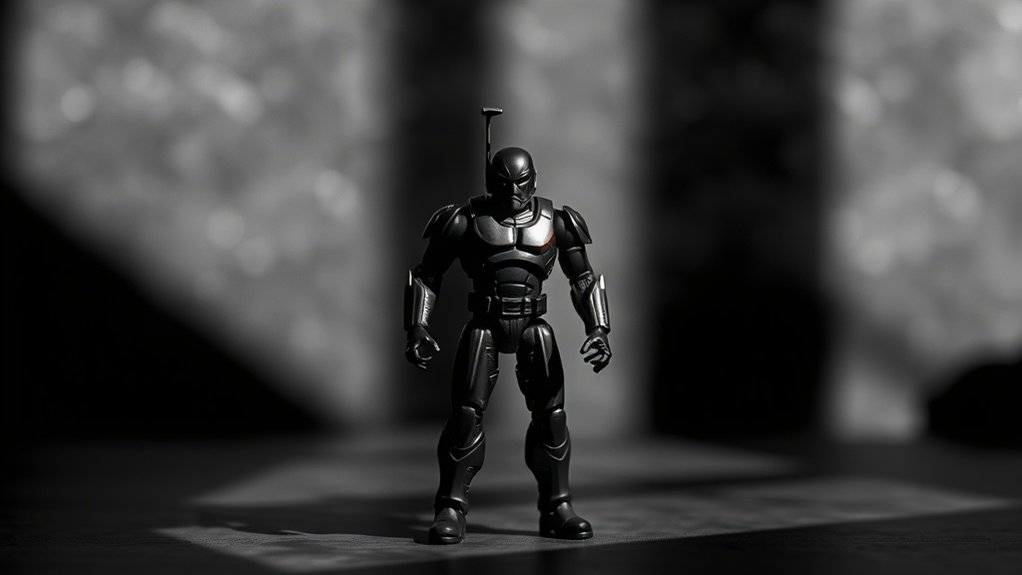
Selecting the right toy subjects is essential for creating impactful black and white photographs that captivate viewers. When choosing toys, think about how contrast will play a role. Opt for toys with distinct shapes and varying shades. High contrast between light and dark areas can create striking images, so look for toys with bold lines or features. Pay attention to the inherent contrast in the toy’s design—this can make or break your image in a black and white setting. Reflect on the emotional impact; some toys might evoke nostalgia or curiosity with their silhouettes alone. Your goal is to draw the viewer’s attention with clear, defined contrasts that tell a story, even without the distraction of vibrant colors.
Textural Details Emphasis
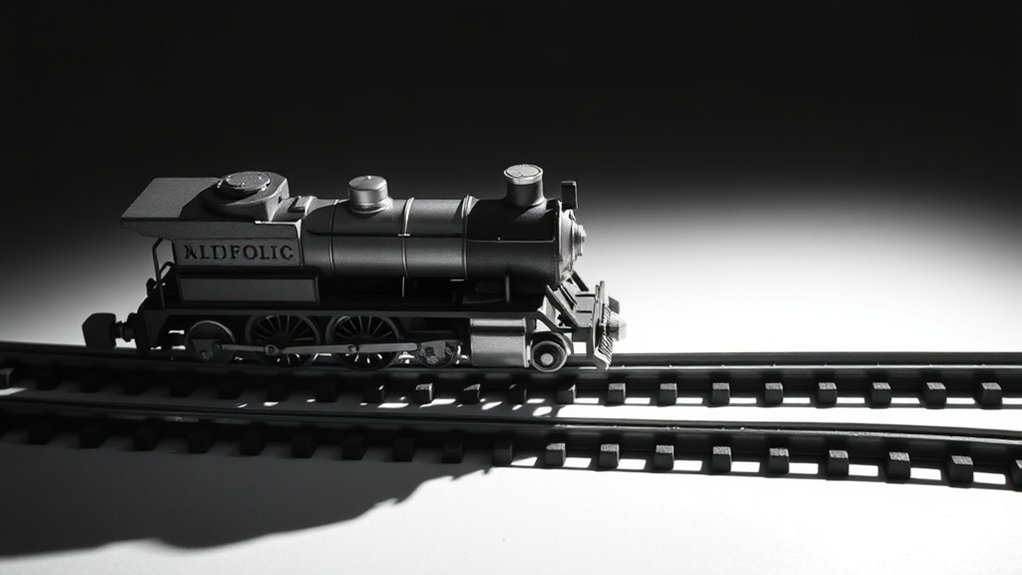
Contrast plays a significant role in black and white toy photography, but texture can equally captivate and intrigue. When choosing toy subjects, focus on those with intricate details and varied surfaces. Look for toys with rich textures like fabric, metal, or wood, as these materials can create compelling visual interest in monochrome images.
Consider using toys with intricate designs or those featuring multiple layers and patterns. These elements will stand out starkly in black and white, offering depth and dimension. Pay attention to how light interacts with the textures. Shadows can enhance the tactile feel, elevating the image’s impact.
Experiment with different angles to highlight these textures, ensuring your shots reveal every subtle detail. This attention to texture will transform your black and white toy photos.
Mastering Light and Shadows for Dramatic Effects
To truly capture the essence of your toy photography in black and white, mastering light and shadows is essential. Start by experimenting with different light sources to see how they interact with your toys. Natural light offers soft shadows, while artificial lights can create strong contrasts. Position your toys strategically to let shadows enhance their features and create depth. Try backlighting to add a dramatic silhouette effect. Adjust the angle of your light source to find the perfect balance between illumination and shadow, highlighting key details of your subject. Remember, shadows can add mood, mystery, or drama. Use reflectors or diffusers to control harshness. By understanding light dynamics, you’ll elevate the emotional impact of your black and white toy photography.
Techniques for Enhancing Textures in Black & White
To enhance textures in black and white toy photography, focus on emphasizing the intricate details. Use contrast to add depth and make your subjects stand out, giving them a three-dimensional feel. By highlighting shadows effectively, you can create a striking visual interest that captures the viewer’s attention.
Emphasizing Textural Details
Textures can make or break a black and white toy photograph, transforming a simple image into a fascinating study of detail. To emphasize textural details, you’ll want to experiment with several techniques. Start by adjusting the sharpness to highlight intricate patterns and surfaces. Use dodge and burn tools to selectively lighten or darken areas, accentuating textures. Play with clarity adjustments to draw out fine details without over-sharpening. Consider using a high-pass filter for a subtle enhancement that won’t overpower your image. Finally, control noise to maintain texture without introducing unwanted grain.
- Adjust sharpness to highlight patterns
- Dodge and burn for selective emphasis
- Clarity adjustments for detail enhancement
- High-pass filter for subtle texture
- Control noise to prevent grain
These tips will help you create striking, detailed images.
Contrast for Depth Enhancement
Enhancing contrast is essential for adding depth to black and white toy photography. By adjusting contrast, you create a dynamic range that makes your toys pop. Start by increasing the contrast slightly to see how it affects the image. This will help bring out details that might otherwise be lost in a flat, gray scale.
You’ll want to pay attention to the midtones, as they often contain the most detail. Boosting contrast in these areas can make textures more pronounced and give your toys a lifelike appearance. Use tools like curves or levels in your editing software to fine-tune the balance. Remember, too much contrast can lead to losing details, so adjust incrementally and keep an eye on how it impacts the overall image.
Highlighting Shadows Effectively
Although shadows might initially seem like simple areas of darkness, they hold immense potential for enhancing textures in black and white toy photography. By carefully managing shadows, you can add depth and dimension to your images, making them more enchanting. Emphasizing shadows involves using techniques that bring out the texture and details of your subjects.
Consider the following tips to highlight shadows effectively:
- Adjust Contrast: Increase contrast to make shadows stand out against highlights.
- Dodge and Burn: Use these tools to selectively enhance shadow areas.
- Directional Lighting: Position your light source to cast intentional, dramatic shadows.
- Texture Emphasis: Focus on surfaces with interesting textures to amplify shadow detail.
- Layer Masks: Apply masks to control shadow intensity without affecting the entire image.
These methods will transform your toy photography, highlighting every intricate detail.
Composition Tips for Engaging Monochrome Images
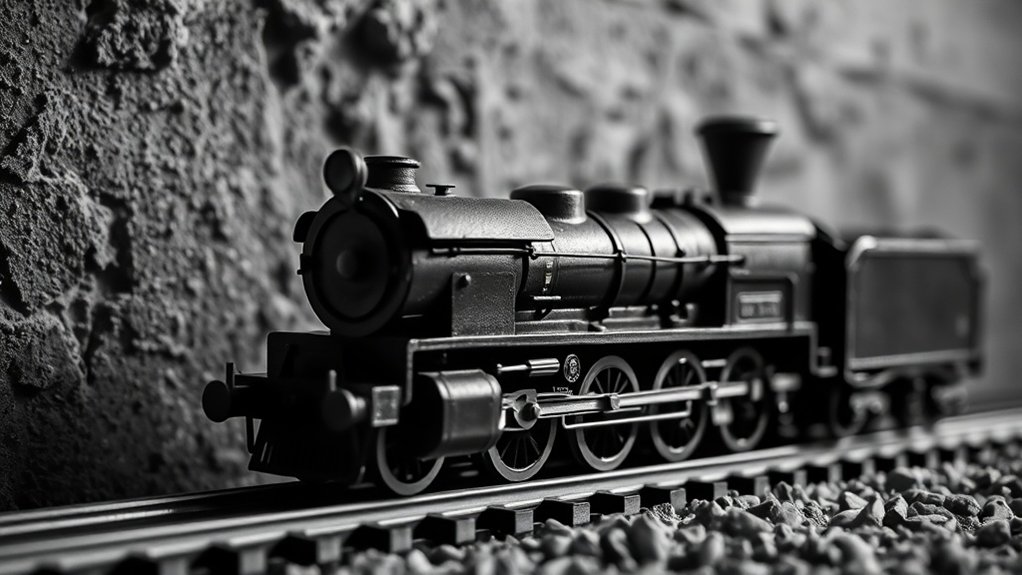
Even if you’re new to toy photography, mastering composition is essential to creating enchanting monochrome images. Start by focusing on the rule of thirds. Placing your subject off-center can create dynamic tension and draw the viewer’s eye. Use leading lines, like roads or branches, to guide attention toward the focal point. In monochrome, textures become important. Pay attention to surfaces, such as rough stone or smooth plastic, to add depth.
Experiment with scale and perspective. Position your toy to either dominate the frame or appear dwarfed by its surroundings, adding narrative. Balance is also critical; make sure your elements don’t overwhelm one side of the image. Finally, negative space is your ally. It emphasizes your subject and prevents clutter, enhancing the story you’re telling.
Post-Processing Tools and Software Recommendations
Crafting an enchanting monochrome image starts with thoughtful composition, but the magic truly unfolds in the post-processing stage. To elevate your toy photography, choosing the right software can make all the difference. You’ll need tools that offer flexibility and precision to bring out the best in your monochrome images. Here’s a list of recommended post-processing tools:
- Adobe Lightroom: Offers advanced black & white conversion and fine-tuning options.
- Photoshop: Perfect for detailed edits and creative effects.
- Capture One: Known for its superior color grading and black & white adjustments.
- Affinity Photo: Budget-friendly with professional-grade editing tools.
- Silver Efex Pro: Specially designed for black & white photography, offering unique film emulation.
Each of these tools provides distinct features that can enhance your artistic expression.
Exploring Different Black & White Conversion Methods
How do you transform a colorful toy scene into an intriguing black and white masterpiece? Start by exploring different conversion methods to find what best suits your vision. First, try using the grayscale mode in your editing software. It’s simple but might not give you full control over tones. Next, experiment with channel mixers. Adjust the red, green, and blue channels to emphasize details and contrast. For more precision, use the black and white adjustment layer. This method allows you to tweak individual colors, giving you control over how they translate into grayscale. Don’t forget filters like the high contrast red or deep blue filters, which can add drama or subtlety. Play around, and you’ll soon develop your signature monochrome style.
Creative Approaches to Storytelling in Monochrome
While transforming toy photography into black and white, focusing on storytelling can elevate your images from simple snapshots to evocative narratives. By stripping away color, you’re left with the raw essence of your subject, allowing you to play with contrast and composition to convey emotion. Consider these creative approaches:
- Lighting: Use shadows and highlights to spotlight your toy’s dramatic moments.
- Composition: Frame your subject to lead the viewer’s eye and tell a story.
- Texture: Highlight the details of the toy to add depth and interest.
- Emotion: Capture expressions or poses that suggest a story or mood.
- Context: Place your toy in a setting that enhances the narrative.
Embrace these elements to craft compelling stories in each monochrome frame.
Showcasing Your Black & White Toy Photography Portfolio
Building a standout black and white toy photography portfolio means focusing on presentation and storytelling. Start by selecting your strongest images that convey emotion and narrative. Consistency is key; guarantee your editing style remains uniform across all photos. Arrange them in a sequence that tells a story or highlights a theme.
Create an online portfolio using platforms like Adobe Portfolio or Squarespace. These allow you to design visually appealing layouts that showcase your work effectively. Include a brief artist statement to give viewers insight into your creative process and vision.
Share your portfolio on social media and photography forums to reach a broader audience. Engage with your followers by asking for feedback and participating in photography challenges. This not only improves visibility but also enhances your craft.
Frequently Asked Questions
How Can Color Filters Affect Black & White Toy Photography?
Color filters can dramatically change your black & white images by altering the contrast and tonal range. You can emphasize certain details, create mood, or highlight textures by choosing the right filter for your desired effect.
What Are Common Mistakes When Converting Toy Photos to Black & White?
When converting photos to black and white, you might overlook contrast adjustments or ignore texture details. Don’t forget to refine lighting and tonal balance. Avoid relying solely on automatic settings; manual tweaking often yields better results.
Can Smartphone Cameras Suffice for Quality Monochrome Toy Photography?
Using a smartphone camera for monochrome toy photography is like painting a masterpiece with a simple brush. You’ll capture stunning details and textures without needing fancy equipment, as long as you focus on lighting and composition.
How Do You Handle Reflections and Glare in Black & White Toy Photos?
To tackle reflections and glare, adjust your lighting setup, use diffusers, and position your subjects strategically. Experiment with angles and utilize post-processing tools to reduce unwanted shine. Your creative adjustments will enhance the photo’s overall impact.
What Are the Best Practices for Printing Black & White Toy Photography?
You should choose high-quality paper for better contrast and detail. Make certain your printer is calibrated correctly. Use a test print to adjust brightness and contrast levels. Finally, frame your work under UV-protective glass to preserve it.
At a Glance
You’ve explored the magic of monochrome, chosen the perfect toy subjects, and mastered light and shadows. You’ve enhanced textures, refined compositions, and embraced post-processing tools. You’ve investigated conversion methods, told stories without color, and showcased your art. Now, it’s time to capture moments that speak volumes, create images that evoke emotion, and tell stories that transcend color. Let your black and white toy photography be a canvas where imagination paints its own vibrant tale.


