Don't overlook lighting; it can make or break your toy macro shots. Control depth of field to avoid focus issues, and simplify backgrounds to keep attention on your subject. Choose the right lens for intricate details and don't skip post-processing, which can elevate your images. Stabilize your camera to prevent blur, and don't rush your composition for the best results. If you're curious about refining your photography skills further, there's more insight ahead.
Overlooking the Importance of Lighting
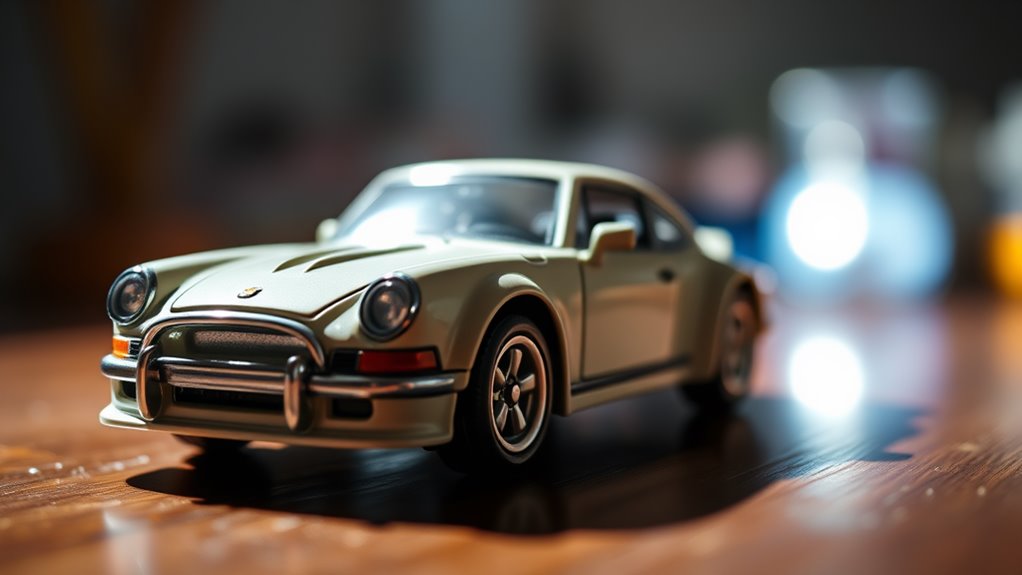
When diving into toy macro photography, don't underestimate the power of lighting. It can make or break your shot. Without proper lighting, even the most intricate toys lose their magic. You'll want to illuminate your subject without causing harsh shadows or overexposure. Natural light is your friend, so try shooting near a window or outside during the golden hour. If that's not possible, use soft artificial lights like LED panels. Position them at different angles to highlight the toy's details. Reflectors can help bounce light into darker areas, ensuring a balanced exposure. Always keep an eye on your camera's histogram to avoid losing detail in highlights or shadows. With effective lighting, your toy photos will truly shine.
Neglecting Depth of Field Control
Mastering depth of field is essential in toy macro photography, as it determines which parts of your image are in sharp focus. When you neglect depth of field control, your photos can suffer from distracting blurriness or an inconsistent focus that detracts from your subject. To avoid this, adjust your camera's aperture settings. A smaller aperture (higher f-stop) increases depth of field, bringing more of the scene into focus. Conversely, a larger aperture (lower f-stop) isolates your toy by blurring the background and foreground.
Experiment with different settings to find the perfect balance for each shot. Remember, the closer you are to the subject, the more critical depth of field becomes. Don't let poor depth of field control undermine your creativity and storytelling.
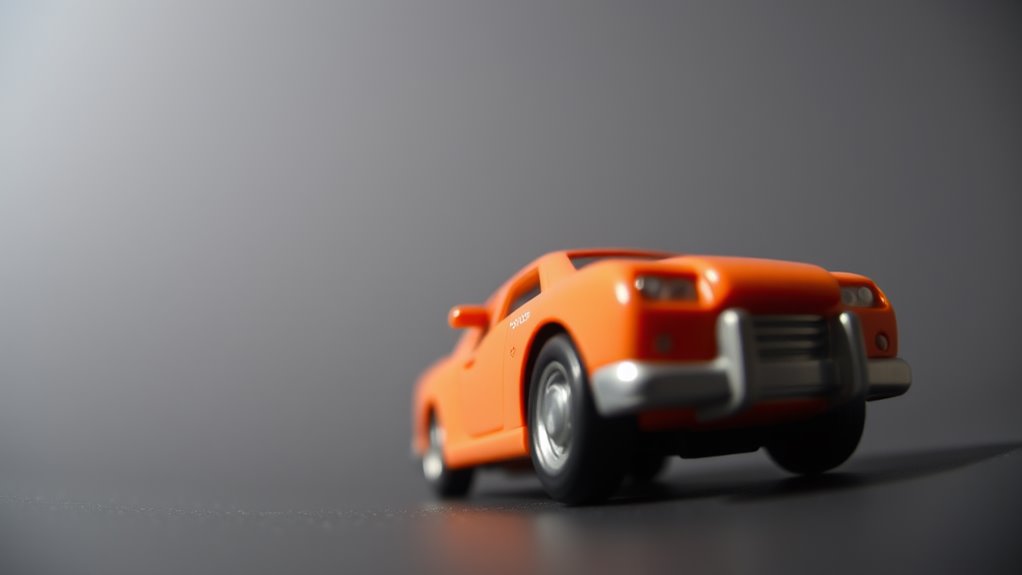
Ignoring Background Clutter
When you're photographing toys up close, it's easy to overlook the background, but ignoring clutter can ruin your shot. Simplify your composition by ensuring that distracting elements don't pull attention away from your subject. By focusing on a clean and minimal backdrop, you'll make your toys stand out brilliantly.
Simplify Your Composition
While focusing on your toy subject, it's crucial to simplify your composition by eliminating background clutter. A clean, simple background guarantees your toy stands out. Start by choosing a plain surface or backdrop that complements your toy's colors. Consider using a shallow depth of field to blur any remaining distractions. Declutter your shooting area by removing unnecessary items and keeping only what's vital. When setting up, remember:
- Use a single-colored backdrop: It helps highlight the toy.
- Avoid busy patterns: They can steal attention from your subject.
- Remove unnecessary props: Less is often more.
- Mind the edges: Confirm nothing unwanted sneaks into the frame.
- Check lighting: Shadows can become part of the clutter.
Minimize Distracting Elements
Having refined your composition with a clean background, it's time to focus on minimizing distracting elements that aren't part of the backdrop. First, examine your frame for any unintended items like stray hairs, dust, or fingerprints on your toy. These can detract from the visual impact. Use a soft brush or blower to remove them. Next, watch for reflections or shadows that might distort your subject's appearance. Adjust your light sources to eliminate these nuisances. Pay attention to lighting angles and intensity to maintain the focus on your toy. Finally, double-check for any overlooked clutter sneaking into the edges of your shot. By keeping the scene tidy, you'll guarantee your toy remains the star, making your macro photography truly enchanting.
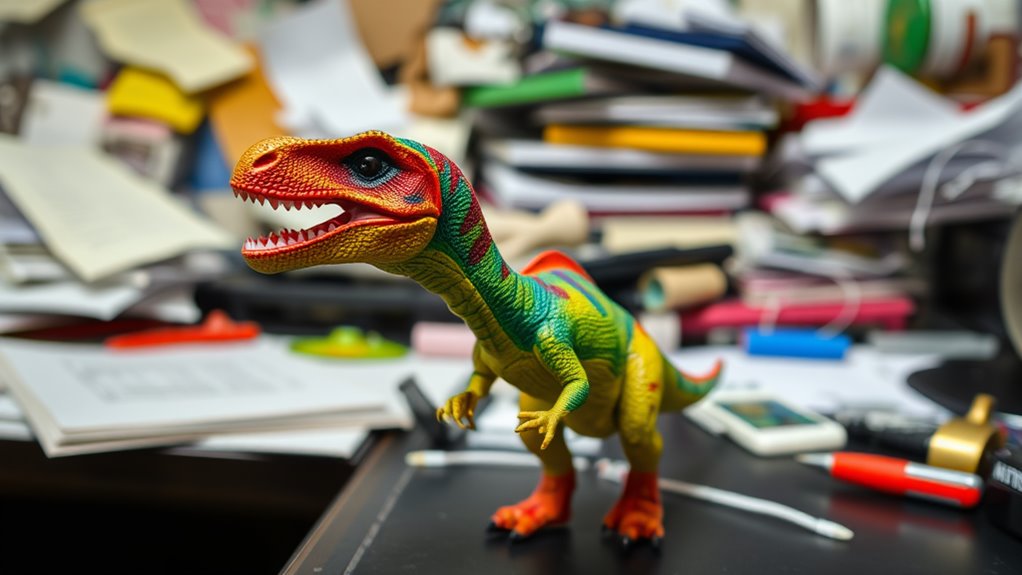
Focusing Solely on the Toy
When you're capturing toy macro photography, it's tempting to focus only on the toy itself, but don't overlook the importance of the background. A well-chosen background can enhance your composition and set the scene, adding depth and interest to your image. By incorporating context, you can transform a simple photo into a fascinating story.
Backgrounds Enhance Composition
A well-chosen background can dramatically enhance the composition of your toy macro photography. It frames the toy and enriches the visual appeal without stealing the spotlight. When selecting a background, consider elements that complement or contrast with your toy's colors and textures. Keep it simple to avoid distractions. Use natural elements or materials you have at home to create unique settings.
- Colors: Pick hues that make the toy pop.
- Textures: Choose surfaces that add interest without overwhelming.
- Patterns: Subtle patterns can provide depth.
- Lighting: Make sure the background is well-lit to maintain focus.
- Distance: Shoot with some depth to create a sense of space.
Context Adds Storytelling
While a thoughtful background can enhance your composition, focusing solely on the toy itself can add a powerful layer of storytelling to your macro photography. By highlighting the toy, you invite viewers to explore its details, textures, and expressions. This focus encourages them to imagine the toy's story and the world it inhabits. You don't need elaborate setups; sometimes, simplicity speaks volumes.
Zoom in to capture a toy's unique features—scuffed paint, tiny accessories, or expressive eyes. These elements can evoke emotions or memories, sparking a narrative in the viewer's mind. Consider the toy's pose or the angle from which you photograph it. Each choice can suggest a different tale, allowing the toy's essence to shine through. Embrace minimalism and let the toy's story unfold naturally.
Using the Wrong Lens for the Shot
Choosing the right lens is crucial for capturing the intricate details in toy macro photography. If you choose the wrong lens, you might miss out on those tiny textures and vivid colors that make your toys come to life. Here are a few things to keep in mind when selecting a lens:
- Focal Length: A macro lens with a focal length of around 90-105mm works wonders.
- Magnification: Look for a lens offering 1:1 magnification for true macro shots.
- Aperture: A wide aperture like f/2.8 can help with beautiful bokeh.
- Compatibility: Verify the lens fits your camera body—don't skip this step!
- Budget: Quality lenses can be pricey, so find one that meets your needs without breaking the bank.
Choosing wisely can elevate your photography!
Skipping Post-Processing
Skipping post-processing can leave your toy macro photography looking flat and uninspired. You might think the image straight from your camera is perfect, but post-processing can elevate it from good to stunning. Adjusting brightness, contrast, and color balance can add depth and vibrancy, highlighting intricate details you might have missed. Don't hesitate to crop or straighten the image to enhance composition and focus on the toy's best features.
Utilize software like Adobe Lightroom or Photoshop to refine your shots. Even minor tweaks can greatly impact the final result. Sharpen details to emphasize textures and adjust shadows to create dimension. Remember, post-processing is about enhancing your vision, not altering reality. Embrace this step to fully realize your creative potential and captivate viewers.
Rushing the Composition
One common pitfall in toy macro photography is rushing the composition. When you hurry, you might overlook essential elements that make your photo stand out. Take your time to create a balanced and visually appealing composition. Consider the following tips:
- Lighting: Make sure your subject is well-lit; shadows can hide important details.
- Background: A cluttered background can distract from your subject. Keep it simple.
- Angles: Experiment with different angles to find the most dynamic shot.
- Focus: Make certain your subject is in sharp focus while maintaining a pleasing depth of field.
- Scale: Use props to provide context and emphasize the size of the toy.
Forgetting to Stabilize the Camera
A significant oversight in toy macro photography is forgetting to stabilize the camera. When you're zoomed in on those tiny details, even the slightest movement can blur your shot. You might think you're steady enough, but handshakes are magnified at such close range. To avoid this, use a tripod. It provides a stable base, ensuring your camera remains perfectly still. If a tripod isn't available, try placing your camera on a solid surface. You can also use a remote shutter release or your camera's timer to prevent any jostling when you press the shutter button. Remember, stabilization isn't just about eliminating blur; it allows you to focus on composition and lighting without worrying about motion ruining your shot.
Frequently Asked Questions
What Camera Settings Work Best for Toy Macro Photography?
You'll want to use a small aperture, like f/8 or f/11, for better depth of field. Keep your ISO low to reduce noise, and use a tripod with a slow shutter speed for sharp, detailed shots.
How Can I Achieve a Realistic Scale in Toy Photography?
You won't believe how simple it is! Use shallow depth of field and low angles to mimic real-life perspectives. Position your toys near elements like plants or furniture to match scale. Lighting's key too—natural light enhances realism.
What Props Enhance Toy Photography Scenes Effectively?
Use natural elements like sand, rocks, or plants to enhance your toy photography. Incorporate miniature furniture or vehicles for realistic settings. Don't forget lighting props like LEDs to create mood and depth in your scenes. Experiment with different angles and compositions to showcase your toys in dynamic ways. Additionally, applying essential editing techniques for toy photos, such as adjusting contrast and saturation, can significantly enhance the final image. Don’t shy away from experimenting with filters or overlays to add a unique flair to your work.
How Do I Prevent Reflections in Transparent Toy Surfaces?
You can prevent reflections on transparent toy surfaces by using a polarizing filter and diffusing your light sources. Adjust your shooting angles and consider using a black backdrop to minimize unwanted reflections and enhance your shots.
What Software Is Best for Editing Toy Macro Photos?
When it comes to editing toy macro photos, Adobe Lightroom is your Swiss Army knife. You'll refine colors, adjust lighting, and enhance details seamlessly. Don't forget, your creativity is the secret sauce for stunning results.
At a Glance
It's no coincidence that your toy macro photography can go from mediocre to mesmerizing with just a few tweaks. Don't overlook lighting or neglect depth of field. Keep backgrounds clean and remember, it's not just about the toy. Choose the right lens, stabilize your camera, and don't skip post-processing. Rushing leads to missed opportunities. By avoiding these common pitfalls, you'll capture stunning, detailed images that truly showcase your subject's charm. Experiment with different angles and perspectives to find the most flattering view of your subject. Additionally, consider incorporating techniques for boosting textures in macro photography, as these details can make a significant impact on the overall appeal of your images. With patience and practice, you’ll refine your skills and consistently produce eye-catching results. Experiment with different angles and perspectives to discover unique compositions that highlight the intricate details of your toys. Additionally, studying and perfecting toy macro photography techniques will elevate your skills, allowing you to create more engaging and dynamic images. With patience and practice, you’ll find yourself capable of transforming everyday toys into captivating works of art.


