
To create stunning composite cinematic toy photography, start by selecting a background that complements the toy’s narrative and character. Capture each element separately, ensuring consistent lighting and shadow alignment for realism. Master layering techniques in software like Photoshop to blend elements seamlessly, adding depth with transparent layers and shadow creations. These steps will help you craft a visually compelling story with your toys, and there’s so much more detail waiting to be explored.
Understanding the Basics of Composite Photography
Composite photography, while seemingly complex, is a fascinating technique that merges multiple images into a single, cohesive creation. As you begin your journey into composite photography, focus on capturing each element of your scene separately. This method allows you to control lighting and angles for each component, giving you the flexibility to refine your final image without constraint. Pay attention to the consistency of light and shadows, as these will help maintain a realistic look. Using software like Photoshop, you’ll blend these elements seamlessly. Layer masks and adjustment layers will become your best friends, allowing for precise edits and enhancements. By mastering these basics, you’ll reveal the potential to create stunning, cinematic toy photography that captivates your audience.
Selecting the Perfect Background for Your Scene
Now that you have a grasp on the basics of composite photography, it’s time to focus on selecting the perfect background for your scene. Start by considering your toy’s character and narrative. Is it an action figure that thrives in bustling cityscapes, or does it seek serene natural settings? Match the background to the story you want to tell. Pay attention to color palettes; they should complement your subject, not clash. Look for backgrounds with depth and dimension to add realism. Natural elements like trees or urban elements like buildings can anchor your scene. Verify lighting in both the background and foreground aligns, creating a cohesive look. With the right background, your toy photography will come to life, enchanting viewers.
Mastering Layering Techniques for Realistic Effects
Creating lifelike toy photography hinges on mastering layering techniques. You need to understand how different elements interact to create a realistic scene. Start by photographing your toy and background separately. This allows you to adjust each element independently, ensuring perfect alignment and perspective.
Use layers to add depth and dimension. Layer transparency helps blend the toy with its surroundings, making it look integrated rather than pasted on. Pay attention to shadows; they ground your toy in the scene. Create a separate layer for shadows and adjust opacity and blur for natural results.
Reflections can enhance realism. Duplicate your toy layer, flip it, and adjust opacity to mimic a reflection on surfaces. Practice these techniques to elevate your toy photography and captivate your audience.
Tools and Software for Digital Compositing
To excel in digital compositing for toy photography, you’ll need to equip yourself with the right tools and software. Start with Adobe Photoshop, a versatile powerhouse for layering, masking, and blending. It’s essential for creating seamless backgrounds and integrating elements. Explore Adobe After Effects if you’re interested in adding motion or special effects to your images. For a free alternative, GIMP offers robust editing features, though it may not be as intuitive. Don’t overlook Lightroom for color grading and fine-tuning your images’ mood. Consider investing in a graphics tablet, which allows for precise edits and a more natural workflow. Finally, familiarize yourself with plugins and brushes that can enhance textures, lighting, and details in your compositions.
Storytelling Through Toy Photography: Tips and Tricks

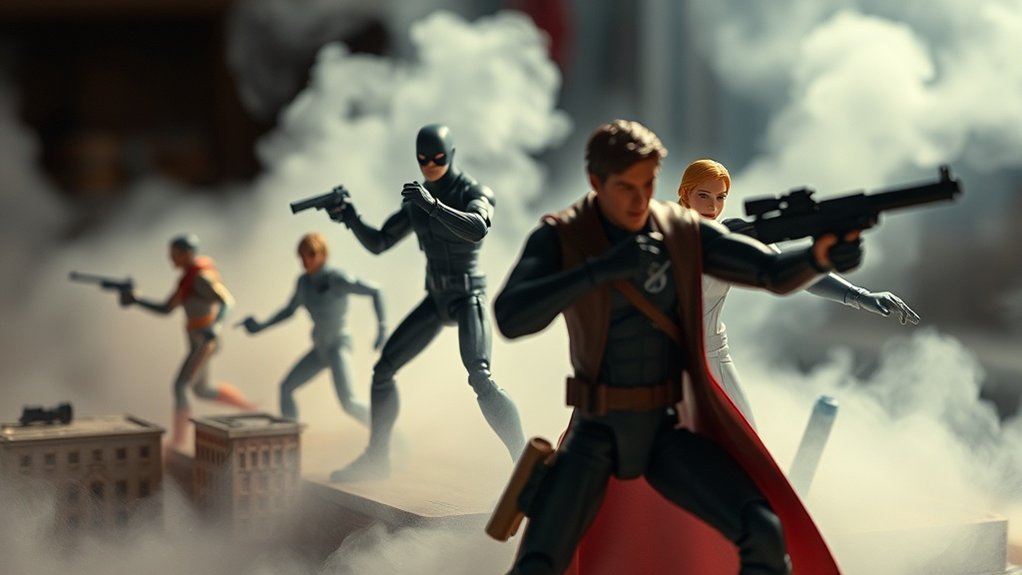
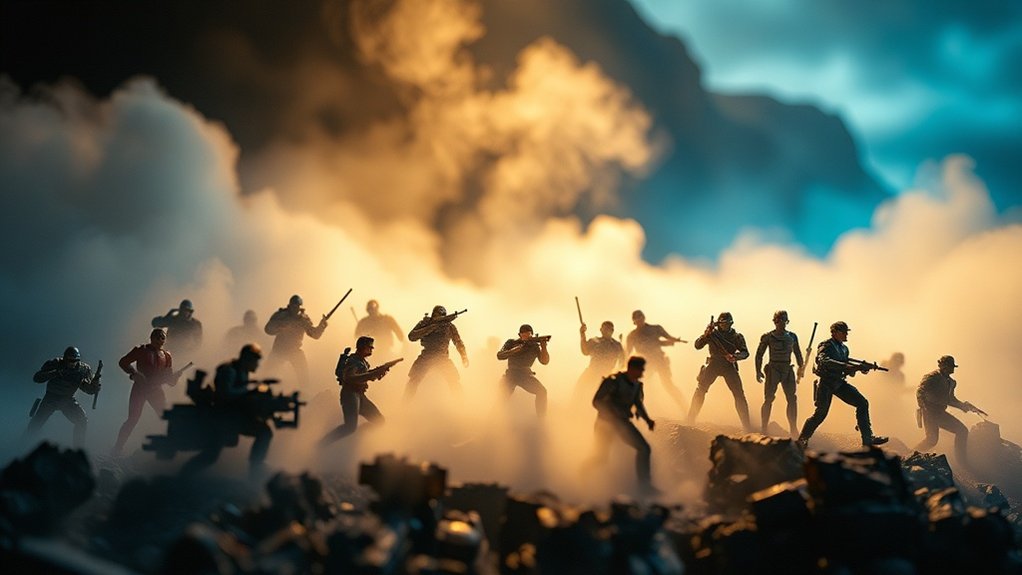
While mastering the technical aspects of digital compositing is essential, breathing life into your toy photography requires a fascinating narrative. Start by defining a clear story you want to tell. Is it an epic space battle or a quiet moment in a toy’s life? Keep your narrative simple but engaging. Use props and backgrounds to support your story, making sure each element contributes to the narrative. Position your toys to express emotion or action—body language matters even in miniature. Lighting plays a pivotal role, setting the mood and highlighting key moments. Don’t forget to edit carefully, ensuring the final image aligns with your story. Finally, experiment and refine your storytelling skills, learning from each shoot to create even more fascinating scenes.
Frequently Asked Questions
What Are the Best Practices for Lighting in Toy Photography?
For toy photography, use diffused lighting to avoid harsh shadows. Position lights at different angles to add depth. Experiment with colored gels for mood. Always adjust your camera settings to match your lighting for the best results.
How Can I Avoid Reflections in Glossy Toy Surfaces?
To avoid reflections on glossy toy surfaces, use a polarizing filter. For example, when shooting a shiny action figure, adjust your light angle and use diffusers to soften and minimize unwanted highlights and reflections.
What Materials Are Recommended for Creating Physical Props?
You should use materials like foam board, cardboard, or clay for making props. They’re easy to shape and customize. Don’t forget about paint and textures to add realism. Keep experimenting to discover what works best for you.
How Do I Choose the Right Scale for Toy Photography?
When picking the right scale for toy photography, think of it like finding the perfect dance partner. Match your toys’ sizes with props and backgrounds. Check consistency to guarantee everything fits together harmoniously, creating an enchanting scene.
What Are Common Mistakes to Avoid in Toy Composition?
You often overlook scale and lighting, making toys appear unrealistic. Avoid cluttered backgrounds that distract from the subject. Don’t ignore perspective; it can distort the scene. Make certain your focal point is clear and composition balanced.
At a Glance
You’ve mastered the basics of composite photography, selected the perfect backgrounds, and honed your layering techniques. You’ve explored the tools and software that make digital compositing seamless, and you’ve embraced storytelling through toy photography. By combining creativity with technical skill, you transform simple toys into cinematic marvels. So, grab your camera, choose your scene, and let your imagination run wild. Capture the magic, create the story, and share the wonder with the world. Experiment with panoramic toy photography techniques to elevate your compositions and provide a wider perspective on your imaginative scenes. By integrating these techniques, you can create stunning visuals that draw the viewer into your miniature worlds, inviting them to explore every detail. Keep pushing the boundaries of your creativity, and you’ll continually uncover new ways to captivate your audience. Experiment with different angles and perspectives to see how they can enhance your narrative, understanding how to compose toy photography can elevate your work to new heights. Don’t shy away from natural light; it can add depth and vibrancy to your compositions. Remember, every shot is an opportunity to tell a unique story—make each click count.


