
In creating vibrant miniature HDR toy scenes, start by capturing multiple exposures of your setup. Use a high-megapixel camera with a macro lens for detail. Merge these exposures during editing, utilizing tools like Adobe Lightroom for enhancing color and contrast. Play with depth by adjusting aperture and angles, then edit with tools like Photoshop for sharpness. With each shot and edit, you’ll reveal more techniques to bring your miniature worlds to life.
Understanding HDR Photography and Its Role in Miniature Scenes
While diving into the world of miniature scenes, understanding HDR photography becomes a game-changer for capturing lifelike details. You’ll find that HDR, or High Dynamic Range, allows you to merge multiple exposures into one image, bringing out vibrant colors and textures in your miniature setups. By balancing light and shadows, it guarantees every tiny detail stands out.
When you apply HDR techniques, your miniature scenes gain depth and realism, making them appear more like their full-sized counterparts. You’ll notice that subtle features, like the weathering on a model car or the intricate pattern on a dollhouse wall, become visible.
Mastering HDR photography transforms your miniature photography into a vivid experience, allowing you to showcase your creativity with stunning clarity and depth.
Essential Equipment for Capturing Toy-like Images
To create enchanting toy-like images, start by choosing the right camera and lens to capture every tiny detail. A tripod is essential for keeping your shots steady, especially when working with HDR. Don’t forget about lighting and accessories to add depth and vibrancy to your miniature scenes.
Camera and Lens Selection
Selecting the right camera and lens is essential when diving into the world of miniature HDR toy photography. You need tools that capture intricate details and vivid colors. Choose a camera with a high dynamic range (HDR) capability to highlight bright and shadowed areas. A lens that allows close focusing is vital for capturing your tiny scenes. In addition to selecting the right gear, you can also enhance your miniature HDR toy photography by exploring smartphone toy photography tips. Many smartphones now offer impressive camera features that can compete with traditional DSLRs, especially for close-up shots. Experimenting with different lighting conditions and backgrounds can further elevate the visual storytelling of your miniature scenes.
Here’s a quick guide to help you make the right choices:
- Camera with High Megapixels: Provides greater detail and flexibility in editing.
- Macro Lens: Essential for close-up shots, offering sharp focus on small subjects.
- Prime Lens with a Wide Aperture: Lets you create a shallow depth of field, making your toys pop.
- Interchangeable Lens System: Offers versatility, allowing you to switch lenses as needed.
With the right equipment, your miniature world comes to life.
Tripod for Stability
Capturing the essence of miniature HDR toy photography requires a steady hand, but even the most skilled photographers benefit from a reliable tripod. When you’re setting up tiny scenes, slight movements can disrupt your composition. A tripod guarantees stability, allowing you to focus on creativity rather than camera shake. Choose a lightweight, portable option with adjustable legs to position your camera at the perfect angle. Look for one with a ball head for smooth, precise movements and quick adjustments. This setup helps you maintain consistency, especially when shooting multiple exposures for HDR. Don’t overlook the importance of a tripod; it’s your best ally in achieving sharp, detailed images that make your miniature worlds come to life with impeccable clarity.
Lighting and Accessories
While a stable tripod secures your camera for those perfect shots, lighting and accessories elevate your miniature HDR toy photography to the next level. Proper lighting creates depth and emphasizes textures, making your scenes pop. Accessories add personality and realism to each shot. To achieve toy-like images, consider these essentials:
- LED Panels: These provide consistent, adjustable lighting that mimics natural sunlight. They’re perfect for highlighting details in miniature scenes.
- Reflectors: Use them to bounce light, reduce shadows, and add dimension to your setup.
- Diffusers: Soften harsh lights and create an even glow, making your subjects appear more lifelike.
- Miniature Props: Enhance storytelling by incorporating tiny accessories that complement your toy figures and set the scene.
These tools transform your images into enchanting, toy-like worlds.
Mastering Camera Settings for Optimal Results
To master miniature HDR toy photography, focus on adjusting your camera settings for the best results. You’ll want to control the aperture to manage depth of field, use shutter speed techniques to capture movement or stillness, and adjust ISO sensitivity to maintain image quality in various lighting. By experimenting with these settings, you can create stunning, lifelike images that highlight the charm of your miniature subjects.
Aperture and Depth Control
Understanding how to manipulate aperture and control depth of field is essential for creating striking HDR toy photography. You’ll capture more detail and create more dramatic scenes by adjusting these settings. Here’s how you can master aperture and depth control:
- Choose a Wider Aperture for Isolation: Use a wider aperture (e.g., f/2.8) to create a shallow depth of field, which helps isolate your toy subject from the background, making it pop.
- Narrow Aperture for Greater Detail: Select a narrower aperture (e.g., f/16) to capture more details in both the foreground and background, ideal for complex scenes.
- Experiment with Mid-Range Apertures: Try f/5.6 to f/8 for a balanced depth that maintains subject focus while adding context.
- Adjust Aperture for Lighting: Keep aperture adjustments in mind when compensating for varying light conditions.
Shutter Speed Techniques
Capturing the perfect HDR toy photograph often hinges on mastering shutter speed techniques, an essential element in controlling exposure and motion. By adjusting your camera’s shutter speed, you can freeze or blur motion, giving your toy scenes either a dynamic or serene feel. For a sharp, detailed shot of a stationary toy, opt for a faster shutter speed, ensuring crispness and clarity. If you’re creating a sense of movement or experimenting with light trails, a slower shutter speed will allow for artistic blur effects. Don’t forget to stabilize your camera with a tripod to avoid unintended shake. Practice adjusting shutter speeds in various lighting conditions to see how it affects the overall mood and detail of your miniature HDR scenes.
ISO Sensitivity Adjustment
When you’re working with miniature HDR toy photography, adjusting ISO sensitivity can greatly impact the quality of your images. ISO determines your camera’s sensitivity to light, affecting both the exposure and noise levels. Here’s what you need to take into account:
- Low ISO for Bright Lighting: Use a low ISO (like 100 or 200) in well-lit environments to guarantee crisp, clear images without unnecessary noise.
- High ISO for Low Light: In dim settings, a higher ISO (such as 800 or 1600) helps capture detail, but be mindful of increased noise.
- Experiment and Balance: Find a balance between ISO, shutter speed, and aperture to maintain image clarity.
- Use Noise Reduction Software: Post-editing tools can further refine your images by reducing noise from high ISO settings.
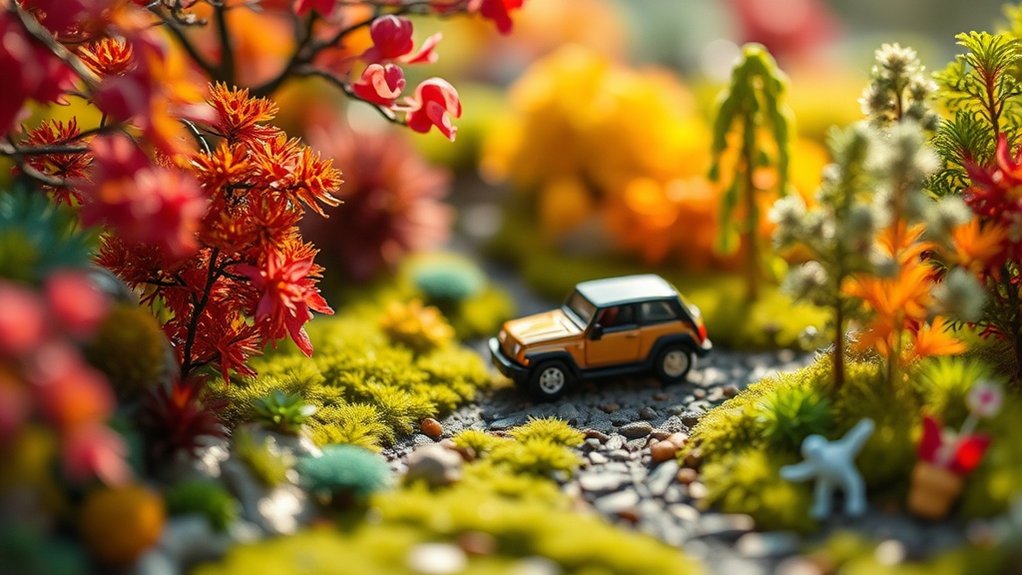
Techniques for Creating Depth and Perspective
To effectively create depth and perspective in miniature HDR toy photography, you need to master a few key techniques. Start by experimenting with the angle of your camera. Shooting from a low angle can make your toys appear larger and more life-like, adding a sense of grandeur to the scene. Next, play with the depth of field. Using a wider aperture will blur the background, drawing focus to your subject and giving the image a three-dimensional feel. Incorporate leading lines such as roads or fences that guide the viewer’s eye through the scene, enhancing the sense of scale. Finally, using foreground elements, like rocks or plants, adds layers, making your scene feel richer and more immersive. These techniques will greatly enhance your toy photography. Additionally, consider integrating creative lighting to highlight the intricate details of your toys, which can dramatically affect the mood of your photos. As you refine your skills, explore various miniature set creation techniques that can further elevate your compositions, such as incorporating dynamic props or varied textures. Experimenting with these elements will not only improve your understanding of miniature photography but also allow you to tell more compelling stories through your images.
Editing Tools to Enhance Vibrancy and Detail
Enhancing vibrancy and detail in your miniature HDR toy photography can transform a good image into a stunning one. You’ll want to use editing tools that bring out the richness and intricacies of your scene. Here are some effective tools to evaluate:
- Adobe Lightroom: Use the Vibrance and Clarity sliders to boost colors and enhance details subtly without oversaturating your image.
- Adobe Photoshop: Leverage the High Pass Filter for sharpening. It accentuates fine details, giving your toys a lifelike appearance.
- Nik Collection: This set of plugins offers powerful tools like Color Efex Pro for vibrant color enhancement and detail extraction.
- Luminar AI: Its AI-driven adjustments can automatically enhance vibrancy, making it perfect for quick yet impactful edits.
These tools will elevate your miniature scenes brilliantly.
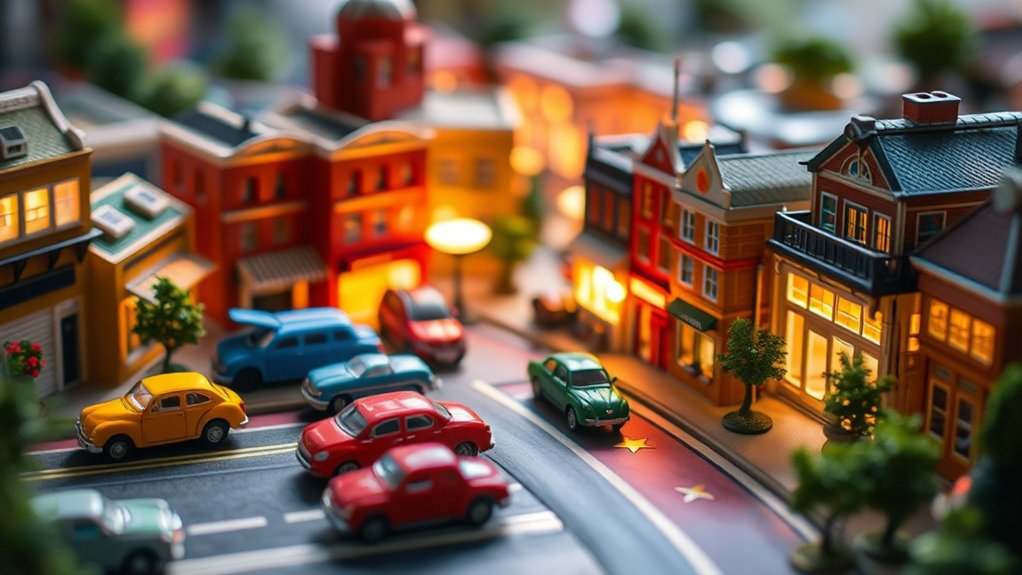
Step-by-Step Guide to Crafting a Miniature World
Creating an enchanting miniature world requires both creativity and attention to detail. Begin by selecting a theme that resonates with you, whether it’s a bustling cityscape or a serene countryside. Gather your miniature models and props, ensuring they fit the scale and theme. Pay attention to the arrangement; layering your elements creates depth and interest. Lighting is essential, so use natural light or strategically placed lamps to highlight features and create shadows. Once your scene is set, capture it from different angles, experimenting with perspectives to add a dynamic feel. Don’t forget to adjust your camera settings, focusing on exposure and depth of field to enhance realism. Finally, use editing software to merge exposures, boosting vibrancy and detail for a stunning HDR effect.
Inspiring Examples and Ideas to Fuel Your Creativity
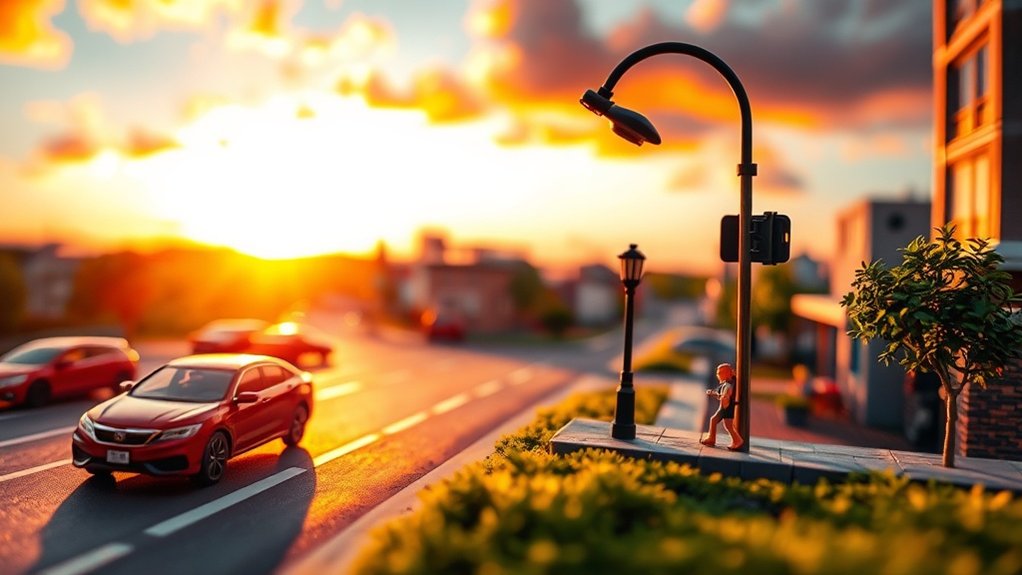
After setting up your miniature scene, you might wonder how to take your creativity to the next level. Immerse yourself in these inspiring ideas to fuel your artistic journey:
- Dynamic Lighting: Use small LED lights to create dramatic shadows and highlights, adding depth and realism to your scene.
- Themed Sets: Craft a specific theme like a bustling cityscape or a serene forest, using props and backgrounds to create a cohesive story.
- Unusual Angles: Experiment with low or bird’s-eye views to offer fresh perspectives, making your toys appear larger-than-life.
- Motion Blur: Use slow shutter speeds to capture movement, such as a toy car racing down a miniature street, adding excitement and action to your shots.
Let these ideas spark new possibilities in your miniature photography adventures.
Frequently Asked Questions
How Can I Choose the Right Toys for HDR Photography?
Focus on toys with vibrant colors, interesting textures, and distinct features. Consider scale, detail, and how light interacts with them. Experiment with different subjects to discover what works best for your HDR photography, enhancing depth and contrast.
What Are Some Tips for Lighting in Indoor Miniature Scenes?
You’ll want to use soft, diffused lighting to avoid harsh shadows. Position lights at different angles for depth. Using LED lights can help control intensity. Experiment with light placement until you achieve a balanced, natural look.
How Do I Prevent Reflections in Toy Photography?
Did you know 75% of unwanted reflections stem from lighting angles? To prevent them, adjust your light sources to minimize glare. Use a polarizing filter and diffuse light to create softer, more even illumination for toy photography.
Can I Use Smartphone Apps for HDR Editing in Toy Scenes?
You can use smartphone apps for HDR editing in toy scenes. These apps offer powerful tools to enhance colors and details. Just make sure you choose one that supports high-resolution exports for the best results.
What Are Common Mistakes to Avoid in HDR Toy Photography?
Avoid over-saturating like Van Gogh’s palette. Don’t forget to balance exposure; shadows shouldn’t dominate. Watch for halos around edges and keep noise under control. Consistency in lighting is key. Master these, and your toy scenes will shine.
At a Glance
As you immerse yourself in the world of HDR toy photography, think of it as painting a vibrant miniature canvas. You’ve gathered your tools, mastered your settings, and learned the art of creating depth. Now, with editing as your brush, you can bring your miniature scenes to life, infusing them with rich details and colors. Let your creativity run wild, and you’ll transform everyday scenes into enchanting, toy-like worlds that capture the imagination.


