Transform your toy photography with budget-friendly DIY diffusers. Use household items like wax paper, tissue paper, or a white shower curtain to soften harsh light and eliminate shadows. Secure these materials using empty picture frames or wire hangers. By experimenting with positions and angles, you’ll create balanced compositions and reveal intricate details. Whether indoors or outdoors, with natural or artificial light, enhancing your shots is within reach. Discover more techniques to elevate your photography.
Understanding the Importance of Diffusers in Toy Photography
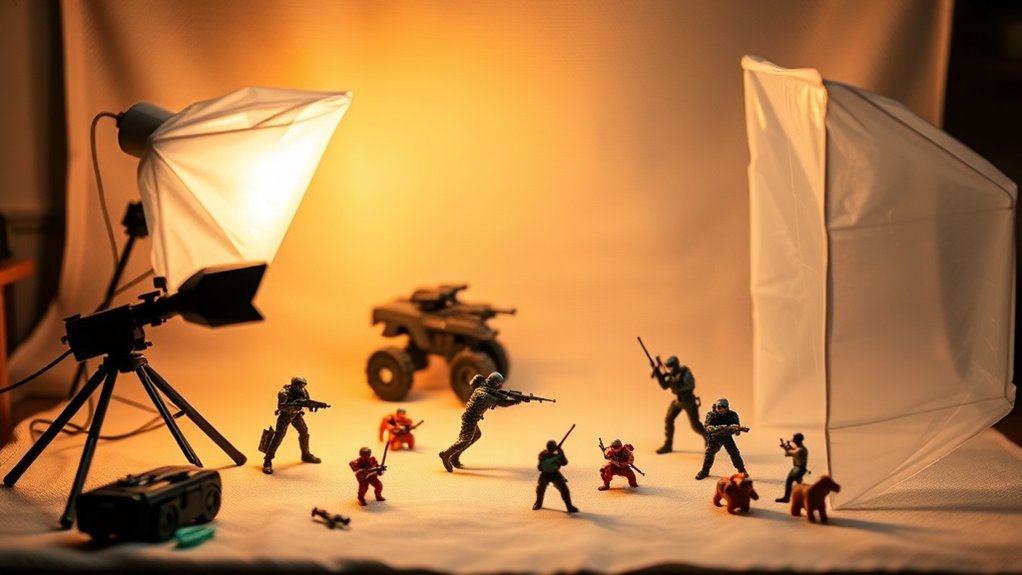
While diving into toy photography, you’ll quickly realize the magic diffusers bring to your shots. They soften harsh light, eliminating unwanted shadows and glare, allowing the intricate details of miniature figures to shine. In this creative field, lighting is everything. Using diffusers transforms the light, giving your toys a more natural, realistic appearance.
When you use a diffuser, you’re ensuring that bright spots don’t overshadow the delicate features of your subjects. This creates a balanced composition that draws viewers into your miniature world. Diffusers help mimic natural daylight, which is essential for capturing vivid colors and textures.
Gathering Household Items for DIY Diffusers
Understanding how diffusers enhance your toy photography makes you enthusiastic to create your own. You don’t have to spend a lot on materials—many items you need are already in your home. Start by collecting thin, translucent materials. Wax paper, tissue paper, or even a white shower curtain can work wonders. These materials help soften the light, reducing harsh shadows and giving your toys a professional look.
Next, search for frames or structures to hold your diffusing material. Empty picture frames, wire hangers, or cardboard cutouts can provide the necessary support. Verify they’re sturdy enough to hold the material taut. You might also find binder clips handy to secure your diffusers in place. With these household items, you’re prepared to enhance your toy photography lighting on a budget.
Step-by-Step Guide to Creating Your Own Diffuser
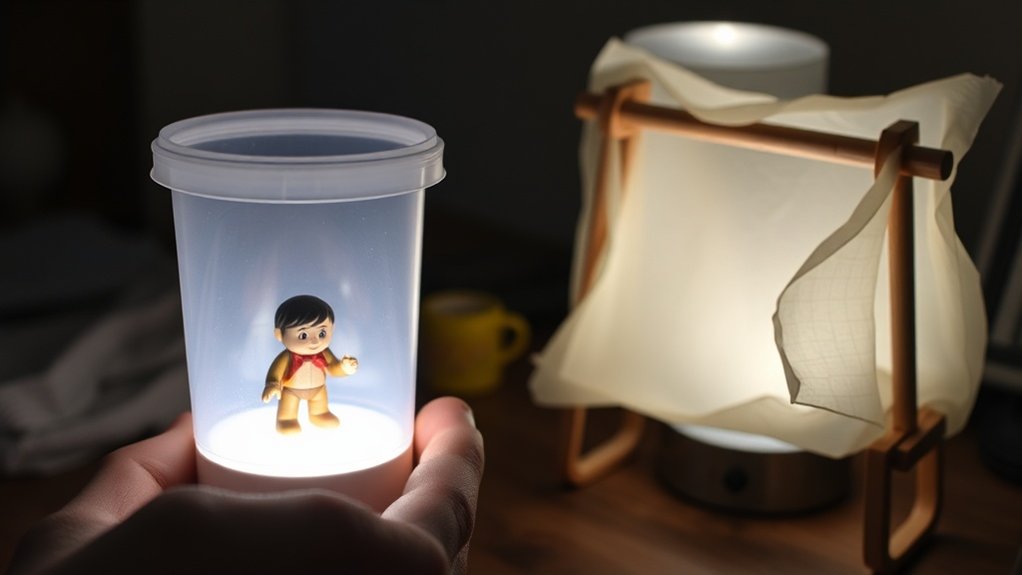
To create your own diffuser, begin by selecting the right translucent material from your gathered items. Look for materials like white plastic bags, baking parchment, or thin white fabric. Once chosen, cut it to a size that slightly exceeds your light source. This guarantees the light spreads evenly.
Next, grab some tape or rubber bands. Secure the material over your light source, making sure it’s taut but not overstretched. This helps avoid wrinkles that might create shadows or uneven lighting.
Test the setup with your camera on. Adjust the material’s position as necessary to optimize light diffusion. If needed, layer more material for softer light. Remember, the aim is to soften shadows on your toy subjects, enhancing their details and colors beautifully.
Tips for Using DIY Diffusers in Different Lighting Conditions
Now that you’ve crafted your own diffuser, let’s explore how to use it effectively in various lighting conditions. In bright sunlight, position your diffuser between the toy and the sun to soften harsh shadows and reduce glare. This creates a more balanced, even light on your subject. On cloudy days, the natural light is already diffused, so your DIY diffuser can help control any unexpected contrasts by placing it strategically to maintain balance.
Indoors, use your diffuser to tame harsh artificial light. Position it close to lamps or overhead lights to create a softer, more natural look. If you’re using flash, hold the diffuser in front to scatter the light evenly. Remember, experimenting with angles and distances can yield unique results, so don’t hesitate to try different setups.
Enhancing Your Toy Photography With Creative Lighting Techniques
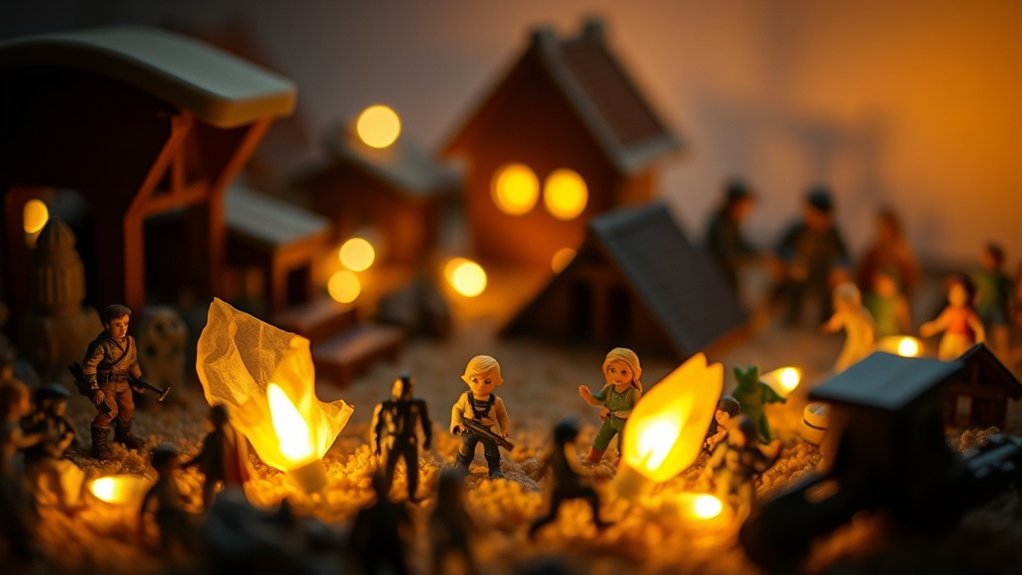
While a well-crafted diffuser can elevate your toy photography, integrating creative lighting techniques truly transforms your images. To enhance your shots, experiment with various light sources and angles. Here’s a quick guide:
- Backlighting: Position a light source behind your toy to create a halo effect, adding depth and drama. This technique emphasizes silhouettes and can highlight intricate details.
- Colored gels: Attach colored gels to your lights for vibrant backgrounds. This adds mood and can make your toys pop. Experiment with different colors to see which complements your subject best.
- Reflectors: Use white or silver reflectors to fill in shadows, creating a balanced look. Reflectors are great for outdoor shoots when you need to soften harsh sunlight.
With these techniques, your toy photography will shine!
Frequently Asked Questions
What Materials Can Double as Effective Diffusers in Emergency Situations?
In emergency situations, you can use materials like white bedsheets, parchment paper, or even frosted shower curtains to diffuse light effectively. These items soften harsh lighting, ensuring your photography remains dynamic and visually appealing.
How Can I Safely Store My DIY Diffusers When Not in Use?
Store your DIY diffusers in a cool, dry place to prevent damage. Use a dedicated storage bin to keep them organized and dust-free. Make certain they’re flat or gently rolled to avoid creasing or bending.
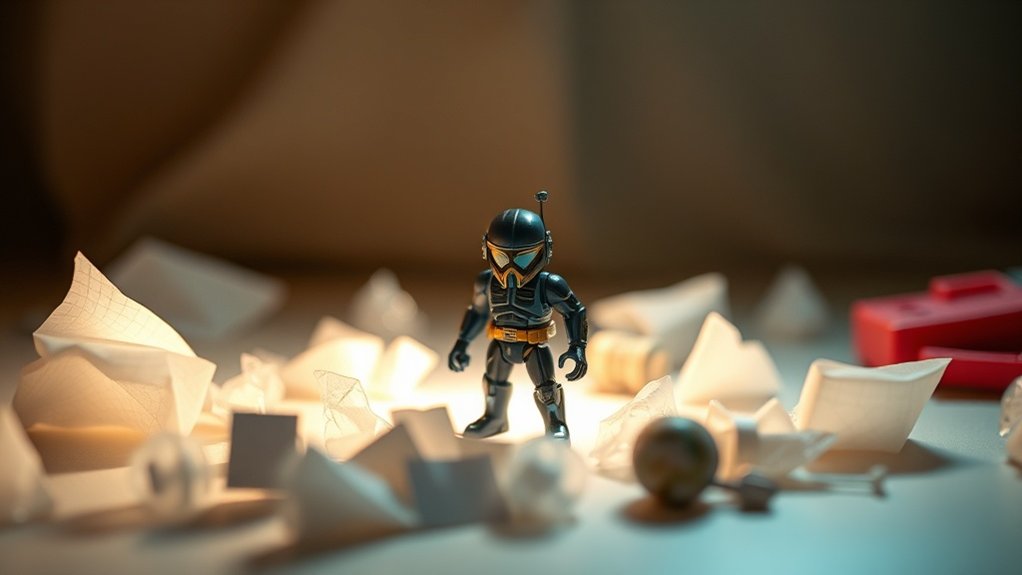
Are There Specific Toys That Benefit More From Diffused Lighting?
Did you know 80% of photographers say diffused light enhances toy details? You’ll notice action figures and intricate models benefit most, as soft lighting reduces harsh shadows, highlighting textures and colors for a more realistic appearance.
Can I Use Colored Materials to Create a Tinted Lighting Effect?
Yes, you can use colored materials like cellophane or colored gels to create a tinted lighting effect. Just place them over your light source, and they’ll add a unique color tone to your toy photography.
How Do I Troubleshoot Uneven Lighting With My DIY Diffuser Setup?
You’re noticing uneven lighting, so first, check if the diffuser’s evenly placed. Adjust angles or distances to balance light distribution. Experiment with different materials or layers to improve diffusion. Test and tweak until it’s consistent.
At a Glance
You’ve grasped the great gift of generating gorgeous glow in your toy photography. By building brilliant DIY diffusers from basic household items, you’re not just saving, but also sharpening your skills. Remember, the right light can transform toys into tantalizing tales. Keep crafting, keep creating, and let every shot showcase stunning stories. With your newfound knowledge, you’re ready to capture enchanting compositions that consistently engage with clever, creative lighting. Happy snapping! Experimenting with highkey lighting techniques for toys can further elevate your artistic vision, providing a bright and airy aesthetic that highlights every detail. As you play with shadows and brightness, explore different angles and setups to truly make your toys pop in the frame. Each click of the shutter is an opportunity to bring your imaginative world to life, so embrace your creativity and have fun!


