To enhance your toy photography, you'll want essential DIY props like vibrant paper and cardboard for realistic backgrounds, and natural elements such as stones or leaves for authenticity. Create miniature furniture using balsa wood or clay, and design tiny clothing with upcycled fabrics. Craft diffusers and reflectors from household items to play with lighting and shadows. Sculpt small food items for a relatable touch. By exploring these techniques, you can transform your scenes into enchanting stories.
Creating Realistic Backgrounds With Paper and Cardboard
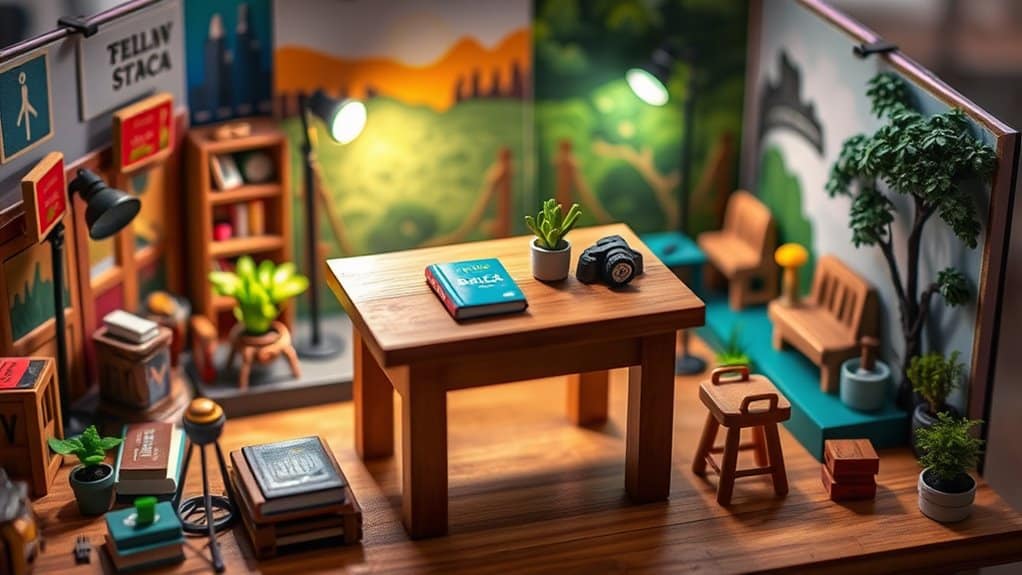
When it comes to crafting realistic backgrounds for toy photography, paper and cardboard are your best friends. You can easily transform these materials into miniature worlds. Start by using colored paper to create vibrant skies or textured surfaces. Cut cardboard into different shapes to mimic structures or terrains. Want to add depth? Layer various pieces to build a 3D effect. You can also paint or draw details directly onto the surfaces for added realism. Don't forget to use different sizes to match your toys' scale. With a bit of creativity, you'll find endless possibilities. The key is experimentation—try different techniques and see what works best for your scenes. Soon, you'll create backdrops that make your toy photography truly stand out.
Using Natural Elements for Authentic Scenery
While paper and cardboard offer fantastic versatility for creating realistic backgrounds, integrating natural elements can elevate your toy photography to another level. Using materials from the earth adds depth and authenticity, making scenes more immersive. You can start small by incorporating elements from your backyard. Consider using: twigs, leaves, and stones to construct a natural setting that complements your toys. These organic materials not only enhance the visual appeal but also tell a story, inviting viewers to engage with your work on a deeper level. For those looking to expand their skills, exploring outdoor photography tips for toys can help you capture the essence of these elements in natural light, transforming your scenes into truly captivating works of art.
- Stones and Pebbles: Perfect for creating rugged terrains or miniature pathways.
- Leaves and Twigs: Ideal for adding texture, they can simulate trees, bushes, or even a forest floor.
- Sand and Soil: These can mimic deserts or muddy battlefields, adding a gritty real-world touch.
Experiment with lighting to cast shadows and highlight textures, enhancing the lifelike appearance. By embracing nature, you not only save on costs but also enrich your creative process.
Constructing Small-Scale Furniture and Objects
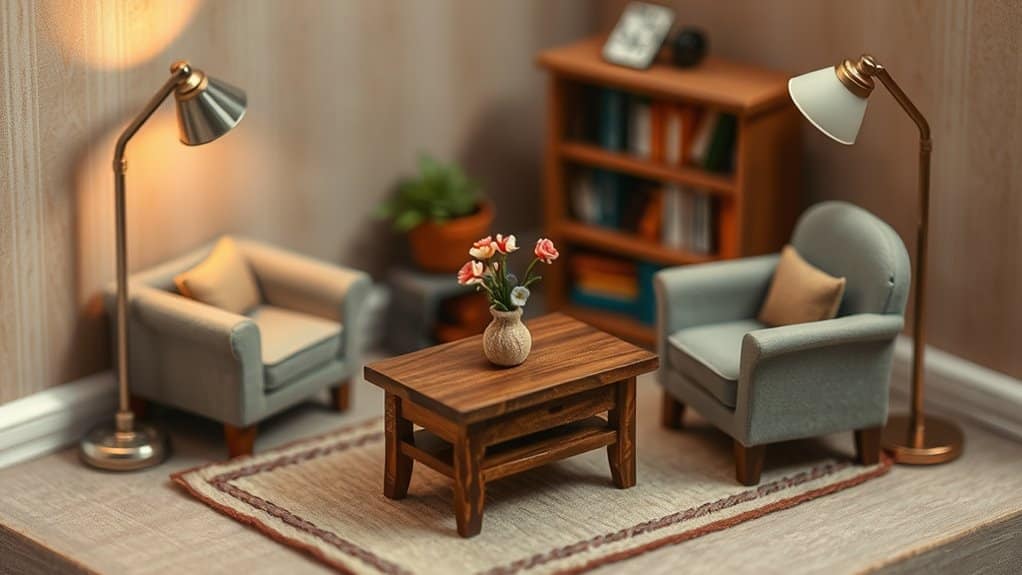
When constructing small-scale furniture for your toy photography, start by choosing the right materials like balsa wood, foam board, or clay. These materials are easy to work with and allow you to craft tiny accessories that add realism to your scenes. Experiment with textures and colors to enhance the overall look and feel of your miniature setup.
Miniature Furniture Materials
Crafting miniature furniture for toy photography can transform your scenes and elevate your photos. By selecting the right materials, you'll create pieces that look realistic and enhance your setups. Start with materials that are easy to work with and versatile. Balsa wood is a fantastic choice due to its lightweight nature and ease of cutting. Craft foam offers flexibility and can mimic various textures, making it ideal for cushions or rugs. Don't forget about polymer clay for intricate details like handles or knobs.
- Balsa Wood: Lightweight, easy to cut, great for frames and structures.
- Craft Foam: Flexible, texturable, perfect for soft furnishings.
- Polymer Clay: Moldable, bakeable, excellent for fine details.
These materials will help you construct charming, realistic miniature furniture effortlessly.
Crafting Tiny Accessories
In addition to miniature furniture, tiny accessories add detail and personality to your toy photography scenes. Crafting these small-scale objects can be both fun and rewarding. Start by gathering materials like clay, fabric scraps, and bits of wire. These are perfect for creating items like tiny books, dishes, or even miniature plants.
Use clay to sculpt tiny food items or hats. With fabric scraps, you can make pillows or curtains. Wire works well for crafting small baskets or picture frames. Don't forget about paint for adding realistic details.
Keep the scale consistent with your toys to make everything look cohesive. These accessories will enhance your scenes, making them more engaging and lifelike. Enjoy the process and watch your creativity thrive!
Making Miniature Clothing and Accessories
As you immerse yourself in the world of toy photography, creating miniature clothing and accessories can bring your scenes to life with remarkable detail. You'll find that making tiny garments requires patience and creativity. Choose fabrics that reflect the character's personality and match the scene's mood. Consider using lightweight materials like felt, cotton, or even upcycled fabrics from old clothes to craft these diminutive outfits.
To add variety and depth to your toy photography, consider these essentials:
- Miniature Hats: Craft tiny hats using felt or paper to give characters a distinct look.
- Tiny Bags: Sew or glue small pieces of fabric to create miniature backpacks or purses.
- Jewelry and Belts: String together beads or use thin wire for necklaces and belts to enhance detail.
Crafting Simple Light Diffusers and Reflectors
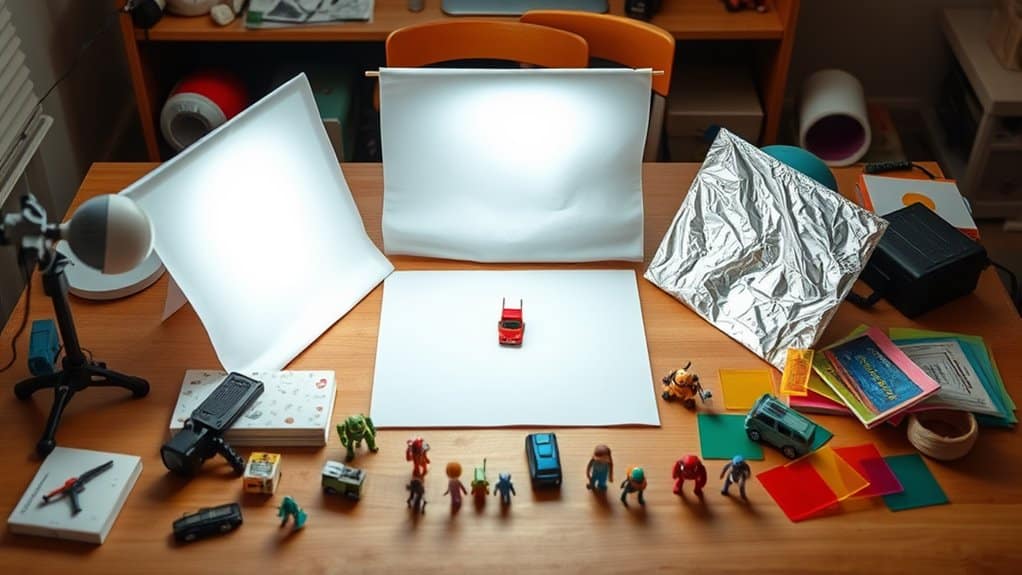
When lighting is essential to capturing the perfect shot, simple light diffusers and reflectors can elevate your toy photography. You can make a diffuser using materials like white fabric or parchment paper. Just attach it to a frame or hold it in place with clips to soften harsh light. This helps reduce shadows and creates an even illumination for your toys.
For reflectors, grab a piece of white cardboard or aluminum foil. Position it to bounce natural or artificial light onto your subject, highlighting details and adding dimension. You can even adjust the angle to control the intensity of the reflection. These handy tools don't require a big budget but greatly improve your photos, allowing you to experiment with different lighting effects effortlessly.
Building Tiny Vehicles and Transportation Props
Even with limited resources, creating tiny vehicles and transportation props can greatly enhance your toy photography scenes. You don't need to be a master modeler to craft these miniature marvels. Start by using materials like cardboard, clay, or even recycled items. Focus on scale and detail to guarantee your props look authentic in the frame. Small details like paint and decals can make a significant difference, adding realism to your photos.
Consider these creative ideas for your transportation props:
- Cardboard Cars: Use cardboard for structure, and paint and markers for details.
- Clay Boats: Mold different shapes and paint them to resemble boats or ships.
- Recycled Trains: Turn bottle caps and paper tubes into train components.
These tiny vehicles will bring dynamic life to your scenes.
Designing Custom Backdrops With Fabric and Textiles
When designing custom backdrops with fabric and textiles, start by choosing fabric colors that complement your toy's theme. Use different textures to add depth and interest to your scenes, like burlap for a rustic look or silk for elegance. Experiment with layering fabrics to create unique, textured surfaces that enhance your toy photography.
Choosing Fabric Colors
How do you choose the perfect fabric colors for your toy photography backdrops? Start by considering the mood you want to convey. Bright colors can bring energy and excitement, while softer hues might evoke calmness or nostalgia. Think about your toy's color palette, too. You don't want the backdrop to clash or overshadow your subject. Instead, aim for harmony and balance.
Here are some tips to guide your choice:
- Contrast: Use contrasting colors to make your toys pop and draw attention.
- Complement: Pick complementary colors to enhance the overall visual appeal.
- Neutral tones: These can provide a versatile backdrop that works with various subjects.
Creating Textured Surfaces
Once you've nailed down the perfect fabric colors for your toy photography backdrops, it's time to explore how textures can elevate your scenes. Textures add depth and character, making your miniature worlds more convincing. Start by incorporating different fabrics like burlap, velvet, or lace. These materials offer unique tactile qualities that can mimic real-world surfaces—think rough burlap for a gritty landscape or soft velvet for a luxurious setting.
Experiment with layering textiles. Overlapping materials create shadows and highlights that add dimension. Don't shy away from using everyday items like knitted scarves or old tablecloths. You can also crumple or pleat fabrics for additional texture. By creatively manipulating textiles, you'll transform simple backdrops into dynamic environments that captivate and intrigue viewers.
Assembling DIY Lighting and Shadow Effects
Illuminating your toy photography scene with DIY lighting and shadow effects can dramatically elevate the visual impact of your shots. Start by using simple household items to manipulate light and create intriguing shadows. Position a desk lamp to simulate sunlight or moonlight, and experiment with angles to achieve the desired intensity. To soften harsh lighting, drape a white sheet or paper over the lamp for a diffused effect. Shadows add depth and drama, so don't shy away from using cutouts or objects to cast interesting shapes.
- Reflectors: Use aluminum foil or a white board to bounce light and soften shadows.
- Colored gels: Transparent colored sheets can tint your lighting, adding mood and enhancing themes.
- Flashlights: They're perfect for focused beams and spotlight effects.
Sculpting Miniature Food and Drink Items
When it comes to toy photography, sculpting miniature food and drink items can add a delightful layer of realism and creativity to your scenes. You can easily craft tiny meals using polymer clay or air-dry clay, which are both versatile and easy to work with. Start by shaping simple items like burgers, donuts, or even tiny soda cans. Use small tools or toothpicks to add texture and details, making the items look more realistic. Don't forget to paint them with acrylic paints for a vibrant finish. Adding these props to your scenes helps create relatable and engaging narratives. Whether it's a picnic setup or a restaurant scene, miniature food can bring your toy photography to life, enchanting viewers with its intricate detail.
Frequently Asked Questions
How Can I Ensure Safety When Creating DIY Props for Toy Photography?
Guarantee safety by using non-toxic materials and keeping sharp tools away from children. Always wear protective gear like gloves and goggles. Test stability of props to prevent accidents. Don't rush; prioritize safety over speed when crafting.
What Tools Are Recommended for Cutting and Shaping Materials Safely?
You'll want a sharp craft knife, cutting mat, and safety goggles. Always cut away from yourself and use a metal ruler for straight edges. Keep your workspace tidy to avoid accidents and guarantee precise cuts.
How Do I Store and Organize My DIY Toy Photography Props Efficiently?
Ever wonder if organizing props can boost creativity? Use clear bins with labels for easy access. Pegboards and shelves keep items visible and reachable. Rotate props regularly to inspire fresh ideas and minimize clutter.
What Are Eco-Friendly Options for Creating DIY Toy Photography Props?
You can create eco-friendly toy photography props using recycled materials like cardboard, paper, and fabric scraps. Repurpose old items, paint them with non-toxic paints, and use natural elements like leaves or stones to enhance your setup.
How Can I Budget Effectively for DIY Toy Photography Projects?
Imagine your budget as a garden. You plant seeds of creativity, nurture them with thrifty finds, and watch them bloom into stunning scenes. Prioritize essentials, recycle materials, and seek discounts to keep costs manageable.
At a Glance
In toy photography, the devil's in the details, and your DIY props bring stories to life. You've got the tools—paper, cardboard, natural elements, and textiles—to create stunning scenes. Whether you're crafting miniature furniture, clothing, or even tiny vehicles, each prop adds depth and realism. Don't forget your lighting tricks and shadow play to highlight every detail. With a little creativity and these essentials, your tiny worlds will captivate and delight viewers. Keep snapping and creating!


