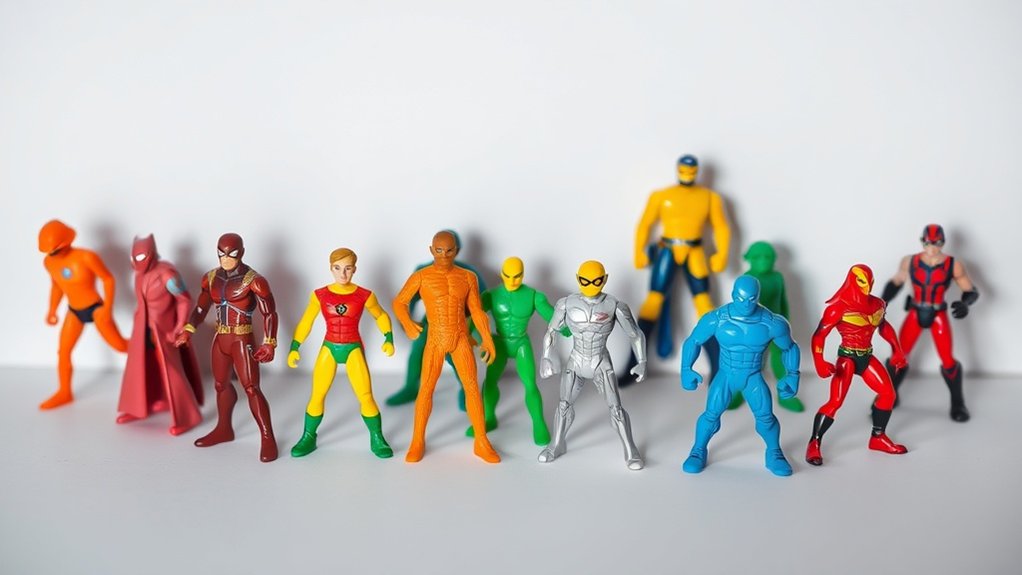
When editing toy photography for social media, stick to the recommended aspect ratios: 4:5 for Instagram and 16:9 for Facebook and Twitter to avoid cropping issues. Use JPEGs for balance in quality and speed, while PNGs suit needs for higher quality. Focus your shots by cropping creatively and enhance them with subtle filters for depth. Export in high resolution to preserve image clarity and vibrancy. There’s much more to discover about mastering toy photography for social media.
Understanding Aspect Ratios for Social Media Platforms
When it comes to sharing your toy photography on social media, understanding aspect ratios is essential. Each platform has its preferred dimensions that can enhance or diminish your image’s impact. For Instagram, a 4:5 ratio is ideal for vertical images, ensuring your toys fill the screen without unnecessary cropping. Meanwhile, Facebook and Twitter favor a 16:9 ratio for horizontal images, giving your work ample space to shine in feeds. Ignoring these guidelines could mean your meticulously crafted scenes get clipped or appear smaller than intended. Before posting, always check the recommended aspect ratios for each platform. Cropping your images accordingly guarantees your photos are seen exactly how you envisioned, keeping your audience engaged and fully appreciating your creative efforts.
Choosing the Right Photo Format for Maximum Impact
Why does choosing the right photo format matter for your toy photography on social media? It’s essential because the format can influence how your audience engages with your content. Different platforms support various formats, and using the right one guarantees your photos look their best. JPEGs are great for maintaining image quality while keeping file sizes manageable for quick loading. Alternatively, PNGs offer superior quality, especially for images with transparency, though they may load slower due to larger file sizes. Consider the balance between quality and speed; you don’t want viewers scrolling past while waiting for images to load. Also, remember that square formats work well on Instagram, while landscape might be better suited for Facebook or Twitter. Choose wisely for maximum impact.
Cropping Techniques to Enhance Composition

How can cropping transform your toy photography into enchanting compositions? Cropping isn’t just about trimming edges; it’s a powerful tool to refocus the viewer’s attention and enhance your photo’s impact. Begin by identifying the focal point of your image. Perhaps it’s the expressive face of an action figure or the intricate details of a model car. By cropping out distractions and unnecessary space, you bring the viewer’s attention right where you want it. Experiment with different aspect ratios to see how they affect your image’s balance and mood. For instance, a square crop can create a sense of symmetry, while a panoramic crop might emphasize movement. Don’t hesitate to rotate or slightly adjust angles to achieve a more dynamic composition.
Utilizing Filters and Effects to Elevate Your Shots
While capturing a great shot is essential, the right filters and effects can truly transform your toy photography, adding depth and atmosphere. By experimenting with various apps and editing tools, you can find filters that highlight the unique features of your toys. For instance, a vintage filter might evoke nostalgia, while a vibrant one could emphasize a playful scene. Effects like vignettes can draw focus to your toy, creating a mesmerizing focal point. Don’t hesitate to explore creative options like lens flares or soft blurs to suggest motion or action. Remember, subtlety is key. Overdoing filters can detract from your work’s authenticity. The goal is to enhance your photo’s story, making it pop on social media without overshadowing the subject.
Balancing Brightness, Contrast, and Saturation
Mastering the interplay of brightness, contrast, and saturation can greatly enhance your toy photography. Start by adjusting the brightness to highlight details without washing out colors or creating harsh shadows. Too much brightness can make your image look flat; too little might obscure important elements. Next, tweak the contrast to add depth and dimension. Increasing contrast can make your toys pop, but be cautious—overdoing it can result in lost details.
Now, focus on saturation to enrich colors. A slight boost can make your toys look vibrant, but excessive saturation may lead to unnatural tones. Always aim for a natural look that enhances your subject’s inherent appeal. Preview your edits frequently to guarantee a balanced, harmonious image that captivates viewers on social media.
Exporting and Uploading: Ensuring Quality Retention
When exporting your toy photography, choosing the right file format is essential to maintain quality. You’ll want to guarantee the resolution stays intact, so your images look sharp on any platform. Pay attention to each platform’s requirements to prevent any loss in detail during uploading.
Optimizing File Formats
Choosing the right file format is essential for maintaining the quality of your toy photography when exporting and uploading to social media. JPEG is a common choice due to its balance between quality and file size, making it ideal for platforms like Instagram. However, if you’re aiming for higher quality and less compression, consider using PNG. Although larger, PNG files preserve more detail and are perfect for images with lots of color and contrast.
When exporting, make sure you’re selecting the appropriate compression level. Too much can degrade your image, while too little makes the file unnecessarily large. Always preview your image after exporting to check for any loss in detail. Upload the highest quality version possible to make certain your photos look their best on all devices.
Maintaining Resolution Standards
After selecting the right file format, it’s important to focus on maintaining resolution standards to confirm your toy photos look stunning on social media. Start by exporting your images at a high resolution, typically 300 DPI, to guarantee clarity. Pay attention to the dimensions; aim for at least 1080 pixels on the shortest side for ideal display on most platforms. Before uploading, double-check platform guidelines since sites like Instagram or Facebook might compress your images, affecting quality.
When uploading, avoid resizing or compressing your images unnecessarily. Use the platform’s recommended settings to prevent unwanted alterations. If possible, upload directly from your computer instead of a mobile device, as it often maintains better quality. By following these steps, you’ll keep your toy photos sharp and vibrant.
Frequently Asked Questions
How Can I Prevent Toy Reflection in My Photos?
You can prevent toy reflections by adjusting your lighting source and angle. Use diffused lighting to minimize glare and avoid shiny surfaces. Experiment with positioning until reflections disappear, ensuring your toys are perfectly captured without unwanted distractions.
What Camera Settings Work Best for Toy Photography?
You might think manual mode is complex, but it gives you control. Use a low ISO for clarity, adjust aperture for depth, and set a fast shutter speed to capture sharp, vibrant toy photos every time.
How to Create a Realistic Background for Toy Photos?
To create a realistic background for toy photos, use natural elements like plants or rocks. Position them strategically for depth. You can also print high-resolution images and place them behind your toys for a lifelike, immersive scene.
Are There Specific Props That Enhance Toy Photography?
You should definitely use props like miniature trees, rocks, or buildings to enhance your toy photography. These elements add depth and context, making your scenes more believable. Get creative with household items too, like fabric for water effects.
How Can I Use Lighting to Create Dramatic Effects in Toy Shots?
You can create dramatic effects by experimenting with shadows and highlights. Use a single light source for contrast, or backlight for silhouettes. Try different angles and distances to see how they affect the mood and depth.
At a Glance
In the world of toy photography, mastering the art of editing can make all the difference. Coincidentally, aligning your photos with the right aspect ratio, choosing impactful formats, and employing clever cropping techniques enhance your composition effortlessly. As you apply filters and effects, balance brightness, contrast, and saturation to add vibrancy. Finally, export and upload with quality in mind. It all comes together, creating enthralling images that stand out on social media, showcasing your creativity. Developing a consistent editing style for photography will not only strengthen your portfolio but also help your audience immediately recognize your work. By applying similar color palettes and techniques across your images, you can create a cohesive look that resonates with your personal brand. This approach fosters a deeper connection with your viewers, inviting them into the unique world you’ve crafted through your lens.


