For high-key toy photography with a bright, clean aesthetic, focus on using simple backgrounds like white or light pastels. Use a camera with manual settings and a macro lens to capture close shots. Stabilize with a tripod and illuminate your subject with soft, even lighting from softboxes or diffusers. Compose by centering the toy as the focal point while keeping distractions minimal. Experimenting with these techniques will improve your ability to capture vibrant images.
Understanding High-key Photography
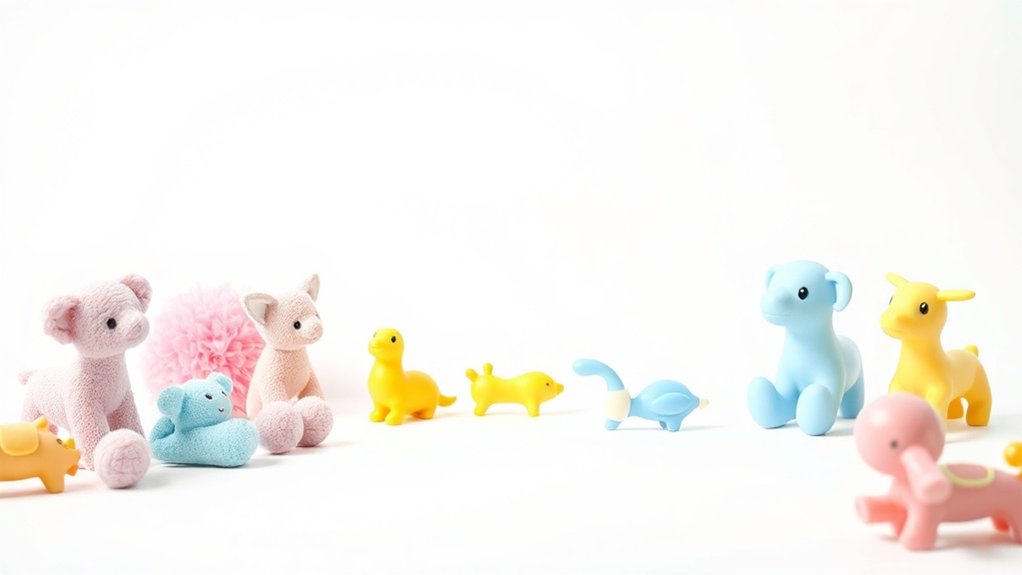
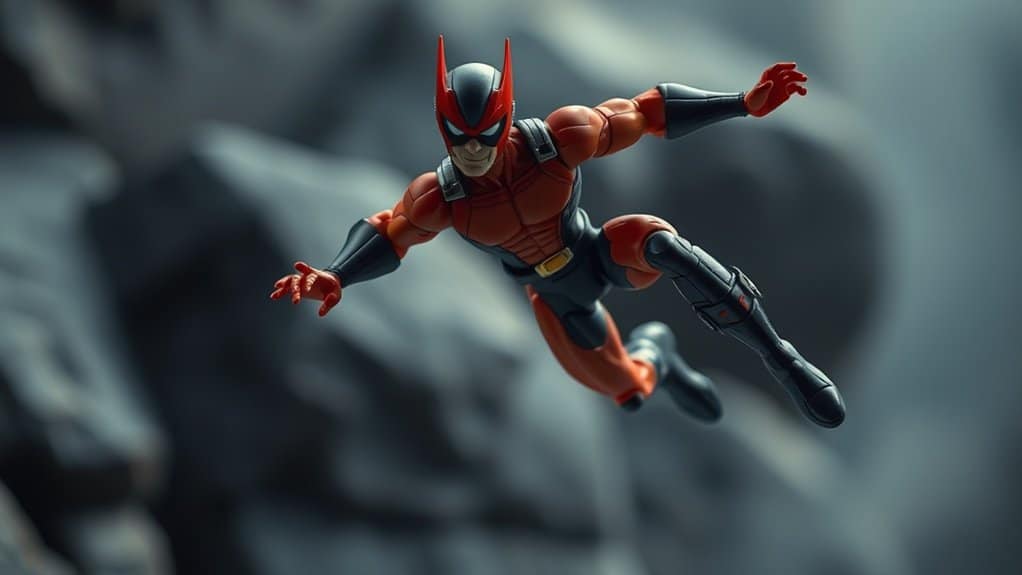
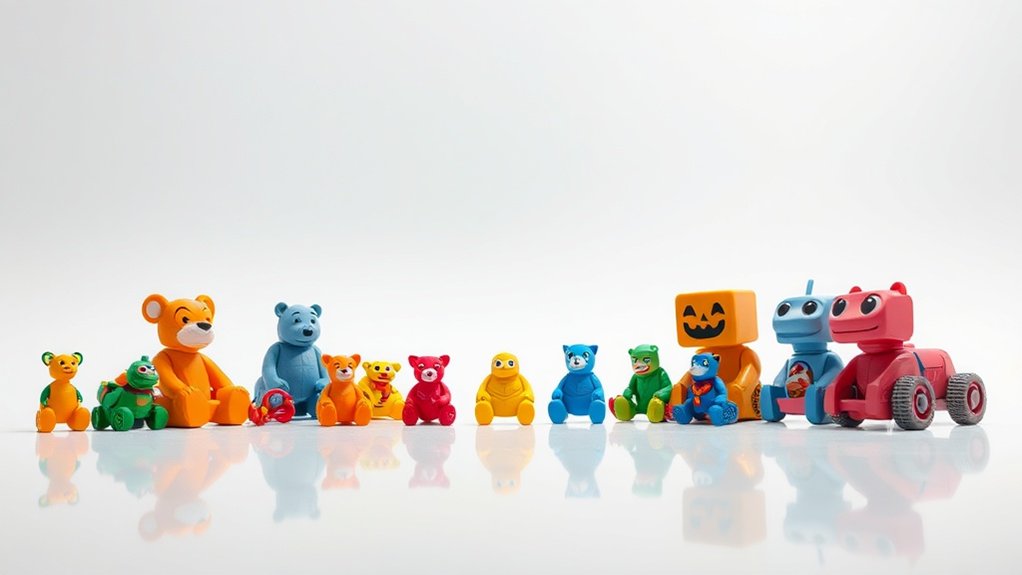
When you plunge into high-key photography, you’ll discover a style that’s all about light and simplicity. It’s a technique that highlights the subject and minimizes distractions, ideal for showcasing toys in a clean, vibrant setting. You focus on creating bright images with minimal shadows, giving your photos an ethereal quality.
Start by envisioning how light interacts with your subject. Think of high-key photography as painting with light, where the background almost fades away, putting your toy front and center. It’s about controlling shadows and using a soft, even light to achieve that glowing effect. Experiment with different angles and distances to see how each change affects light distribution. With practice, you’ll master the art of making toys pop with luminous clarity.
Choosing the Right Equipment
To create stunning toy photography, selecting the right equipment is vital. You don’t need the most expensive gear, but a few key items can make a big difference. Start with a camera that has manual settings, so you can control exposure and focus. A tripod is essential for keeping your shots sharp, especially during long exposures. Choose a lens that allows you to get up close and fill the frame with your subject. Finally, use a remote shutter release to prevent any camera shake.
- Camera: Opt for one with manual settings.
- Tripod: Guarantees stability and sharpness.
- Lens: A macro or close-up lens works best.
- Remote Shutter Release: Avoids camera movement.
With the right gear, you’re on your way to capturing bright, clean images.
Setting Up Your Lighting
Once you’ve got your equipment ready, it’s time to focus on lighting, the lifeblood of any striking toy photograph. Begin by setting up a key light to illuminate your toy. Position it slightly above and to the side, mimicking natural sunlight. This creates a soft, natural-looking shadow that adds depth. Next, use a fill light to reduce harsh shadows. Place it opposite your key light, ensuring it’s less intense. A reflector can help bounce light back onto your subject, softening shadows further. Experiment with angles and distances until you achieve a bright, even look. Avoid direct light on the background to keep the focus on the toy. Softboxes or diffusers are great for achieving that clean, high-key aesthetic.
Selecting the Perfect Background
A well-chosen background can elevate your toy photography from ordinary to extraordinary. When you’re aiming for a bright, clean aesthetic, the background plays a vital role in highlighting your subject. Keep it simple and uncluttered to let your toys shine. Consider these options:
- White Paper or Fabric: Offers a neutral canvas, ensuring your toys are the focal point.
- Light Pastels: Soft colors add a hint of character without overpowering the subject.
- Textured Surfaces: Subtle textures can add depth and interest to the image.
- DIY Backgrounds: Create custom backdrops with simple materials like poster board or cardboard.
Choose a background that complements your lighting setup and toy’s color scheme. With the right backdrop, your photo’s story will come alive.
Composing Your Shot
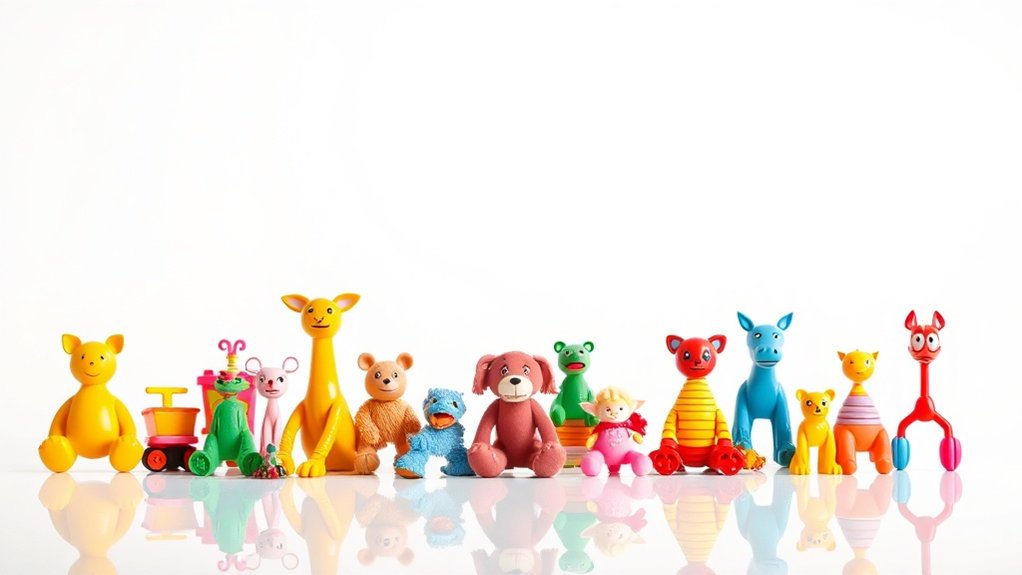
Crafting a compelling toy photograph starts with how you compose your shot. Begin by placing your toy as the focal point, guaranteeing it captures immediate attention. Experiment with angles—eye level often works best, but don’t shy away from dramatic low or high perspectives. This can add depth and intrigue to your image. Pay attention to the rule of thirds; it’s a classic technique that helps balance your composition. Place your toy off-center to create a more dynamic scene.
Next, consider the surrounding elements. Keep them minimal to maintain focus on the toy. Use negative space effectively; it provides breathing room and highlights your subject. Finally, verify your lighting enhances the toy’s features, casting soft shadows for a clean, bright look.
Capturing Vivid Colors
After mastering composition, it’s time to focus on capturing vivid colors in your toy photography. Bright, bold hues can make your images pop and bring your toys to life. Start by ensuring you have ample natural light; it enhances color vibrancy without heavy reliance on editing. Position your toys against a simple background to prevent distractions and let those colors shine. Experiment with angles to catch the light differently and discover unexpected color dynamics.
Here are some quick tips to enhance those vivid colors:
- Use a light diffuser to soften shadows and reduce harsh contrasts.
- Play with white balance settings to get the most accurate colors.
- Avoid direct sunlight to prevent washed-out colors.
- Select toys with complementary colors to create striking contrasts.
Post-processing Tips for High-key Images
When you’re ready to elevate your toy photography with high-key images, post-processing becomes essential. Start by adjusting the exposure to guarantee your image looks bright without losing detail. Use the highlights and whites sliders to emphasize the light areas, making them pop without washing out your toys. Next, enhance contrast slightly to maintain depth and dimension.
Fine-tune colors using the saturation and vibrance tools. High-key images thrive on a clean aesthetic, so keep colors vivid yet subtle. Adjust shadows and blacks to retain detail in darker areas without overpowering the light. Finally, apply noise reduction if needed, guaranteeing your image appears smooth and polished. Remember, the goal is a bright, clean look that lets your toys shine without distractions.
Showcasing Your Toy Photography
Have you ever wondered how to bring your toy photography to a wider audience? Sharing your work effectively is key. Start by utilizing social media platforms like Instagram and Pinterest, where visuals thrive. Create a portfolio website to showcase your best pieces, offering a professional touch. Engage with toy photography communities online to gain feedback and make connections. Submit your work to relevant photography magazines or blogs for broader exposure.
Here are some strategies to reflect upon:
- Leverage Social Media: Use hashtags and engage with followers to increase visibility.
- Build a Portfolio: A dedicated website can help present your work professionally.
- Join Communities: Participate in forums and groups to share and learn.
- Submit to Publications: Reach out to magazines and blogs for potential features.
Frequently Asked Questions
How Can I Create Depth in High-Key Toy Photography?
To create depth, position toys at varying distances from the camera. Use contrasting colors and shadows strategically. Adjust your aperture for a shallow depth of field, and play with perspective to enhance the three-dimensional feel.
What Are Common Mistakes to Avoid in High-Key Photography?
Overexposing is a common mistake—around 60% of beginners do it. Make certain your highlights aren’t blown out. Watch your background; it should be bright but not distracting. Maintain proper contrast to retain details and keep your subject defined.
Can High-Key Photography Work With Dark-Colored Toys?
Absolutely, you can make high-key photography work with dark-colored toys. Focus on balancing the lighting to guarantee the toys stand out. Use bright backgrounds and diffuse lighting to minimize shadows, enhancing the vibrant contrast and clean look.
How Do I Manage Reflections on Glossy Toys?
You’ve got glossy toys reflecting like mirrors. Try repositioning your lights to minimize glare. Use a polarizing filter to cut reflections. Diffuse light with softboxes or white sheets. Experiment until you capture that perfect shot without distractions.
What Are Budget-Friendly Alternatives for Lighting Equipment?
You can use household items like desk lamps or LED strips as budget-friendly lighting alternatives. To diffuse light, try white bedsheets or shower curtains. Position them creatively to achieve the desired effect without breaking the bank.
At a Glance
You’ve mastered high-key toy photography, creating bright, clean images that captivate viewers. Did you know that images with vivid colors can increase engagement by 80%? This means your beautifully composed shots not only showcase your creativity but also connect with a broader audience. By applying these techniques, you’re not just taking photos—you’re telling stories that resonate. So, grab your camera, set up your scene, and let your imagination run wild. Your audience is waiting!