For realistic toy photography backdrops, start by choosing materials that match your theme; consider felt, fabric, or paper for a natural look and metallic foils for an industrial vibe. Test materials under your lighting to avoid unwanted glare. Keep scale in mind by comparing toy size with background elements. Play with light sources for depth and add real-world elements like sand or leaves for authenticity. Explore post-processing techniques to enhance realism further. Curious how to perfect these steps? Experiment with different angles and perspectives to find the most engaging composition. Additionally, learning and applying realistic toy photography techniques can significantly elevate the quality of your images, making them even more captivating. Don’t forget to review your shots critically, assessing how well they convey your intended theme and emotion.
Choosing the Right Materials for Your Backdrop
When selecting materials for your backdrop, how do you guarantee they enhance your toy photography? Start by considering the theme and mood you want to convey. Choose materials that complement your toys' colors and textures. For a natural look, try using felt, fabric, or paper with subtle patterns. These materials can add depth without overshadowing your subjects.
If you're aiming for an industrial or modern vibe, opt for metallic foils or matte finishes. They reflect light in interesting ways, adding dimension. Always test materials under your lighting setup to confirm they don't create unwanted glare or shadows.
Crafting Scale and Perspective in Miniature Scenes
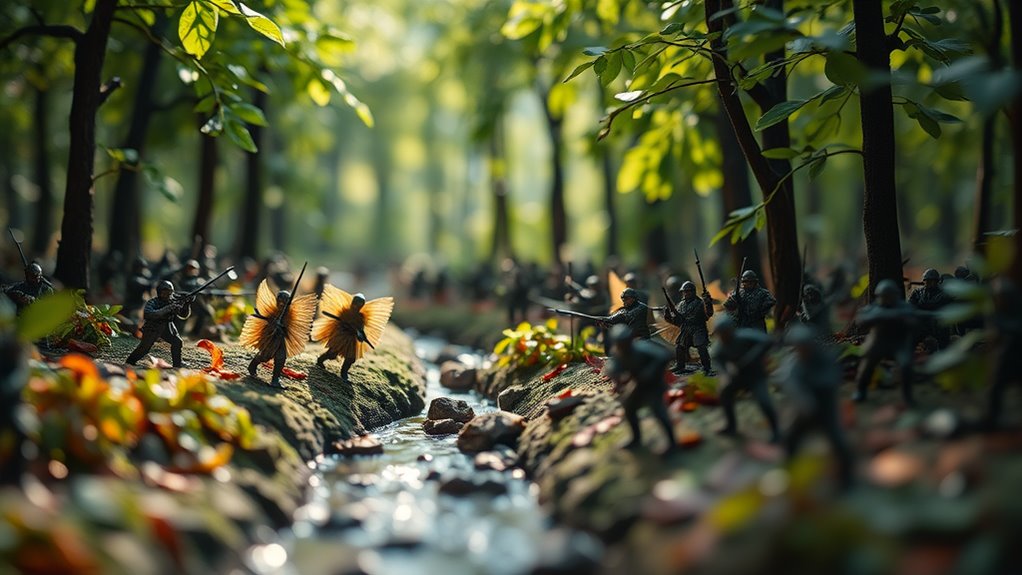
After selecting the perfect materials, it's important to focus on crafting scale and perspective to bring your miniature scenes to life. Start by considering the size of your toys compared to the background elements. Use smaller props to create depth, making distant objects appear farther away. Position your camera at toy level to enhance realism and emphasize the scene's scale. Experiment with angles; shooting from a low angle can make toys appear larger and more imposing. Verify your backdrop complements the toys without overpowering them. A blurred background can help maintain focus on the subject, while leading lines guide the viewer's eye. By carefully adjusting these elements, you'll create dynamic and engaging miniature worlds that captivate anyone who views your photos. Additionally, consider incorporating natural lighting to enhance the authenticity of your scenes, as soft light can reduce harsh shadows and bring out the rich colors of your toys. Exploring realistic toy photography techniques, such as the use of selective focus, can further draw attention to key elements in your composition. Experimenting with different backdrops, such as textured fabrics or natural settings, can also add more character and dimension to your photographs.
Utilizing Lighting Techniques for a Realistic Look
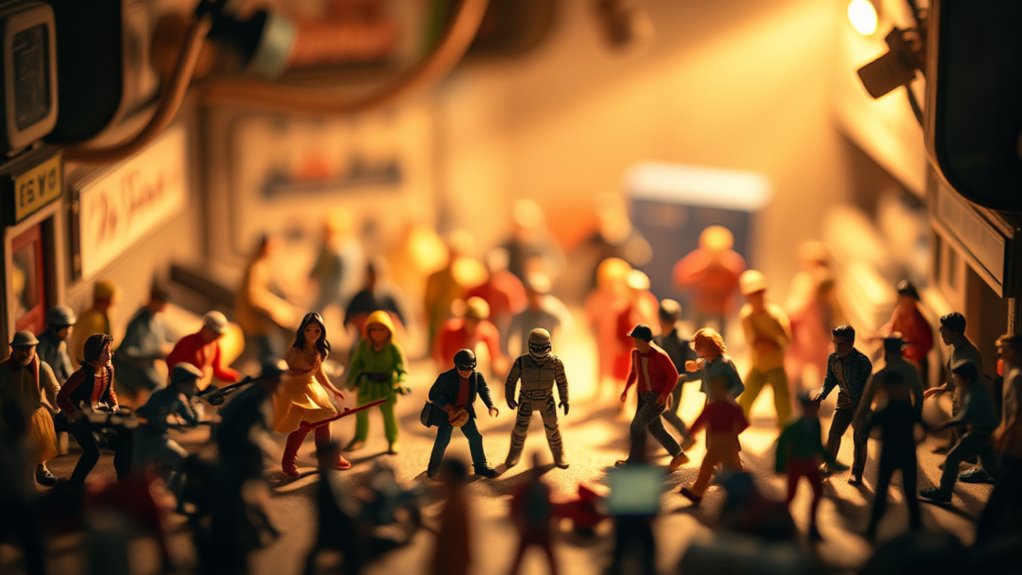
Lighting plays a pivotal role in achieving a realistic look in toy photography. Start by considering the direction of your light source. Side lighting can add depth and texture, while backlighting creates silhouettes and drama. Don't shy away from using multiple light sources; they help reduce harsh shadows and bring out details. Experiment with diffusers to soften the light, making the scene appear more natural. You can use household items like white sheets or baking paper to diffuse light.
Pay attention to the color temperature of your lights. Warmer tones mimic sunlight, adding warmth to your scene, while cooler tones can imitate overcast conditions. Use these to set the mood and enhance realism. Mastering these techniques makes your toy scenes come alive, enchanting viewers with their authenticity.
Incorporating Natural Elements for Authenticity
To truly elevate your toy photography, consider the impact of natural elements on your scene's authenticity. Incorporating real-world materials like sand, rocks, or leaves can transform a plain setup into an engaging, lifelike environment. Start by matching the elements to the toy's theme. If it's a beach scene, sprinkle some sand and scatter a few seashells. For a forest adventure, add twigs and pebbles. Look for small-scale plants or moss that mimic the toy's scale, enhancing depth and realism. Natural lighting can amplify these elements' textures and shadows, adding realism. Experiment with angles and perspectives to showcase the environment's details. By thoughtfully incorporating nature, you create immersive scenes that captivate viewers and transport them into your miniature world. Additionally, consider using props that complement your toys, such as small accessories or themed backdrops that align with your chosen natural elements. These perfect toy photography tips will further enhance the storytelling aspect of your scenes, making them more dynamic and engaging. Always remember that attention to detail can significantly affect the overall impact of your photographs.
Post-Processing to Enhance Realism in Your Shots

While capturing the perfect shot is essential, the magic of toy photography often comes alive in post-processing. With a few tweaks, you can elevate your images from good to breathtaking. Start by focusing on color correction. Adjusting the hues guarantees your photo's colors are true to life.
Next, consider enhancing sharpness to make your toys pop against the backdrop. This adds depth and makes details more pronounced. Finally, play with lighting effects. Adding shadows or highlights can introduce a dramatic flair.
Here's a quick checklist to guide your editing process:
- Color Correction: Adjust hues for authentic colors.
- Sharpness: Enhance detail and separation.
- Lighting Effects: Introduce shadows and highlights for drama.
Master these techniques, and your toy photos will shine with realism.
Frequently Asked Questions
How Do I Store and Maintain My Toy Photography Backdrops?
Make certain your backdrops are clean and dry before storing. Roll them up to prevent creases, and keep them in a cool, dry place. Use protective tubes or cases to avoid damage. Regularly check for any signs of wear.
What Are Some Budget-Friendly Backdrop Options for Beginners?
Creative cardboard, patterned paper, and fabric remnants can be your budget-friendly backdrop basics. You'll find these materials offer flexibility and flair. Explore thrift shops or craft stores for affordable finds to enhance your photography setup.
Can I Use Digital Backdrops Instead of Physical Ones?
You can definitely use digital backdrops instead of physical ones. They offer flexibility and creativity without the clutter. Just guarantee your lighting matches the digital scene and experiment with angles to make it look realistic.
How Can I Transport My Backdrops Without Damaging Them?
You can roll your backdrops around a sturdy tube to prevent creases. Use protective covers or sleeves for extra safety. Don't forget to pack them securely in a case or storage bin during transport.
Are There Any Safety Tips for Handling Delicate Backdrop Materials?
Sure, always handle delicate backdrops with clean hands to avoid stains. Roll them carefully instead of folding to prevent creases. Store in a protective tube or case, ensuring they're away from moisture and direct sunlight.
At a Glance
When crafting realistic toy photography, remember that lighting plays a vital role. Did you know that 90% of photographers believe proper lighting is the key to achieving realism in their shots? By combining the right materials, maintaining scale and perspective, and incorporating natural elements, you set the stage for stunning images. Don't forget post-processing; it can enhance those small details, bringing your miniature scenes to life. Your creativity and attention to detail will make your photos truly stand out.


