To create seamless backgrounds in your toy photography studio, choose smooth materials like paper backdrops or taut fabric to minimize visible lines. Secure the backdrop firmly with clamps or weights. Use soft, diffuse lighting to avoid casting harsh shadows, enhancing the background’s smoothness. Position your camera using the rule of thirds for balance and adjust in post-processing to blend any seams. You’ll master creating flawless backgrounds by exploring a few key techniques.
Choosing the Right Background Material
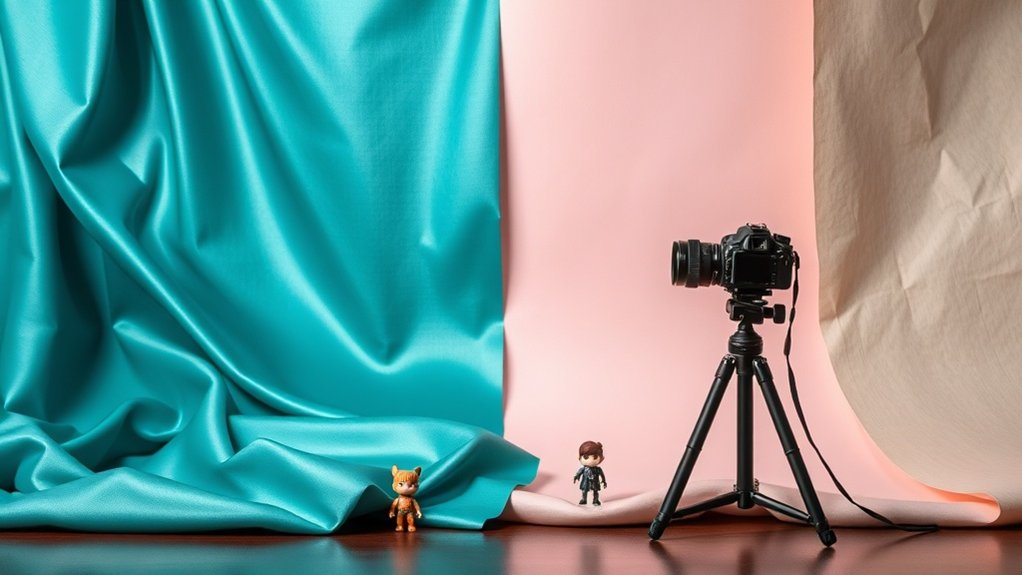
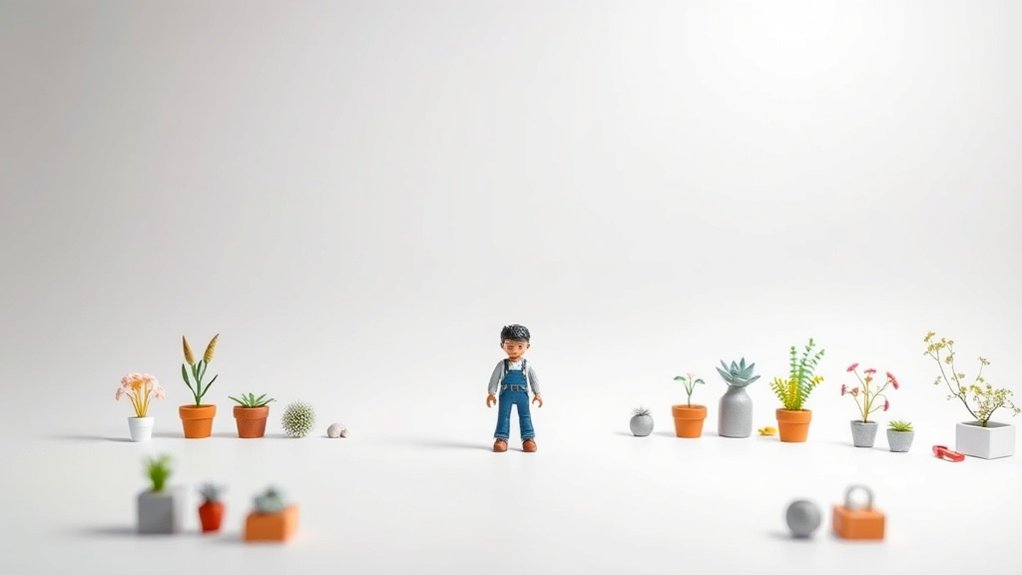
When it comes to toy photography, choosing the right background material is essential for creating seamless and intriguing images. You’ll want to select materials that complement your subjects without overpowering them. Paper backdrops are a popular choice due to their smooth texture and variety of colors. They help in achieving a clean, distraction-free look. Consider vinyl backgrounds if you need something durable and easy to clean. For a more artistic approach, fabric offers texture and a range of patterns, adding depth to your photos. Don’t overlook the potential of natural materials like wood or stone for an organic feel. Ultimately, the key is to experiment with different options until you find the one that highlights your toys beautifully.
Setting Up Your Studio Space
Choosing the right background material sets the stage, but how you set up your studio space can truly transform your toy photography. Start by selecting a dedicated area free from clutter and distractions. Use a table or desk as your base and guarantee it’s stable. Position your background material seamlessly by securing it to the table or wall without visible seams. Keep essential tools like tape, scissors, and props within arm’s reach for quick adjustments. Experiment with different angles and heights by using adjustable stands or stacks of books to achieve the desired perspective. Organize your space so you can easily access and swap out backgrounds as needed. A well-organized studio not only boosts creativity but also enhances efficiency in your shoots.
Understanding Lighting Techniques
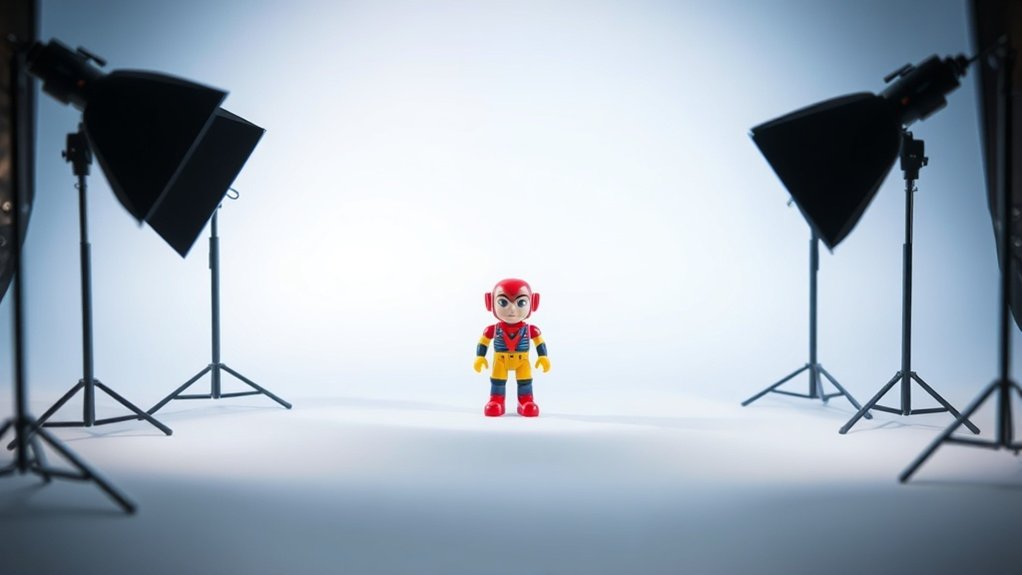
Lighting in toy photography is your silent storyteller, breathing life into your miniature scenes. It creates mood, highlights details, and sets the tone. First, consider using soft, diffused light to avoid harsh shadows. You can achieve this with a lightbox or by placing tracing paper over your lights. Experiment with different light sources: natural sunlight offers warmth, while LED lights provide consistency and control. Position your lights to enhance the scene’s depth, placing them at various angles to achieve dynamic effects.
Don’t forget about backlighting; it can add drama and highlight silhouettes. Reflectors are your best friends for bouncing light back onto your subject, ensuring no detail goes unnoticed. Practice these techniques, and you’ll effortlessly transform your toy photographs into enchanting stories.
Mastering Composition and Angles
When you’re mastering composition in toy photography, framing your shots is essential for creating an enchanting scene. Pay attention to how you position your toys within the frame and utilize perspective techniques to add depth and interest. By experimenting with different angles, you can make your photos more dynamic and engaging.
Framing Your Toy Shots
How do you elevate your toy photography from simple snapshots to enchanting works of art? Start by mastering framing, which draws viewers into your miniature world. Consider the rule of thirds to place your toy in a compelling position within the frame. This technique creates balance and guides the eye naturally. Experiment with angles; a low angle can make your toy appear larger-than-life, while a high angle might reveal intricate details. Don’t forget to fill the frame strategically. Too much empty space can distract from your subject, so focus on highlighting the toy. Use foreground elements to add depth and context without overwhelming the scene. By thoughtfully framing your shots, you’ll transform everyday toys into mesmerizing visual stories.
Utilizing Perspective Techniques
While mastering composition, perspective techniques can remarkably enhance your toy photography, adding depth and intrigue. By playing with angles, you create a world where viewers feel drawn into the story. Here’s how to evoke emotion with perspective:
- Get on Toy-Level: Lower your camera to the toy’s eye level. It places the viewer in the toy’s world, making the scene more relatable and immersive.
- Experiment with Angles: Tilt your camera to create dynamic shots. Unconventional angles can evoke excitement and energy, transforming a simple setup into an action-packed moment.
- Use Leading Lines: Incorporate lines that guide the eye toward the toy. Whether it’s a path or a row of objects, leading lines enhance the sense of depth and focus.
These techniques make your photos compelling and unforgettable.
Editing and Post-Processing Tips
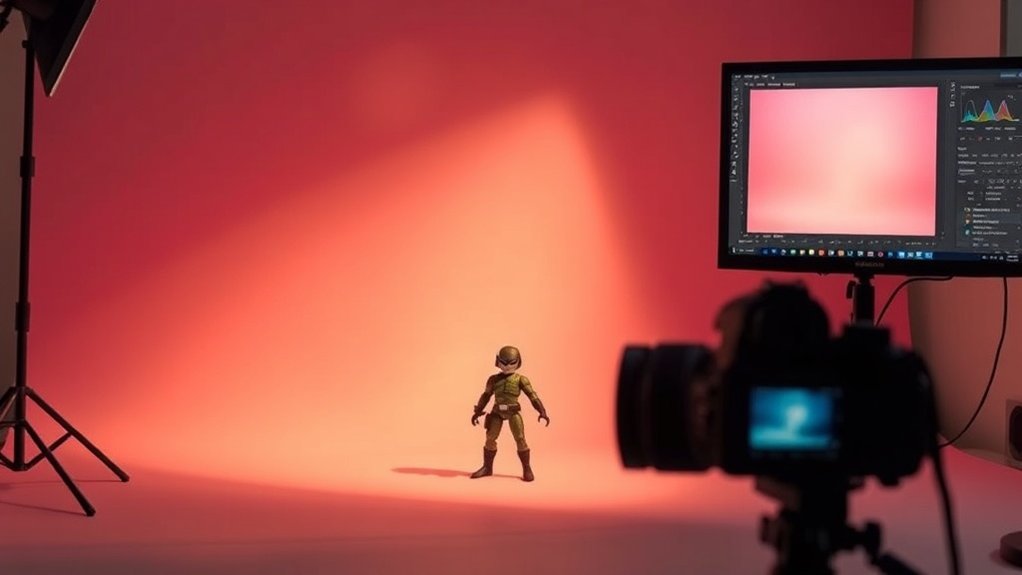
To elevate your toy photography, mastering editing and post-processing is essential, as these techniques can transform a good photo into a stunning one. Start by adjusting the lighting and contrast to make colors pop and details stand out. Use tools like Adobe Photoshop or Lightroom to enhance the image without overdoing it. Cloning brushes can help remove any unwanted elements or blemishes from your seamless background, ensuring the focus remains on your toys.
Experiment with saturation levels to achieve the desired mood, and don’t shy away from cropping to perfect your composition. Adding subtle vignettes can draw attention to the subject. Finally, sharpen your images for crispness but be cautious not to introduce noise. With practice, these techniques will elevate your toy photography considerably.
Troubleshooting Common Issues
When you’re facing problems with your toy photography backgrounds, start by addressing harsh shadows that can disrupt your scene. Check for color mismatches between your toys and background, and adjust your lighting or camera settings to achieve a balanced look. Finally, make certain the background seams are smooth by aligning your materials properly or using editing tools to blend them seamlessly.
Eliminating Harsh Shadows
Harsh shadows can easily disrupt the dreamlike quality you’re aiming for in toy photography. When shadows dominate, they can overshadow the tiny details that breathe life into your miniature scenes. To tackle this, consider these strategies:
- Diffuse the Light: Use a softbox or a white sheet to cover your light source. This softens shadows and spreads light evenly, creating a gentle ambiance.
- Adjust the Angles: Experiment by shifting the position of your lights. Side lighting often produces harsh shadows, so try lighting from above or behind.
- Bounce Light: Reflective surfaces like white foam boards can redirect light into shadowy areas. This brightens those spots and balances the scene.
These techniques will help you create enchanting, shadow-free images that capture the imagination.
Fixing Color Mismatches
While shadows can steal focus in your toy photography, color mismatches pose their own set of challenges. These inconsistencies can distract viewers and make your composition look unprofessional. Start by confirming your camera’s white balance is correctly set. This simple step often aligns colors more accurately. Additionally, observe how your lighting affects the colors. Different bulbs emit various temperature hues that can alter the scene’s appearance. Use consistent lighting to maintain uniform colors. If you’re editing your photos, employ software tools to correct any mismatched colors. Adjust the saturation, brightness, and contrast subtly to blend colors seamlessly. Finally, calibrate your monitor regularly to verify what you see matches reality. With these adjustments, your toy photos will showcase vibrant, cohesive colors.
Smoothing Background Seams
Even if you plan meticulously, background seams in toy photography can still become noticeable distractions. These seams can break the illusion you’ve worked so hard to create. But don’t worry, because there are ways to tackle this issue effectively.
- Lighting Adjustments: Use soft, even lighting to minimize shadows that highlight seams. Adjust your light source to guarantee it’s dispersed evenly across the background.
- Post-Processing Magic: Utilize photo editing software to blend seams. Tools like the clone stamp or healing brush can help smooth out those pesky lines.
- Physical Fixes: Use backdrop materials like seamless paper or fabric that naturally hide seams. Ascertain these materials are taut and wrinkle-free to prevent any unwanted lines.
Addressing these issues will elevate your toy photography to new heights.
Frequently Asked Questions
How Do I Prevent Dust From Appearing in My Toy Photography?
Keep your studio dust-free by regularly cleaning surfaces and equipment. Use a microfiber cloth on toys before shooting. Consider a small air blower to remove dust particles. Inspect photos closely and retouch in editing software if needed.
What Are Some Budget-Friendly Alternatives for Creating Seamless Backgrounds?
You’re drowning in creativity! Use poster board, fabric, or craft paper to create seamless backgrounds. They’re cheap, versatile, and easily replaceable. Grab some paint or markers to add personal touches and make your toy photography pop.
How Can I Make Small Toys Look Lifelike in Photos?
You can make small toys look lifelike by adjusting lighting for natural shadows, using a macro lens for detail, and positioning them dynamically. Experiment with angles and depth of field to create a realistic, enchanting scene.
What Props Enhance the Storytelling Aspect of Toy Photography?
You’ll want to use miniature props like furniture, vehicles, or everyday items. They’ll enhance your storytelling by creating relatable scenes. Incorporate lighting and shadows to add depth, making your toy photography more immersive and engaging.
How Do I Achieve Realistic Depth of Field With Toys?
To achieve realistic depth of field with toys, adjust your camera’s aperture to a lower f-stop. Position your toy close to the lens and the background further away. Experiment with distances to create a convincing depth effect.
At a Glance
You’ve now got the tools to create seamless backgrounds in your toy photography studio. By choosing the right materials, setting up your space, mastering lighting and composition, and using smart editing techniques, you’ll elevate your shots to new heights. Remember, photography is as much about problem-solving as it is about creativity. Embrace the process and let each challenge refine your skills. In doing so, you’ll find that true artistry lies in the details and constant learning. Experimenting with different masking techniques for toy photography can further enhance your creative output, allowing you to isolate subjects and craft unique compositions. Don’t hesitate to push boundaries and try unconventional approaches, as this can lead to unexpected and rewarding results. As you grow more proficient in these techniques, your personal style will begin to emerge, making your work truly distinctive.


