To edit toy photos brilliantly, start by getting comfortable with your photo editing software‘s interface, focusing on layers and basic tools. Adjust exposure and contrast for clear and vivid images. Enhance colors and sharpen details to make toys pop while using selective focus to create depth. Try adding magical effects like sparkles and fog for a whimsical touch. Master layers for advanced edits. For a deeper exploration into sharing techniques, keep going forward!
Understanding the Basics of Photo Editing Software
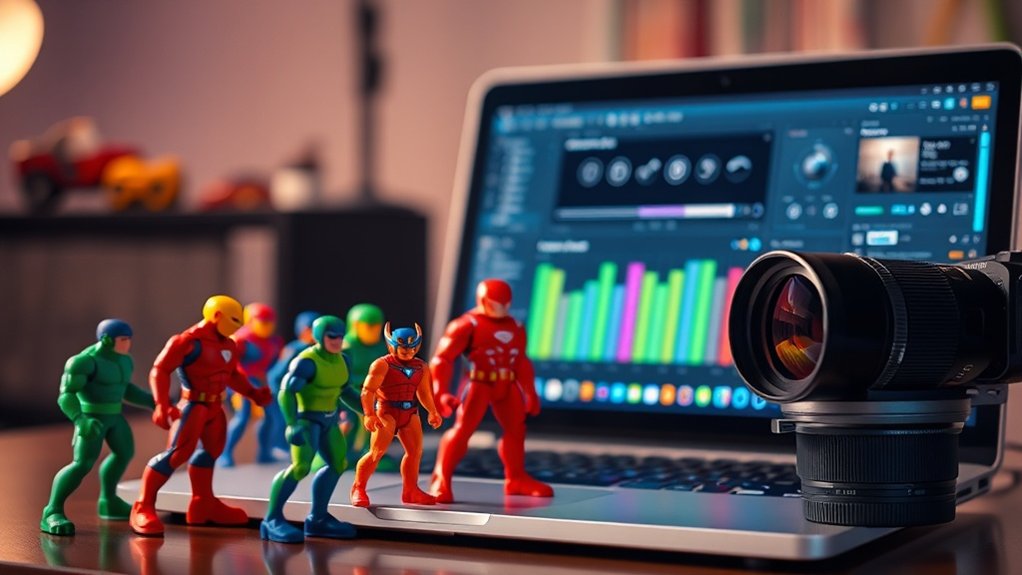
Before diving into editing toy photos, it’s crucial to grasp the fundamentals of photo editing software. You’ll find that understanding the basic tools and features can greatly enhance your editing skills. Start by familiarizing yourself with the interface. Each software has its unique layout, but common features include layers, brushes, and filters. Explore these elements by experimenting with different tools to see their effects on images.
Next, focus on learning keyboard shortcuts, which can speed up your workflow. Handy shortcuts like copy, paste, and undo will save you time. Additionally, familiarize yourself with file types and resolutions to guarantee your photos maintain quality during edits. By mastering these basics, you’ll build a strong foundation for more advanced editing techniques.
Adjusting Exposure and Contrast for Better Clarity
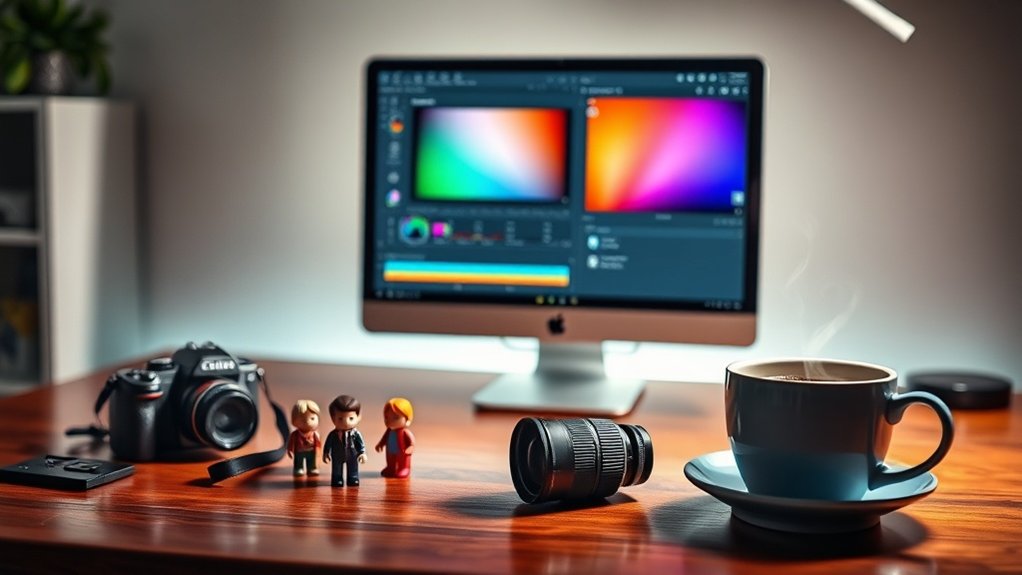
Having grasped the fundamentals of photo editing software, it’s time to enhance your toy photos by adjusting exposure and contrast for better clarity. Start by opening your photo in the editing software and locate the exposure slider. Increasing exposure brightens the image, making details more visible, while decreasing it darkens overly bright areas. For contrast, find the contrast slider and adjust it to make the light areas lighter and the dark areas darker. This step enhances the depth and detail of your toys. Be cautious not to overdo it; extreme adjustments can lead to loss of detail and unnatural appearances. Experiment with slight changes until you achieve a balanced look that highlights your toys’ features effectively.
Enhancing Colors to Make Your Toys Stand Out
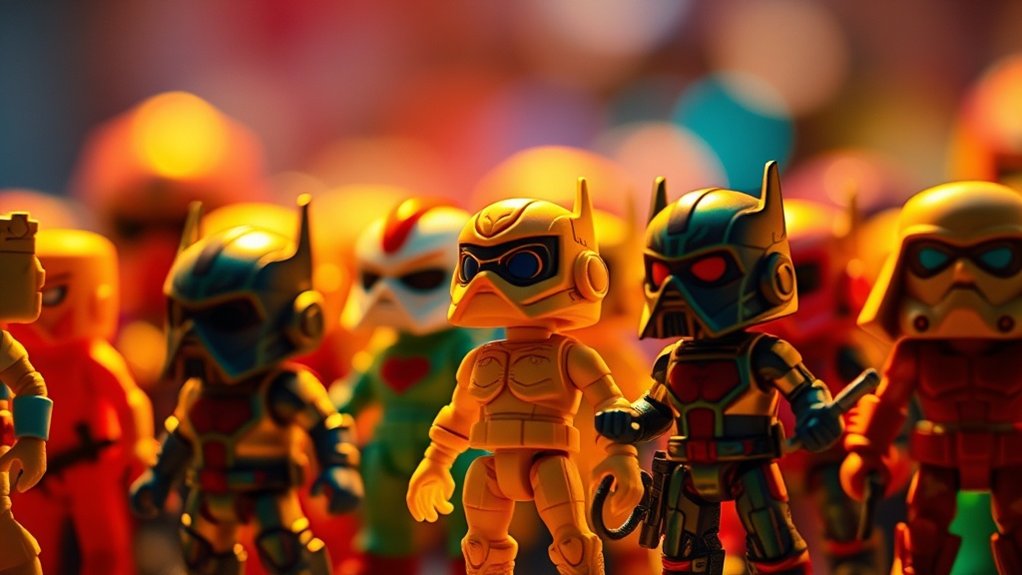
To make your toy photos pop, start by adjusting the saturation levels to bring out vibrant colors without overdoing it. Next, boost the contrast effectively to add depth and make the details stand out. These tweaks will guarantee your toys grab attention and look their best.
Adjusting Saturation Levels
When you want your toy photos to truly pop, adjusting saturation levels can be a game-changer. It enhances colors, making them vibrant and eye-catching. Start by opening your photo editing software and locating the saturation tool. Increase the saturation gradually; you want vivid colors without making them look unnatural. Too much saturation can lead to a garish result, so keep an eye on the balance.
Focus on specific colors that need a boost to stand out, like the bright red of a fire truck or the green of a dinosaur. Each toy has its unique palette, so adjust accordingly. Remember, subtle tweaks often yield the best results. By carefully enhancing these colors, you’ll make your toy photos look lively and professional.
Boosting Contrast Effectively
After fine-tuning the saturation levels to bring out vibrant colors, you’ll want to turn your attention to boosting contrast effectively. Contrast is key to making your toy photos pop and guaranteeing details stand out. By adjusting contrast, you can emphasize shadows and highlights, adding depth and dimension to your images. Here’s how to do it:
- Use Curves Adjustment: Open the curves tool in your editing software. Drag the curve slightly upwards for highlights and downwards for shadows. This S-shaped curve enhances contrast smoothly.
- Play with Levels: Adjust the midtones slider for a balanced contrast. Move it left for lighter images or right for darker ones.
- Experiment with Contrast Slider: Increase or decrease the contrast slider to find the perfect balance.
- Check Before & After: Always compare your edited photo with the original to verify the contrast enhances rather than overwhelms.
Sharpening Details for a Crisp Finish
While achieving a crisp finish in toy photos, sharpening details becomes essential. Begin by selecting the right sharpening tool in your editing software. Most photo editors have options like “Unsharp Mask” or “Smart Sharpen.” Focus on enhancing the edges and textures without overdoing it. Too much sharpening can introduce noise and artifacts, so adjust the sliders gently.
Pay close attention to the toys’ intricate features, like facial expressions and clothing textures. These areas benefit most from sharpening. Zoom in to verify you’re enhancing the right spots. Use a mask to apply sharpening selectively, avoiding smooth surfaces like backgrounds, which don’t need extra detail.
Finally, review your edits at 100% zoom to confirm they look natural. With practice, you’ll master the art of detail sharpening.
Creating Depth With Selective Focus
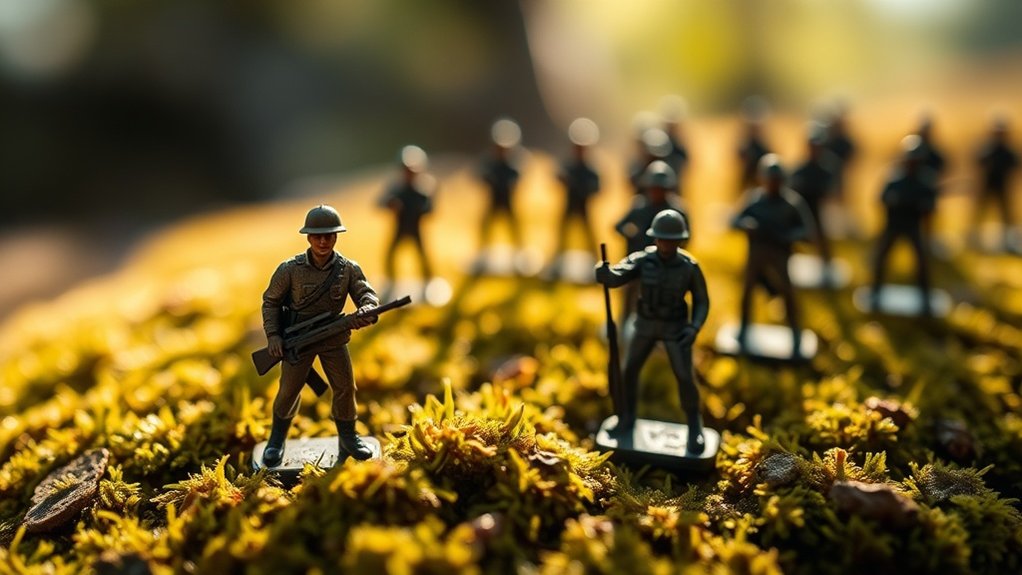
Sharpening details gives your toy photos clarity, but creating depth with selective focus adds dimension. By selectively focusing on your toy subject, you can make it pop against a blurred background, drawing your viewer’s eyes exactly where you want. Here’s how you can achieve this effect:
- Use a Wide Aperture: Set your camera or editing software to a wide aperture (low f-stop number) to naturally blur the background while keeping the toy sharp.
- Manual Focus: Switch to manual focus to have precise control over what’s sharp and what’s not.
- Layer Masking: In post-processing, use layer masks to blur areas selectively, emphasizing your toy.
- Tilt-Shift Effect: Apply a tilt-shift effect in editing software to mimic a miniature scene, enhancing depth dramatically.
Adding Special Effects for a Whimsical Touch
To give your toy photos a whimsical touch, start by enhancing the color vibrancy to make them pop. You can create a dreamy atmosphere by applying soft focus or gentle filters, adding a layer of enchantment to your images. Don’t forget to include magical elements like sparkles or light flares to truly bring your toy scenes to life.
Enhance Color Vibrancy
Infusing your toy photos with vibrant colors can transform them from simple snapshots into enchanting visual stories. You can achieve this by enhancing the color vibrancy in your images. Here’s how you can do it:
- Adjust Saturation: Increase the saturation to make colors pop, but be cautious not to overdo it, as this can make the image look unnatural.
- Use Vibrance Tool: Unlike saturation, vibrance enhances colors that are less dominant and protects skin tones, offering a more balanced look.
- Color Balance: Tweak the color balance to enhance specific tones. Sliding towards warmer tones can add a magical, cozy feel.
- Selective Editing: Focus on particular colors that need a boost. Use selective editing tools to target and intensify specific areas without affecting the whole image.
Create Dreamy Atmosphere
Crafting a dreamy atmosphere in your toy photos can transport viewers to a whimsical world where imagination thrives. Start by applying a soft, ethereal glow to give the scene a surreal quality. You can achieve this effect by subtly increasing the exposure and slightly reducing the contrast in your photo editing software.
Next, experiment with adding a gentle blur around the edges to create a vignette effect. This draws focus to the center, enhancing the dream-like feel. Adjust the saturation to pastel hues, giving your toys a more magical appearance.
Finally, utilize light leaks or lens flares. These effects mimic sunlight streaming through, adding warmth and charm. A few thoughtful adjustments can turn your ordinary toy photos into enchanting, whimsical images.
Add Magical Elements
While capturing toy photos, adding magical elements can elevate them from ordinary to extraordinary. Embrace your creativity by incorporating whimsical effects that make your images pop. Start by experimenting with digital tools to enhance the fantasy aspect of your photos.
- Glowing Lights: Add small, glowing orbs to mimic fairy lights or fireflies. This can add a dreamy, enchanted atmosphere.
- Sparkles and Glitter: Use brushes or overlays to sprinkle some sparkle across your scene. It gives a magical dust effect that captures attention.
- Mystical Fog: Create a layer of fog or mist to add depth and mystery. It can transform a simple setting into an otherworldly landscape.
- Colorful Flares: Introduce lens flares in vibrant colors to highlight key areas and bring a magical touch.
Utilizing Layers for Advanced Editing Techniques
When enhancing toy photos, mastering layers can elevate your editing skills to new heights. Layers let you make non-destructive adjustments, meaning you can tweak or remove changes without affecting the original image. Start by creating separate layers for different edits like color correction, contrast, or adding elements. This keeps your workflow organized and efficient.
Use adjustment layers for fine-tuning brightness, saturation, or hue. Layer masks are your best friends for selective edits; they let you apply changes to specific areas of your photo. Experiment with blending modes to achieve unique effects and enhance textures. Remember, you can always reorder layers or adjust their opacity for subtle adjustments. With practice, you’ll create enchanting, dynamic images that truly showcase your toy photography skills.
Exporting and Sharing Your Edited Toy Photos
Now that you’ve mastered layers to enhance your toy photos, it’s time to focus on sharing your creations with the world. Exporting your photos correctly guarantees they look their best on any platform. Here’s a quick guide to help you get started:
- Choose the Right Format: Use JPEG for social media and PNG for maintaining quality with transparency.
- Adjust Resolution: Set your resolution to 72 DPI for web use or 300 DPI for prints. This guarantees ideal clarity for your audience.
- Size Your Image: Resize your photos according to the platform requirements to avoid unwanted cropping or distortion.
- Share Creatively: Use platforms like Instagram or Pinterest to reach toy enthusiasts or create a blog to engage with a niche audience.
Frequently Asked Questions
What Camera Settings Are Best for Capturing Toy Photos?
For capturing toy photos, you’ll want a small aperture like f/8 for sharp details, a low ISO to minimize noise, and a faster shutter speed to avoid blur. Adjust white balance for accurate colors in your shots.
How Can I Reduce Glare in Toy Photos?
Glare can be a photo’s worst enemy, like an uninvited guest. Use a polarizing filter to cut it down. Adjust your light source angles and lower brightness in post-processing to make your toys shine, not glare.
Are There Specific Lighting Setups Recommended for Toy Photography?
You’re wondering about lighting setups for toy photography. Use diffused light to soften shadows and reduce glare. A light tent or softbox works great. Position lights at 45-degree angles for even coverage and enhanced detail in your shots.
How Do I Prevent Shadows When Photographing Toys?
To prevent shadows in toy photography, position your light source above and slightly in front of the toy. Use a diffuser to soften the light, and consider using reflectors to bounce light and minimize unwanted shadows.
What Props Can Enhance the Storytelling in Toy Photography?
Ironically, using props creates stories without words. You can add mini furniture, tiny books, or even dollhouse plants. These props will let your toys narrate epic tales while you just sit back and capture the magic.
At a Glance
You’ve got all the tools in your arsenal now to make your toy photos shine. With a little practice, you’ll be able to bring your images to life and create a visual masterpiece. Remember, the devil’s in the details, so take your time with each step. Whether you’re adding a splash of color or a touch of whimsy, let your creativity take the wheel. Now go ahead, share your enchanting creations with the world!