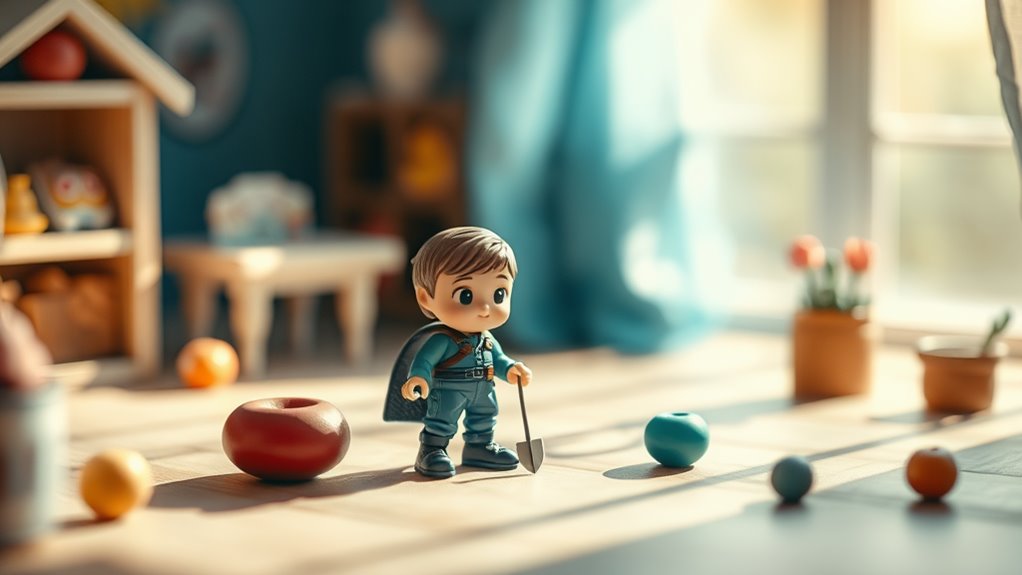
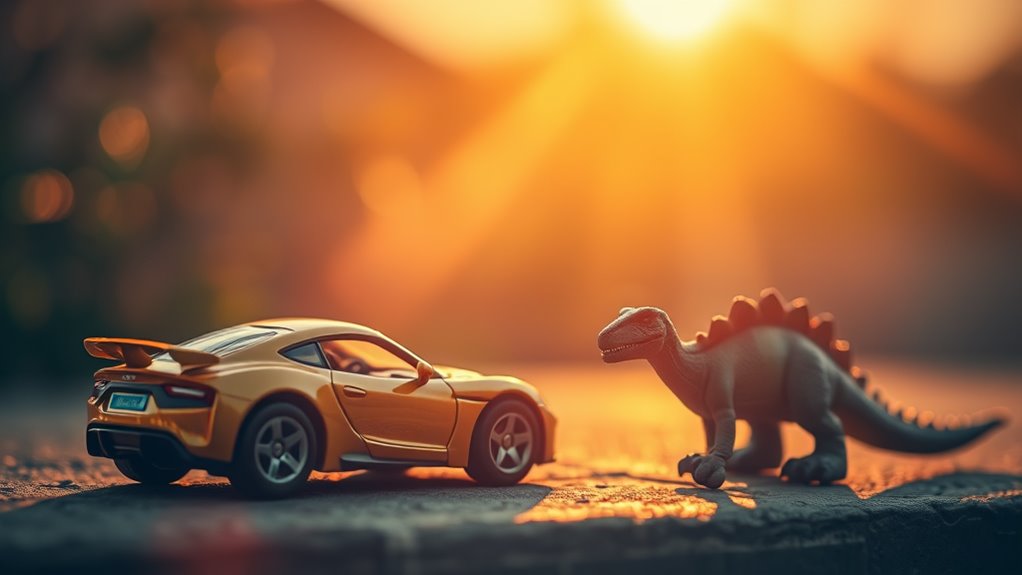
To achieve enchanting toy photos, start by choosing user-friendly software like Adobe Lightroom or Snapseed. Enhance colors and lighting by adjusting saturation and contrast subtly. Master background blurring with a wide aperture and well-chosen backgrounds. Try filters to add emotion or highlight details, ensuring the image remains vibrant. Retouch for realism, focusing on textures and clarity without overdoing it. There's lots more to uncover to perfect your toy photo-editing skills.
Choosing the Right Editing Software
When it comes to editing toy photos, selecting the right software can make all the difference. You want tools that are user-friendly yet powerful enough to handle detailed edits. Start with Adobe Lightroom for its intuitive interface and extensive features, perfect for beginners and professionals alike. If you're after more specific adjustments, Adobe Photoshop offers advanced capabilities for intricate edits. Don't overlook apps like Snapseed or VSCO, which provide excellent mobile editing options. They're perfect for on-the-go tweaks. Consider GIMP if you're looking for a free alternative with robust features. Each of these programs offers unique strengths, so think about your specific needs and budget. With the right software, you'll elevate your toy photography, making each shot a masterpiece.
Enhancing Colors for Vibrancy
To make your toy photos pop, enhancing colors for vibrancy is key. You want those bright blues, vibrant reds, and sunny yellows to stand out. Start by adjusting the saturation to make colors more intense without overdoing it. Boosting vibrancy can make muted colors more lively while preserving skin tones. Experiment with these steps:
- Increase saturation – Carefully raise it to enrich colors without making them look unnatural.
- Boost vibrancy – Focus on enhancing dull shades while keeping natural tones intact.
- Use selective color adjustment – Target specific hues to emphasize particular elements.
- Apply color grading – Add a subtle tint for a cohesive and dynamic look.
These tweaks will transform your toy images into eye-catching masterpieces.
Adjusting Lighting and Exposure

After perfecting the vibrancy of your toy photos, the next step is adjusting lighting and exposure to guarantee every detail shines. Use editing software to fine-tune brightness and contrast, ensuring the toys look dynamic and lifelike. It's important to avoid overexposure, which can wash out colors and hide details. Instead, aim for balanced lighting that highlights the toy's features without overwhelming shadows.
Adjust the highlights and shadows sliders to bring out textures and create a compelling depth. If your toys appear too dark, slightly increase the exposure to reveal hidden elements. Remember, subtlety is key; drastic changes can make the image seem artificial. By carefully tweaking these settings, you'll make your toy photos pop with clarity and precision, capturing every tiny detail.
Mastering Background Blurring Techniques
To make your toy photos stand out, mastering background blurring techniques is essential. You can create a stunning depth of field effect by adjusting your camera's aperture settings, which helps focus on the toy while softly blurring the background. Don't forget to experiment with bokeh effects, adding a magical touch to your shots by turning background lights into beautiful, soft circles.
Achieving Depth of Field
While capturing toy photos, achieving depth of field can dramatically enhance your images by effectively isolating your subject from the background. To master this technique, follow these steps:
- Use a Wide Aperture: Set your camera to a low f-stop (e.g., f/1.8 or f/2.8) to blur the background more effectively.
- Adjust Your Distance: Move closer to the toy or increase the distance between the toy and the background to enhance separation.
- Select a Longer Focal Length: Zoom in or use a lens with a longer focal length to compress the background and increase blur.
- Experiment with Angles: Change your shooting angle to find the best position where the background elements distract the least.
These techniques will help you capture striking toy photos with professional-looking depth.
Utilizing Bokeh Effects
Capturing the enchanting appeal of toy photography often hinges on mastering bokeh effects, which create a dreamlike blur in the background. To achieve this, you'll want to use a lens with a wide aperture, like f/1.8 or f/2.8. This setting helps isolate your toy in sharp focus while softening everything else. Get close to your subject, filling the frame, and guarantee there's enough distance between the toy and the background. In post-processing, you can enhance the bokeh by using tools like Photoshop or Lightroom. Adjust the clarity and contrast around the toy to make it pop. Adding subtle light streaks or orbs can also enhance the magical feel. Practice these techniques, and you'll elevate your toy photos into enchanting visual stories.
Utilizing Filters for Creative Effects

Although toy photography offers endless possibilities, using filters can dramatically enhance your images with creative effects. Filters allow you to transform the mood and tone of your photos, adding a unique touch. Here's how you can make the most of them:
- Experiment with Color: Use color filters to add warmth or coolness, which can evoke different emotions in your viewers.
- Try Vintage Filters: Give your photos a nostalgic feel with vintage or sepia filters, making your toys look like they belong to a different era.
- Use Black and White: Highlight details and textures by stripping away color, focusing attention on the subject's form.
- Play with Intensity: Adjust filter strength to guarantee it complements, rather than overwhelms, your photo's natural beauty.
Using filters creatively can elevate your toy photography to new heights!
Cropping and Framing for Impact
When you're editing toy photos, focus on cropping and framing to enhance their impact. Use the rule of thirds to guide the viewer's eye and consider negative space to give the subject breathing room. Don't forget to choose the right aspect ratio to fit the platform you're sharing on.
Rule of Thirds
A powerful composition technique, the Rule of Thirds, can transform your toy photography by enhancing visual interest and balance. By dividing your image into a 3×3 grid, you'll guide viewers' eyes and create dynamic scenes. Place key elements along these grid lines or at their intersections, where attention naturally gravitates. Here's how to apply it:
- Grid Lines: Enable the grid feature on your camera or editing software. This makes alignment straightforward.
- Focal Points: Position your main subject or focal point off-center on an intersection.
- Balance: Use the grid to balance contrasting elements, like colors or toy sizes.
- Cropping: Reframe post-shoot to align with the grid, enhancing composition later.
Mastering this technique adds depth and intrigue to toy photos.
Negative Space Utilization
Having mastered the Rule of Thirds, let's explore how negative space can elevate your toy photos. Negative space refers to the empty areas surrounding your subject. Use it to create a sense of balance and focus. When framing your toy, allow space around it to emphasize its presence and evoke emotion.
Don't hesitate to crop tightly if necessary, but make sure the composition remains intentional and clean. By strategically leaving space, you'll guide the viewer's eye and highlight the toy's details. Experiment with different angles and distances to see how negative space transforms the scene.
Aspect Ratio Choices
Choosing the right aspect ratio can dramatically influence the impact of your toy photos. It helps you focus on the most important elements and eliminate distractions. When you crop and frame for impact, consider these:
- 1:1 (Square) – Perfect for social media, especially Instagram. It creates a balanced composition.
- 16:9 (Widescreen) – Ideal for a cinematic feel, capturing more background and context.
- 4:3 (Standard) – Offers a traditional look, often used for prints and digital displays.
- 3:2 (Classic) – A versatile choice, great for storytelling with balanced proportions.
Experiment with these ratios to see which enhances your toy's features best. Remember, the right aspect ratio not only refines your composition but also elevates the overall visual appeal.
Retouching Details for Realism
When aiming to retouch details for realism in toy photography, focus on enhancing the textures and colors that make your subjects come alive. Start by adjusting the brightness and contrast to highlight the intricate details of your toys. Pay attention to the shadows and highlights, as they add depth and dimension. Use sharpening tools to emphasize fine details without overdoing it; you want clarity, not harshness. Enhancing colors is essential—consider using saturation and vibrance adjustments to make the hues pop without looking artificial. Don't forget about the background; subtle blurring can help your subject stand out while maintaining a realistic setting. Finally, clone out any distracting imperfections or dust that detract from the image's overall realism. Your toys should look vibrant and lifelike.
Frequently Asked Questions
How Can I Make Toy Photos Look More Lifelike?
To make toy photos look more lifelike, adjust the lighting for natural shadows, enhance colors subtly, and use a shallow depth of field. Focus on details like textures and add a touch of motion blur for realism. Incorporating nature elements in toy photography can elevate your images, creating a more immersive experience. Consider using outdoor settings or natural materials as backdrops, allowing the toys to blend harmoniously with their surroundings. Additionally, capturing leaves, stones, or water can introduce dynamic elements that enhance the overall composition.
What Are Some Common Mistakes in Toy Photo Editing?
Isn't it frustrating when your toy photos look over-edited? Avoid common mistakes like excessive saturation or adding unrealistic shadows. Keep it simple, and focus on enhancing the toy's natural features to make them pop. Experiment with subtle editing techniques for toy photography, such as adjusting contrast and brightness to highlight details without losing authenticity. Utilize natural backgrounds and soft lighting to complement your toys, ensuring that the overall composition feels cohesive and appealing. Remember, the goal is to showcase the toy’s charm and personality, rather than overwhelming the viewer with heavy edits. Experimenting with lighting can also significantly improve your photos, as natural light often brings out the best in colors and details. Additionally, mastering essential editing techniques for toy images, such as subtle cropping and color correction, will help create a polished final product. Remember, the goal is to showcase the toy’s unique qualities without overshadowing them with heavy edits.
How Do I Ensure the Toys Don't Look Over-Edited?
Stick to subtle edits like adjusting brightness and contrast. Avoid heavy filters and extreme saturation. Focus on enhancing natural colors. Use the original as a reference to guarantee the toys maintain their authentic look.
Are There Specific Tools for Editing Small Toy Details?
Did you know 78% of photo editors use specialized tools for small details? You should try using macro lenses and Photoshop for precise edits. These tools help capture and enhance those intricate toy details effortlessly.
Can Editing Software Help With Organizing Toy Photo Collections?
Yes, editing software can definitely help. You can use features like tagging, sorting, and categorizing to keep your toy photos organized. It's a game changer when you need to find specific shots quickly and efficiently.
At a Glance
You've now got the tools to transform your toy photos from ordinary to extraordinary. Choose the right software, enhance colors for vibrancy, adjust lighting to perfection, and master the art of background blurring. Utilize creative filters, crop with intent, and retouch details for stunning realism. With these tips, you'll capture magic in every shot, charm in every frame, and wonder in every glance. Immerse yourself, experiment, and watch your toy photography skills soar!


