
To prep toys effectively, start by cleaning with microfiber cloths and mild child-safe solutions to remove dust and grime without damage. Use tools like soft toothbrushes for intricate areas, and baking soda for restoring shine. After cleaning, practice posing with dynamic angles and natural positioning to bring your toys to life. Use stands for stability, and adjust lighting and backgrounds for enchanting displays. There’s more to discover, like enhancing overall composition and drama.
Essential Tools for Toy Cleaning
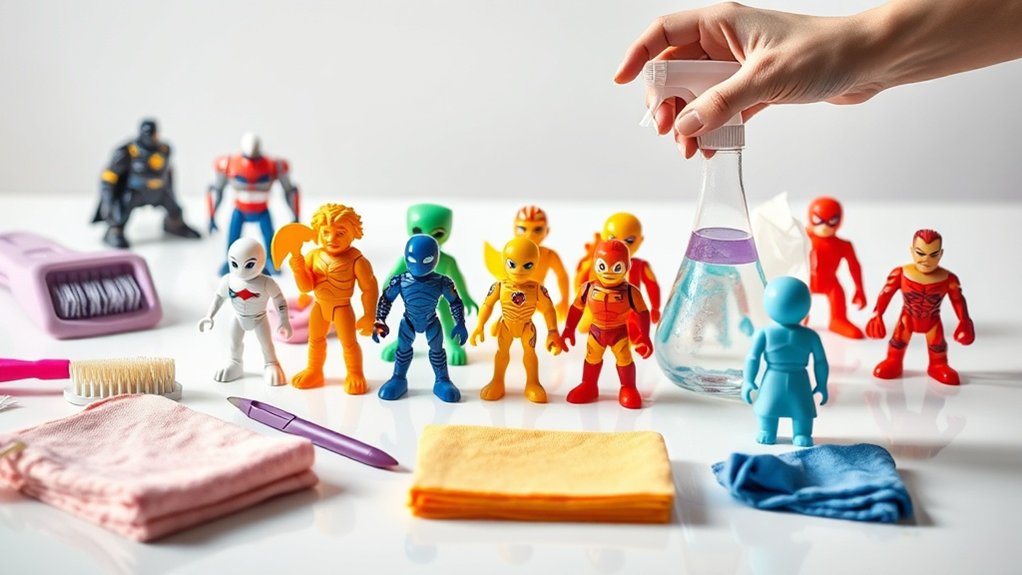
When you’re ready to clean toys, having the right tools makes the process efficient and effective. First, gather microfiber cloths, which are perfect for gently wiping away dust without scratching surfaces. You’ll also need a soft-bristle toothbrush; it’s excellent for reaching into tiny crevices. Keep a small spray bottle on hand filled with a mild, child-safe cleaning solution. This allows you to target specific areas that need a bit more attention. Cotton swabs are ideal for detailed work on intricate parts. Finally, have a soft towel ready for drying, ensuring no moisture remains, which could lead to damage. With these tools, you’re prepared to maintain your toys’ appearance and longevity, making playtime clean and safe.
Step-by-Step Guide to Removing Dust and Grime
To effectively remove dust and grime from toys, you’ll need to gather essential cleaning tools like soft cloths, brushes, and mild cleaning solutions. Start with effective dusting techniques by gently wiping or brushing away loose particles. This first step guarantees you don’t scratch or damage the toys while preparing them for a more thorough cleaning.
Essential Cleaning Tools
Cleaning your toys effectively begins with having the right tools at your disposal. Start with a soft microfiber cloth, which is perfect for gently wiping surfaces without scratching them. For those hard-to-reach spots, a set of small, soft-bristled brushes will work wonders, allowing you to dislodge dirt from crevices. Don’t forget about cotton swabs; they’re excellent for detailing and getting into tight spaces.
Next, grab a mild soap or a gentle toy cleaner. These will help remove grime without damaging the toy’s finish. A spray bottle filled with a water and vinegar solution can be handy for tougher stains. Finally, keep a pair of tweezers nearby to remove any stubborn particles or fibers clinging to the toys. With these tools, you’re all set!
Effective Dusting Techniques
Now that you’ve gathered the right cleaning tools, let’s focus on dusting techniques to guarantee your toys are spotless. Start by using a soft microfiber cloth. Gently wipe the surface of each toy, ensuring you reach every nook and cranny. For intricate details, a soft-bristle toothbrush works wonders. Lightly brush away the dust without applying too much pressure. If your toy has movable joints, a can of compressed air can help blow out any stubborn dust. Hold the can upright and spray short bursts to avoid moisture build-up. After dusting, check for any remaining grime. A slightly damp cloth can tackle tougher spots. Remember, regular dusting not only maintains cleanliness but also extends your toys’ lifespan, keeping them looking new.
Techniques for Restoring Shine and Color
To bring back the original shine and color of your toys, start with gentle cleaning methods to avoid damage. You’ll also want to explore color restoration tips that can revive any faded parts. Finally, use shine enhancement techniques to give your toys a polished look, making them seem almost new again.
Gentle Cleaning Methods
Even though toys can endure rough play, they often require a gentle touch when cleaning to restore their original shine and color. Start by using a soft cloth or microfiber towel to wipe away dust and dirt. For stubborn spots, create a mild soapy solution using warm water and a few drops of dish soap. Dip the cloth into the solution, then gently rub the toy’s surface. Avoid soaking the toy, especially if it contains electronic components. Instead, focus on targeted cleaning. For intricate details, use a soft-bristled toothbrush to reach those tight areas. After cleaning, rinse the toy with a damp cloth to remove any soapy residue. Finally, dry it thoroughly with a clean towel to prevent moisture damage.
Color Restoration Tips
While toys might lose their luster over time, you can easily bring back their vibrant shine and color with a few simple techniques. Start by evaluating the material; plastic and rubber respond well to different methods. For plastic toys, use a mixture of baking soda and water to gently scrub away dullness. Rubber toys benefit from diluted vinegar; apply with a soft cloth and let it sit for a few minutes before rinsing.
For stubborn discoloration, a small amount of toothpaste can work wonders. Gently rub it on the affected area with a soft brush, then rinse thoroughly. Always test cleaning solutions on a small area first to avoid damage. With these tips, you’ll restore the toys’ original color, making them look as good as new.
Shine Enhancement Techniques
A little shine can bring toys back to life, making them look fresh and appealing. To boost that gleam, start by gently cleaning the toy with a soft cloth to remove dust and grime. Use a mild soap solution for stubborn dirt. Rinse thoroughly, then dry completely. For plastic toys, apply a small amount of baby oil or a specialized toy polish, spreading it evenly with a microfiber cloth. Buff with a clean section of the cloth to add extra shine. For metal parts, a dab of metal polish can work wonders; just be sure to follow the instructions carefully. Avoid harsh chemicals as they can damage the toy’s surface. Regular maintenance guarantees your toys stay vibrant and eye-catching.
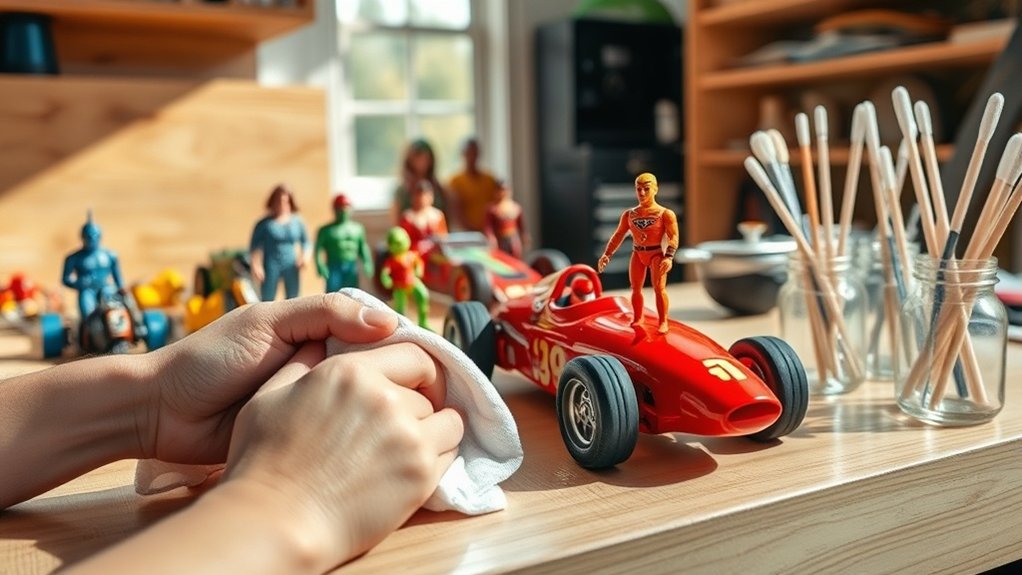
Crafting Dynamic Poses for Action Figures
Perfecting dynamic poses for your action figures can breathe life into your collection, transforming static pieces into thrilling displays. To achieve this, focus on capturing movement and emotion. Here’s how:
- Understand Character Traits: Consider the character’s personality and typical actions. A superhero might need a heroic stance, while a villain might require something more menacing.
- Use Multiple Points of Articulation: Experiment with joints to mimic natural human poses. Twist the torso, bend the elbows, and angle the knees to create a sense of motion.
- Create Interaction: Pose figures in relation to each other or their environment. This adds a narrative element, whether they’re in combat, conversation, or a dramatic scene.
Balancing and Stability Tips for Display
Once you’ve mastered crafting dynamic poses, the next step is ensuring your action figures maintain their balance and stability for an impressive display. First, use stands or bases that match the figure’s weight and size, providing a solid foundation. Adjust the figure’s center of gravity by slightly bending knees or shifting arms to counterbalance top-heavy parts. You can also employ a little museum putty on the feet to anchor them discreetly without causing damage. Experiment with the figure’s positioning; sometimes, a slight rotation can dramatically improve stability. If your figure’s joints are loose, a dab of clear nail polish or floor polish can tighten them. These techniques will help keep your figures upright, allowing you to showcase them beautifully.
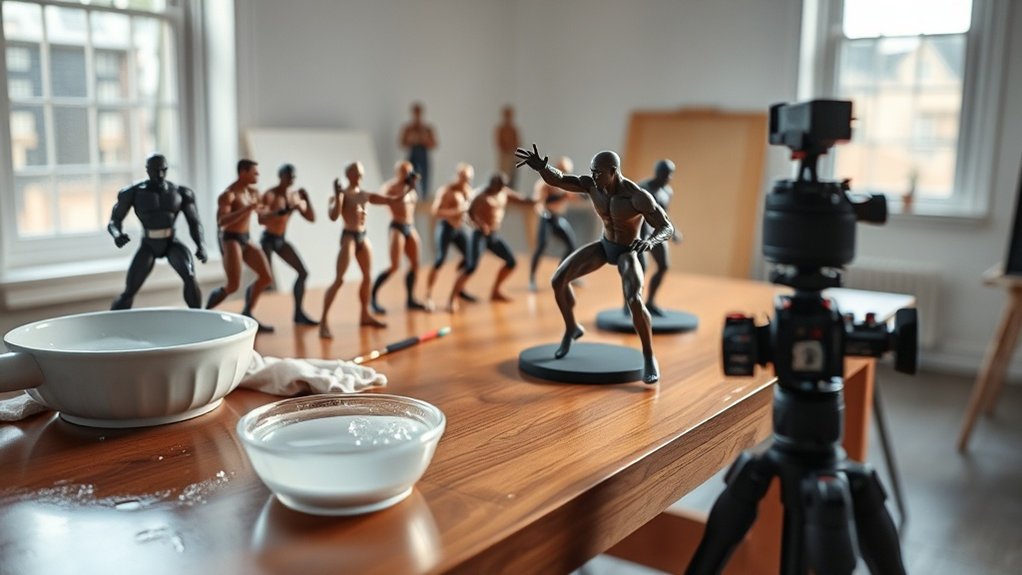
Lighting and Background Setup for Toy Photography
How do you transform your toy photography from ordinary to extraordinary? It’s all about nailing the lighting and background setup. Here’s how you can elevate your shots:
- Choose the Right Lighting: Natural light is your best friend. Shoot near windows during the golden hour to capture soft, diffused lighting. If indoors, use a ring light or softbox to eliminate harsh shadows.
- Background Selection: A clean, simple background keeps the focus on the toy. Use colored papers, fabric, or even your computer screen displaying a complementary scene to create depth and interest.
- Experiment with Angles: Position your light source at various angles to see how shadows and highlights play on the toy, enhancing its features and adding drama to your composition.
With these tips, you’ll capture striking toy photos in no time!
Frequently Asked Questions
How Can I Prevent Toy Joints From Becoming Loose Over Time?
You can prevent toy joints from becoming loose by regularly tightening screws, applying nail polish or superglue to increase friction, and storing toys in stable positions. Don’t forget to handle them gently during play and repositioning.
What Are the Best Storage Practices to Avoid Toy Discoloration?
To avoid toy discoloration, store them away from direct sunlight and humidity. Use acid-free boxes or bags. Guarantee the storage area has stable temperatures. Don’t forget to check for any potential leaks or pests in the area.
How Do I Safely Remove Sticky Residue From Toy Surfaces?
Sticky residue clings to your toys like an unwelcome guest. To safely remove it, dab a cloth with rubbing alcohol or vinegar, gently rub the surface, and watch the residue vanish without damaging your treasured collection.
Are There Eco-Friendly Cleaning Solutions for Toys?
You can use eco-friendly solutions like vinegar mixed with water or baking soda paste to clean toys. They’re effective and safe for the environment. Always rinse thoroughly to guarantee no residue remains on the toys.
How Can I Fix Minor Scratches on Toy Surfaces?
Imagine scratches as whispers of playtime adventures. You can gently buff them away using a magic eraser or toothpaste. Just rub in circles, like a dance, and watch those blemishes fade into memory’s mist.
At a Glance
In the world of toy preparation, each step is like polishing a gem. As you dust off the past and restore vibrant colors, you’re breathing life into cherished memories. Crafting dynamic poses transforms static figures into storytellers, standing tall and proud. With each adjustment in lighting and backdrop, your display becomes a stage where imagination takes flight. Remember, every toy is a symbol of joy, waiting to shine brightly in your collection.


