
Enhance your toy photography scenes with smoke and fog effects by selecting the right type—dry ice, smoke machines, or fog spray—for your desired atmosphere. Arrange your toys in a fitting location, consider dynamic backgrounds, and use lighting techniques like backlighting to create dramatic effects. Control smoke flow with fans, and capture the perfect moment quickly as smoke dissipates fast. Learn to use colors and editing tools to refine your shots and tackle challenges. با گسترش دانش خودiels in the next section. Experiment with different angles and focal lengths to enhance the depth of your toy cinematic scenes with smoke. Incorporate props that complement the fog effects, adding layers and intrigue to your compositions. Finally, don’t hesitate to adjust your setup and take multiple shots to ensure you capture the most captivating visuals.
Choosing the Right Type of Smoke or Fog
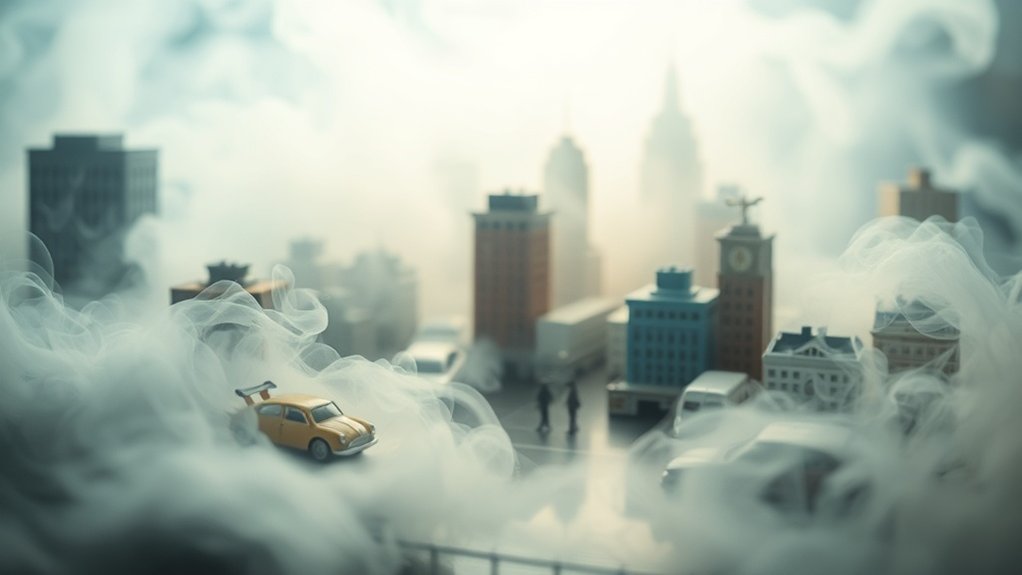
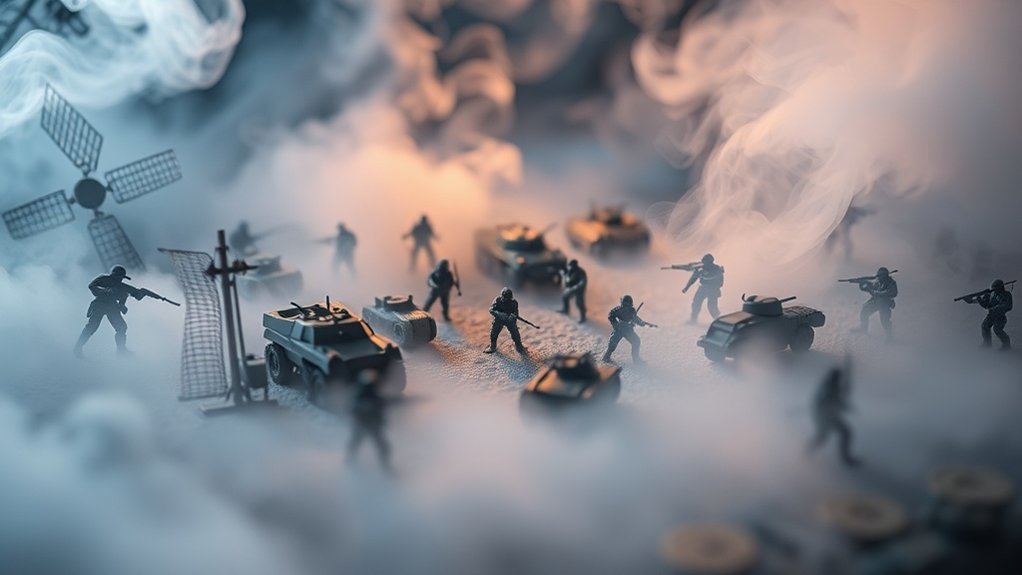
When diving into toy photography, choosing the right type of smoke or fog can transform an ordinary scene into something magical. You’ve got several options, each bringing its unique flair. Dry ice offers a dense, rolling fog that hugs the ground, ideal for creating mysterious or eerie settings. On the other hand, a smoke machine can fill your scene with billowing clouds, perfect for dramatic, action-packed shots. If you’re aiming for a subtle mist, consider using a fog spray or vape pens, which are both portable and easy to control. Pay attention to the density and color of the smoke to enhance the atmosphere you’re aiming for. Don’t forget to experiment with lighting to see how it interacts with the smoke.
Setting Up Your Scene for Maximum Impact
How do you set up a toy photography scene for maximum impact? Start by choosing a location that complements your theme. Arrange your toys and props thoughtfully, ensuring they convey a story. Consider the background; it should enhance, not distract from your subject. Position your camera to create dynamic angles and draw viewers in. Finally, think about how smoke or fog will interact with your scene.
- Select a location that matches your narrative.
- Arrange toys and props to tell a compelling story.
- Use a background that enhances the scene without distraction.
- Experiment with camera angles for a dynamic look.
- Plan how smoke or fog will enhance the overall mood.
Keep these elements in mind, and you’ll create striking and memorable toy photography scenes.
Lighting Techniques for Enhanced Atmosphere
To elevate your toy photography with an enhanced atmosphere, focus on mastering lighting techniques that add depth and mood. Start by experimenting with different light sources. Use a flashlight or a torch to create dramatic shadows and highlights, accentuating your scene’s details. Soft, diffused lighting, like a lamp with a frosted bulb, can offer a gentle, ethereal glow. Try backlighting your subject to create silhouettes or rim lighting for a striking effect.
Adjust the position of your lights to see how they interact with the smoke or fog, emphasizing their wispy trails. Colored gels can infuse your scene with emotion, transforming the ambiance entirely. Don’t hesitate to combine multiple lighting techniques to craft a unique, atmospheric setting that captivates viewers.
Using Smoke Bombs for Dynamic Effects
Few elements can add drama and intrigue to your toy photography like the swirling allure of smoke. Smoke bombs are a fantastic tool to create dynamic, eye-catching effects in your scenes. They’re easy to use and add a touch of realism that can transform ordinary shots into extraordinary ones. When using smoke bombs, it’s important to plan your shots carefully to make the most of their brief lifespan.
Here’s how to get the best results:
- Choose the right color: Pick a hue that complements your scene’s mood.
- Keep safety in mind: Always use them in a well-ventilated area.
- Control the direction: Use fans to guide smoke flow.
- Time your shots: Capture images quickly before the smoke dissipates.
- Experiment with angles: Different angles can create unique effects.
Creating Fog With Dry Ice or Fog Machines

When using dry ice for fog effects, always handle it with gloves and guarantee proper ventilation to avoid hazards. If you opt for a fog machine, familiarize yourself with its settings and placement to create the perfect atmosphere for your toy photography. Both options can add a mystical touch to your photos, so choose based on your needs and comfort level.
Dry Ice Safety Tips
Creating enchanting fog effects in toy photography can be thrilling, but it is crucial to prioritize safety, especially when working with dry ice or fog machines. Dry ice can create stunning visuals, yet it requires careful handling. Keep these tips in mind to stay safe:
- Ventilation: Always work in a well-ventilated area. Dry ice releases carbon dioxide, which can be dangerous in confined spaces.
- Gloves: Wear insulated gloves when handling dry ice to prevent skin burns.
- Storage: Store dry ice in a well-insulated container but never in an airtight one, as pressure can build up.
- Distance: Maintain a safe distance between the camera, toys, and dry ice to protect them from moisture.
- Disposal: Let dry ice sublimate in a secure, open space.
Stay safe and enjoy creating those mystical scenes!
Fog Machine Setup
Setting up a fog machine or using dry ice can elevate your toy photography to an otherworldly level. Start by choosing a fog machine suited to your space. Small, portable units work best for indoor scenes, while larger machines are ideal for outdoor shoots. Position the machine at a low angle to create a ground-hugging fog effect. If using dry ice, place it in hot water to produce thick, rolling fog, keeping safety precautions in mind.
Adjust the fog density to match your scene’s mood. Use a fan to direct the fog where needed, ensuring it doesn’t overshadow your toys. Experiment with lighting to highlight the fog’s texture. Practice makes perfect, so don’t hesitate to try different setups for the best effect.
Safety Precautions and Best Practices
When using smoke and fog effects in toy photography, guarantee you’ve got proper ventilation to keep your space safe. Always choose non-toxic products to protect your health and that of others around you. Stay alert to any potential fire hazards, especially when working with heat sources or electrical equipment.
Proper Ventilation Importance
Although smoke and fog effects can dramatically enhance your toy photography, guaranteeing proper ventilation is essential for safety and ideal results. Inadequate ventilation can lead to respiratory issues and poor air quality, affecting both you and your environment. Here’s how to maintain proper ventilation while using smoke and fog effects:
- Open windows and doors: Allow fresh air to circulate, reducing smoke concentration.
- Use fans: Direct airflow to push smoke away from the shooting area.
- Limit exposure time: Take breaks to let the room clear out.
- Set up outdoors: When possible, shoot in open spaces for natural ventilation.
- Monitor air quality: Use air purifiers or monitors to guarantee a safe environment.
Non-Toxic Product Selection
Guaranteeing proper ventilation is one part of keeping your toy photography sessions safe, but equally important is choosing non-toxic products for your smoke and fog effects. Start by reading labels carefully and selecting products specifically marked as non-toxic. Many smoke or fog machines use liquid solutions that produce effects, so verify that these solutions are safe for indoor use and won’t harm your health or your toys. You might also consider using dry ice or water-based fog machines, as they’re generally safer options. Always test a small amount in a controlled environment to guarantee compatibility with your setup. Stick with reputable brands and don’t hesitate to research product reviews. Prioritize safety to keep your creative process enjoyable and worry-free.
Fire Hazard Awareness
Despite the enchanting effects smoke and fog can bring to toy photography, they come with potential fire hazards that you need to manage carefully. Prioritizing safety guarantees your creative process remains accident-free. Here are some essential precautions:
- Choose a clear space: Work in a well-ventilated area, away from flammable materials.
- Supervise heat sources: Keep an eye on candles or smoke machines to prevent overheating.
- Have fire safety tools: Keep a fire extinguisher or sand bucket nearby for emergencies.
- Limit exposure: Use smoke effects sparingly to minimize risk and maintain clarity.
- Follow product guidelines: Adhere to manufacturer instructions for smoke devices.
Capturing the Perfect Moment
Timing is everything when capturing the perfect moment in toy photography, especially when using smoke and fog effects. You need to anticipate the exact second when the smoke swirls or the fog drifts perfectly around your toys, creating that magical atmosphere. Have your camera settings ready and your focus locked in, so you don’t miss the shot. Patience is key; smoke and fog can be unpredictable, so be prepared to wait for the right moment.
Experiment with different angles and distances. Sometimes, moving slightly to the side or lowering your camera can dramatically change the scene. Keep your finger on the shutter, and take multiple shots to guarantee you’ve captured that elusive perfect moment. Trust your instincts—when it feels right, click away!
Post-Processing Tips for Smoke and Fog
After you’ve captured the ideal shot with smoke and fog effects, the next step is enhancing these atmospheric elements through post-processing. Focus on refining the mood and depth by adjusting specific settings in your editing software. Here are some tips to make your smoke and fog truly enchanting:
- Contrast Adjustment: Increase contrast to make the smoke stand out against the background, adding depth.
- Clarity Control: Decrease clarity slightly for a softer, dreamlike effect in your fog.
- Dodge and Burn: Highlight and shadow areas selectively to emphasize texture and movement.
- Noise Reduction: Minimize noise to maintain a clean, smooth look in the foggy areas.
- Sharpening: Apply sharpening sparingly to enhance details without losing the natural softness of the fog.
These techniques will transform your images, making them more engaging.
Experimenting With Colors and Filters
When experimenting with colors and filters in toy photography, selecting the right color palette can dramatically alter the mood and impact of your images. Don’t hesitate to apply different filter techniques to see how they enhance the smoke and fog effects, adding depth and intrigue. By playing with these elements, you’ll create enchanting scenes that stand out.
Choosing Color Palettes
The magic of toy photography often lies in the subtle interplay of colors that bring scenes to life, and experimenting with color palettes can elevate your smoke and fog effects dramatically. Choosing the right palette helps set the mood and enhances the narrative of your scene. Start by identifying the emotions you want to convey and select colors accordingly. You might want to:
- Use complementary colors to create striking contrasts.
- Opt for monochromatic schemes for a harmonious look.
- Incorporate warm tones to evoke feelings of warmth or nostalgia.
- Choose cool shades to create a sense of mystery or calm.
- Experiment with pastels for a whimsical or dreamlike atmosphere.
Applying Filter Techniques
While experimenting with toy photography, applying filter techniques can greatly alter the mood and impact of your images. Start by exploring the built-in filters on your camera or smartphone. These can add warmth, coolness, or even a vintage feel to your scene. Don’t shy away from post-processing software either. Programs like Adobe Lightroom or Snapseed offer a range of customizable options to tweak color balance, saturation, and contrast.
Try applying a sepia filter for a nostalgic touch or a high-contrast black-and-white filter for a dramatic effect. Remember, filters are tools to enhance your story, not overshadow it. Play around, adjust settings, and see how different filters interact with the smoke and fog elements. Your creativity is the only limit.
Troubleshooting Common Challenges
Smoke and fog effects can elevate your toy photography, but they often come with challenges that require some troubleshooting. You might face issues like excessive fog, uneven distribution, or safety concerns. Here’s how you can tackle these problems:
- Control Density: Adjust the amount of fog to prevent overwhelming your scene.
- Even Distribution: Use fans to spread smoke evenly without disturbing the scene.
- Lighting Adjustments: Experiment with backlighting to highlight the fog without overexposure.
- Safety First: guarantee proper ventilation to avoid inhaling smoke and keep your workspace safe.
- Timing: Capture shots quickly as smoke dissipates fast; be ready with your camera settings.
Frequently Asked Questions
How Do Different Weather Conditions Affect Smoke and Fog Effects?
Weather conditions affect smoke and fog effects by altering their density and movement. Wind disperses them quickly, while humidity makes them linger. You should consider temperature, as heat can cause them to rise faster, impacting your shot’s atmosphere.
Can Smoke or Fog Damage My Camera Equipment?
Just like walking on thin ice, using smoke or fog can risk your camera. Moisture can seep into delicate parts. Always use protective gear like lens filters or covers to keep your equipment safe and sound.
How Do I Store Unused Smoke Bombs Safely?
Store unused smoke bombs in a cool, dry place away from direct sunlight. Keep them in a sealed container to prevent moisture exposure. Make certain they’re out of children’s reach and follow the manufacturer’s safety guidelines.
What Are Some Alternatives to Smoke Bombs for Indoor Scenes?
You can use dry ice or a fog machine as alternatives to smoke bombs indoors. They’re safer, and you can easily control the amount of fog. Just make certain you ventilate the area properly to avoid any hazards.
How Can I Remove Smoke or Fog Stains From Props?
You’ve got smoke or fog stains on your props? Try using a gentle soap and water mixture. Lightly scrub with a soft cloth, then rinse and dry. Avoid harsh chemicals to prevent damage to your props.
At a Glance
In your hands, smoke and fog become the brushstrokes of a dreamscape, transforming simple toys into epic tales. With every wisp and shadow, you breathe life into miniature worlds, crafting stories that linger like whispers in the night. Embrace the dance of light and mist, for it’s in those fleeting moments that magic happens. So, let your imagination soar and capture the ethereal beauty hidden within the haze, leaving an indelible mark on your creative journey.


