To weather and age props in toy dioramas, choose materials like acrylic paints and pigments for depth. Use techniques like layering and dry brushing to create rust, and stippling to simulate dust and dirt. Master chipped paint effects by rubbing away liquid masking fluid. Finish with a matte varnish for authenticity and consistency. By experimenting with these methods, you’ll add rich narrative depth to your dioramas. Curious about mastering these techniques? Explore further.
Choosing the Right Materials for Weathering
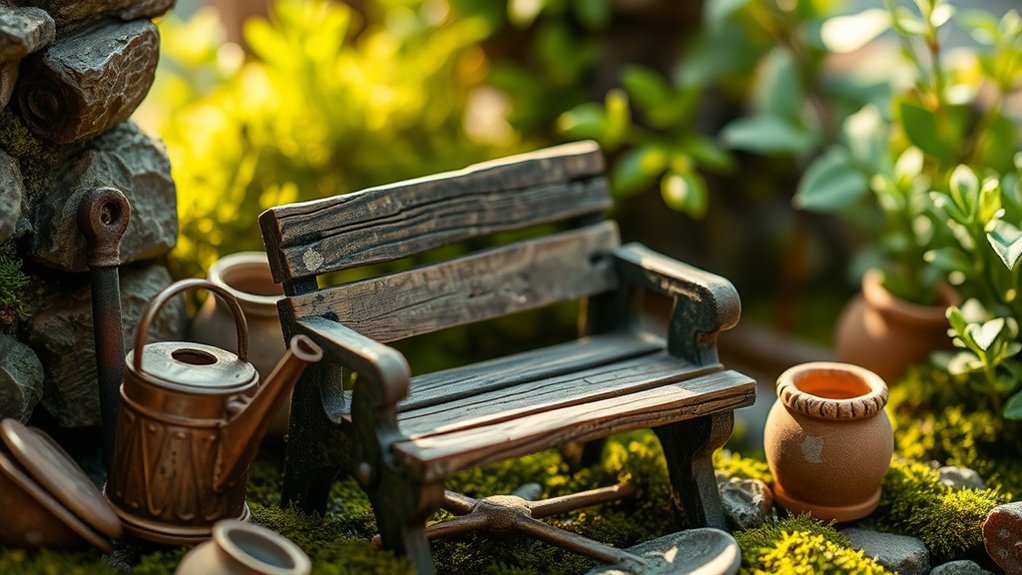
When you’re starting to weather your diorama props, selecting the right materials is crucial to achieving a realistic look. You need to take into account the scale of your diorama and the specific look you’re aiming for. Acrylic paints are versatile and allow for a wide range of effects. They dry quickly and can be easily layered for depth. Pigments and powders add texture and can mimic dirt and dust effortlessly. Also, think about using chalk pastels, which can be ground into fine powders and applied with a brush for subtle aging. Don’t overlook the importance of matte varnish; it seals your work and guarantees the weathered appearance lasts. By choosing the right materials, you’ll create diorama props that look convincingly aged and weathered.
Techniques for Creating Rust Effects
Creating realistic rust effects in your diorama involves a few simple techniques. Start by layering paint to mimic the natural progression of rust, and then enhance the effect using a mix of salt and vinegar for texture. To add depth and variation, apply weathering powders to achieve that authentic, aged look.
Layering Paint for Rust
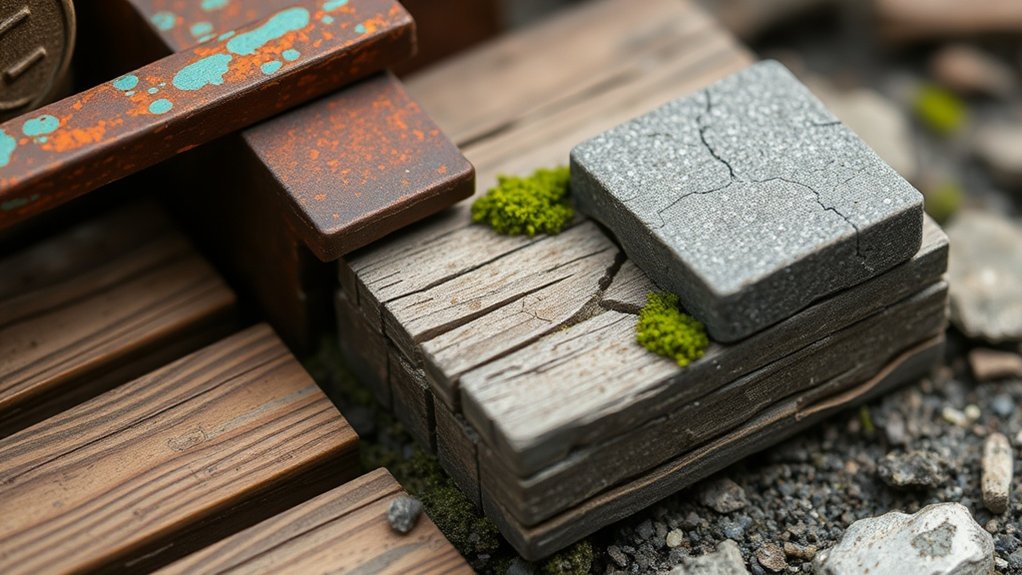
To achieve realistic rust effects on your diorama props, mastering the technique of layering paint is essential. Start by applying a base coat of dark brown or black to mimic the depth of rust. Once dry, strategically dab on a lighter rust color, like burnt sienna or orange, using a sponge or stiff brush for a textured appearance. This will help simulate the layered, flaky nature of real rust.
To enhance the effect, consider these techniques:
- Dry brushing: Lightly drag a brush with minimal paint over raised areas to highlight details.
- Stippling: Use an old toothbrush to flick rust-colored paint, creating random speckles.
- Chipping: Scratch or chip the top layer with a toothpick to reveal the darker base below.
Utilizing Salt and Vinegar
While layering paint effectively simulates rust, using everyday household items like salt and vinegar can elevate your diorama props to another level of realism. Begin by applying a base coat of paint to your prop and let it dry. Sprinkle salt over the areas where you want rust to appear. Then, lightly spray or brush vinegar onto the salted sections. The vinegar will react with the salt, creating a natural rust-like texture. Allow it to sit for a few hours, then gently brush off the salt. You’ll notice a realistic, corroded effect that mimics genuine rust. For more pronounced rust, repeat the process until you’re satisfied. This simple method brings your toy diorama to life with authentic, weathered charm.
Applying Weathering Powders
When enhancing your diorama with realistic rust effects, weathering powders offer a versatile and straightforward approach. Begin by selecting powders in shades of orange, brown, and red to mimic authentic rust. Lightly dampen the surface of your prop where you want the rust effect, ensuring the powder adheres well. Use a soft brush to apply the powder, building layers gradually to achieve the desired depth and texture.
Consider the following tips to enhance your rust effects:
- Vary Colors: Mix different powder shades to create a natural, uneven appearance.
- Seal the Effect: Use a clear matte spray to fix the powder in place and prevent fading.
- Experiment: Test on a scrap piece to perfect your technique before applying it to the final piece.
These steps will add lifelike aging to your diorama.
Simulating Dust and Dirt Accumulation
You can achieve realistic dust and dirt effects by mastering layering techniques, which help build depth and authenticity. Choose pigments that match the scene’s environment, ensuring they complement the prop’s surfaces. Use brushes, sponges, or airbrushes to apply these layers, adjusting your method to suit the desired level of subtlety or intensity.
Layering Techniques for Realism
Achieving a realistic look in dioramas often hinges on effectively simulating dust and dirt accumulation through strategic layering techniques. First, apply a base coat that represents the underlying material of your prop. This is your foundation, so choose a neutral shade. Next, use a stippling brush to add layers of grime in varying shades. This creates depth and simulates areas where dust naturally collects. Finally, seal your creation with a matte finish to blend the layers, ensuring they look part of the original piece.
- Base Coat: Choose a neutral shade that represents the underlying material.
- Layering Grime: Use a stippling brush for depth and natural dust collection.
- Matte Finish: Seal layers to blend and integrate them with the prop.
Choosing Appropriate Pigments
To enhance the realism of your diorama props, selecting the right pigments for simulating dust and dirt is key. First, choose earth-toned pigments like ochre, sienna, and umber for a natural look. These colors mimic the subtle shades of real dirt and dust. You can find these pigments in various forms, such as powders or pastels.
Next, consider the environment you’re replicating. For urban settings, incorporate darker, soot-like pigments to simulate city grime. In contrast, sandy environments might require lighter, tan hues. Mixing different pigments can create depth and variation, making the effect more convincing.
Remember to test your chosen pigments on a small, hidden area first. This guarantees you achieve the desired look without overwhelming your diorama.
Application Tools and Methods
Several tools and methods can help you effectively simulate dust and dirt accumulation on diorama props. Begin by using a soft brush to gently apply pigments or powders. Dab the brush lightly, focusing on areas where dust naturally gathers. Sponges also work well for this task; they create a more irregular texture, mimicking dirt’s natural randomness.
For a more controlled application, consider using your fingers to smudge and spread pigments. This technique is great for adding subtle layers and blending colors seamlessly. Here’s a quick list of tools and methods you can use:
- Soft brush: Ideal for precise application and control.
- Sponges: Perfect for creating texture and randomness.
- Fingers: Useful for blending and achieving a natural look.
Experiment and see which method works best for your diorama.
Mastering the Art of Chipped Paint
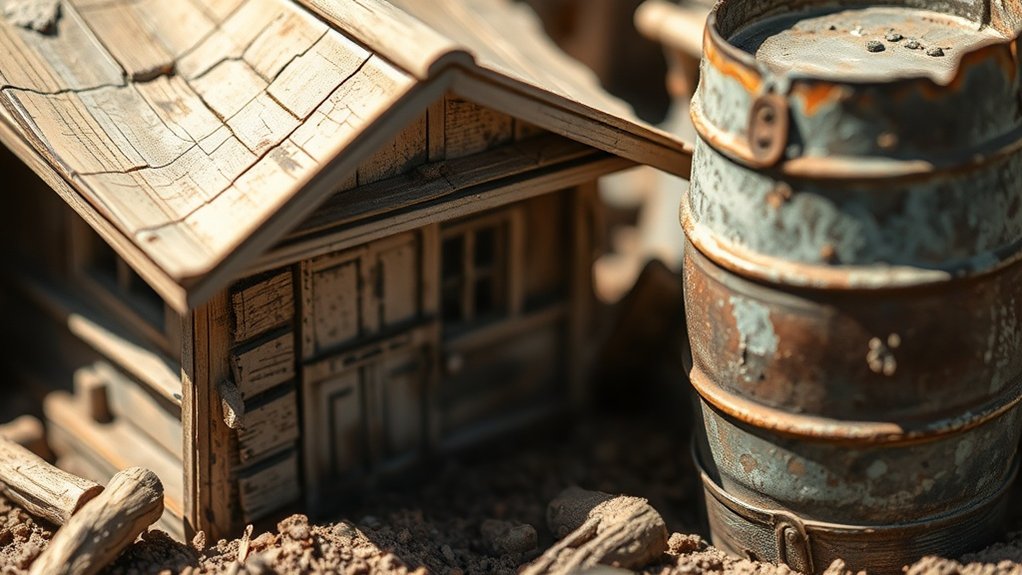
When crafting realistic dioramas, chipped paint can add an authentic touch that suggests years of wear and tear. Start by selecting a base coat representing the underlying material, like metal or wood. Once dry, apply a top coat of your desired color. Use a small sponge or brush to dab on liquid masking fluid in areas where you want the paint to appear chipped. After the top coat dries, gently rub away the masking fluid with a toothpick or eraser, revealing the base coat beneath. For more depth, lightly sand the edges to enhance the worn effect. Remember, less is more; focus on natural wear points like corners and edges to achieve a realistic chipped paint effect.
Achieving Sun-Bleached and Faded Finishes
Ever wondered how to capture the timeless look of sun-bleached and faded finishes in your diorama props? You can create this effect by mimicking the natural weathering process. Start by selecting lighter shades of paint to replicate the gradual fading caused by sunlight exposure. Apply these lighter tones using dry brushing techniques for a subtle, worn appearance.
To enhance the sun-bleached look, consider these steps:
- Dilute paint: Mix paint with water to create a translucent wash that mimics sun damage.
- Layer gradually: Apply several thin coats instead of one thick layer to achieve depth and variation.
- Sandpaper effect: Lightly sand edges and surfaces to simulate natural wear.
Adding Final Touches for Authenticity
To finish your diorama props with authenticity, focus on the small details that bring them to life. Begin by adding subtle wear marks using fine sandpaper on edges and surfaces where natural wear occurs. Use a tiny brush to apply rust-colored paint on metal parts for a corroded look. Consider using a fine-tipped pen or a very small brush to add small scratches or tiny chips.
Next, add grime and dirt in crevices using a diluted wash of dark paint, wiping away excess to leave just enough in the recesses. Apply a thin layer of matte varnish to seal your work and reduce any unwanted shine. Finally, step back and assess your work, ensuring every element harmonizes, giving your diorama a story-rich finish.
Frequently Asked Questions
How Do I Ensure My Diorama Props Are Safe for Children?
You guarantee your diorama props are safe for children by using non-toxic materials, avoiding small parts that could be choking hazards, and securing everything firmly. Regularly inspect them for damage, and repair or replace unsafe components promptly.
Can I Use Household Items for Weathering Effects?
Think of your household items as a magician’s toolkit. You can use tea for staining, sandpaper for distressing, or vinegar for rust effects. Just be cautious with kids around, and verify everything’s non-toxic before starting.
What’s the Best Way to Fix Over-Weathered Props?
When you’ve over-weathered props, don’t worry. Lightly sand the excess, then apply a thin layer of paint matching the original color. Blend it gently with a damp brush to achieve a balanced, realistic look.
Are There Eco-Friendly Weathering Products Available?
Yes, you can find eco-friendly weathering products like water-based paints and natural pigments. They’re less harmful to the environment and safe for indoor use. Consider trying DIY methods using coffee or tea for subtle aging effects.
How Do I Store Weathered Props to Maintain Their Look?
Think of storing your weathered props like placing them in a time capsule. Keep them in a dry, dust-free environment away from direct sunlight. Use acid-free materials and silica gel packs to protect their aged charm.
At a Glance
You’ve got a handle on the art of weathering and aging props for your toy dioramas. With the right materials and techniques, you’re now ready to make rust, dust, and chipped paint tell a story of time passing. Remember, the devil’s in the details, so those final touches will truly bring your scenes to life. Keep experimenting, trust your instincts, and watch your miniature worlds transform into enchanting, authentic displays. Happy crafting!


