Incorporating nature into toy photography transforms scenes into enchanting stories. Start by choosing environments that match your toy's theme: forests, beaches, or textured surfaces add depth. Use natural light to enhance mood; shoot during golden hours or try backlighting for stunning effects. Add flora or small fauna for vibrant touches and interactive elements. Craft your backdrop with natural elements like stones or tree bark. Explore different weather conditions for unique atmospheres. There's so much more to explore.
Selecting the Right Environment
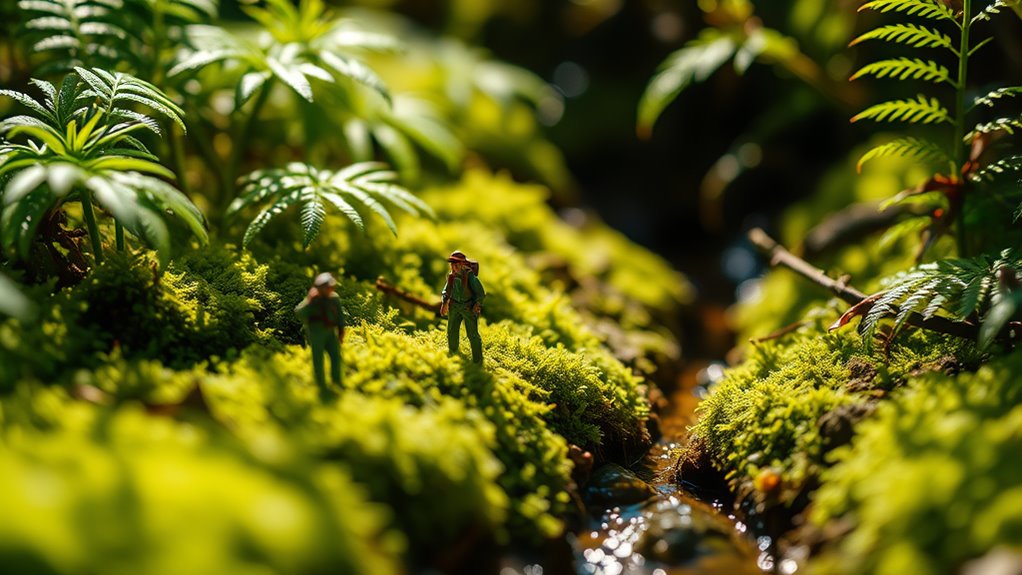
Choosing the perfect setting is essential for creating enthralling toy photography in nature. Start by exploring locations that complement your toys' themes. For instance, a forest clearing might be ideal for fantasy figures, while a sandy beach could suit adventurous characters. Pay attention to the scale of your environment. Rocks, plants, or logs that match your toy's size will enhance realism and immersion. Look for textures and elements that add depth, like mossy surfaces or flowing water. Consider the background; a clutter-free scene directs focus on your toy. Experiment with angles and perspectives to highlight your subject. Remember, the ideal spot should inspire creativity and storytelling, allowing your toys to come alive in the world you've chosen. In addition to the setting, consider incorporating props that resonate with the narrative you’re creating, as they can add layers to your composition. For those new to this craft, seeking out toy photography scene tips online can yield valuable insights and inspiration from fellow enthusiasts. Ultimately, the right combination of environment, props, and composition will elevate your toy photography to new heights. Utilizing realistic toy photography techniques can further elevate your images, making them more engaging and lifelike. Play with lighting to create dramatic shadows and highlights that enhance the mood of your scene. Additionally, incorporating props or natural elements can provide context and enrich the storytelling aspect of your composition.
Utilizing Natural Light
Having found the perfect setting, it's time to harness the power of natural light to elevate your toy photography. Begin by shooting during the golden hours—shortly after sunrise or before sunset—when the light is soft and warm. This creates a magical glow that enhances the textures and colors of your toys, adding depth to your images.
Position yourself to make the most of the sun's angle. Side lighting can add dramatic shadows, while backlighting can create a halo effect around your subjects. Don't forget to experiment with diffusers, like thin fabrics or reflectors, to soften harsh sunlight and control shadows.
Always be mindful of the changing light conditions. Adjust your camera settings accordingly to maintain consistency and capture the best possible shot.
Incorporating Flora and Fauna
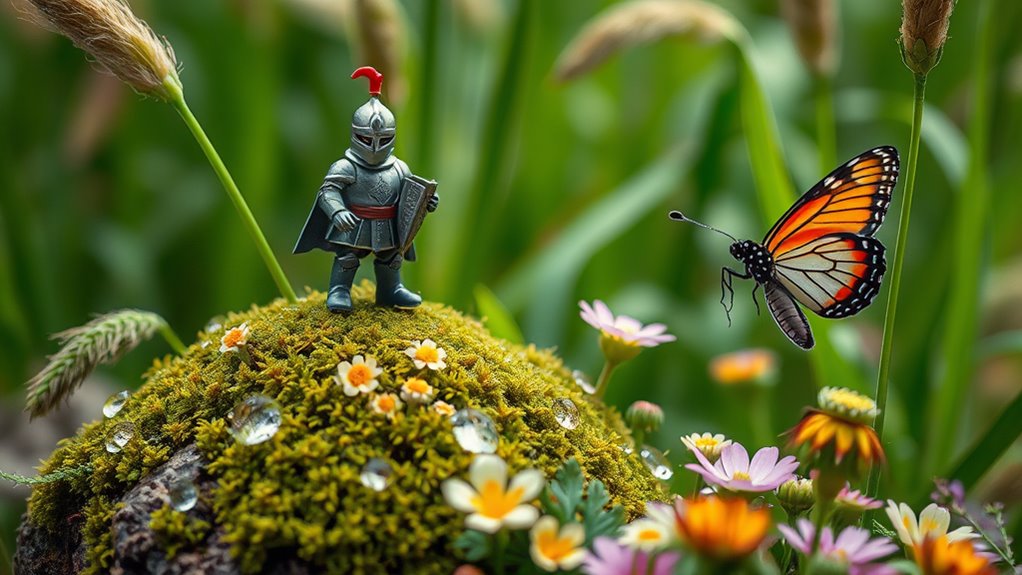
When integrating nature into your toy photography, consider using flora and fauna to create a vibrant and dynamic scene. Start by incorporating small plants or flowers around your toys to add color and life. Choose flora that complements your subject's colors or contrasts for a striking effect. Position them strategically to enhance your composition and guide the viewer's eye through the scene.
Incorporating fauna adds an extra layer of realism. Use insects, birds, or small animals like lizards to interact with your toys. Capture a toy soldier with ants marching nearby or a fairy with butterflies fluttering around. Be patient, as capturing the perfect moment with live creatures can take time. With careful planning, flora and fauna can transform your toy photography into a mesmerizing masterpiece.
Creating Natural Backdrops
As you explore the use of flora and fauna to enrich your toy photography, think about how natural backdrops can further enhance your scenes. Consider incorporating elements like tree bark, stones, or grass to create a realistic environment. Use leaves and branches to add depth and dimension, casting natural shadows that evoke a sense of scale and place. When selecting a backdrop, pay attention to the colors and textures that complement your subject without overpowering it. You might find inspiration in a nearby park or your own backyard. Arrange elements thoughtfully to direct the viewer's eye and highlight the toy's features. Remember, a well-chosen backdrop doesn't just fill the frame; it tells a story, enriching the narrative of your photograph.
Experimenting With Weather Conditions
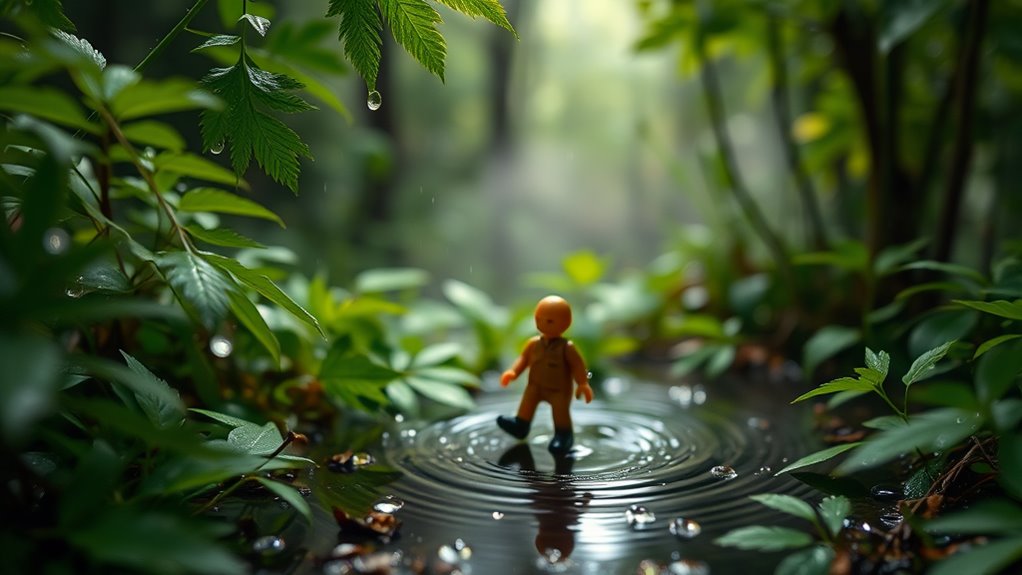
Exploring different weather conditions in your toy photography can dramatically alter the mood and story of your images. Don't shy away from stepping outside when it's raining, snowing, or even foggy. The natural elements add an authentic touch, transforming a simple scene into a mesmerizing narrative. Raindrops can create a dramatic backdrop, while snowfall adds a serene, magical vibe. If you're capturing action figures, a stormy sky can intensify their heroics. Make sure you protect your toys and equipment; use waterproof covers or umbrellas when necessary. Experiment with lighting too—sunlight filtering through mist or clouds can evoke mystery or warmth. By embracing unpredictable weather, you'll discover new dimensions and emotions in your toy photography, making your shots truly stand out.
Frequently Asked Questions
How Can I Safely Protect My Camera Gear in Outdoor Environments?
Use weather-resistant bags and lens hoods to shield your gear. Carry microfiber cloths for quick cleanups. Keep silica gel packs in your bag to manage moisture. Always check forecasts to avoid unexpected rain or harsh conditions.
What Are Some Tips for Capturing Action Shots in Nature?
Capturing action shots in nature requires patience and timing. Wait for the perfect moment; don't rush. Use a fast shutter speed to freeze motion, ensuring crisp images. Adjust your focus to track moving subjects and anticipate their next move.
How Do I Prevent My Toys From Getting Lost or Damaged Outdoors?
Keep your toys secure in a designated bag or container. Use a small blanket or tray to create a stable base. Avoid placing them near water or wind-prone areas. Always double-check your surroundings before leaving.
Are There Any Specific Camera Settings Recommended for Nature Toy Photography?
You'll want to set a low ISO to reduce noise and use a wide aperture for depth of field. Adjust your shutter speed based on lighting conditions. Experiment with white balance to capture the scene's true colors.
How Can I Transport My Toys and Props to Outdoor Locations Efficiently?
Imagine the thrill of outdoor shoots! You'll want a sturdy backpack with compartments to keep everything organized. Use bubble wrap for delicate items. Don't forget waterproof bags; sudden weather changes might catch you off guard!
At a Glance
In your journey to enhance toy photography, embrace the charm of nature. Select the right environment to set the scene, utilize natural light to highlight details, and incorporate flora and fauna to add life. Create natural backdrops to deepen authenticity, and experiment with weather conditions to evoke mood. By weaving these elements together, you'll transform each shot into a mesmerizing story, inviting viewers to step into a world where toys and nature beautifully collide. Additionally, post-processing can further elevate your images, allowing you to enhance colors and sharpen details for a captivating final result. For those looking to refine their skills, researching tips for editing toy photos can provide valuable insights into techniques that enhance your storytelling. Remember, the magic often lies not only in capturing the moment but also in how you present it to your audience.


