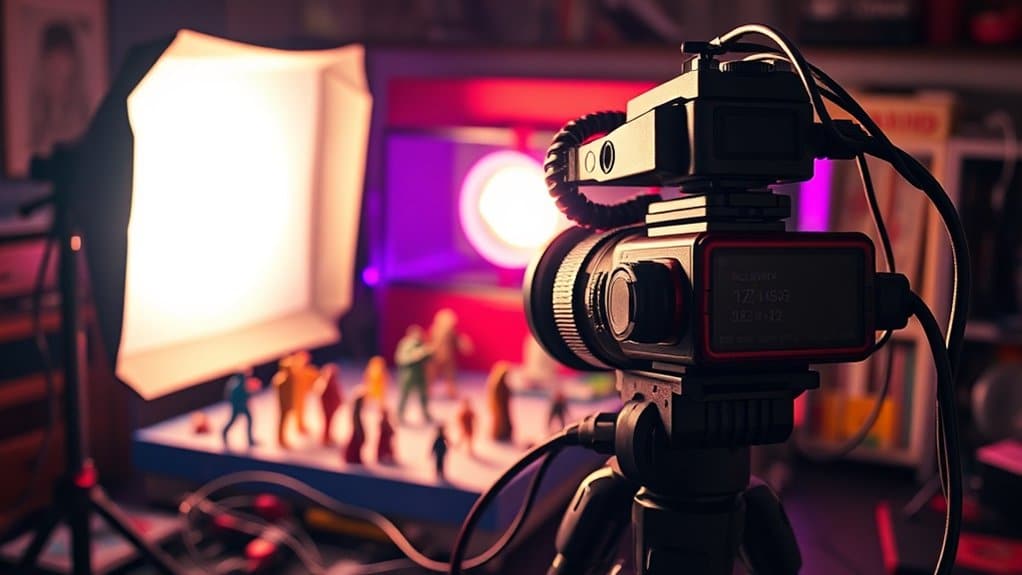
In toy photography, lighting modifiers like softboxes, diffusers, and reflectors help you shape the light for the perfect shot. Use softboxes for diffused, even lighting while reflectors fill in harsh shadows. Try grids and snoots to create focused light or dramatic spots. Experiment with gels to add creative color effects. Understanding these tools transforms your scenes from ordinary to extraordinary. Explore further to discover how these techniques can elevate your toy photography setups.
Understanding the Basics of Lighting Modifiers
Lighting can make or break your toy photography, and understanding lighting modifiers is key to creating enchanting images. You’ll find that these tools allow you to control light direction, intensity, and quality, transforming ordinary shots into mesmerizing scenes. Start by exploring diffusers, which soften harsh light, reducing unwanted shadows on your toys. Reflectors, on the other hand, bounce light back onto your subject, filling in shadows and adding depth. Don’t overlook grids; they focus light into a narrow beam, perfect for spotlight effects. Snoots can also help you pinpoint light on specific areas, emphasizing details. As you experiment, remember that each modifier offers different possibilities. Adjust them to highlight your toy’s features and create the mood you envision. Additionally, incorporating various lighting techniques for toy photography can elevate your compositions even further. Playing with the angle and position of your lights can create striking contrasts and enhance the three-dimensionality of your toys. Experimenting with colored gels can also introduce unique moods and themes, allowing your creativity to shine through.
Choosing the Right Modifier for Your Scene
When setting up your toy photography scene, you’ll need to choose the right modifier to achieve the desired effect. Use softboxes if you’re aiming for even lighting that highlights details without harsh shadows. For adding creative color effects, consider using gels to transform the ambiance and mood of your shot.
Softboxes for Even Lighting
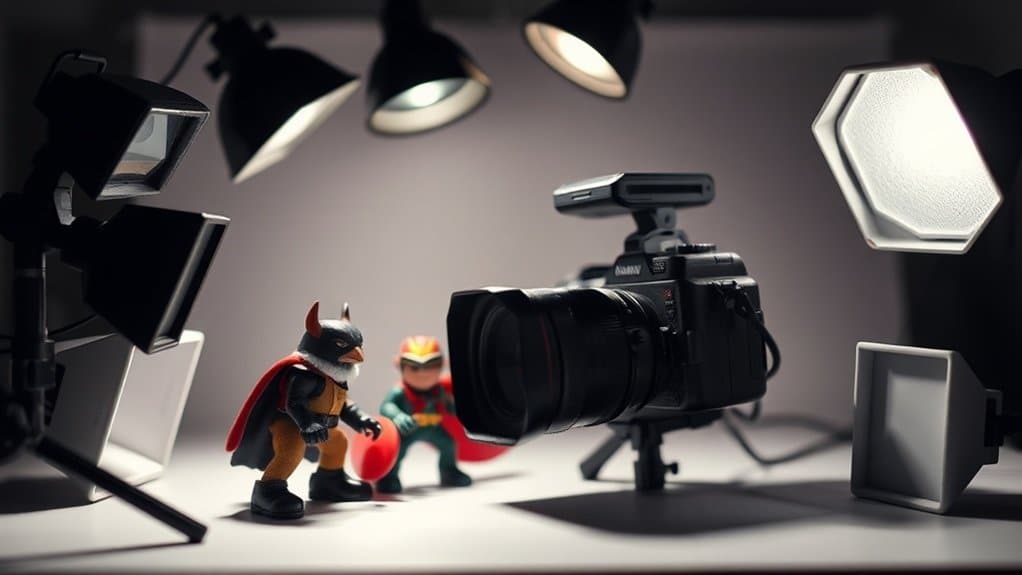
Achieving even lighting in toy photography often hinges on selecting the right softbox to suit your scene. Softboxes diffuse light, minimizing harsh shadows and creating a pleasing, uniform glow around your subjects. When choosing a softbox, consider the size. A larger softbox covers more area, offering softer light, ideal for wide scenes or multiple figures. Conversely, a smaller softbox can highlight specific details or create dramatic lighting for a single character.
Think about the shape, too. Rectangular or square softboxes are versatile for most setups, while octagonal ones provide more natural, rounded catchlights in reflective surfaces. Placement is essential; position your softbox at an angle rather than head-on to avoid flatness. Experiment with distances to perfect your desired lighting effect.
Gels for Color Effects
Although softboxes are essential for even lighting, adding gels to your setup introduces a whole new dimension of creativity. With gels, you can infuse your toy photography with vibrant colors, creating moods and atmospheres that enhance your scene. Want to evoke a sunset glow or an eerie moonlit vibe? Simply choose gels in warm oranges or cool blues, and attach them to your light source.
Experiment with different combinations to see what colors highlight your toys best. Don’t forget to adjust your camera settings to balance the light and color. Gels offer flexibility and open up endless possibilities for your creativity. They’re not just accessories—they’re tools to tell a story. So, go ahead, play with color, and watch your scenes come alive!
Softboxes for Creating Diffused Light
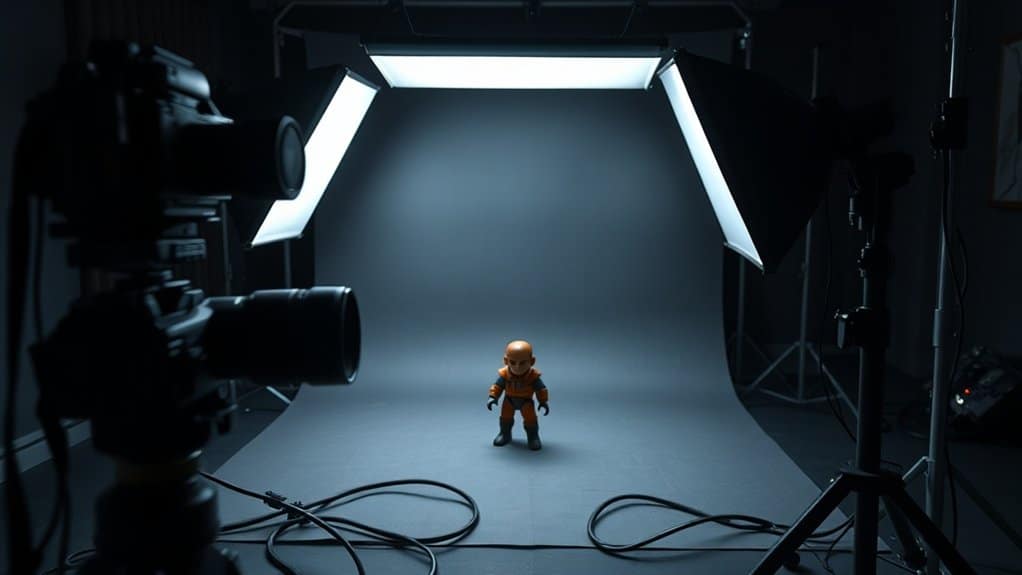
To achieve beautifully diffused light in toy photography, softboxes are an essential tool in your lighting arsenal. They soften harsh shadows and create even lighting that enhances your toy’s features. When you use a softbox, it spreads the light across a broader surface, resulting in a gentle glow that wraps around your subject. This effect minimizes contrast, making the toy’s details pop without unwanted glare.
To get started with softboxes, choose a size that suits your setup space and desired light quality. Smaller softboxes provide more control in tight spaces, while larger ones offer broader diffusion. Position your softbox close to your toys for softer shadows. Experiment with angles and distances to perfect the light’s balance, ensuring your toys look their absolute best.
Utilizing Reflectors for Balanced Illumination
To achieve balanced illumination in toy photography, you’ll need to master reflector placement techniques. Position reflectors strategically to fill in shadows and create even exposure across your subject. Experiment with angles and distances until you find the perfect setup that highlights every detail.
Reflector Placement Techniques
Reflectors play an essential role in toy photography by creating balanced illumination and enhancing the overall composition. To make the most out of your reflectors, start by positioning them opposite your main light source. This setup bounces light back onto the shadowed areas of your toy, softening harsh contrasts and revealing details. Experiment with angles; tilting the reflector can direct light exactly where you need it. Try using different surfaces, like white for softer reflections or silver for a more intense bounce.
As you adjust, observe how the light interacts with your toy. Move the reflector closer for stronger light or further for a subtle effect. Don’t hesitate to combine multiple reflectors for a more dynamic setup, ensuring your toys shine in the best light possible.
Achieving Even Exposure
When you’re aiming for even exposure in toy photography, reflectors become your best allies in managing light. They help fill in shadows and balance the overall illumination without requiring additional lighting equipment. Start by positioning a reflector opposite your primary light source. This placement bounces light back onto your subject, reducing harsh shadows and evening out exposure.
Choose your reflector wisely. A white reflector provides soft, natural light, while a silver one offers a brighter reflection. If you want warmer tones, use a gold reflector. Adjust the angle and distance of the reflector to control the light intensity on your toy. It’s all about tweaking until you achieve that perfect balance. Remember, even small shifts can make a significant difference in your final shot.
Creating Drama With Grids and Snoots
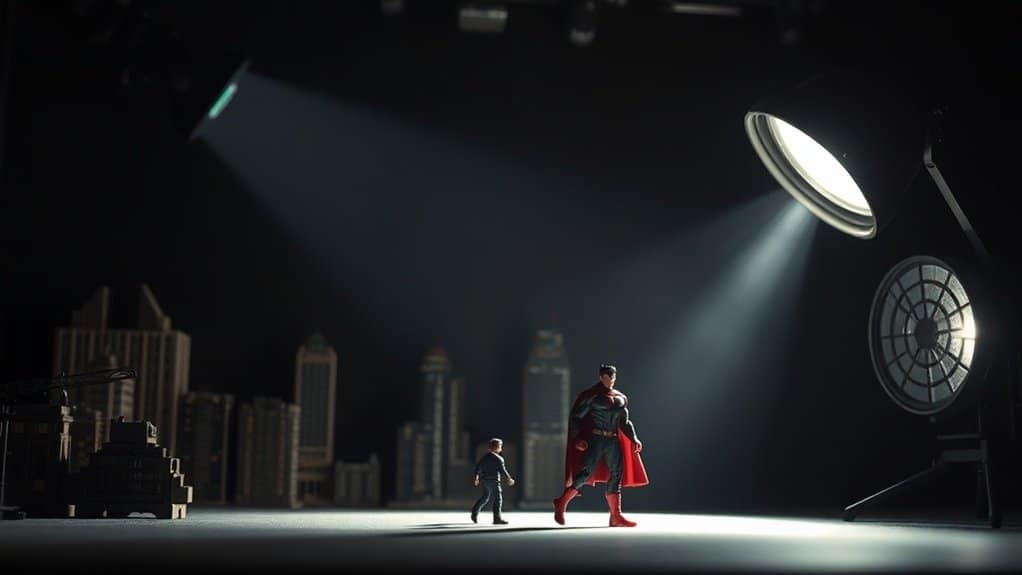
While basic lighting can capture your toy’s details, adding grids and snoots to your setup can elevate your shots by creating drama and focus. Grids narrow the light’s spread, directing attention precisely where you want it. By controlling the light’s path, you can isolate your subject, highlighting specific areas and casting intriguing shadows. Snoots, on the other hand, create a concentrated beam of light, perfect for spotlighting a toy’s face or a particular feature. They add intensity and depth, making your scene more engaging. Experiment with angles and distances to see how these modifiers alter the mood. When you master grids and snoots, you’ll transform ordinary setups into enthralling stories, drawing viewers into your miniature world with dramatic flair.
Experimenting With Gels for Creative Effects
Adding gels to your toy photography setup can infuse your images with vibrancy and emotion. They allow you to play with colors and moods, transforming an ordinary scene into something extraordinary. Here’s how you can use gels creatively:
- Color Contrast: Use complementary colors to create striking contrasts. Place a blue gel on one light and an orange gel on another to make your subject pop.
- Mood Enhancement: Soft pastels like pink or lavender can introduce a dreamy atmosphere, perfect for fantasy scenes.
- Layering: Stack gels to achieve unique shades. Combining red and yellow gels can result in a warm amber glow.
- Spotlight Effect: Highlight specific parts of a scene by focusing a gel-covered light on your subject, enhancing key details.
Practical Tips for Setting Up Your Toy Photography Studio
How do you transform a simple room into a dynamic toy photography studio? Start by selecting a space with ample natural light. Position a sturdy table as your main stage, ensuring it’s at a comfortable height. Invest in a few adjustable desk lamps for additional lighting control. Use white foam boards or reflectors to bounce light and minimize harsh shadows. Keep various backdrops handy, like colored paper or fabric, to easily switch scenes.
Organize your props and figures within arm’s reach for quick access. Consider storage solutions like shelves or bins to keep everything tidy. Don’t forget a tripod for steady shots, especially during long exposures. Finally, keep experimenting with different setups and angles to find what works best for your creative vision.
Frequently Asked Questions
How Do I Prevent Light Reflections on Glossy Toy Surfaces?
You’re struggling with light reflections on glossy toys? Use diffusers to soften light and avoid direct angles. Position your lights carefully, and try polarizing filters on your lens. Adjust until reflections are minimized for better shots.
What Camera Settings Work Best With Different Lighting Modifiers?
You’re wondering about camera settings with different lighting modifiers. Start with a low ISO to reduce noise, adjust the aperture for depth, and experiment with shutter speed to capture the perfect balance of light and clarity.
Can I Use Natural Light as a Substitute for Modifiers?
Absolutely, you can use natural light as a substitute. It’s free and abundant but harder to control. Position your toys near a window and use reflectors to direct light. Overcast days provide softer, diffused lighting.
How Do I Manage Shadows When Shooting Multiple Toys?
Did you know 80% of photographers struggle with shadows? To manage them, adjust your light angles and use reflectors. Position your toys thoughtfully, ensuring each gets balanced light, reducing harsh shadows and creating a cohesive scene.
What’s the Best Way to Store and Maintain Lighting Equipment?
Store your lighting equipment in a cool, dry place. Use padded bags or cases to prevent damage. Regularly clean lenses and bulbs with a microfiber cloth. Keep cords untangled and check for wear to maintain functionality.
At a Glance
You’ve now got a handle on lighting modifiers, ready to make your toy photography shine. Choosing and using the right tools—be it softboxes, reflectors, grids, snoots, or gels—can set the stage for magic. With these techniques, you’re not just snapping photos; you’re painting with light. So, roll up your sleeves, get creative, and let your imagination run wild. Your toy scenes will soon be worth their weight in gold! Experimenting with different angles and perspectives can bring a fresh dynamic to your shots, elevating them from ordinary to extraordinary. For those looking to enhance their skills further, don’t forget to check out some mobile toy photography tips that will help you capture stunning images right from your phone. With a little practice and exploration, you’ll discover countless ways to display your toys in a captivating light. Exploring mobile toy photography techniques can elevate your art to another level, allowing you to capture stunning images no matter where you are. By experimenting with angles, natural light, and creative backgrounds, you can create dynamic compositions that tell a story. Remember, each click of the shutter is an opportunity to showcase your passion and creativity in this vibrant world of toy photography.


