To capture extreme detail in macro toy photography, choose a macro lens with a 1:1 magnification ratio and focal lengths between 90mm to 105mm for a comfortable distance. Combine a wide aperture for light and bokeh with image stabilization for sharp shots. Master lighting by diffusing light and using reflectors. Set scenes thoughtfully with dynamic poses and consider composition techniques. Post-process with adjustments for exposure, color, and sharpness. Discover each step’s impact on your photography journey.
Selecting the Perfect Lens for Macro Toy Photography
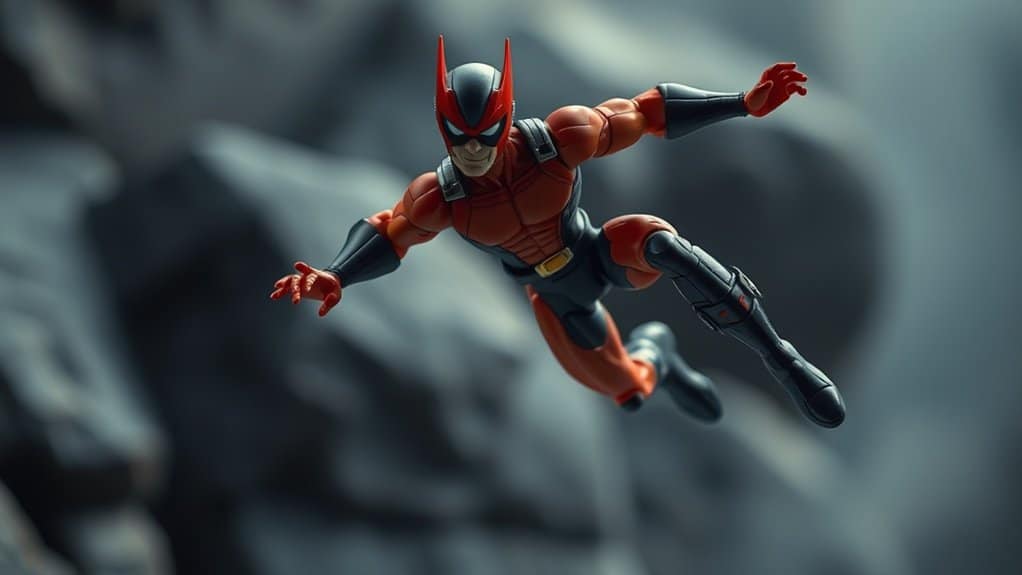
When diving into macro toy photography, choosing the right lens is essential for capturing intricate details and bringing those tiny subjects to life. You’ll need a lens that offers a high magnification ratio, ideally 1:1, to reveal every miniature curve and texture. A dedicated macro lens is your best bet, as it’s specifically designed for close-up shots. Look for lenses with focal lengths between 90mm to 105mm, providing a comfortable working distance from your subject.
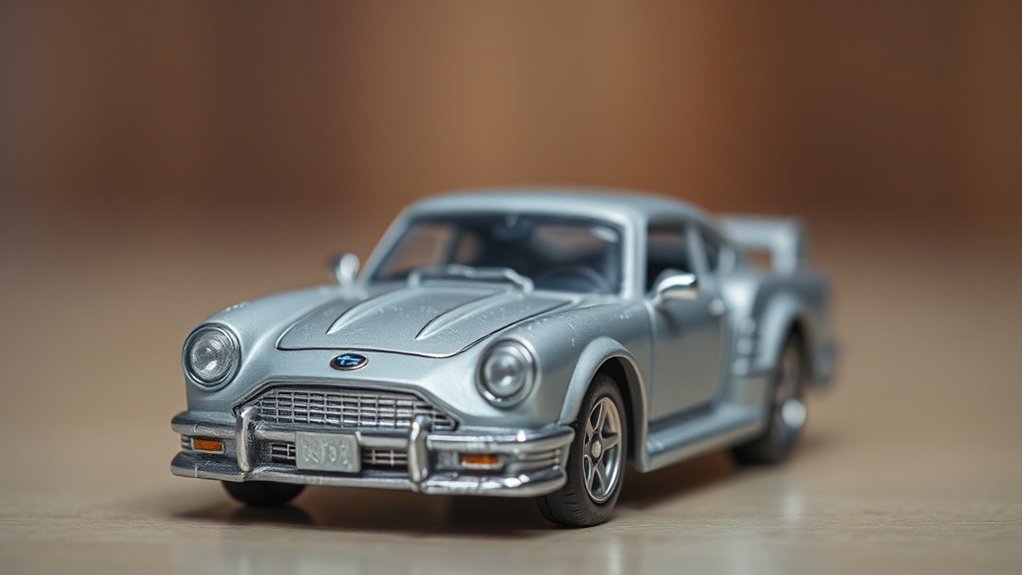
Consider investing in a lens with image stabilization to reduce shake, ensuring sharp, clear images. Additionally, pay attention to the lens’s aperture. A wide aperture like f/2.8 allows more light, creating a smoother bokeh effect, which helps isolate your subject from the background. Choose wisely, and watch your toy photos come alive!
Mastering Lighting Techniques for Enhanced Detail
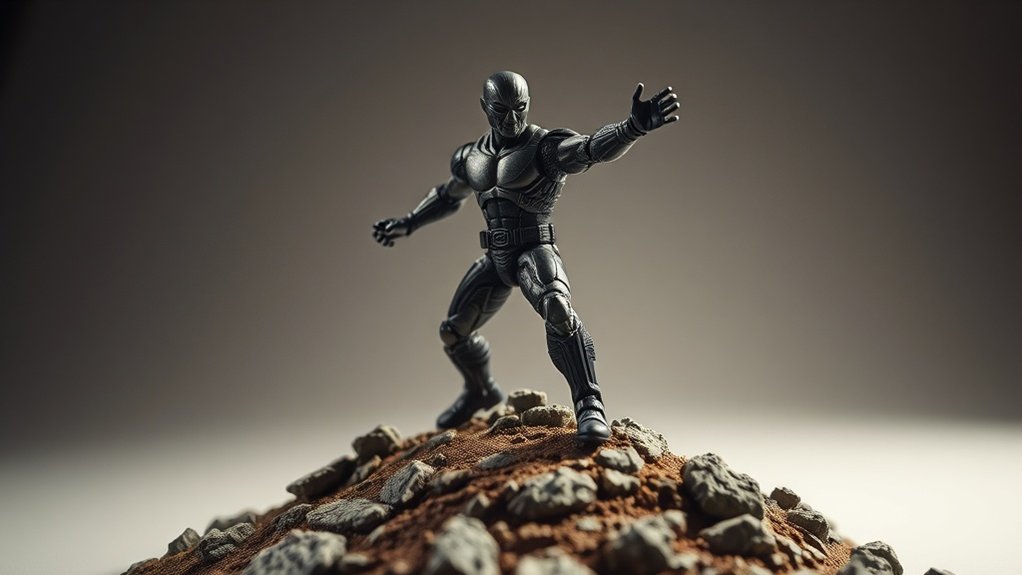
Though often underestimated, mastering lighting techniques is essential for capturing the finest details in macro toy photography. Proper lighting can make or break your shots, enhancing textures and bringing out intricate details. To get started, consider these techniques:
- Diffuse Light: Use diffusers to soften harsh shadows and reduce glare. This helps in highlighting subtle textures.
- Reflectors: Bounce light onto your subject to fill in shadows and add dimension without harshness.
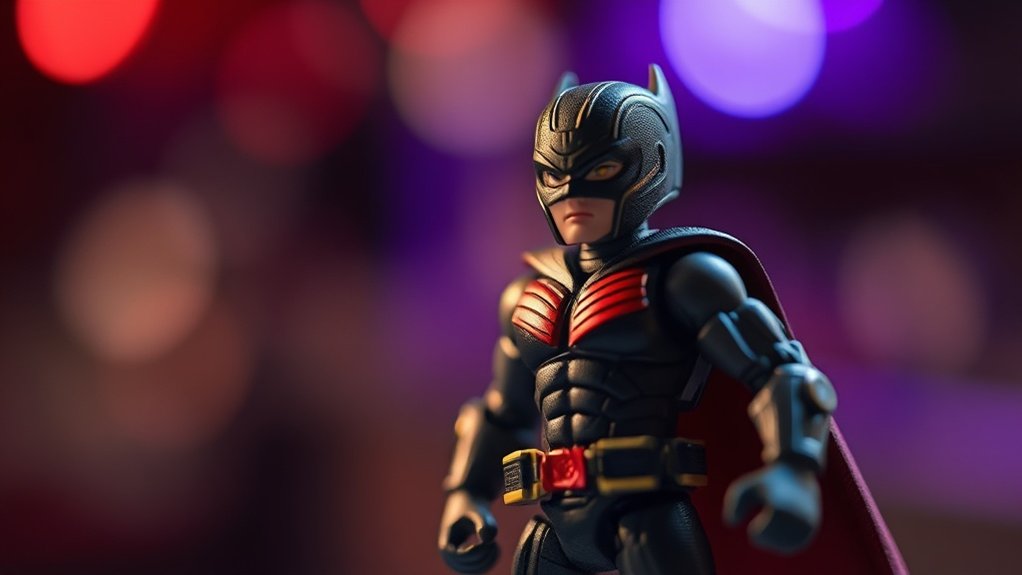
- Backlighting: Create a silhouette or halo effect, making your toy stand out from the background.
- Side Lighting: Accentuate surface details and textures, giving depth and realism to your images.
- Adjustable LED Lights: Use adjustable LEDs for precise control over intensity and direction, allowing flexibility in highlighting specific areas.
Master these techniques, and watch your macro toy photos come alive!
Setting Up Your Scene for Maximum Impact
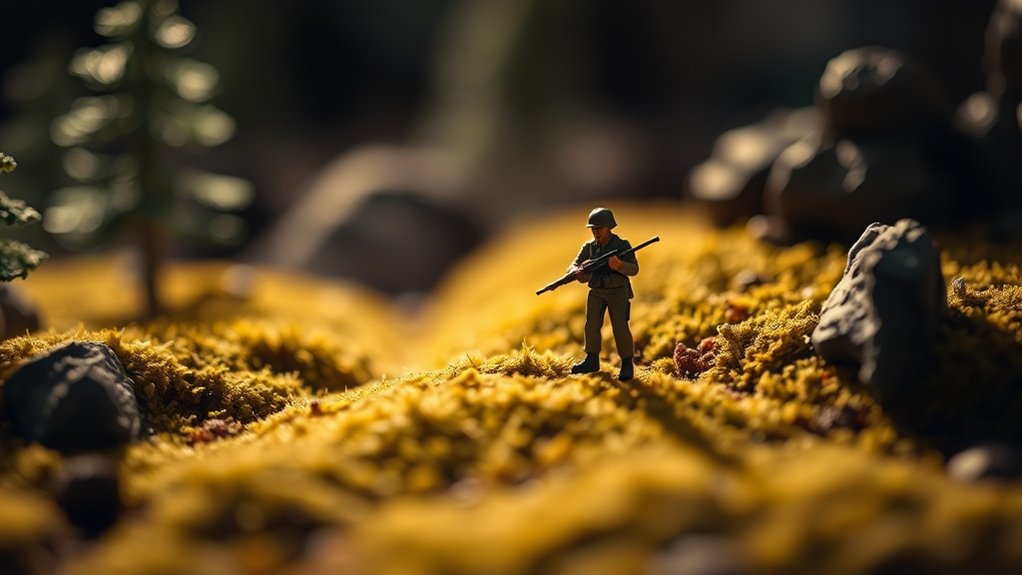
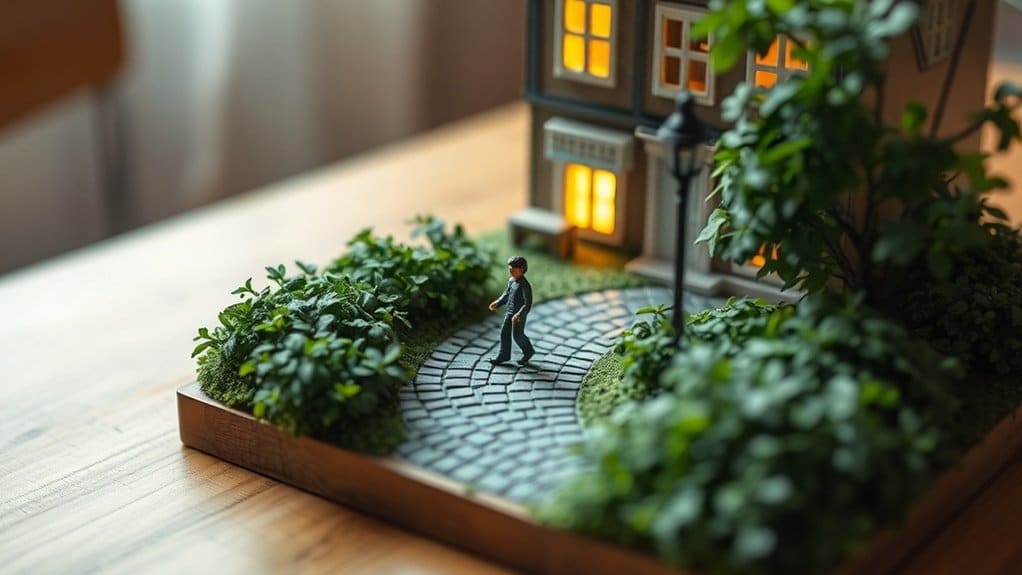
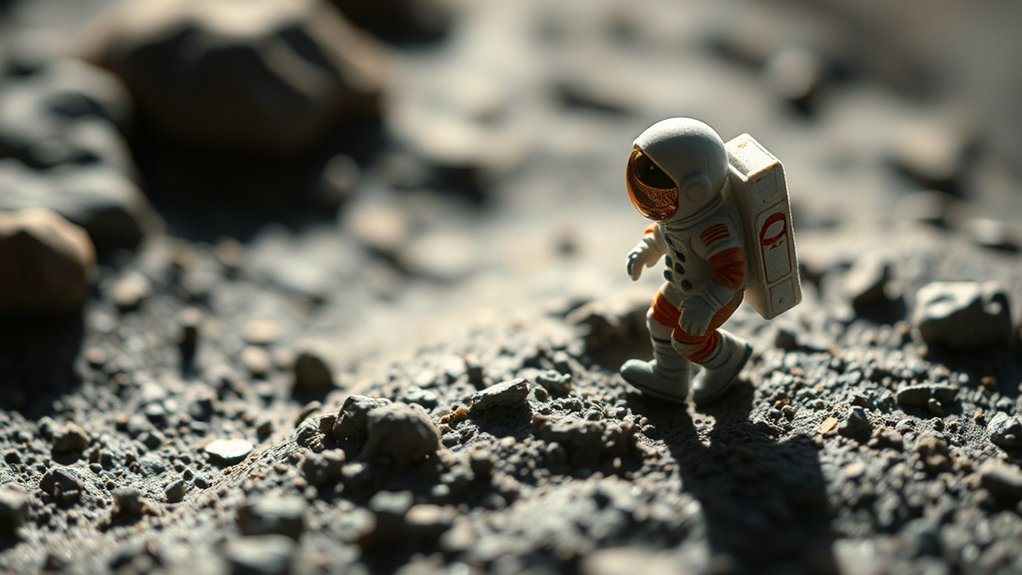
Creating a fascinating scene is essential for making your macro toy photography stand out. Start by selecting a theme or story you want to tell. This will guide your choice of toys and props. Use materials like sand, rocks, or artificial grass to mimic real-life settings. Pay attention to colors and textures; they enhance realism and draw viewers in. Arrange your toys in dynamic poses to add energy and emotion.
Think about the background. A simple backdrop can highlight your subject, while a detailed one can create depth. Use everyday items, like fabrics or colored paper, to craft the perfect environment. Experiment with different elements until you find a setup that feels right. Remember, the scene sets the stage for your narrative.
Focusing on Composition and Perspective
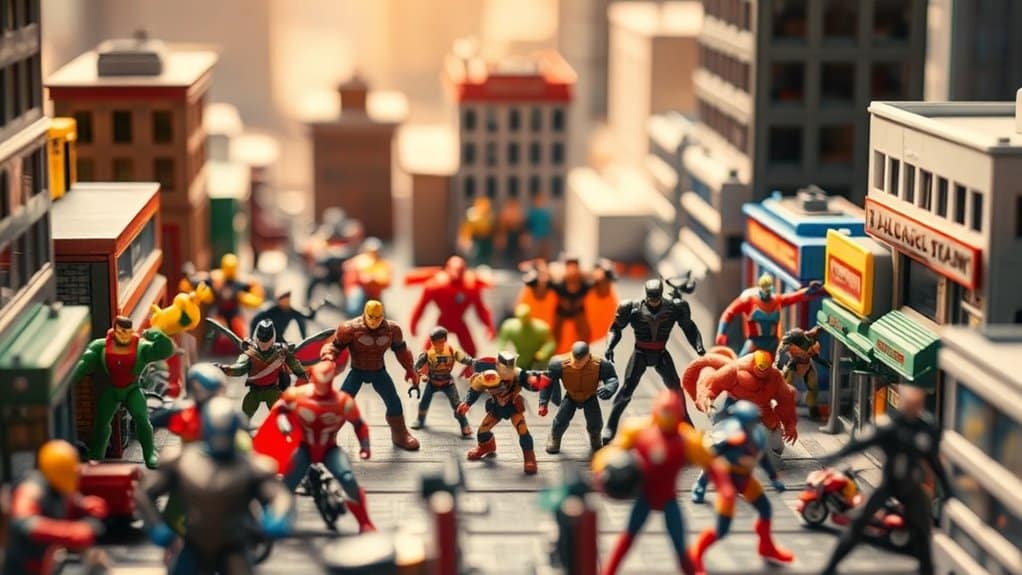
With your scene artfully arranged, it’s time to focus on composition and perspective to elevate your macro toy photography. Think about how you can draw the viewer’s eye and tell a story with your shot. Consider the following tips:
- Rule of Thirds: Position your subject along the grid lines to create balance and interest.
- Angles: Experiment with different angles to find the most dynamic and engaging view.
- Depth: Use foreground and background elements to add depth and dimension.
- Leading Lines: Guide the viewer’s eye towards the main subject using natural or created lines.
- Negative Space: Don’t overcrowd; use empty space to emphasize your subject.
Post-Processing Tips for Stunning Macro Shots
Once you’ve captured your macro toy shots, enhancing them through post-processing can make a significant difference. First, focus on adjusting the exposure and contrast to bring out intricate details. Use software like Lightroom or Photoshop to fine-tune the highlights and shadows, giving your toys a dynamic range. Next, sharpen the image to accentuate edges and textures, but beware of overdoing it—it can introduce noise.
Color correction is essential; tweak the saturation and vibrance to guarantee the colors pop without appearing unnatural. Don’t forget to crop and straighten your image for better composition. Finally, consider using a vignette to subtly draw attention to the subject. With these steps, your macro toy photography will transform from good to truly stunning.
Frequently Asked Questions
How Do I Prevent Dust From Showing in Macro Toy Photographs?
To prevent dust, clean your toys thoroughly before shooting. Use compressed air to blow away particles. Keep your workspace clean and consider using a gentle microfiber cloth. Regularly check your camera lens for dust as well.
What Camera Settings Should I Use for Handheld Macro Toy Photography?
Isn’t it serendipitous that you’re asking about handheld macro settings? Use a fast shutter speed, open aperture, and high ISO to guarantee clarity and brightness. Stability’s key, so brace yourself well or use image stabilization.
How Can I Create a Blurred Background Effect in My Macro Shots?
To create a blurred background in your macro shots, use a wide aperture setting like f/2.8. Get close to your subject and maximize the distance between it and the background, enhancing that dreamy bokeh effect.
What Are Some Common Mistakes to Avoid in Macro Toy Photography?
You’re prone to missing focus on tiny details and not using enough lighting. Avoid shooting with too high an ISO to prevent noise. Don’t forget to clean your subject and background for a polished look.
How Do I Choose the Right Toys for Macro Photography?
Did you know 80% of toy details are missed without proper focus? Choose toys with intricate textures and vibrant colors. Make certain they’re small enough to capture, but detailed enough to tell a story up close.
At a Glance
Now that you’ve got the essentials of macro toy photography down, you’re ready to capture incredible detail. You might worry that your gear isn’t the best, but remember, creativity and technique often outshine equipment. Focus on perfecting your lighting, composition, and post-processing skills. With practice, your shots will improve, revealing the magic in miniature worlds. So grab your camera and start experimenting—each click brings you closer to mastering the art of macro toy photography.