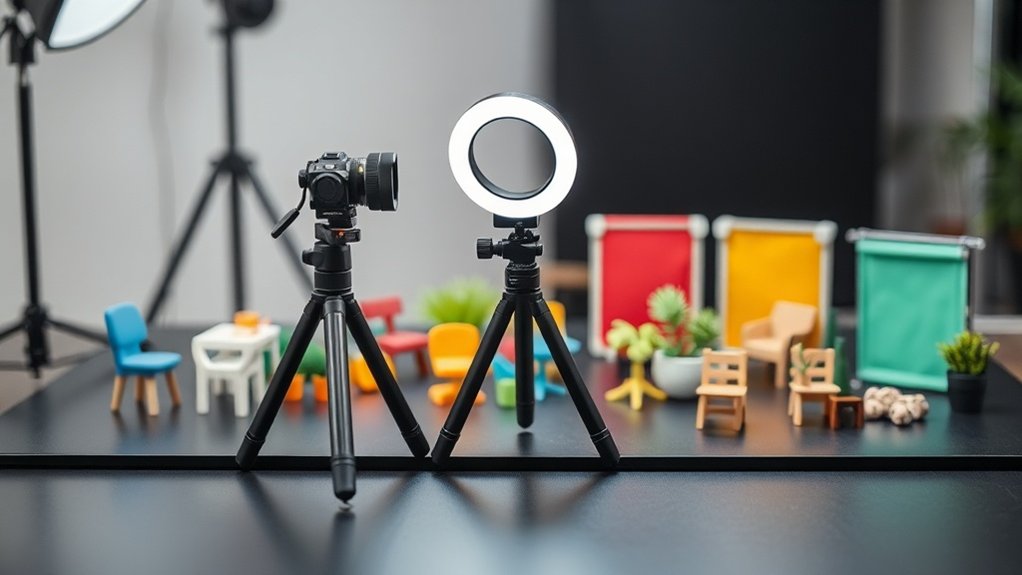
Enhance your mobile toy photography by investing in key accessories like tripods, portable lights, and creative props. Use a sturdy, lightweight tripod to eliminate camera shake for sharper images. Portable LED lights or ring lights guarantee your toys are perfectly illuminated, no matter where you shoot. Creative props and backdrops add depth and storytelling elements to your scenes. Discover how these accessories can transform your photography journey into an exciting creative adventure!
Choosing the Right Tripod for Stability

When you’re diving into mobile toy photography, selecting the right tripod is essential for achieving stability in your shots. A reliable tripod helps eliminate camera shake, ensuring your photos are crisp and clear. You’ll want to look for a lightweight, portable option that doesn’t compromise on sturdiness. Consider a tripod with flexible legs; they allow you to position your camera at unique angles and capture creative shots. Adjustable height is another key feature, offering versatility whether you’re shooting on a tabletop or the ground. Don’t forget a tripod with a quick-release plate—it makes switching between handheld and tripod shooting seamless. By investing in the right tripod, you’ll elevate your photography, capturing your toys in sharp, enchanting detail.
Exploring Portable Lighting Solutions
As you explore the world of mobile toy photography, understanding the importance of lighting can dramatically transform your images. Portable lighting solutions are essential for capturing the perfect shot. You don’t need bulky equipment; small, efficient LED lights work wonders. They’re easy to carry and adjust, giving you control over shadows and highlights.
Consider investing in a ring light for soft, even illumination, or try a clip-on light for targeting specific angles. These tools let you shoot in various conditions, ensuring your subjects are always well-lit. Don’t forget about color temperature settings; they help maintain natural tones. By experimenting with portable lighting, you’ll elevate your toy photography, making each image pop with clarity and vibrancy. Embrace these tools and watch your creativity flourish.
Creative Backgrounds and Backdrops
When it comes to toy photography, creative backgrounds can make your shots more engaging. You can explore DIY backdrop ideas using materials like colored paper or fabric to suit any theme. For those on the go, portable background solutions offer convenience without sacrificing style.
DIY Backdrop Ideas
Transforming your toy photography with creative backgrounds doesn’t require fancy equipment or expensive materials. You can easily create stunning backdrops using items you already have at home. Grab some colorful paper or fabric to set the theme. Old newspapers or magazine pages can offer a vintage look, while textured fabrics add depth. Use a cardboard box for a mini photo studio; just cut out one side and line it with your chosen material.
Get creative with household items like aluminum foil for a metallic shine or use a bedsheet for a soft, dreamy effect. Even natural elements like leaves, stones, or sand can enhance your shots. Remember, it’s all about experimenting. With a little imagination, your DIY backdrops will bring your toy photography to life.
Portable Background Solutions
Someone passionate about toy photography knows the power a good background can have. It transforms a simple shot into a enchanting scene. Portable background solutions offer convenience and versatility, perfect for creating diverse settings on the go. You can invest in collapsible backdrops that fold neatly into your camera bag. These come in various colors and textures, providing a quick change of scenery.
Consider fabric backgrounds with vibrant prints or subtle patterns to complement your toys. Magnetic backdrops are another great option, allowing you to attach different scenes easily. Don’t forget about portable lightboxes that come with mini backdrops, ideal for controlled environments. With these solutions, you’re always ready to capture your toys in their best light, wherever inspiration strikes.
Utilizing Imaginative Props for Storytelling
When you’re creating a story through mobile toy photography, imaginative props can really enhance your narrative. Think about how different objects can interact with your toys to create unique and engaging scenes. Use creative composition techniques to highlight these props and guide your viewer’s eye to the heart of your story.
Enhancing Narrative With Props
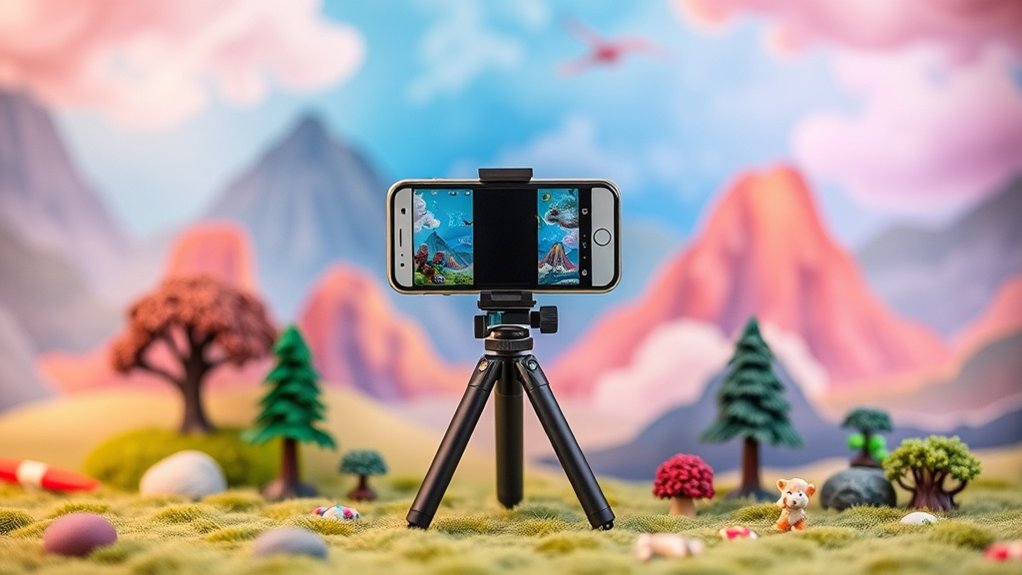
Incorporating imaginative props into your mobile toy photography can dramatically enhance storytelling by adding layers of depth and intrigue. Props can transform a simple scene into a vivid narrative, guiding viewers through a miniaturized world. Here’s how to make the most of them:
- Select Thematic Props: Choose items that complement your toy’s story, like tiny furniture for a dollhouse or miniature vehicles for action figures.
- Create Scale and Perspective: Use props to establish a sense of scale. Tiny trees or buildings can make your toys feel like giants or dwarves, depending on your story’s needs.
- Add Textural Elements: Incorporate materials like sand, fabric, or paper to provide texture and realism.
- Use Color Wisely: Props with contrasting or complementary colors can highlight key narrative elements and draw attention to specific details.
Creative Composition Techniques
While creating engaging mobile toy photography, mastering creative composition techniques can greatly elevate your storytelling. Think of imaginative props as your secret weapon. They can transform a simple scene into a fascinating narrative. Use everyday items like leaves, paper, or even food to set the stage and add depth to your photos. Consider the story you want to tell and select props that enhance that narrative.
Arrange your toys and props thoughtfully, paying attention to balance and perspective. Experiment with angles to find the most dynamic shot. You might tilt your camera or shoot from a low angle to create drama. Don’t be afraid to break the rules; sometimes an unconventional composition is what makes an image stand out. Keep experimenting and let your creativity flow!
Smartphone Lens Attachments for Enhanced Detail
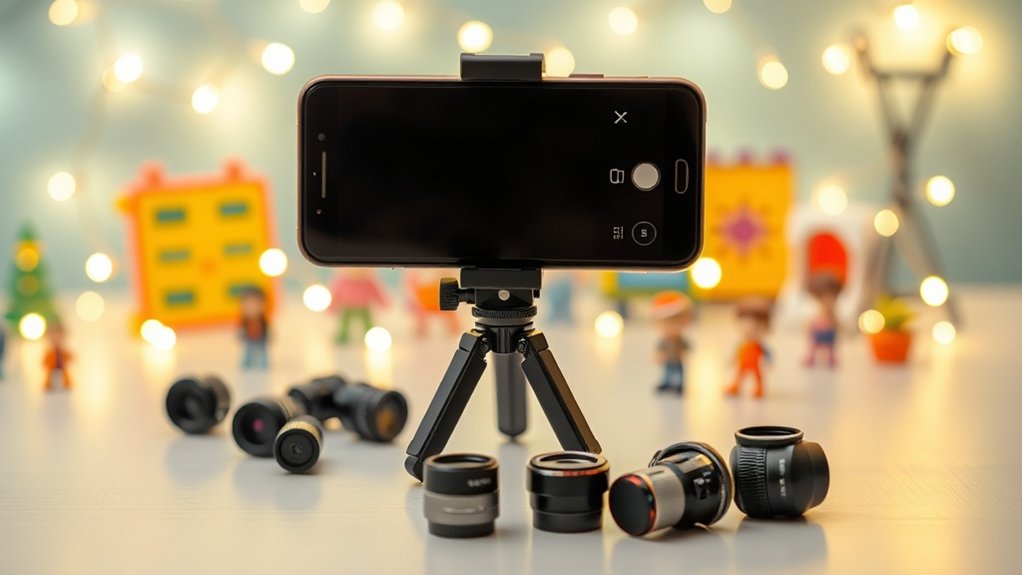
To capture intricate details in your mobile toy photography, consider using smartphone lens attachments. They’re easy to use and can substantially enhance your photos. Here are some options to explore: Macro lenses can help you focus on small features of your toys, bringing out textures and colors that might otherwise go unnoticed. Additionally, remember to apply some mobile photography lighting tips to ensure your subjects are well-lit, as the right lighting can drastically improve the overall quality of your images. Experimenting with different angles and backgrounds will further elevate your mobile toy photography. Additionally, experimenting with different lighting setups can elevate your images and make those intricate details pop. Incorporating mobile toy photography techniques, such as using backlighting or employing reflectors, can create a more dynamic and engaging composition. Don’t hesitate to play around with angles and perspectives to discover the best way to showcase your toys.
- Macro Lens: Perfect for capturing tiny details, the macro lens lets you focus on the fine textures and features of your toys, making every miniature detail pop.
- Wide-Angle Lens: This lens helps you capture more of the scene, offering a broader perspective without losing detail. It’s great for group shots or expansive settings.
- Fisheye Lens: For a creative twist, the fisheye lens offers a fun, distorted view, adding a unique edge to your compositions.
- Telephoto Lens: Ideal for close-ups from a distance, this lens maintains detail and sharpness, bringing distant subjects closer.
The Role of Reflectors and Diffusers in Lighting
Lighting plays a pivotal role in mobile toy photography, and using reflectors and diffusers can greatly elevate your shots. Reflectors bounce light onto your subject, filling in shadows and adding dimension. They’re perfect for achieving balanced lighting without harsh contrasts. To use a reflector, position it opposite your light source. You’ll notice how the reflected light softens shadows and highlights details, making your toys pop.
Diffusers, on the other hand, soften and spread light, reducing harshness. They’re essential when shooting under direct sunlight or strong artificial lights. Simply place a diffuser between the light source and your subject. This technique creates even lighting, emphasizing textures and colors. By mastering reflectors and diffusers, you’ll transform your mobile toy photography with professional-looking results.
Apps and Software for Editing and Enhancements
Editing apps are the secret weapon that can transform your mobile toy photography into stunning works of art. You don’t need to be a professional editor to make your photos pop; just a few simple apps can elevate your shots. Here’s a quick guide to some must-have tools:
- Snapseed: This free app offers precision editing with features like selective adjustments and healing tools. It’s user-friendly and perfect for enhancing colors and textures.
- VSCO: Known for its film-like presets, VSCO helps you achieve a stylish, cohesive look. You can also tweak exposure, contrast, and more.
- Adobe Lightroom: Ideal for detailed adjustments, Lightroom provides advanced editing features like tone curves and split toning.
- Pixlr: Great for quick edits and creative effects, Pixlr is both powerful and easy to use.
With these apps, your toy photography will shine!
Setting Up an Effective Home Studio
Creating an effective home studio for toy photography doesn’t have to be complicated, and with a few key elements, you’ll be well on your way to capturing stunning images. First, choose a dedicated space where you can set up your equipment. A small table or desk works great. Use a neutral backdrop like a plain sheet or poster board to keep the focus on your toys. Invest in adjustable lighting, such as a ring light or LED panels, to illuminate your subjects evenly. Position your lights to eliminate harsh shadows. A sturdy tripod is essential for stability, allowing you to frame shots precisely. Finally, keep props handy to add context and creativity to your scenes. With these basics, your home studio will enhance your photography.
Tips for Capturing Dynamic Action Shots
To capture dynamic action shots of your toys, start by mastering the timing and shutter speed to freeze those perfect moments. Use composition and framing techniques to highlight the most exciting parts of the scene. Don’t forget to experiment with lighting and shadow play to add depth and drama to your photos.
Timing and Shutter Speed
Capturing dynamic action shots can be thrilling and challenging, especially when it comes to timing and shutter speed. You’ll want to capture the perfect moment of your toy’s motion. Here are some tips to help you nail it:
- Use Burst Mode: Enable burst mode on your smartphone to take multiple shots quickly, increasing your chances of getting the perfect action shot.
- Adjust Shutter Speed: Experiment with faster shutter speeds to freeze motion or slower speeds for motion blur effects, depending on the desired outcome.
- Anticipate the Action: Predict the movement of your toy and be ready to shoot just before the action peaks.
- Practice Patience: Sometimes the perfect shot takes time. Keep trying different angles and speeds until you capture the magic.
Composition and Framing Techniques
While mastering timing and shutter speed is key for dynamic action shots, the role of composition and framing can’t be overlooked. Start by considering the rule of thirds to place your toy in a visually engaging spot. This helps guide the viewer’s eye and adds balance. Next, think about angles. Shooting from a low angle can make the toy appear more powerful, while a high angle can add vulnerability or drama. Use leading lines, like a path or a beam, to draw attention to the action. Don’t forget to fill the frame; getting close emphasizes details and intensifies the scene. Ultimately, leave space for movement, giving the illusion that the toy is about to leap out of the frame.
Lighting and Shadow Play
Lighting transforms toy photography, creating mood and depth that’s essential for dynamic action shots. To capture the perfect moment, you must master the art of lighting and shadow play. Here’s how:
- Use Natural Light: Position your toys near a window for soft, diffused lighting. Natural light creates realistic shadows, adding depth and drama to action scenes.
- Experiment with Angles: Adjust the light source’s angle to highlight different features or create long, dramatic shadows. This adds movement and intrigue to your photos.
- Add a Reflector: Use a white card or foil to reflect light onto your subject. This brightens areas in shadow, enhancing detail without overexposing.
- Play with Flashlights: Direct a flashlight for focused highlights and creative shadows. This technique adds intensity and draws attention to key action moments.
Protecting Your Gear for Outdoor Shoots
When you’re heading out for an outdoor shoot, safeguarding your mobile toy photography gear should be a top priority. Invest in a sturdy, weatherproof bag to shield your equipment from unexpected rain or dust. Use padded compartments for delicate items like lenses and lights; they’ll prevent damage during transport. Don’t forget a waterproof phone case to protect your device from sudden showers.
Bring along some lens wipes to keep smudges at bay and maintain clear shots. If you’re shooting near water, consider a floating strap for your phone or camera to avoid accidents. Always keep an eye on your surroundings to prevent theft or mishaps. With these precautions, you’ll guarantee your gear stays safe, letting you focus on capturing stunning photos.
Frequently Asked Questions
How Do I Clean and Maintain My Mobile Photography Accessories?
You should regularly wipe your accessories with a microfiber cloth. Use compressed air to remove dust. For deep cleaning, gently use a damp cloth. Always store them in a cool, dry place to prevent damage.
Are There Eco-Friendly Options for Mobile Photography Gear?
You’re wondering about eco-friendly gear. You’ll find options like bamboo tripods, LED lights with lower energy consumption, and props made from recycled materials. Choosing these helps reduce your environmental impact while still capturing stunning photos.
What Are Some Budget-Friendly Mobile Photography Accessory Brands?
Oh, you’re on a budget but still want to capture the world’s grandeur? Fear not! Brands like UBeesize, Neewer, and Joby offer wallet-friendly options that’ll make your mobile photography dreams come true without breaking the bank.
How Can I Travel Efficiently With Mobile Photography Equipment?
To travel efficiently with your mobile photography equipment, pack lightweight, compact gear in a dedicated bag. Use multi-purpose items and organize cables. Prioritize essentials, leaving bulky items behind. Always keep your equipment accessible for spontaneous shots.
What Are the Latest Trends in Mobile Toy Photography Accessories?
Imagine your camera as a paintbrush; you’re the artist crafting toy stories. Latest trends include compact foldable tripods, portable RGB LED lights, and creative backgrounds. These tools make your mobile photography studio as versatile as a Swiss Army knife.
At a Glance
In your journey through the world of mobile toy photography, you’ve gathered a treasure trove of tools and techniques. With the right tripod, portable lights, and imaginative props, your creativity knows no bounds. Think of your smartphone as a brush, painting vivid stories with each shot. By setting up a home studio and mastering editing apps, you’ll capture dynamic moments effortlessly. Protect your gear, and let your imagination soar like a kite in the wind.


