Capture stunning mobile toy photos in natural light by choosing a complementary location and understanding how to use sunlight effectively. Adjust your smartphone’s camera settings for ideal exposure, focus, and white balance. Experiment with angles and composition to showcase your toys uniquely. Utilize reflectors and diffusers to perfect your lighting. Enhance images with editing apps like Snapseed or Lightroom without overdoing filters. There’s more to discover that’ll elevate your toy photography.
Choosing the Right Location
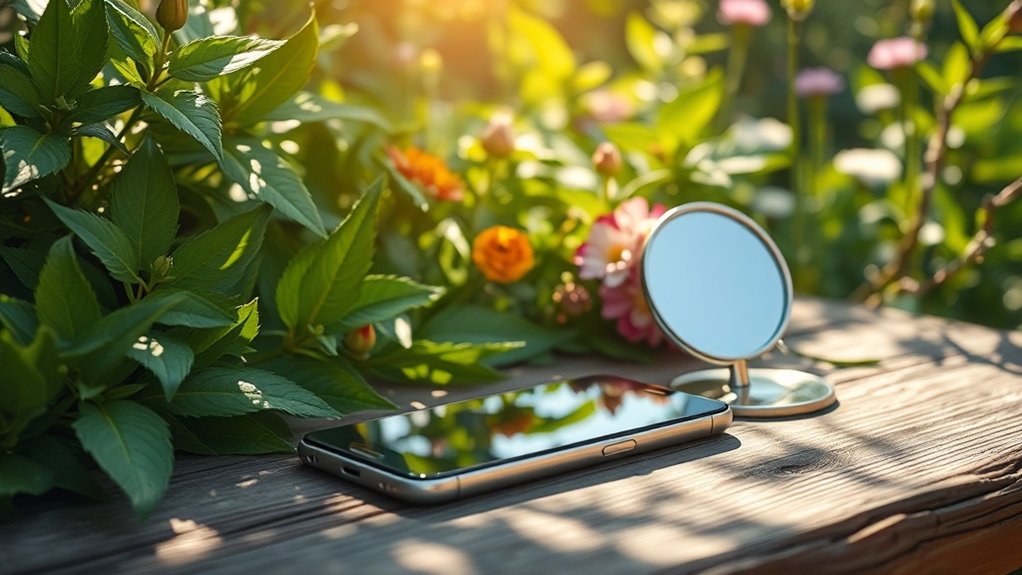
Selecting the perfect backdrop is essential in mobile toy photography. You want to create a scene that complements the toy without overshadowing it. Start by choosing a location that matches the theme or story you aim to convey. Whether it’s a simple desk, a vibrant garden, or a scenic park, guarantee it adds depth and interest. Look for textures and colors that enhance the toy’s features. Avoid crowded or overly complex backgrounds that might distract from your subject. Consider using patterns or elements that provide contrast, making the toy stand out. Remember, the right location not only highlights the toy but also tells a story. So, explore different environments, and don’t be afraid to experiment with unconventional spaces.
Understanding Natural Light
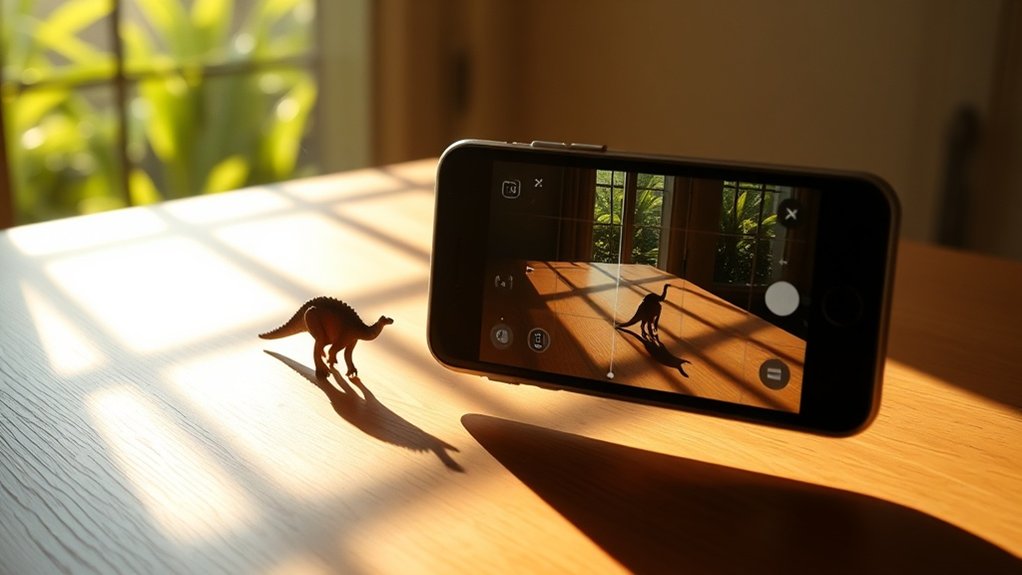
When it comes to mobile toy photography, understanding natural light can make all the difference. Natural light enhances colors and adds depth, making your toy subjects pop. Start by observing how light changes throughout the day. Early morning and late afternoon, known as the golden hours, provide soft, warm light that’s ideal for capturing details without harsh shadows.
Position your toys to catch the light at an angle, emphasizing textures and features. Avoid direct sunlight, as it can create unwanted glare and contrast. Instead, use diffused light from windows or open shade for balanced illumination. Pay attention to how light interacts with your surroundings, casting interesting patterns or reflections. Mastering natural light takes practice, so keep experimenting to find what works best for your creative vision.
Optimizing Camera Settings
To enhance your mobile toy photography, start by manually adjusting the exposure to get the perfect lighting. Don’t forget to utilize HDR mode for capturing more detail in both bright and dark areas. Additionally, controlling the white balance guarantees your toys’ colors are true to life.
Adjust Exposure Manually
Mastering manual exposure adjustment on your mobile device can greatly enhance your toy photography. Start by tapping on your screen to focus on the subject. You’ll notice a small sun icon or slider appear, depending on your smartphone model. This is your exposure control. Slide it up to brighten the image or down to darken it. Adjusting exposure manually lets you control how much light enters the camera, highlighting details and preventing overexposure in bright conditions.
In natural light, especially outdoors, lighting can change quickly. Use the exposure control to adapt to these changes, ensuring your toy’s details aren’t lost in shadows or washed out by sunlight. Experiment with different settings to see how they affect the mood and depth of your photos.
Utilize HDR Mode
After adjusting exposure manually, another powerful tool to enhance your mobile toy photography is the HDR mode. HDR, or High Dynamic Range, helps balance the light and dark areas in your shots. When you’re capturing toys in bright sunlight, HDR can prevent the highlights from blowing out while revealing details in the shadows. It combines multiple exposures into one, resulting in a well-balanced photo. To use it, simply enable HDR mode in your smartphone’s camera settings.
Keep your device steady when using HDR to avoid blurry images, as it takes a few shots to merge into one. This technique is especially useful for scenes with dramatic lighting contrasts, like toys under a tree canopy or near a sunny window. With HDR, your toy photos will look more vibrant and detailed.
Control White Balance
When diving into mobile toy photography, controlling the white balance is vital for capturing accurate colors. Your smartphone camera might automatically adjust, but it’s important to know how to tweak it manually. Start by accessing your camera settings. Look for the white balance option; it might be listed under advanced settings.
You’ll see options like auto, daylight, cloudy, tungsten, and fluorescent. Each setting adjusts to different lighting conditions. For outdoor shots in natural light, try the daylight or cloudy setting. This guarantees the colors of your toys appear true to life, without any unwanted tints.
Practice switching between these settings to see which one best suits your environment and subject. With some experimentation, you’ll master the art of capturing vibrant, lifelike photos.
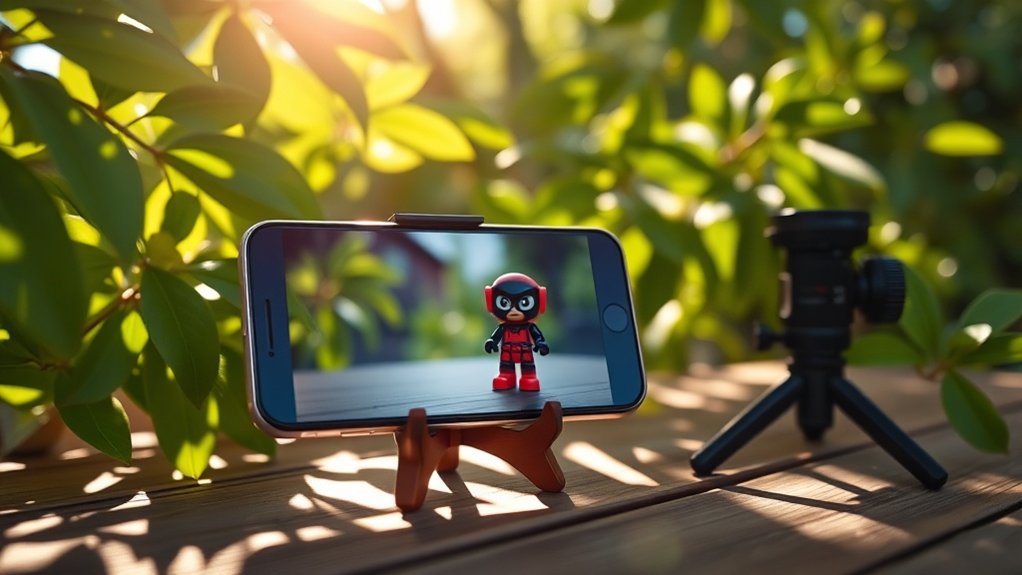
Experimenting With Angles
To elevate your mobile toy photography, start experimenting with different angles. Try varying your perspective by using low-angle shots to make toys appear larger than life, or capture unique aerial views for a fresh take. These techniques can add depth and interest, transforming simple scenes into dynamic stories.
Varying Perspective Techniques
Exploring different angles can transform your toy photography, giving life and character to your subjects. By varying perspective, you’ll uncover new dimensions and storytelling opportunities. Start by getting close to your toys, capturing details that often go unnoticed. A slight tilt of your phone can create dynamic lines, adding depth and intrigue. Try shooting from above to present a bird’s-eye view, showcasing the scene’s entirety. Alternatively, crouch down and snap from a higher viewpoint to bring out different attributes. Don’t be afraid to rotate your phone for vertical or horizontal shots, changing the frame’s orientation. Experiment with diagonal angles to create tension and movement. Each perspective offers a fresh narrative, ensuring your photos are always enchanting and unique. Incorporating lighting techniques can further enhance your toy photography; try shooting during the golden hour for soft, warm tones. Additionally, consider using props or backgrounds to create context that complements your figures. For more insights, check out these mobile photography tips for figures to refine your skills even further.
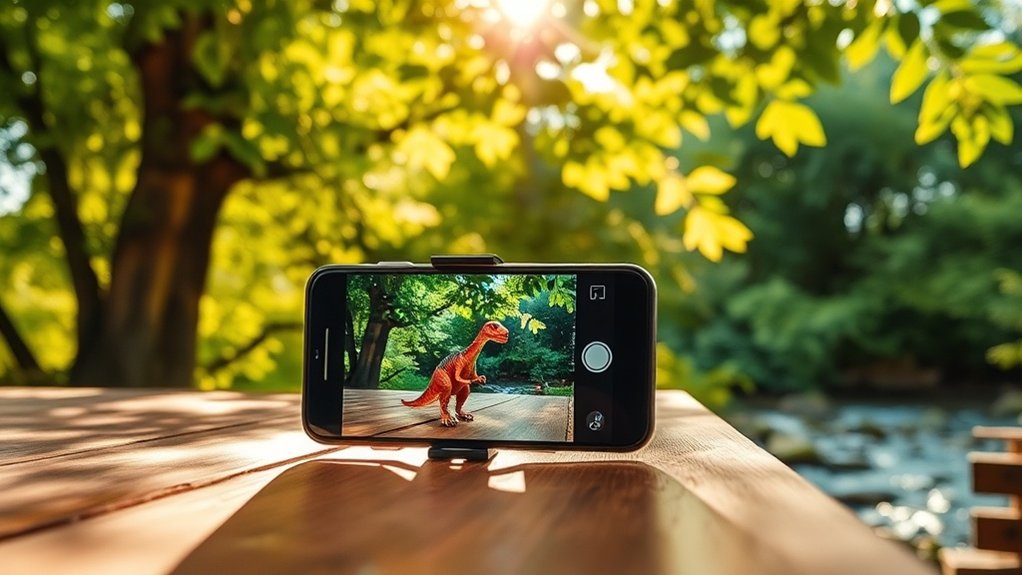
Utilizing Low Angle Shots
While experimenting with various perspectives, you can’t overlook the power of low angle shots in toy photography. Getting down to the toy’s level transforms your subject, making it appear larger than life and more dynamic. This perspective can add a sense of drama and realism, drawing viewers into the toy’s world. By positioning your smartphone close to the ground, you’ll capture unique compositions that highlight the toy’s details and textures.
Don’t be afraid to get creative with your angles. Tilting your camera slightly can introduce a sense of movement or tension. Additionally, using natural light from a low angle can cast interesting shadows, enhancing the mood of your photo. Remember, the key is to experiment and find what angle best showcases your toy’s character.
Exploring Aerial Views
When you shift your gaze skyward, aerial views in toy photography offer a fresh perspective that can transform your composition. By experimenting with angles, you can create dynamic and engaging images that captivate viewers. Start by holding your smartphone above your toy setup, ensuring good natural light illuminates the scene. This elevated angle can enhance the sense of scale and depth.
Consider these tips to make the most of aerial views:
- Use a Selfie Stick: Extend your reach and stabilize your phone for clearer shots from above.
- Experiment with Shadows: Natural light can cast interesting shadows, adding depth and interest to your photos.
- Adjust Focus and Exposure: Tap on your screen to fine-tune focus and brightness, highlighting the toy’s details.
These techniques will elevate your photography game!
Mastering Composition Techniques
Even though toy photography might seem like child’s play, mastering composition techniques can elevate your mobile shots to new heights. Start by focusing on the rule of thirds. Imagine two horizontal and two vertical lines splitting your viewfinder into nine sections. Position key elements along these lines or at their intersections to create balance and intrigue.
Don’t forget about leading lines. These guide the viewer’s eyes through the photo, creating depth and directing focus towards your main subject. Experiment with framing by using natural surroundings to encase your toy, adding layers and context.
Also, consider the background. A cluttered background distracts, while a simple one highlights the toy. Finally, play with perspective by changing your angle. A low-angle shot can make a toy appear larger-than-life.
Utilizing Reflectors and Diffusers
Successful toy photography often hinges on how you manipulate light, and that’s where reflectors and diffusers come into play. These tools help you control natural light, ensuring your toys are well-lit and shadows are minimized. To enhance your mobile photography, consider these tips: Experiment with different angles and distances to discover how they affect the light on your subjects. Additionally, utilizing mobile toy photography techniques such as adjusting the exposure settings on your smartphone can lead to even more striking images. Always keep an eye on your background as well, as a tidy setting can help the focus remain on the toys.
- Reflectors: Use a simple piece of white cardboard or a specialized reflector to bounce light onto your subject. This helps fill in shadows and adds depth.
- Diffusers: Softening harsh sunlight is essential. Use a sheer white fabric or a translucent plastic sheet to diffuse strong light, creating a more even and flattering illumination.
- Placement: Position reflectors or diffusers at different angles to experiment with light direction and intensity, resulting in dynamic and engaging images.
Balancing Exposure and Focus
How do you capture the perfect balance between exposure and focus in mobile toy photography? First, tap on your smartphone screen to set the focus on your toy. You’ll notice a small sun icon next to the focus box. Slide it up or down to adjust the exposure; this guarantees your toy isn’t too dark or washed out. Pay attention to your surroundings—natural light changes can affect exposure. If shadows make focusing difficult, reposition or slightly adjust your angle. Use the grid lines feature to compose your shot, guaranteeing your toy is the focal point. Practice patience, as subtle adjustments can greatly improve your photo. Keep experimenting with different distances and angles until you achieve that perfect shot.
Editing With Mobile Apps
Once you’ve captured your toy photos, it’s time to enhance them using mobile apps. Editing can transform a good photo into a great one with just a few tweaks. Here are some tips to get you started:
- Adjust Brightness and Contrast: Use apps like Snapseed or Lightroom to tweak brightness and contrast. This can make your toys pop and add depth to your images.
- Apply Filters Sparingly: Filters can give your photos a unique look but don’t overdo it. Apps like VSCO provide subtle filters that maintain the integrity of your shot while enhancing mood.
- Crop and Align: Make certain your photo is well-composed by cropping and aligning. Straighten horizons and focus on your subject to give your photo a professional touch.
Frequently Asked Questions
How Do I Prevent My Phone From Overheating During Long Shoots?
Make sure you disable unnecessary apps, lower your screen brightness, and take regular breaks. Keep your phone out of direct sunlight and remove any case to help with cooling. It’ll reduce overheating effectively.
What Are Some Creative Props for Mobile Toy Photography?
So, you’re a budding Spielberg with toys? Use household items like colorful scarves for dramatic skies, old CDs for reflections, and kitchen utensils for texture. Remember, you’re only one Lego brick away from a masterpiece.
How Can I Stabilize My Smartphone Without a Tripod?
You can stabilize your smartphone by leaning it against a solid object like a wall or a stack of books. Use a bag of rice or a pillow for extra support and to adjust the angle precisely.
How Do I Clean My Smartphone Lens for Clearer Photos?
To clean your smartphone lens, gently use a microfiber cloth. Avoid using household cleaners as they can damage the lens. If there’s stubborn dirt, lightly dampen the cloth with water. You’ll see clearer, sharper photos instantly!
What Are Some Tips for Capturing Action Shots of Moving Toys?
Focus on timing and anticipate the toy’s movement. Use burst mode to snap multiple shots quickly. Steady your grip and guarantee good lighting. Experiment with angles and practice to improve your action photography skills.
At a Glance
You’re ready to capture stunning toy photos with just your smartphone. Did you know that 70% of amateur photographers rely solely on natural light for their shots? Use this to your advantage by choosing the right location and time of day. Don’t forget to experiment with angles and composition for more dynamic images. Adjust your camera settings and consider reflectors or diffusers for better lighting. Finally, enhance your photos with mobile apps to make them truly stand out.


