When photographing toys, using natural light reveals true colors and enhances textures. Golden hours provide soft, flattering illumination, while overcast days diffuse light beautifully. Artificial light, like LEDs or ring lights, offers control and consistency, enabling you to create dramatic effects and overcome weather unpredictability. You can adjust brightness, color temperature, and intensity to match or complement natural light. Master blending these techniques, and you’ll discover how to elevate your toy photography skills.
Understanding Natural Light in Toy Photography
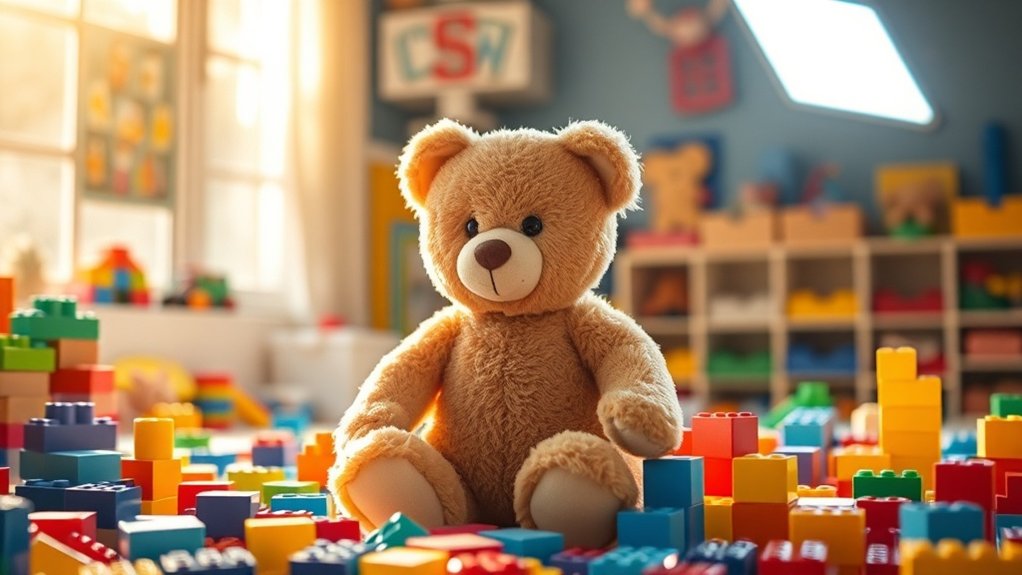
When you’re diving into toy photography, understanding natural light is essential for capturing stunning images. Start by observing how light interacts with your subject at different times of the day. Early morning and late afternoon, known as the golden hours, provide soft, warm light that enhances details and adds depth. Position your toys to take advantage of these gentle shadows and highlights.
Don’t hesitate to experiment with angles. Move around your subject to see how light changes its appearance. Use reflectors, like white paper or foil, to bounce light onto darker areas, adding balance. Pay attention to the weather, too—overcast skies offer diffused lighting, minimizing harsh shadows. With practice, you’ll harness natural light to create enchanting, dynamic toy photos that tell a story.
Benefits of Using Natural Light
Although some photographers might favor artificial lighting for control, natural light offers distinct advantages that shouldn’t be overlooked. To begin with, natural light provides a softer and more diffused illumination, which can enhance the texture and details of toys. You don’t need to worry about harsh shadows or overexposed areas that often result from artificial lights. Natural light also brings out true colors, ensuring your toys look vibrant and lifelike without extensive post-editing. Plus, using natural light is cost-effective as it doesn’t require purchasing expensive lighting equipment. You can simply utilize daylight streaming through windows to create stunning effects. Finally, shooting with natural light can be quicker and more intuitive, allowing you to focus on creativity rather than technical settings.
Challenges of Natural Light
When you’re shooting toys with natural light, inconsistent weather can throw off your entire setup. You also have to work within the limited hours of ideal sunlight, which can cut your shooting time short. Plus, managing shadows and reflections becomes a tricky part of the process, requiring constant adjustments.
Inconsistent Weather Conditions
Capturing toy photographs with natural light can be a thrilling endeavor, yet unpredictable weather often throws a wrench in your plans. One moment, your scene is perfectly illuminated by a soft, golden glow; the next, dark clouds roll in, casting harsh shadows and altering the mood entirely. You’re at the mercy of nature, and it doesn’t always play nice. Sudden rain showers or gusty winds can disrupt your setup, making it challenging to maintain consistency in your shots. Planning becomes a guessing game, as forecasts aren’t always reliable. You might find yourself waiting out storms or chasing fleeting sunlight. It’s a constant dance with the elements, requiring patience and adaptability to capture that perfect shot in natural light.
Limited Shooting Time
Timing is everything when relying on natural light for toy photography. You’ll need to plan your shoots carefully around the sun’s position. The perfect light might only last for a short window, especially during sunrise or sunset, known as the golden hour. Missing this window means waiting until the next day or finding a different setup altogether. Cloudy days can extend your shooting time, but they might not provide the desired warmth or vibrancy you’re after.
You’ll also have to take into account the changing light throughout the day. As the sun moves, the angle and intensity of light shift, affecting your shots. This constant change means you’re racing against time to capture the perfect image before the light alters too much.
Shadows and Reflections
Although natural light can bring out stunning details in toy photography, it also presents unique challenges with shadows and reflections. You might struggle to control harsh shadows that obscure important details or add unwanted drama to your scene. Reflections can also be tricky, especially on shiny toy surfaces, creating distracting glares or reflections from surrounding objects.
Here are three tips to manage these challenges:
- Use diffusers: Softening the light through curtains or white sheets can reduce harsh shadows and reflections.
- Change angles: Adjusting your shooting angle can minimize unwanted reflections and create more flattering shadows.
- Time your shots: Shoot during the golden hour, either morning or late afternoon, when natural light is softer, ensuring gentler shadows and reduced glare.
Mastering these techniques can elevate your toy photography skills.
Exploring Artificial Light Options
Immerse yourself in the world of artificial lighting, and you’ll discover a plethora of options that can transform your toy photography. Start with LED panels, which offer adjustable brightness and color temperature, letting you tailor the light to your scene’s needs. Ring lights provide even illumination, minimizing shadows and highlighting details, perfect for close-ups. For dynamic effects, try using small, portable flash units; these can create dramatic highlights or simulate natural sunlight. Experiment with softboxes to diffuse light, creating gentle, even lighting that reduces harsh shadows. Consider light wands for creative, directional effects that can mimic sunlight rays or moonlit glows. Explore gels and filters to add color and mood, making your toy scenes vibrant and expressive. Immerse yourself and let your creativity shine!
Advantages of Artificial Lighting
In toy photography, artificial lighting offers numerous advantages, allowing you to have complete control over your scene’s lighting conditions. You can experiment with different setups, creating dynamic visuals that highlight your toys in unique ways. Here are some benefits you’ll enjoy:
- Consistency: Unlike natural light, artificial lighting doesn’t change with the weather or time of day, ensuring consistent results for every shoot.
- Flexibility: You can adjust the intensity, color, and direction of artificial lights to suit your creative vision, giving you endless possibilities for your compositions.
- Availability: Artificial lights are always at your disposal, allowing you to shoot anytime, day or night, without worrying about daylight hours.
Limitations of Artificial Light
When you’re using artificial light in toy photography, you might face issues with color temperature that make your photos look unnatural. Adjusting lights to achieve the perfect tone can be tricky and time-consuming. Additionally, artificial lights often have a limited dynamic range, which can flatten your images and reduce the depth and realism you aim for.
Color Temperature Challenges
How often do you find yourself struggling to capture the perfect colors in your toy photography? Artificial light can present significant color temperature challenges. These challenges can throw off your images and make post-editing a hassle. Here are three common issues you might face:
- Inconsistent Color Rendering: Different artificial lights emit various color temperatures. Mixing them can lead to inconsistent color rendering in your photos, making toys appear unnatural.
- White Balance Adjustments: Without proper settings, artificial lights can create images with a noticeable color cast, forcing you to constantly adjust the white balance.
- Limited Spectrum: Some artificial lights lack a full spectrum, leading to inaccurate color representation and dull-looking photos.
Experiment with color-correcting gels and light sources to minimize these issues and improve your results.
Limited Dynamic Range
Many toy photographers find that artificial light often struggles with a limited dynamic range, impacting your ability to capture both highlights and shadows effectively. This limitation can make your images appear flat, as the lights can’t replicate the depth and detail you get from natural light. You might notice blown-out highlights or murky shadows, which can be detrimental when aiming for a high-quality image.
To overcome this, you need to experiment with different lighting setups and modifiers. Using diffusers can help soften the light, reducing harsh contrasts. You can also try bracketing exposures and merging them in post-processing to enhance dynamic range. While artificial lighting offers control, it requires careful adjustments to mimic the natural spectrum, ensuring your toy photography maintains depth and vibrancy.
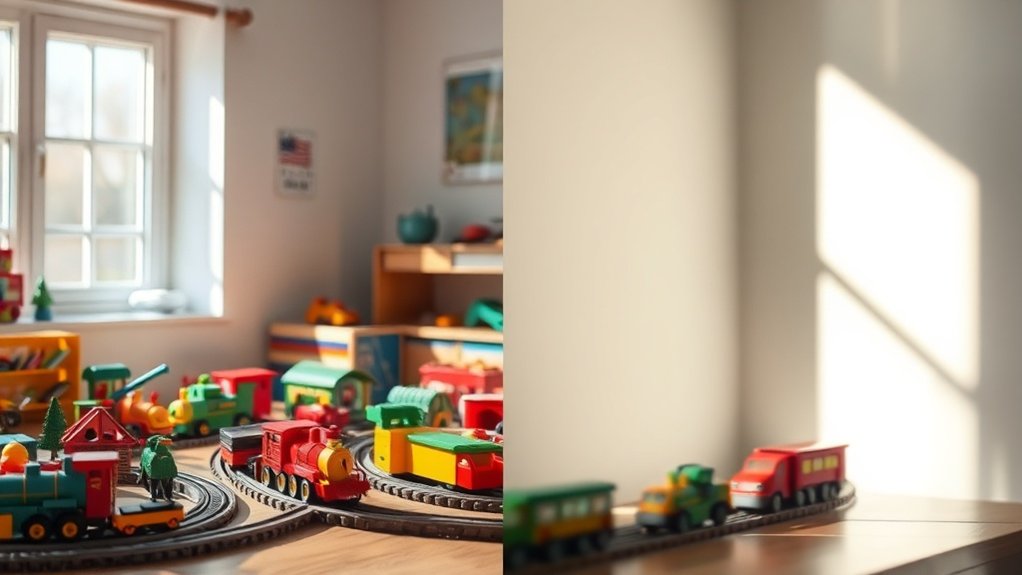
Comparing Color Accuracy
Although both natural and artificial light have their advantages, understanding their effects on color accuracy in toy photography can elevate your work. Natural light provides a broad spectrum and can reveal true colors, but it varies throughout the day, making consistency a challenge. On the other hand, artificial light offers control and consistency, but you’ll need to take into account the light source’s color temperature to guarantee accurate hues.
Here are three tips to enhance color accuracy:
- White Balance: Adjust your camera’s white balance settings to match the light source, guaranteeing more accurate colors.
- Light Source Selection: Choose lamps or bulbs labeled with a high CRI (Color Rendering Index) for better color representation.
- Color Calibration: Use tools like color cards or calibration software to maintain color fidelity in your images.
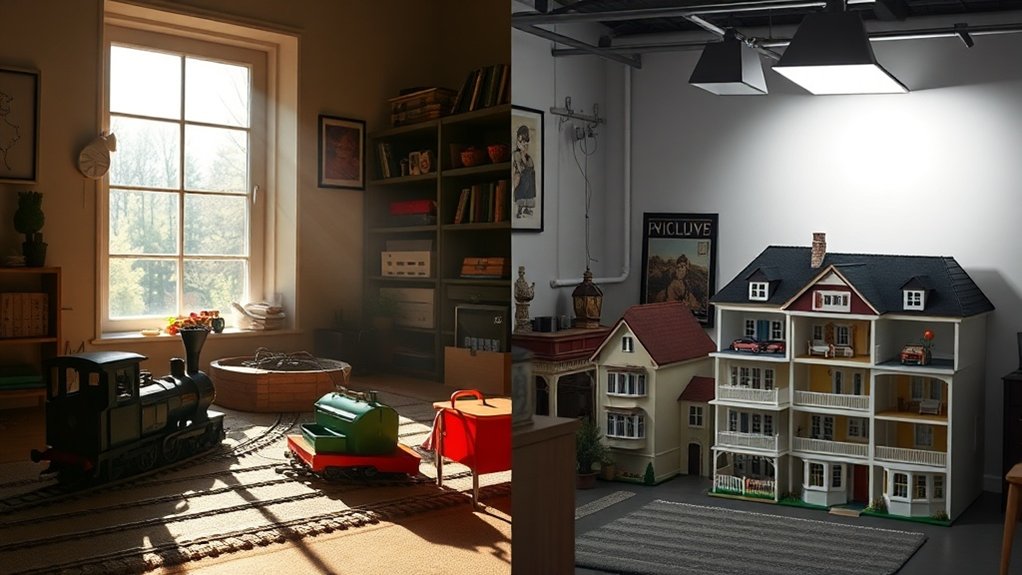
Achieving the Desired Mood With Lighting
Creating the desired mood in toy photography hinges considerably on your lighting choices. Soft, diffused natural light can evoke warmth and nostalgia, while harsh artificial light might convey drama or tension. You’ll want to think about the emotion you’re aiming to capture and choose lighting that aligns with it. Experiment with shadows and highlights by adjusting your light’s angle or intensity. Shadows add depth and mystery, while highlights can make colors pop.
Consider using colored gels or filters on artificial lights to introduce unique atmospheres. For instance, a blue filter might suggest calmness or a night scene, whereas a red filter could add intensity or excitement. Trust your instincts, and don’t hesitate to try different setups. Ultimately, the right lighting will bring your toy scenes to life.
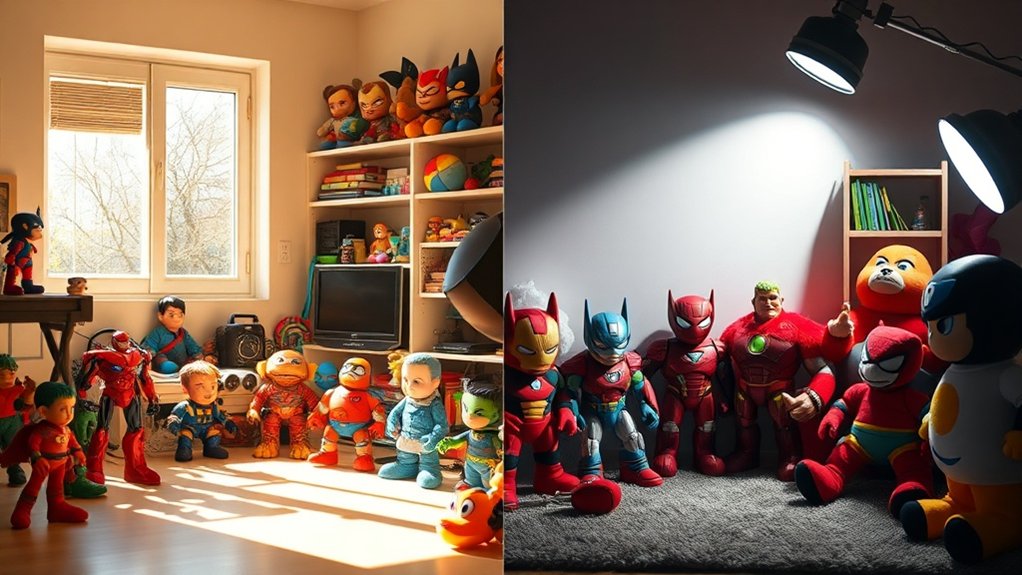
Tips for Combining Natural and Artificial Light
Building on the importance of mood in toy photography, combining natural and artificial light can elevate your scenes to new heights. By blending both sources, you’ll enhance texture, depth, and drama in your shots. Here’s how you can master this technique:
- Balance Intensity: Use natural light as your base and supplement with artificial light. Adjust the artificial source’s intensity to avoid overpowering the natural light, ensuring a harmonious blend.
- Control Direction: Position artificial lights to fill in shadows cast by natural light. This adds dimension and reduces harsh contrasts, creating a softer, more balanced image.
- Experiment with Color Temperature: Mix warm and cool lights to evoke different moods. Use gels or bulbs with adjustable temperatures to match or contrast natural light, enhancing your scene’s ambiance.
Frequently Asked Questions
What Is the Best Time of Day for Toy Photography?
You should schedule your toy photography during the golden hours, just after sunrise or before sunset. The soft, warm light enhances details and colors, creating an enchanting scene that brings your toys to life beautifully.
How Can I Diffuse Natural Light for Softer Shadows?
To diffuse natural light for softer shadows, you can use a sheer curtain or a white bedsheet. Position it between the light source and your subject. This will soften harsh rays and create even, gentle lighting.
Are There Specific Toys That Look Better Under Artificial Light?
You might think natural light always highlights toys best, but certain materials like glossy plastics or metallic finishes truly shine under artificial light. It enhances their details and colors, making them pop more vividly in photos.
Do Different Camera Settings Apply for Each Lighting Type?
Yes, you’ll need to adjust camera settings for each lighting type. Natural light varies in intensity and color, requiring different ISO, aperture, and shutter speed. Artificial light offers consistency, but still demands careful tweaking for ideal results.
Can Artificial Light Mimic the Golden Hour Effect?
Yes, you can mimic the golden hour effect with artificial light. Use warm gels or LED lights to replicate those soft, amber hues. Adjust angles and diffusion to create that gentle, flattering glow you love during sunset.
At a Glance
In toy studio photography, both natural and artificial light have their unique strengths and challenges. Natural light offers a soft, authentic feel, but it’s unpredictable. Artificial light provides control and consistency, yet can sometimes lack warmth. By understanding and blending both, you can achieve color accuracy and set the perfect mood. Experiment with various lighting setups to discover what best suits your vision. Ultimately, the right mix of light will elevate your toy photography to new heights.


