
To perfect toy photography, utilize natural light during golden hours for a soft, warm glow and experiment with artificial lights like LED panels. Embrace light diffusion to soften shadows while using reflectors to fill them. Backlighting can enhance details, and color gels add dramatic effects. Adjust light intensity and distance to highlight toy features, balancing ambient and artificial lighting for ideal results. Explore these strategies to refine your photography skills further.
Understanding Natural Light for Toy Photography
How can you use natural light to elevate your toy photography? Start by embracing the golden hours—early morning and late afternoon—when sunlight is soft and warm. Position your toys where the light can cast interesting shadows, adding depth and dimension to your shots. Experiment with different angles; side lighting, for instance, highlights textures, while backlighting creates dramatic silhouettes.
Don't shy away from cloudy days, either. Overcast skies diffuse sunlight, minimizing harsh contrasts and ensuring even illumination. This is ideal for close-ups where details matter. Always be mindful of the direction and intensity of the light. Adjust your composition to prevent unwanted glare or reflections. With practice, you'll harness natural light to create compelling, vibrant images, capturing the essence of your toys beautifully.
Utilizing Artificial Light Sources Effectively
When working with artificial light in toy photography, start by selecting the right light sources like LED panels or softboxes to suit your creative vision. You'll want to experiment with different options to see which provides the best results. Remember, controlling the light intensity is essential to highlight details and create dramatic effects without overpowering your subject.
Choosing Suitable Light Sources
Ever wondered how to bring your toy photography to life with artificial light? Start by choosing the right light sources. LED panels are versatile and provide consistent lighting without overheating. They're perfect for adjusting color temperatures to match your scene. Ring lights offer soft, even lighting that reduces harsh shadows, ideal for close-ups. If you need a focused beam, try using spotlights or flashlights with diffusers to soften the light. Experiment with different light colors to create mood or highlight details. Desk lamps and smart bulbs can also work, especially if you're on a budget. Position your lights at various angles to see how they interact with the toys, and don't be afraid to mix different sources for creative effects.
Controlling Light Intensity
To master toy photography, it's crucial to control the intensity of your artificial light sources effectively. Start by understanding that light intensity directly affects the mood and detail of your images. Too much light can wash out colors, while too little can obscure details. Adjust your lights to achieve the perfect balance that suits your vision.
Here are three steps to help you control light intensity:
- Use dimmable lights: Choose lights with adjustable brightness to easily modify intensity without changing the setup.
- Add diffusion: Soften harsh light by using diffusers like softboxes or translucent materials, ensuring even and gentle illumination.
- Experiment with distance: Alter the distance between your lights and the subject to fine-tune brightness and shadow depth.
Mastering the Art of Diffusing Light
Diffusing light is an essential technique in toy photography that softens harsh shadows and creates a more natural and pleasing look. To master this art, start by using diffusers like softboxes, umbrellas, or even DIY options like white bedsheets. Position them between your light source and the toy, ensuring the light spreads evenly. You'll want to move the light closer or further away to achieve the desired softness.
Experiment by adjusting the angles to find the best diffusion. Remember, softer light highlights details without overpowering them. Using natural light? Try shooting on overcast days when clouds act as natural diffusers, or position toys near a window with sheer curtains. Mastering diffusion enhances your photos, making toys appear more lifelike and engaging.
Creating Dynamic Shadows for Dramatic Effects
While mastering light diffusion provides a soft and pleasing look, you can also use shadows to add drama and intrigue to your toy photography. Playing with shadows transforms a simple scene into something moody and enchanting. Here's how you can make the most of shadows:
- Adjust Light Positioning: Move your light source around to cast interesting shadows. The angle determines shadow length and direction, creating depth.
- Use Props: Introduce items like leaves or blinds between the light and toy. These can break the light, forming intricate shadow patterns.
- Experiment with Intensity: Adjust the brightness of your light. Softer light results in gentler shadows, while a more intense light creates stark contrasts.
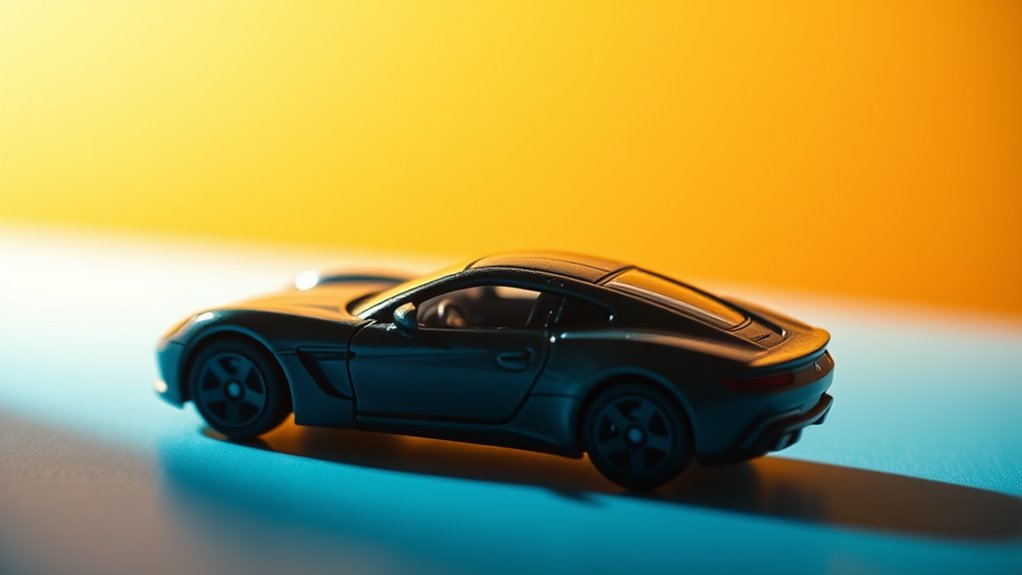
Exploring Backlighting Techniques

When you experiment with backlighting techniques in toy photography, you can create stunning silhouette effects that add mystery and intrigue. This approach can also enhance depth perception, making your toy figures pop against their backgrounds. Additionally, backlighting helps highlight intricate toy details, bringing them into sharp focus for a mesmerizing image.
Creating Silhouette Effects
To create stunning silhouette effects in toy photography, mastering backlighting techniques is essential. Position your light source behind the toy to highlight its outline and create dramatic contrasts. This setup emphasizes the toy's shape and adds mystery to your shot. Here's how to nail it:
- Choose the Right Time: Shoot during golden hour for natural and soft backlighting, which enhances silhouettes beautifully.
- Adjust Exposure Settings: Lower the exposure to darken the toy, ensuring the background light stands out, creating a sharp silhouette.
- Experiment with Angles: Move your camera around to find the best angle that maximizes the toy's silhouette, adding depth and character.
With practice, you'll transform your toy photography using these simple backlighting techniques.
Enhancing Depth Perception
Mastering silhouette effects sets the stage for enhancing depth perception in toy photography. Backlighting techniques are your secret weapon here. By placing a light source behind your toy figures, you create a stunning contrast that highlights edges and forms, giving your composition an incredible sense of three-dimensionality. Adjust the intensity of the backlight to avoid overpowering the scene, allowing subtle shadows to add layers and depth.
Experiment with different light sources, such as lamps or natural light, to see what works best. You might find that moving the light slightly off-center creates intriguing highlights and shadows. This approach not only emphasizes the toy's shape but also crafts a more immersive and dynamic scene. Remember, it's all about playing with light to bring your toys to life.
Highlighting Toy Details
Although backlighting primarily enhances silhouette effects, it also excels at highlighting intricate toy details. Position a light source behind your toy to emphasize textures and contours, making those tiny elements pop. You'll discover that backlighting can transform a simple photo into a dynamic scene. Here's how to make the most of it:
- Adjust Light Intensity: Experiment with different intensities to reveal subtle features without overpowering your subject. It's all about balance.
- Use Reflectors: Bounce light back onto the toy from the front. This helps to illuminate details that might be lost in shadow, providing depth and clarity.
- Try Colored Gels: Add drama with colored gels. They can highlight specific elements on your toy, creating a vibrant and compelling image.
Dive in and watch your toys come to life!
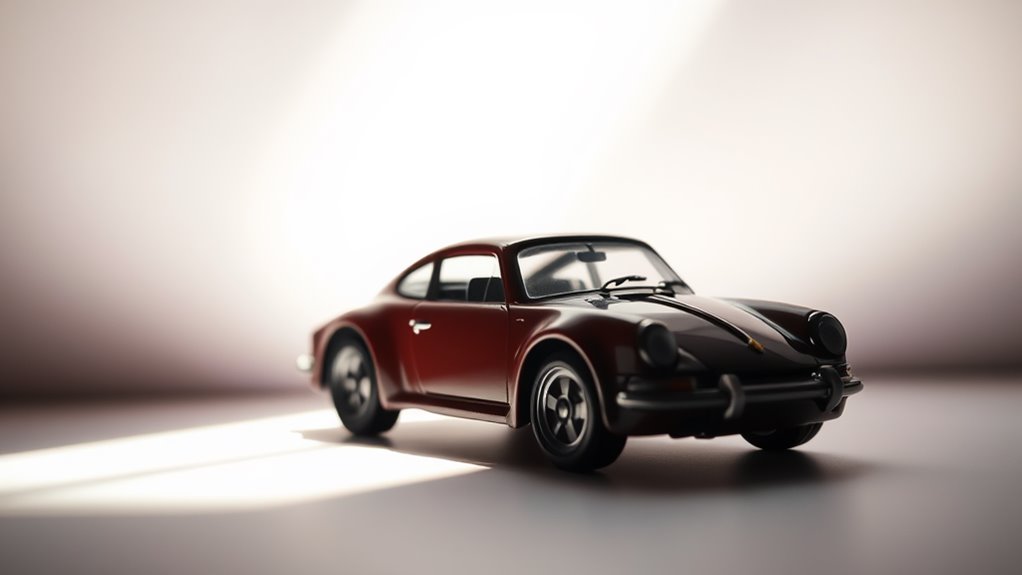
Using Reflectors to Enhance Toy Images
When you want to bring your toy photography to life, using reflectors can be a game changer. They help you manipulate light to create depth, highlight features, and add a professional touch to your images. By bouncing light onto your toys, reflectors can fill in shadows and reveal intricate details.
Start by positioning a reflector opposite your main light source. This setup will illuminate darker areas and emphasize textures, making your toys pop. You can use simple tools like white foam board or specialized collapsible reflectors. Experiment with angles to find the perfect balance of light.
Reflectors come in different colors—white, silver, or gold—each offering unique effects. White provides soft light, silver adds contrast, and gold gives a warm glow.
Balancing Ambient and Artificial Lighting
While capturing the perfect toy photo, balancing ambient and artificial lighting is key to achieving a natural yet striking image. Start by evaluating the available natural light. It sets the tone and mood, offering soft shadows or dramatic highlights. Next, introduce artificial lighting to fill in shadows or highlight details. Keep these tips in mind:
- Evaluate Your Scene: Determine if natural light suffices or needs enhancement. Observe how it interacts with your toy's features.
- Add Artificial Light: Use lamps or LED panels to fill shadows or emphasize certain parts. Adjust intensity to guarantee it complements the ambient light.
- Test and Adjust: Take test shots, reviewing the balance between ambient and artificial sources. Adjust positions and intensities as needed for perfect harmony.
Implementing Color Gels for Creative Results
Exploring the magic of toy photography doesn't stop at balancing light. Adding color gels can transform your scenes, creating vibrant and dramatic effects. By placing colored gels over your light sources, you can introduce hues that bring your toys to life, evoking emotions and setting distinct moods. Try using warm gels like orange and red for a cozy, nostalgic feel, or opt for cool blues and greens to suggest mystery or adventure.
Experimenting With Light Intensity and Distance
How can you elevate your toy photography with light intensity and distance? Start by exploring how various setups affect the mood and detail of your shots. Adjusting light intensity and distance can greatly alter your toy's appearance, adding depth and drama.
To experiment effectively, try these steps:
- Adjust Intensity: Use a dimmer or different bulbs to see how changing brightness highlights or softens features. A stronger light can create sharp contrasts, while a softer one offers a gentle glow.
- Vary Distance: Move your light source closer for a more focused effect or further away for a broader, softer illumination. This can emphasize or de-emphasize certain aspects of your toys.
- Observe Shadows: Notice how shadows change with adjustments. Shadows can add intrigue or create unwanted distractions.
Experiment and observe to perfect your craft!
Frequently Asked Questions
How Can I Prevent Lens Flare in Toy Photography?
To prevent lens flare, adjust your camera angle so it's not directly facing the light source. Utilize a lens hood or your hand to block unwanted light. You can also reposition your light source for better control.
What Are the Best Camera Settings for Capturing Vibrant Toy Colors?
You'll want to set your camera to a low ISO around 100-200, use an aperture of f/8 to f/11, and adjust your white balance to match the light source. Don't forget to shoot in RAW!
How Do I Choose the Right Background for Toy Photography?
When picking a backdrop, let your imagination paint the canvas. Consider your toy's personality and story. Choose colors and textures that sing in harmony with your subject, ensuring they don't steal the spotlight from your toy's charm.
What Are Common Mistakes to Avoid in Toy Photography Lighting?
You often overlook shadows, creating distracting elements. Avoid harsh direct light; it washes out details. Don't ignore color temperature; mismatched lighting can distort colors. Use diffused light to maintain consistency, highlighting your toy's features effectively.
How Can I Achieve a Soft Focus Effect in Toy Images?
Achieving a soft focus effect is ironically straightforward. You'd think it's complex, but just use a wide aperture and a shallow depth of field. Adjusting the distance between your toy and the camera helps too.
At a Glance
You've journeyed through the land of light, like a modern-day Prometheus, mastering the secrets of toy photography. With natural light's gentle touch and artificial sources' precision, you've woven magic. You've diffused, reflected, and balanced, casting dynamic shadows akin to a Renaissance painting. Backlighting and color gels have become your palette, and light intensity your brush. Now, armed with these techniques, you're ready to capture the essence of toys, breathing life into static figures.


