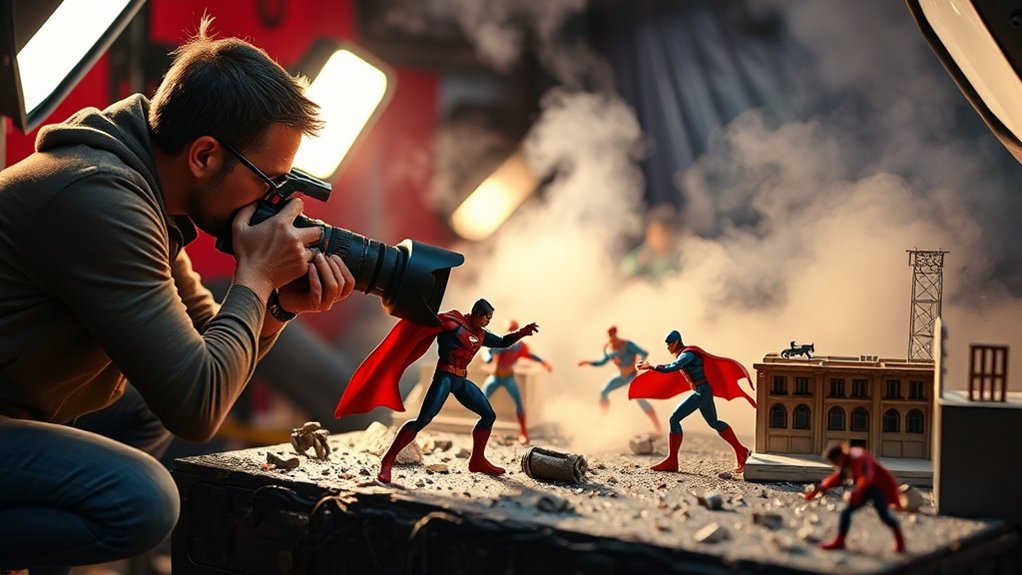
For an action-packed toy photo shoot setup, start by choosing figures that fit your story’s theme and have good articulation for dynamic poses. Next, craft a narrative that includes clear conflict and character motivations. Use lighting strategically with key and fill lights, and experiment with camera angles, like low angles for power. Enhance your images with post-processing by adjusting contrast and sharpening details. To uncover more inspiring details, explore further.
Choosing the Right Action Figures and Props
When setting up a toy photography action scene, how do you choose the right action figures and props? Start by considering the story you want your scene to tell. What characters fit best? Once you know that, pick figures that match the scene’s tone. Are you going for a heroic battle or a lighthearted adventure? Confirm the figures’ articulation allows for dynamic poses.
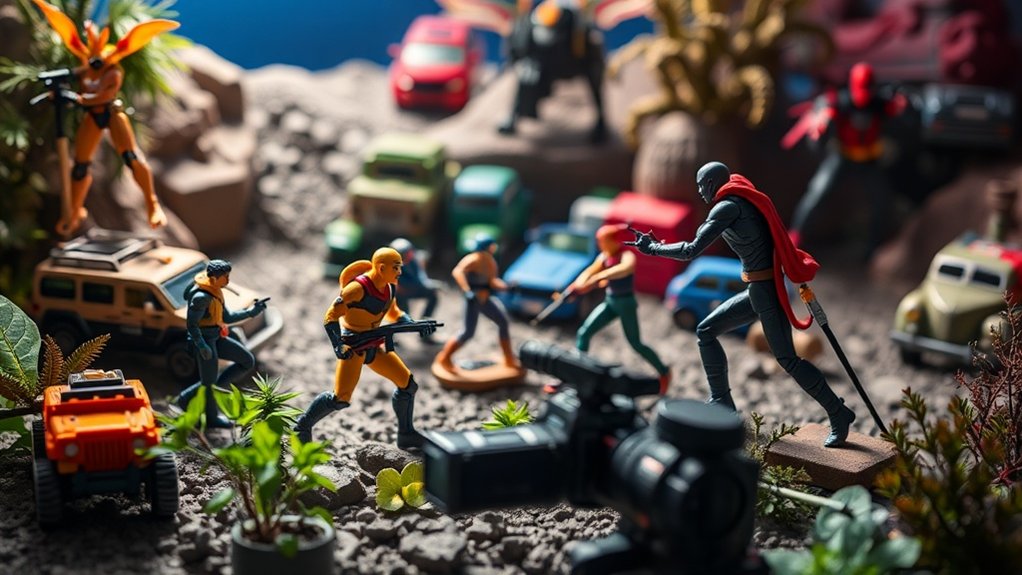
Next, think about the props. They’ll enhance the setting and context. Choose items that complement your figures without overshadowing them. Consider scale and detail; props should look realistic but not distract from the characters. Look around your home; you might find everyday objects that serve as perfect props. With the right combination, your scene will come to life vividly.
Crafting a Compelling Narrative
With the perfect figures and props in place, it’s time to breathe life into your scene by crafting a compelling narrative. Start by imagining a story that captivates your audience. What’s the conflict? Who’s the hero? Think about each character’s motivation and how they interact within the scene. Use your setup to depict a pivotal moment—an epic battle, a daring rescue, or a dramatic standoff.
Consider the emotional journey you’re conveying. Does the hero face an insurmountable challenge? Is there a twist that changes everything? Use props to enhance the story—an overturned chair could suggest chaos, while a spotlighted figure might symbolize triumph. By weaving a rich narrative, you’ll transform static figures into dynamic storytellers, engaging viewers and sparking their imaginations.
Mastering Lighting for Dynamic Effects
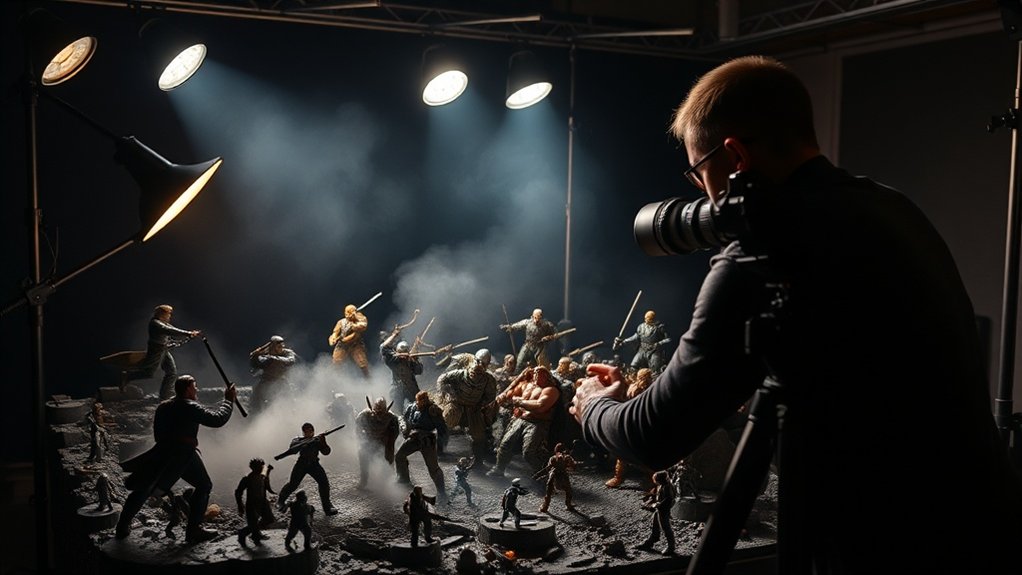
To elevate your toy photography, mastering lighting is essential for creating dynamic effects. Lights can transform an ordinary setup into a dramatic scene, highlighting details and creating mood. Start by using a key light to define your subject. Experiment with angles and intensity to see how shadows fall. Incorporate a fill light to soften harsh shadows and add depth. Don’t forget about backlighting to create striking silhouettes and enhance the scene’s mood.
Colored gels can add a unique flair, altering the atmosphere and drawing attention to specific areas. Use reflections and diffusers to control light spread and soften highlights. Practice different techniques to understand how light interacts with your toys. Mastering these elements will give your photos a enchanting, professional edge.
Perfecting Camera Angles and Composition
Capturing the perfect camera angles and composition in toy photography can profoundly impact the narrative you wish to convey. Begin by considering the story. Are your toys in an epic battle or a quiet moment? Decide what perspective best highlights this. Shooting from a low angle can make characters look powerful, while a high angle adds vulnerability. Don’t hesitate to experiment with various positions. Move your camera around the scene, exploring dynamic shots that might surprise you.
Think about the rule of thirds. Position your subjects off-center to create more engaging compositions. Frame elements deliberately; a tilted angle might suggest chaos, while symmetry brings balance. Look for lines and shapes that guide the viewer’s eye, enhancing the storytelling. Trust your instincts and keep refining your approach.
Post-Processing Tips for Enhanced Impact
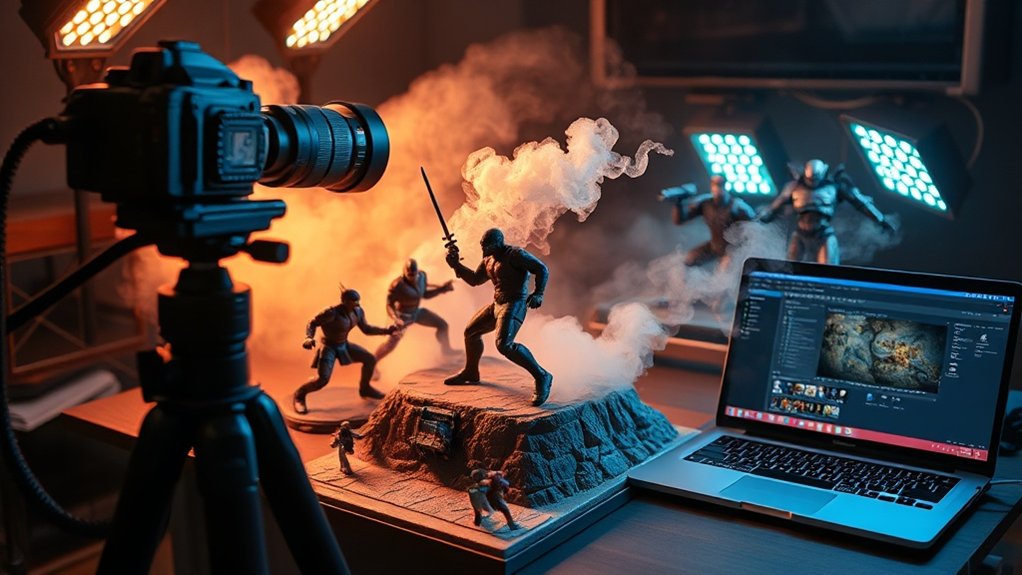
After capturing your toy scene, post-processing can elevate your photos from good to great. Start by adjusting the brightness and contrast to give your image more depth. Toys often have vibrant colors, so enhance these hues using the saturation and vibrance sliders. Be careful not to overdo it; subtle changes often look more realistic.
Next, sharpen the image slightly to accentuate details, especially if you’ve captured intricate textures. Use selective editing tools to draw attention to focal points, like a specific toy character, by applying a slight vignette or blurring the background. Don’t forget to crop your image to improve composition and remove distractions. Finally, experiment with filters to add mood, but always prioritize maintaining the authenticity of your action scene.
Frequently Asked Questions
How Long Does a Typical Toy Photography Action Scene Setup Take?
You might spend anywhere from 30 minutes to a few hours setting up a toy photography action scene. It depends on your complexity, lighting requirements, and props. Always allow extra time for adjustments and creative experimentation.
What Are the Common Challenges Faced During a Toy Photography Action Scene Shoot?
You’re battling a miniature battlefield! Lighting’s a rebellious sprite, props topple like dominoes, and capturing movement feels like herding ants. Your patience is tested, but conquering these challenges transforms your shoot into a masterpiece.
How Do You Ensure the Safety of Your Action Figures During a Shoot?
You guarantee your action figures stay safe by securing them with stands or wires, using soft surfaces to prevent damage, and double-checking your setup for stability. Always handle them gently to avoid breakage during adjustments or moves.
What Is the Best Way to Store Action Figures After a Shoot?
After a shoot, you should store action figures in individual compartments or Ziploc bags to prevent damage. Keep them in a cool, dry place away from direct sunlight. This helps preserve their condition and maintains their value.
How Can I Add Realism to the Action Scene Without Digital Editing?
Did you know 70% of realistic scenes rely on practical effects? Use props like miniature debris, dynamic lighting, and smoke to create depth. Arrange figures dynamically. Experiment with angles, ensuring your scene feels alive and believable.
At a Glance
You’ve journeyed through the world of toy photography, where action figures are your actors and your creativity is the director. With the right props, a gripping narrative, dynamic lighting, and perfect camera angles, you’ve built a stage where stories come alive. Post-processing is your final flourish, turning your photo into a masterpiece. Now, go capture your blockbuster scene, letting your imagination be the lens through which the smallest heroes make the biggest impact.


