To enhance your macro toy photography edits, focus on sharpening methods that capture intricate details without compromising authenticity. Use high-resolution sensors and macro lenses, and stabilize your camera with tripods. In post-production, try Lightroom’s and Photoshop’s sharpening tools for precision. Experiment with settings like Amount, Radius, and Masking to find the sweet spot. Remember, each image requires a tailored approach. As you explore further, you’ll discover techniques to balance detail with naturalness.
Understanding the Importance of Sharpness in Macro Toy Photography

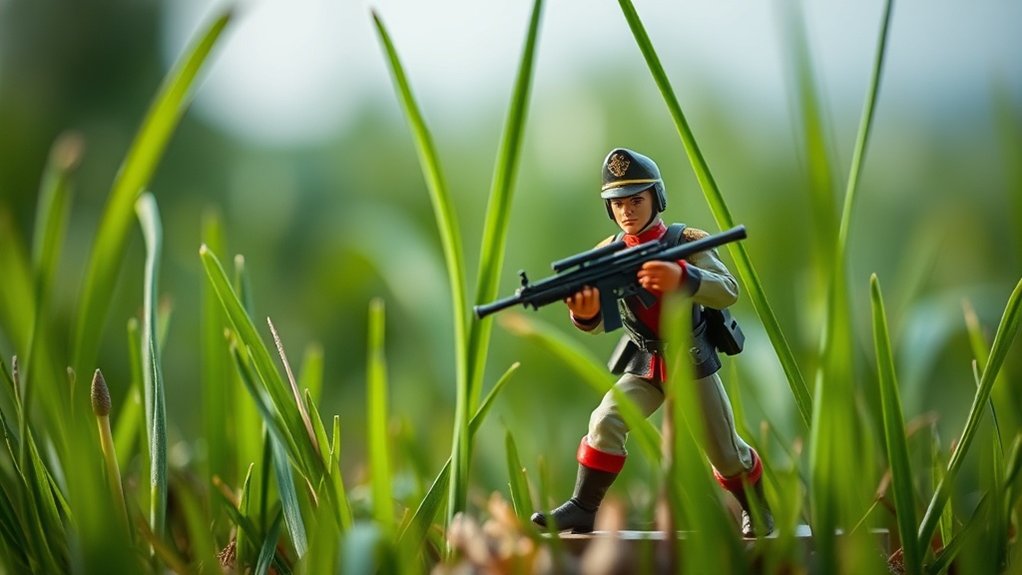
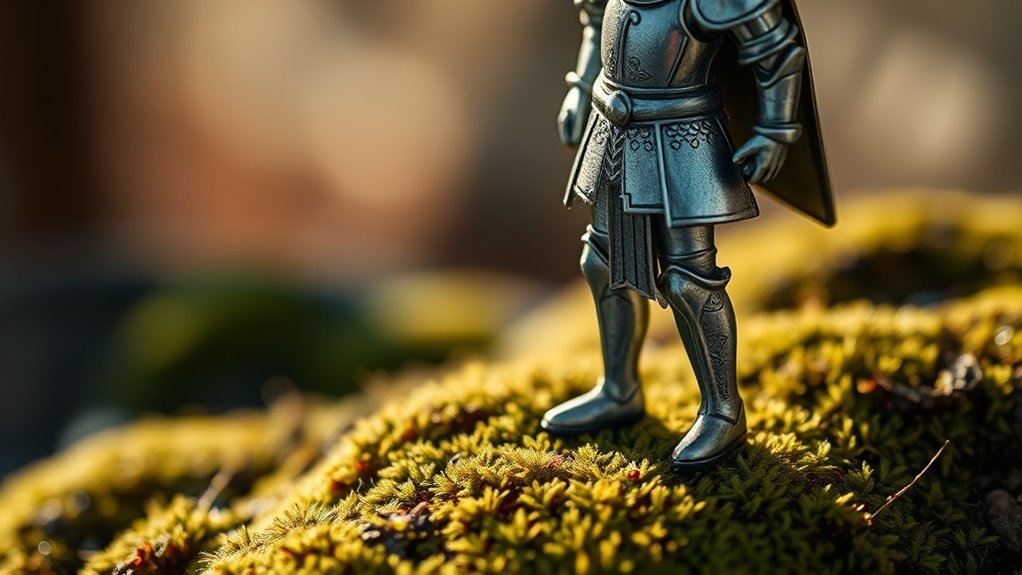
In macro toy photography, sharpness is key to capturing the intricate details that bring miniature scenes to life. You’ll find that clarity transforms your tiny subjects into enchanting stories. Every detail matters, from the expressions on a toy’s face to the textures in its clothing. By focusing on sharpness, you’ll guarantee these minute elements stand out, making your images more engaging.
To achieve this, pay attention to your focus techniques. Precise focusing highlights your subject, making it pop against the background. Don’t forget about your camera’s settings; a smaller aperture increases depth of field, bringing more of the scene into focus. Practice steady hands or use a tripod to minimize blur. Sharpness elevates your toy photography, turning small wonders into vivid narratives.
Choosing the Right Equipment for Optimal Detail
Selecting the right tools transforms your macro toy photography from ordinary to extraordinary. Begin by choosing a camera with a high-resolution sensor, which captures intricate details in every shot. Pair it with a dedicated macro lens, ideally with a focal length between 90mm and 105mm, to achieve stunning close-ups. Don’t overlook the importance of a sturdy tripod to eliminate camera shake and guarantee crisp images.
For lighting, consider a ring light or LED panel to illuminate your subject evenly, highlighting textures and features. A remote shutter release or using your camera’s timer can further reduce vibrations. Finally, invest in a focus rail for precise control over focus stacking. This setup guarantees you capture the finest details, making your toy photographs truly stand out.
Exploring Different Sharpening Techniques

To enhance the details in your macro toy photography, you can experiment with various sharpening techniques. Try using the High Pass Filter method to bring out intricate textures, or apply the Unsharp Mask for subtle clarity improvements. Don’t forget to adjust the Smart Sharpen settings for precise control over sharpness and noise reduction.
High Pass Filter Method
One effective way to enhance your macro toy photography is by employing the High Pass Filter method for sharpening. This technique lets you emphasize details without overdoing it. Begin by duplicating your image layer. Then, navigate to the “Filter” menu and select “Other” followed by “High Pass.” Adjust the radius slider until the toy’s edges are just visible, typically between 1-5 pixels. Hit “OK” and change the blending mode of the High Pass layer to “Overlay” or “Soft Light” for a more subtle effect. You’ll notice the details popping without increasing noise. If it’s too sharp, lower the layer’s opacity. This method effectively enhances textures, making your toys appear more defined and enchanting in your photos.
Unsharp Mask Application
Building on the precision achieved with the High Pass Filter, you might want to explore the Unsharp Mask technique for an alternative approach to sharpening your macro toy photography. Start by accessing the Unsharp Mask tool in your editing software. You’ll encounter three main sliders: Amount, Radius, and Threshold.
Adjust the Amount slider to control how much to increase contrast along the edges. A higher value makes the edges more pronounced. Next, tweak the Radius slider, which determines the size of the areas affected by sharpening. For macro toy shots, a lower radius often works best to maintain detail without over-sharpening. Finally, use the Threshold slider to specify which areas should be sharpened, helping to avoid unwanted noise in uniform areas.
Smart Sharpen Adjustment
When you’re ready to refine your macro toy photography further, consider leveraging the Smart Sharpen adjustment. This tool offers more control, allowing you to fine-tune your images with precision. Start by selecting “Smart Sharpen” under the “Filter” menu in Photoshop. You’ll notice options for Amount, Radius, and Reduce Noise. Adjust the Amount slider to define how much sharpening is applied. The Radius slider determines the pixel area affected, so use it carefully to avoid halos. Reduce Noise helps balance sharpening and noise reduction, essential for maintaining image quality. You can also choose from different Remove options like Gaussian Blur, Lens Blur, or Motion Blur, depending on your needs. Experiment with these settings to achieve the crispness your photos deserve.
Utilizing Adobe Lightroom for Precision Sharpening
Although macro toy photography demands a keen eye for detail, ensuring your images are sharp can make all the difference. Adobe Lightroom is a powerful tool to achieve precision sharpening. Start by importing your photo into Lightroom and head to the Develop module. Locate the Detail panel, where you’ll find the sharpening sliders. Increase the Amount slider to enhance overall sharpness, but be cautious not to overdo it. Use the Radius slider to control the size of the details being sharpened, and the Detail slider to fine-tune the sharpening effect on smaller textures. Finally, adjust the Masking slider while holding the Alt key to target sharpening only on edges. This prevents noise in smoother areas, maintaining a clean, crisp image.
Mastering Photoshop’s Sharpening Tools
While Adobe Lightroom provides a solid foundation for sharpening your macro toy photography, Adobe Photoshop offers advanced tools for those seeking more control. By mastering these tools, you can enhance the intricate details of your toy subjects with precision. Here’s how to get started:
- Unsharp Mask: Adjust the Amount, Radius, and Threshold sliders to fine-tune the sharpening effect, focusing on enhancing edges without overdoing it.
- Smart Sharpen: Utilize this tool to reduce noise while sharpening. It offers more precise control over shadows and highlights, allowing you to bring out subtle textures.
- High Pass Filter: Convert your image to a Smart Object, apply the filter, and adjust the blending mode to Overlay. This method enhances clarity without introducing halos or artifacts.
Master these techniques to elevate your macro toy photos.
The Role of Focus Stacking in Macro Photography
Capturing every intricate detail in macro photography can be challenging, but focus stacking is a technique that helps you achieve sharpness across your entire subject. When you’re shooting tiny toys, depth of field becomes critical since even slight movements can blur parts of your image. Focus stacking allows you to overcome this by combining multiple images taken at different focus distances. You can then merge these in post-processing software to create one image with uniform sharpness.
To start, shoot several images, adjusting the focus slightly each time. Make sure your camera remains steady, ideally using a tripod. Once you’ve captured the series, use editing software like Photoshop to align and blend them. With focus stacking, you’ll reveal details that single-focus images might miss, enhancing your macro toy photography.
Balancing Sharpness and Noise Reduction
When you’re aiming for crisp macro shots of tiny toys, striking the right balance between sharpness and noise reduction becomes vital. Enhancing sharpness without introducing excessive noise is essential for achieving professional results. To master this balance, consider these strategies:
- Use Layer Masks: Apply sharpening selectively to avoid amplifying noise in smooth areas. This technique allows you to maintain texture where needed while keeping backgrounds smooth.
- Adjust Noise Reduction Settings: Fine-tune noise reduction sliders to address graininess without compromising detail. Start with mild settings and increase only if necessary.
- Experiment with Software Tools: Different editing software offers unique tools for tackling noise and sharpness. Explore features like Lightroom’s Detail Panel or Photoshop’s Smart Sharpen to find what works best for your images.
Sharpening for Print vs. Digital Display
Although the final destination of your macro toy photos influences your sharpening approach, understanding the differences between print and digital display is essential. For print, you’ll want to enhance details more aggressively. Printed images often lose some sharpness due to the ink absorption and dot gain, so boosting sharpness guarantees clarity and detail in physical form. Be mindful of the resolution and size to guarantee ideal results.
In contrast, digital display requires a subtler touch. Screens display images with backlighting, which can exaggerate sharpness. Over-sharpened digital images might look harsh or unappealing. Focus on optimizing your photos for specific screen resolutions and consider how different devices might render them. Tailoring your sharpening strategy to the medium guarantees your macro toy photos always look their best.
Avoiding Over-Sharpening and Its Pitfalls
While it might be tempting to crank up the sharpness for that extra detail, over-sharpening can quickly lead to a range of issues in your macro toy photography. It can make your images look unnatural and distract from the intended focus. Here are some pitfalls to watch out for:
- Halo Effects: When you over-sharpen, halos can form around the edges of your subject, distracting the viewer and reducing the image’s authenticity.
- Noise Amplification: Over-sharpening can exacerbate noise, making your photo look grainy, especially in the shadow areas.
- Loss of Detail: Ironically, too much sharpening can actually obscure fine details, making textures appear harsh and losing the subtlety that makes macro photography special.
Incorporating Creative Sharpening Techniques
To elevate your macro toy photography, creative sharpening techniques can add that extra touch of brilliance without compromising the natural look of your images. Start by experimenting with localized sharpening. Use tools like the brush tool in your editing software to selectively enhance areas that draw focus, such as the eyes of a toy figure. This technique guarantees clarity where it matters most, amplifying the subject’s charm.
Next, try high-pass filtering. Duplicate your image layer, apply a high-pass filter, and set the blending mode to overlay or soft light. This method enhances edges without creating harsh lines, maintaining a balanced look. Remember, subtlety is key. Each tweak should enhance the scene, inviting viewers to explore details without overwhelming them.
Frequently Asked Questions
What Common Mistakes Should Beginners Avoid in Macro Toy Photography?
You should avoid using harsh lighting, which creates unwanted shadows. Don’t forget to stabilize your camera to prevent blur. Avoid cluttered backgrounds that distract from the subject. Also, resist overediting, which can make your images look unnatural.
How Does Lighting Affect Sharpness in Macro Photography?
Lighting plays an essential role in macro photography sharpness. You should guarantee your subject is well-lit to minimize shadows and highlight details. Avoid harsh lighting, as it can create unwanted reflections, affecting the overall sharpness of your image.
Can Smartphone Cameras Capture Sharp Macro Toy Photos?
Yes, your smartphone can capture sharp macro toy photos. Make certain good lighting and steady hands. Use manual focus and macro settings if available. Experiment with angles for the best shot. Smartphones have come a long way!
What Post-Processing Software Works Best With RAW Images?
Why not use Adobe Lightroom for your RAW images? You’ll find its powerful editing tools enhance clarity and detail. Capture One’s another great option, offering precise color adjustments. Try both and see which fits your style!
How Do I Maintain Sharpness When Resizing Images for Web Use?
When resizing images for web use, you’ll want to maintain sharpness by using the “bicubic sharper” option in your editing software. Always resize as the last step and apply a slight unsharp mask for crisp results.
At a Glance
Think of sharpening in macro toy photography like tuning a guitar. Just as a musician adjusts each string to achieve harmony, you balance sharpness and noise to create a fascinating image. Remember the first time you heard a perfectly tuned chord? That’s the feeling you want your viewers to have when they see your photo. By mastering tools like Lightroom and Photoshop, you’ll guarantee your images strike the right chord, whether for print or digital display.


