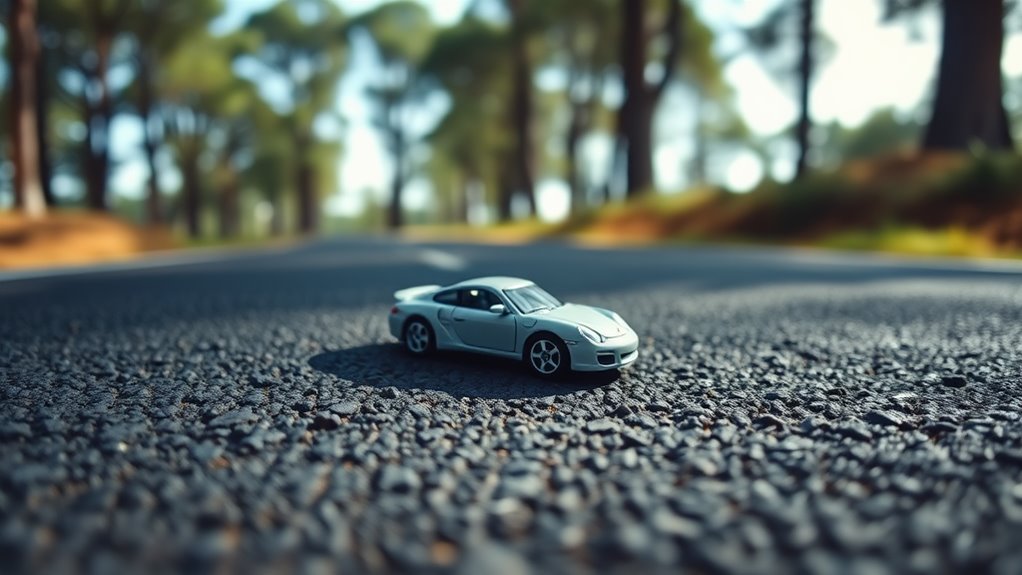
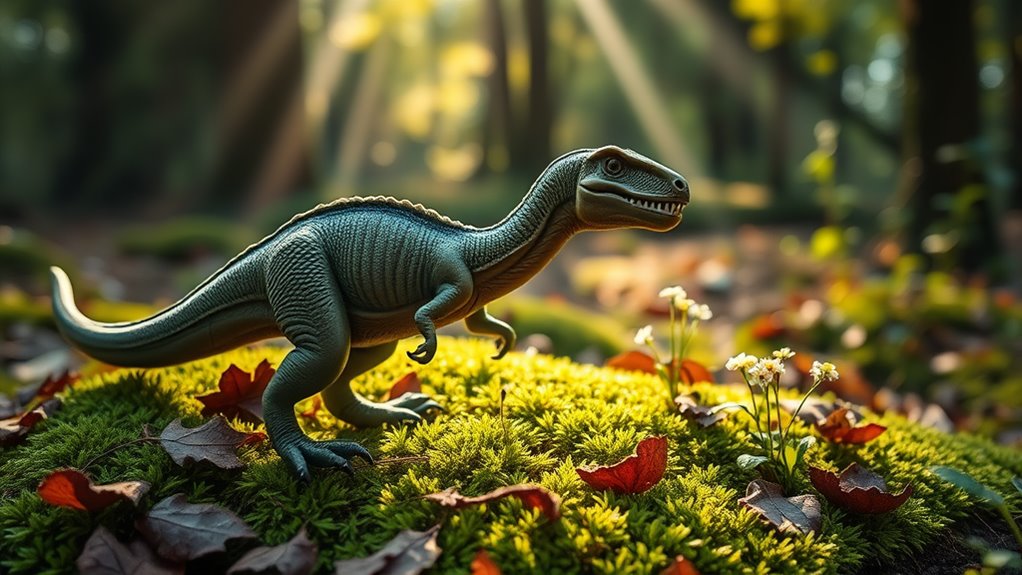
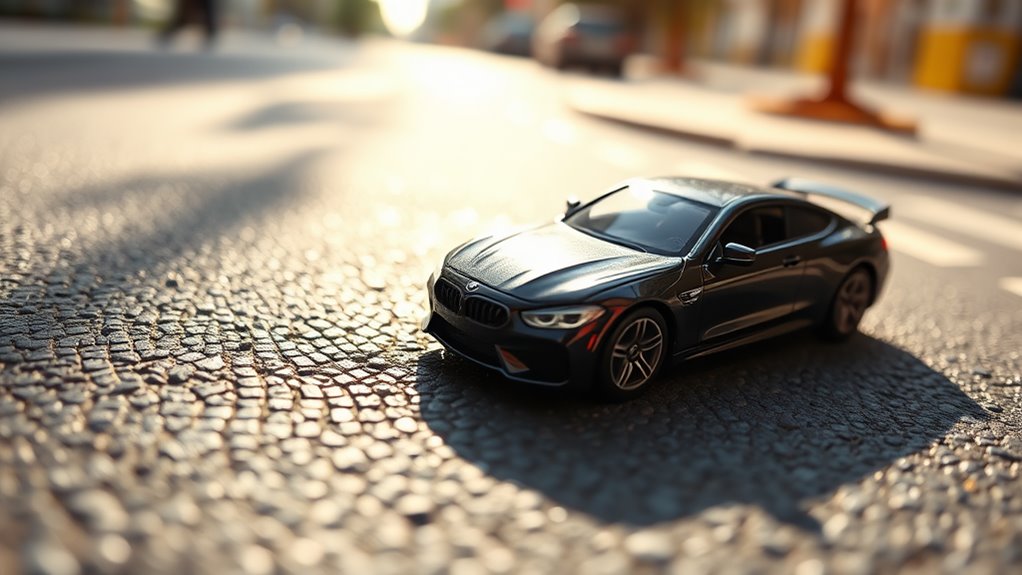
To create realistic toy photography scenes, start by mastering lighting and shadows; experiment with natural light or use artificial sources for versatility. Choose backgrounds wisely to complement the toy's theme. Play with perspective and scale by adjusting camera angles and distances to transform compositions. Enhance details in post-processing with tools that adjust brightness and color. Finally, incorporate natural elements for authenticity. Explore these techniques further to bring your toy photography to life.
Mastering Lighting and Shadows
When capturing toy photography, mastering lighting and shadows is essential for creating dynamic and compelling images. You'll want to focus on how light interacts with your toys to bring them to life. Start by experimenting with natural light; it's your best friend. Position your toys near a window during the golden hour for soft, flattering illumination. Don't be afraid to play with artificial lights too. A desk lamp can serve as a versatile light source. Angle it to cast interesting shadows and highlight your toy's features. Reflectors, like a simple piece of white paper, can help bounce light and reduce harsh shadows. Always observe how these changes affect the mood and realism of your scene. Practice makes perfect!
Creating Depth With Backgrounds
To create depth in your toy photography, consider how backgrounds can add layers and context to your scene. A well-chosen background can transform a simple shot into a fascinating image by providing a sense of place and storytelling. Select backgrounds that complement your toy's theme, using colors and textures that enhance the subject. You can use natural settings, like a garden or park, to create a realistic environment. Alternatively, craft custom backgrounds with materials like paper or fabric to match your vision. Make sure the background doesn't overshadow the toy; it should enhance, not distract. Experiment with different distances between the toy and background to see how it affects the depth of field, adding more dimension to your photos.
Utilizing Perspective and Scale

How can you make your toy photography stand out with just a little shift in perspective? By playing with perspective and scale, you can transform ordinary toy scenes into enchanting compositions. Start by changing your camera angle. Get low to the ground or shoot from above to create dramatic effects. This shift can make toys appear larger-than-life or emphasize their miniature charm.
Use foreground and background objects to enhance scale. Placing real-world items like plants or furniture can trick the eye into believing they're part of a life-sized scene. Experiment with distance; placing toys closer to the lens makes them appear bigger, adding depth and intrigue. Remember, subtle adjustments can dramatically alter perception, bringing your toy photography to life in unexpected ways.
Enhancing Details With Post-Processing
Even after capturing the perfect shot, your toy photography can benefit from the magic of post-processing to truly shine. Start by adjusting the brightness and contrast to highlight your toy's features. Use sharpening tools to bring out fine details, like textures on clothing or facial expressions. Don't forget to enhance colors; vibrant hues can make your toys pop. Experimenting with different filters can also add a unique touch to your images, giving them a customized feel. For those looking to take their work to the next level, incorporating macro toy photography techniques allows for stunning close-up shots that reveal intricate details often overlooked. This level of focus can transform ordinary pictures into extraordinary works of art, captivating viewers with every shot.
Experiment with shadows and highlights to add depth, making your scene more dynamic. A gentle vignette can focus attention on your subject. If your image needs retouching, use healing tools to remove dust or minor imperfections. Remember, subtlety is key; over-editing can make your image look unnatural. With these enhancements, your toy photography will transform from good to stunningly realistic.
Incorporating Natural Elements

While capturing toy photography indoors offers control, stepping outside to incorporate natural elements can add an authentic touch to your scenes. Nature provides a rich backdrop, enhancing your toy's story with real-world textures and lighting. Start by observing your surroundings. Look for elements like rocks, grass, or water that can create dynamic settings. Use sunlight for natural highlights and shadows, giving your toys an immersive feel. Experiment with different times of day; the golden hour offers soft, warm tones, while midday light can be harsh but dramatic. Don't hesitate to get low to the ground for unique angles. Remember, nature's unpredictability can be your ally, bringing unexpected depth and realism to your toy photography. Embrace it, and watch your scenes come alive.
Frequently Asked Questions
What Camera Settings Work Best for Toy Photography?
You'll want to use a small aperture for great depth of field, a low ISO to avoid grain, and adjust your shutter speed based on lighting. Don't forget to set white balance to match your lighting source.
How Do I Choose the Right Props for Toy Scenes?
Choose props that complement your toy's theme and scale. Consider the story you want to tell and select items enhancing realism. Use natural materials or DIY options, ensuring they don't overpower the main subject.
What's the Best Way to Transport Toys for Photography?
You should pack toys in a padded bag to prevent damage. Use small compartments or cases to separate them. Keep accessories organized in labeled containers. Always double-check you've packed everything before heading out for your shoot.
How Can I Prevent Toys From Falling Over During Shoots?
When gravity's being unkind, use tacky putty or hidden supports to keep your toys steady. Adjust their posture carefully, ensuring balanced poses. Clever angles and a touch of patience will help you capture those perfect shots.
What Are Some Tips for Photographing Toys Indoors?
Use natural light from windows and avoid harsh shadows. Experiment with different angles and backgrounds for variety. Use a tripod for stability. Adjust your camera settings for indoor lighting, and consider using a reflector for balanced illumination.
At a Glance
In toy photography, you're like a wizard crafting your own miniature world. Master the art of lighting and shadows, as if you're painting with light. Create depth using backgrounds, much like a stage set for a play. Play with perspective and scale to trick the eye, reminiscent of Alice's adventures. Enhance details in post-processing, polishing your creation. Finally, incorporate natural elements, connecting your tiny universe to the grand tapestry of life. Your toys await their story.


