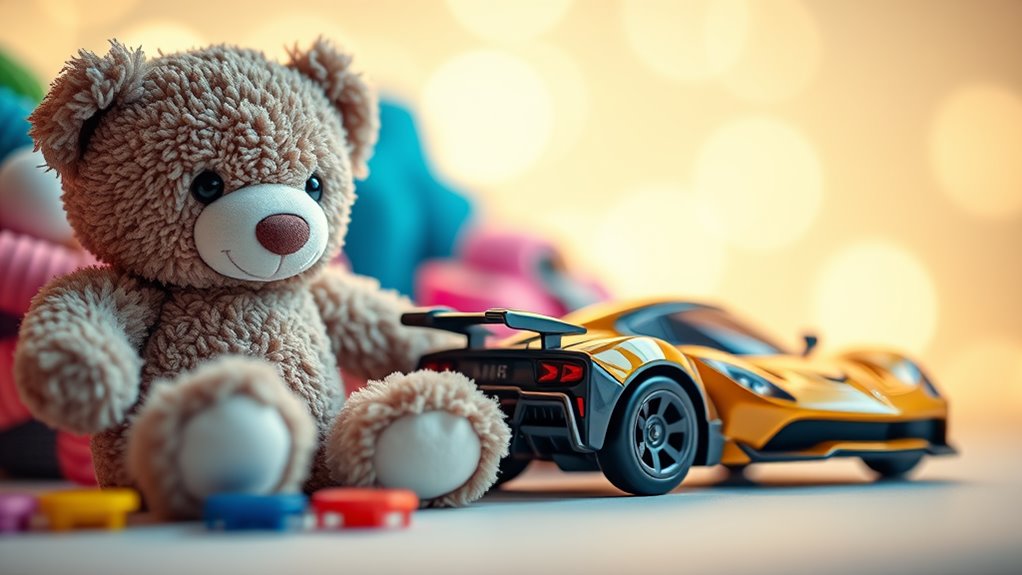
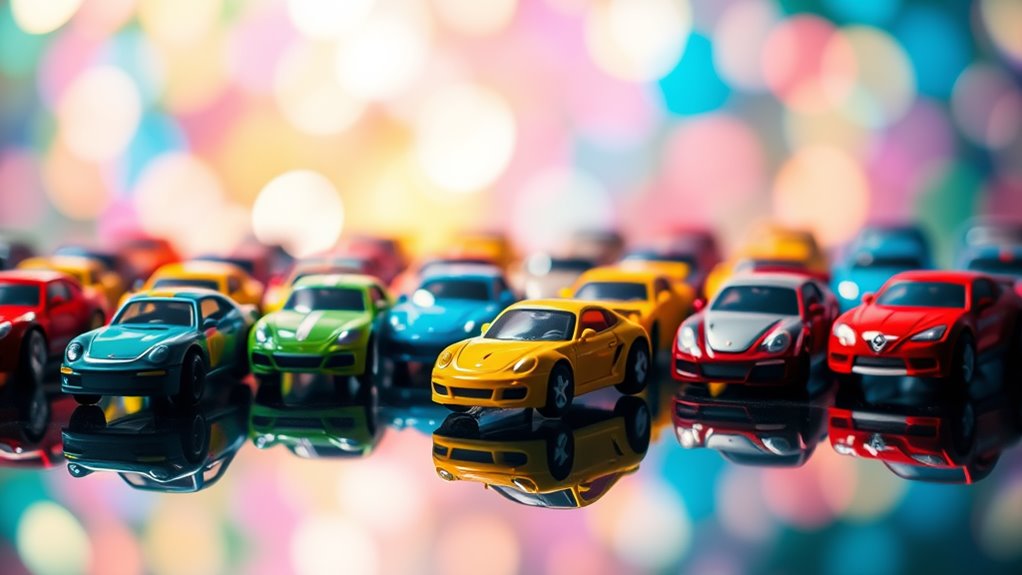
To create vibrant toy photos, boost color saturation carefully to avoid unnatural hues and sharpen edges for intricate detail. Adjust lighting and contrast to highlight features without losing details. Crop to focus on the toy using the rule of thirds for dynamic composition. Remove distractions with background tools and correct distortions for a professional look. Experiment with filters for a playful effect, and smooth out imperfections. There's more to explore for mastering the perfect toy photo.
Enhancing Colors for Vibrancy
When editing toy photos, enhancing colors for vibrancy can dramatically transform the final image. You'll want to start by selecting a good editing software that allows for fine-tuning. Boost the saturation slightly to make colors pop, but be careful not to overdo it, or the image might look unnatural. Adjust the hue to guarantee each toy keeps its original color tone. Pay attention to the contrast, as it can help separate colors, making each toy stand out more.
Experiment with the vibrance tool, which enhances less saturated colors without affecting the already vivid ones. This maintains a natural look while still making the image lively. Remember, subtle tweaks often make the biggest difference when you're aiming for that perfect, eye-catching photo.
Adjusting Lighting and Shadows
To enhance toy photos further, adjusting lighting and shadows can make a significant impact. Begin by evaluating your image's current lighting. Does it highlight the toy's best features, or are there harsh shadows obscuring details? Use editing software to tweak the brightness and contrast. Increase brightness to reveal hidden details and reduce it to add depth. Adjust shadows to create a dynamic look, but be cautious not to overdo it, which might lead to an unnatural appearance.
Use the dodge and burn tools to target specific areas for more refined control. Dodging can lighten darker areas, improving visibility, while burning enhances shadows, adding dimension. Always zoom in to see how these changes affect the toy's textures and details, ensuring a polished result.
Cropping for Better Composition

When you crop your toy photos, you can enhance the focus on the main subject by eliminating distractions. This technique lets you remove unwanted elements that might draw attention away from the toy. By carefully crafting your composition, you'll create a more engaging and visually pleasing image.
Enhance Subject Focus
While capturing toy photos, focusing on your subject is key to creating compelling images. Cropping can profoundly enhance this focus by eliminating distractions and honing in on what truly matters. Start by identifying the main subject of your photo and consider how much surrounding space it needs to stand out. A tighter crop might accentuate details, while a wider one could highlight context.
Experiment with different compositions. Use the rule of thirds to place your toy off-center, adding a dynamic touch. This technique draws the viewer's eye naturally towards the subject. Confirm the crop maintains balance and harmony, keeping the viewer engaged. Remember, the goal is to guide the viewer's attention directly to your toy, making it the star of the shot.
Remove Unwanted Elements
Although editing toy photos might seem straightforward, removing unwanted elements is crucial for improving composition. By cropping out distractions, you can focus attention on the toy, making the subject pop. Here's how to achieve a cleaner, more engaging image:
- Identify distractions: Look for items in the background that draw attention away from the toy.
- Use the rule of thirds: Align the toy along the grid lines to enhance its prominence.
- Crop tightly: Embrace close crops to eliminate unnecessary space and highlight details.
- Mind the edges: Ascertain the toy isn't awkwardly cut off or too close to the border.
- Experiment with angles: Sometimes, a slight rotation can remove unwanted elements without heavy cropping.
Removing Unwanted Background Elements
To enhance your toy photos, start by selecting the right background removal tools, such as lasso or magic wand options, to easily cut out distracting elements. Focus on refining the edges to maintain a realistic look, ensuring the toy doesn't appear artificially placed. With these techniques, you'll make your toys the true stars of the image.
Selecting Background Removal Tools
When editing toy photos, choosing the right background removal tools is essential to achieving a polished final image. You need tools that are efficient, precise, and user-friendly, ensuring your toy stands out without distractions. Start by exploring different software options that offer robust background removal features. Consider the following:
- Magic Wand Tool: Quickly selects large areas of similar color, perfect for simple backgrounds.
- Lasso Tool: Provides flexibility for manually selecting intricate shapes around toys.
- Quick Selection Tool: Intuitive and easy to use for capturing edges with minimal effort.
- Background Eraser Tool: Ideal for removing specific background details while preserving toy edges.
- AI-powered Tools: These utilize advanced algorithms to automate background removal, saving you time.
Choose tools that match your comfort level and project complexity.
Refining Edges for Realism
Achieving realism in toy photos requires precise edge refinement to eliminate any unwanted background elements. Start by zooming in on the edges of your toy to guarantee you've captured every detail. Use a soft brush tool with a low opacity in your photo editing software to gently erase distracting background pieces. This technique helps maintain the toy's natural contours and prevents harsh cut lines.
Next, apply feathering to soften the edges further, creating a seamless blend between the toy and its environment. Don't hesitate to use the clone stamp tool for tricky areas, duplicating nearby textures to fill gaps naturally. Finally, take a step back and review your work. A critical eye guarantees you haven't missed any stray elements, keeping the focus on the toy itself.
Using Filters for Creative Effects
While editing toy photos, using filters can transform ordinary images into extraordinary works of art. Filters allow you to infuse creativity and mood into your shots effortlessly. Experimenting with different effects can give your toys a new dimension and personality. Here's how you can make the most of filters:
- Vintage: Add a nostalgic feel that transports viewers back in time.
- Black and White: Highlight contrasts and textures by stripping away color.
- Sepia: Impart a warm, classic look reminiscent of old photographs.
- HDR: Enhance dynamic range for vivid, eye-catching visuals.
- Pop Art: Use bold colors to create a playful, comic-book style.
Sharpening Details for Clarity
When you're editing toy photos, sharpening details can make a big difference in how the textures and fine lines stand out. By focusing on enhancing these elements, you'll highlight the toy's key features, making them pop in your images. Don't overlook this step, as it brings clarity and depth to your photos.
Enhancing Toy Textures
To bring toy photos to life, focusing on enhancing textures can make a striking difference. By sharpening details, you can elevate the overall clarity, making each toy's unique characteristics pop. Start by adjusting the clarity and contrast settings in your editing software. This highlights surface textures and adds depth. Next, use the sharpening tool to bring out intricate details without overdoing it. Remember, subtlety is key.
Here are some practical steps to enhance toy textures:
- Adjust Clarity and Contrast: Accentuates textures and adds dimension.
- Use Sharpening Tools: Carefully enhance details without causing noise.
- Experiment with Lighting: Adjust highlights and shadows for texture emphasis.
- Apply Texture Filters: Selectively enhance specific areas.
- Zoom In for Precision: Focus on small areas to refine textures effectively.
These techniques will transform your toy photos.
Focus on Fine Lines
Sharpening the fine lines in your toy photos elevates them from good to great by enhancing clarity and detail. To achieve this, begin by adjusting the sharpening settings in your chosen photo editing software. Focus on the edges and intricate details of the toys, as these are areas where sharpening makes a difference. Don't overdo it, though—too much sharpening can lead to unwanted noise or halos around the edges.
Zoom in to your image and work at a detailed level, applying sharpening selectively. Consider using tools like unsharp mask or high pass filter, which allow more control over the sharpening process. Always preview your changes at 100% zoom to guarantee the details look natural. This attention to fine lines guarantees your toy photos stand out with precision and clarity.
Highlighting Key Features
Capturing the essence of your toy photos involves more than just focusing on fine lines; it's about highlighting key features that make your subject unique. Sharpening details adds clarity and depth, drawing the viewer's attention to the most intriguing aspects of your toy. Start by adjusting the sharpness to emphasize textures and intricate designs. Use contrast carefully to make features stand out without overwhelming the image.
Here's how you can enhance those elements:
- Increase Sharpness: Fine-tune to avoid over-sharpening.
- Adjust Contrast: Balance to highlight without losing detail.
- Use Selective Focus: Direct attention to specific areas.
- Enhance Textures: Accentuate materials and patterns.
- Refine Edges: Guarantee clean lines for a polished look.
With these tips, your toy photos will truly shine.
Balancing Contrast and Brightness
When editing toy photos, balancing contrast and brightness is key to making your images pop. Start by adjusting the brightness to guarantee that your image isn't too dark or too light. You want to create a natural look that highlights the toy's details without washing them out. Once you've achieved the right brightness, focus on contrast. Increasing contrast can enhance textures and colors, making the toy stand out more against the background. However, be careful not to overdo it, as excessive contrast can lead to loss of detail. Use sliders in your editing software to find the perfect balance. Remember, each photo is different, so take a moment to adjust according to the toy's specific colors and textures.
Correcting Perspective and Distortion
Even the most well-composed toy photos can suffer from perspective issues and distortion, particularly if you're using wide-angle lenses. To create a more realistic scene, it's essential to correct these problems. Begin by identifying the distorted areas, often around the edges of your photo. Use editing software like Lightroom or Photoshop to manually adjust the perspective. Pay attention to lines that should be straight; correcting these can vastly improve your image. Here are some tips:
- Use the "Transform" tool to straighten lines.
- Adjust the vertical and horizontal sliders for balance.
- Apply lens correction profiles specific to your camera.
- Zoom in to check for any remaining distortions.
- Practice frequently to enhance your skills.
Correcting perspective will make your toy photos look more professional and appealing.
Adding Textures for Depth
Although toy photos can be engaging in their own right, adding textures can considerably enhance the depth and realism of your images. Start by selecting textures that complement the scene, like wood grain or fabric patterns, to create a more immersive environment. Use editing software to overlay these textures onto your image. Adjust opacity and blending modes to guarantee they integrate naturally without overpowering the subject. Focus on areas that benefit from added detail, like the background or foreground, to draw attention to your toys. Experiment with various textures to find what best suits your image's mood and theme. Remember, subtlety is key—textures should enhance, not distract. By carefully selecting and applying textures, you'll achieve a more dynamic and enthralling photo.
Retouching Small Imperfections
Capturing toy photos with precision can be challenging, yet retouching small imperfections guarantees that your images look polished and professional. Begin by examining your photo for any minor flaws—dust, scratches, or unwanted shadows can distract from the overall appeal. Use editing software to make subtle adjustments that enhance the toy's features without overdoing it. Focus on: Consider adjusting the brightness and contrast to bring out the toy’s colors, ensuring they pop against the background. Additionally, sharpening the image can help highlight fine details, making the toy appear more lifelike. Mastering essential photo editing techniques will elevate your toy photography and ensure your captures stand out in any collection.
- Cloning and healing tools: Remove dust and scratches effortlessly.
- Brightness and contrast: Adjust for better definition and clarity.
- Color correction: confirm the toy's colors pop and stay true to life.
- Sharpness: Enhance details to make the toy stand out.
- Background cleanup: Eliminate distractions to center attention.
Each tweak makes a difference, so take the time to refine your images, confirming every detail is perfect.
Frequently Asked Questions
What Are the Best Tools for Editing Toy Photos on a Smartphone?
You want the best tools for editing toy photos on your smartphone? Try Snapseed for precise edits, Lightroom for advanced features, and VSCO for creative filters. They're user-friendly, giving you professional results without the need for a computer.
How Can I Ensure My Toy Photos Look Consistent Across Social Media Platforms?
To guarantee consistency, use the same filters and lighting across all platforms. Stick to a color palette and adjust the brightness and contrast uniformly. Regularly check how your photos appear on different devices to maintain quality.
What Resolution Should Toy Photos Be for Printing?
Think of resolution as the heartbeat of your printed photos. For crisp toy prints, use at least 300 DPI. This guarantees sharp, detailed images that won't blur, capturing every detail vividly for your audience.
How Do I Prevent Noise in Low-Light Toy Photography?
To prevent noise in low-light toy photography, lower your ISO and use a tripod for stability. Increase exposure time to let more light in, and use a remote shutter release to avoid camera shake.
What Are Some Tips for Staging Toy Photos Creatively?
Experiment with different backgrounds and props to create engaging scenes. Use natural light creatively, and play with angles to add depth. Don't hesitate to incorporate movement or storytelling elements to make your toy photos more enthralling. Consider experimenting with post-processing to enhance colors and details, which can elevate your images significantly. As you refine your skills, take the time to study and master toy photography techniques that will set your work apart from the rest. Lastly, remember that practice is key; the more you shoot, the more you’ll develop your unique style.
At a Glance
In the world of toy photography, your creativity is the magic wand that transforms ordinary shots into enchanting stories. By enhancing colors and adjusting lighting, you're painting with light. Cropping and correcting perspective guarantee your composition is spot-on, like a well-placed puzzle piece. Don't shy away from using filters and textures to add depth and intrigue. With these tips in your toolkit, you're ready to turn every click into a masterpiece, bringing toys to life.


