To manage reflections in toy photography, identify glossy surfaces on toys or props and adjust camera angles to control unwanted glare. Utilize diffusers to soften shadows and avoid harsh light, and employ reflectors to enhance lighting effects. Attach a polarizing filter to your lens for better contrast and saturation, rotating it for ideal reflection control. By experimenting with camera positions and lighting setups, you can capture engaging images. Stay tuned to uncover more techniques.
Understanding the Impact of Reflections in Toy Photography
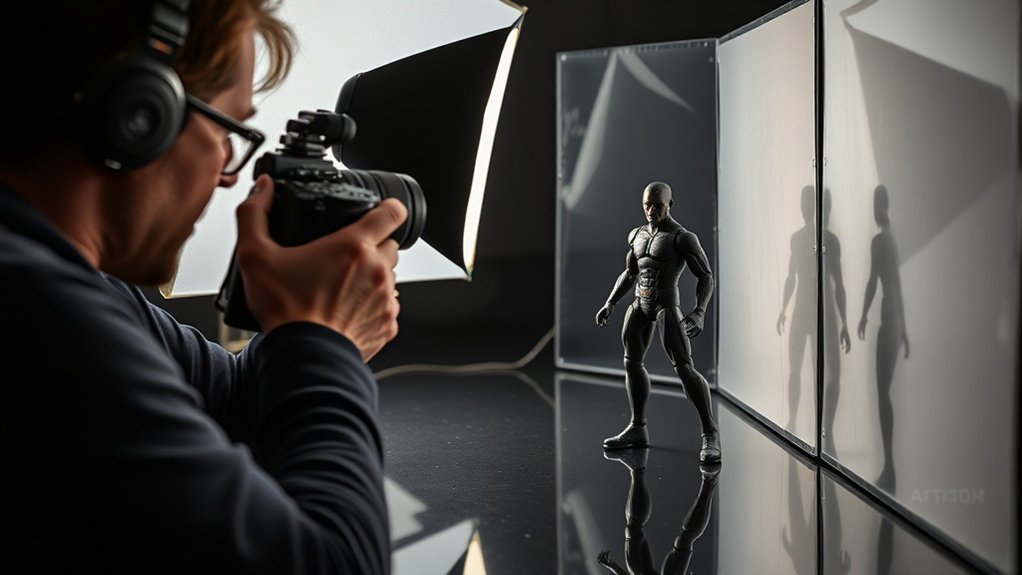
When you explore toy photography, understanding reflections can greatly elevate your work. Reflections add depth and dimension, making your shots more enchanting. To harness their power, first, identify reflective surfaces like glossy toys or shiny props. Position your camera to capture these reflections, creating a mirror effect that enhances realism. Be mindful of unwanted reflections, such as those of your equipment or yourself, as they can distract. Use angles wisely to either highlight or minimize these reflections. Experiment with backgrounds that complement or contrast the reflected image, adding interest to your composition. Remember, reflections can tell a story within your photograph, drawing viewers in and sparking their imagination. With practice, you’ll master this technique and transform your toy photography.
Choosing the Right Lighting Setup
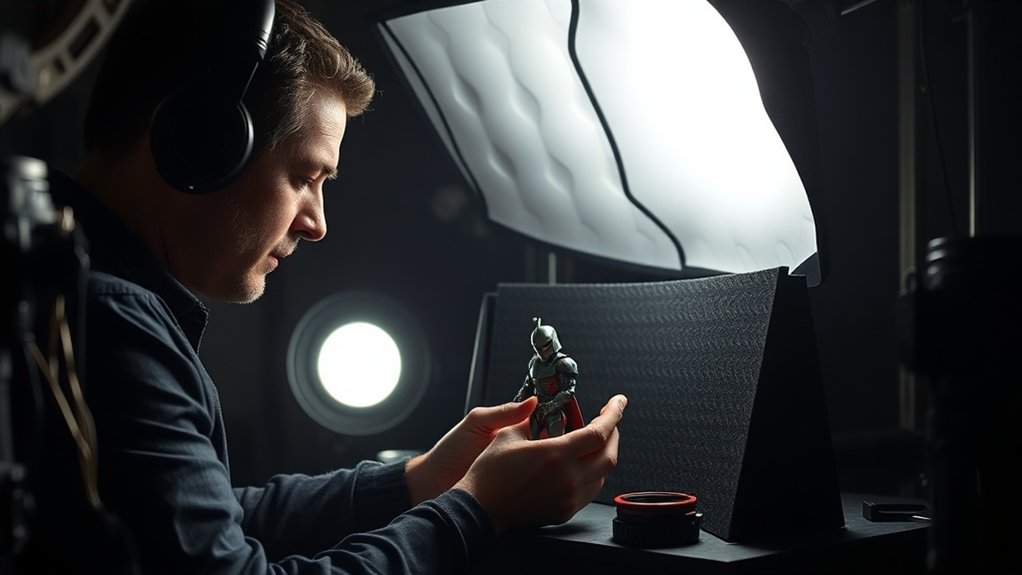
How do you create the perfect lighting setup for toy photography? Start by evaluating your environment and available light sources. Natural light is excellent, offering soft, even illumination, but it can be unpredictable. If you’re indoors, consider using a combination of lamps or LED panels. Position them to avoid harsh shadows and reflections on your figures.
Experiment with angles; side lighting can add depth, while front lighting minimizes shadows. Adjust the distance between the light and your subject to control intensity. Use a consistent white balance setting on your camera to keep colors true. Don’t forget to turn off any overhead lights that might cast unwanted reflections.
Utilizing Diffusers and Reflectors
When setting up your toy photography shot, you’ll want to think about where to place your diffusers to soften shadows effectively. Choosing the right material for your reflectors is essential, as different surfaces can alter the light’s quality and intensity. By balancing these elements with your existing light sources, you can achieve the perfect lighting for your scene.
Diffuser Placement Techniques
Mastering diffuser placement techniques in toy photography can dramatically elevate your shots. By controlling light, you’ll minimize harsh reflections and enhance your figures’ details. Start by evaluating your light source’s position. Place the diffuser between the light and your subject to soften shadows. Adjust the distance to balance the light spread and intensity. Experiment with angles to achieve your desired effect. Here are some quick tips:
- Overhead Diffuser: Use for even light distribution, reducing top-down shadows.
- Side Diffuser: Perfect for adding depth and dimension by maintaining some shadows.
- Close Proximity: Increases softness; ideal for close-up shots.
- Farther Placement: Provides broader light coverage, great for larger scenes.
Practice these techniques to gain confidence in creating beautifully lit toy scenes.
Reflector Material Choices
Reflectors play an essential role in enhancing toy photography by bouncing light onto your subject, complementing the effects of diffusers. Choosing the right material for your reflector can dramatically impact your results. You can opt for silver reflectors to create bright, crisp highlights, perfect for adding a dynamic touch to your toy figures. Alternatively, white reflectors offer a softer, more natural light, ideal for reducing harsh shadows and creating balanced lighting. Gold reflectors introduce warm tones, enhancing the richness of the scene.
Consider using foam boards, aluminum foil, or even a simple white card as budget-friendly options. Each material provides distinct qualities, so experiment to see which works best. Keep your subject’s details and mood in mind when selecting a reflector material.
Balancing Light Sources
While capturing stunning toy photography, balancing light sources is essential for achieving that perfect shot. You need to manage both natural and artificial light to avoid harsh shadows and unwanted reflections. Using diffusers and reflectors can help you control the light’s intensity and direction effectively. Here’s how you can utilize them:
- Diffusers: Soften harsh light, reducing glare and strong shadows on your figures.
- Reflectors: Bounce light to illuminate darker areas, adding depth and dimension.
- Positioning: Adjust the angle of diffusers and reflectors to highlight specific details.
- Layering: Combine multiple diffusers and reflectors for a balanced, natural look.
Experiment with different setups to see what works best for your scene, and remember, practice makes perfect!
Positioning and Angling Your Subject
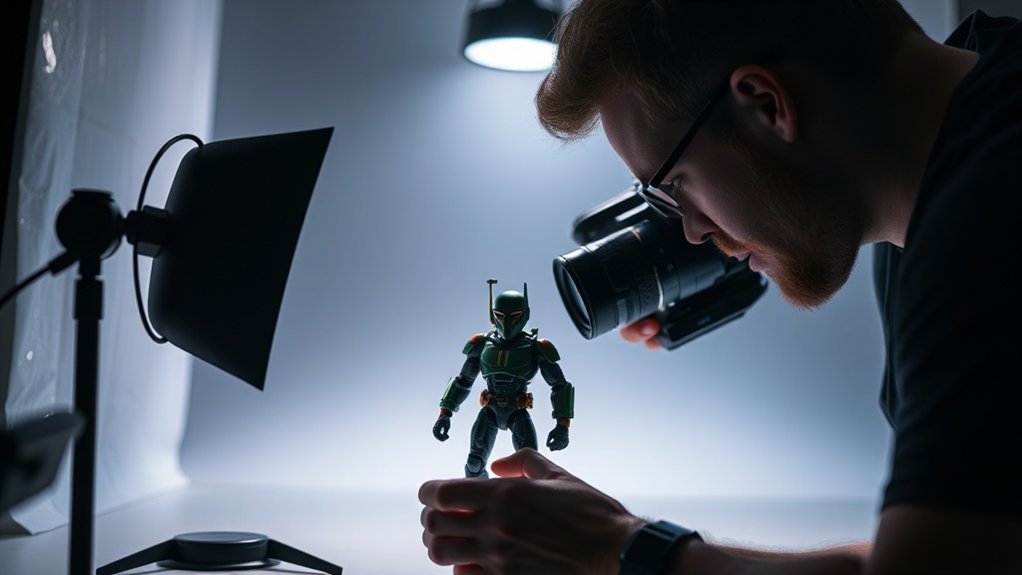
When positioning your toy subject, you’ll want to think about ideal camera placement to capture the best angle. Control your light source to highlight details and avoid unwanted shadows. Make sure to adjust for glare, ensuring your photos showcase the toy without distracting reflections.
Optimal Camera Placement
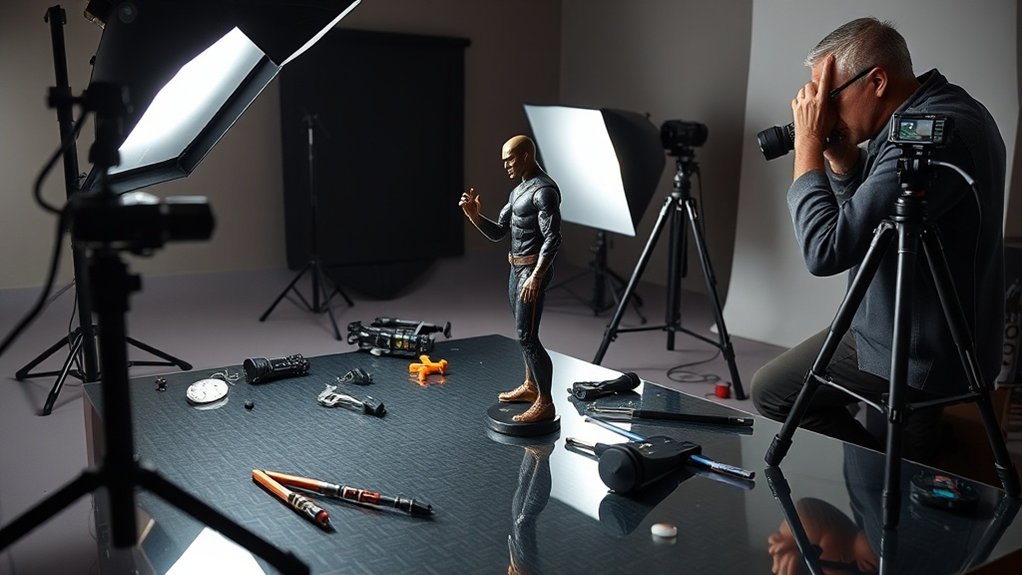
Capturing the perfect shot in toy photography often hinges on mastering ideal camera placement. By positioning your camera thoughtfully, you can control the composition and bring out the best in your figures. Start by experimenting with different angles and heights to find what works best for your subject. Consider the following tips:
- Eye Level: Position the camera at the toy’s eye level for an engaging perspective.
- Angles: Try various angles to highlight unique features or add depth.
- Distance: Adjust the distance to guarantee the figure fills the frame appropriately.
- Background: Be mindful of the background; it shouldn’t distract from the subject.
Light Source Control
To elevate your toy photography, mastering light source control is essential. Begin by positioning your light sources to enhance your subject’s features. Adjust the angle of your lights to highlight details and create depth. Experiment with different positions; placing lights above can cast interesting shadows, while side lighting can add dramatic effects.
Use soft diffused light to reduce harsh reflections. You can achieve this by using materials like white cloth or paper to soften the light hitting your toys. Reflectors can also redirect light to fill shadows, enhancing your toy’s appearance.
Pay attention to the light’s intensity and color temperature, as these can affect mood and realism. Always be willing to move and adjust both the lights and your figures until you achieve the perfect balance.
Avoiding Glare Issues
Although achieving perfect lighting is essential, it’s equally important to position and angle your subject to avoid glare. Glare can detract from the details of your figures, so you need to be mindful of how your subject interacts with light. Start by experimenting with different angles to find the one that minimizes unwanted reflections. Adjusting the tilt of your figure can also help redirect light, reducing glare. Consider these strategies:
- Elevate or lower your camera: Changing the camera height can alter light angles.
- Rotate your figure: Slight rotations can notably affect glare levels.
- Use diffusers: Soften harsh light to prevent glare.
- Check reflections through the lens: Always preview the shot to spot potential glare issues.
Employing Polarizing Filters
When diving into the world of toy photography, polarizing filters can be a game-changer in elevating your shots. These filters help you manage reflections on plastic figures, reducing glare and enhancing colors. By simply rotating the filter, you can control how much reflection you want to remove. This is particularly useful when shooting glossy figures or capturing outdoor scenes where unwanted reflections can distract from the subject.
Start by attaching the polarizing filter to your camera lens. As you frame your shot, rotate the filter slowly and observe how the reflections change. You’ll notice how it improves contrast and saturation, making your figures pop. Polarizing filters can be essential tools in your kit, ensuring your toy photography stands out with crisp, vibrant images.
Experimenting With Camera Angles
Capturing unique and engaging shots in toy photography often hinges on your willingness to experiment with camera angles. Shifting your perspective can dramatically influence the mood and storytelling of your images. Don’t hesitate to explore unconventional viewpoints that can bring your subjects to life. Try out different angles to see how they affect the overall composition and impact of your photos. Additionally, lighting plays a crucial role in enhancing the visual appeal of your shots. Utilize natural light whenever possible, or experiment with artificial lighting to create dramatic effects. For those just starting out, consider searching online for toy photography tips for beginners to further develop your skills and understanding of this creative art form.
- Low angle: Makes figures appear larger and more imposing.
- High angle: Provides a sense of vulnerability or diminishes the subject’s presence.
- Dutch tilt: Adds dynamic tension and can convey motion or chaos.
- Close-up: Highlights details and textures, drawing viewers into the miniature world.
These varied perspectives can transform an ordinary setup into a compelling visual narrative, immersing your audience in the scene.
Techniques for Minimizing Glare
Glare can be a real challenge in toy photography, but with the right techniques, you can effectively minimize it. Start by controlling your light source. Use diffusers to soften harsh light, reducing the chances of glare bouncing off shiny surfaces. Position your lights at different angles, avoiding direct reflections into the camera lens. You might also benefit from using a polarizing filter on your lens, which helps cut down on unwanted reflections. Move around your subject, adjusting your camera position until you find a sweet spot that minimizes glare. Pay attention to the background too; darker backdrops often help in reducing reflective glare. With these techniques, you’ll capture those toy figures in their best light, free from distracting reflections.
Creative Use of Reflection in Composition
While minimizing glare is essential, reflections can also enhance your toy photography compositions when used creatively. Reflections can add depth and intrigue, making your photos more dynamic. Use reflective surfaces intentionally to create unique effects and interesting contrasts. The trick is to balance the reflection with the main subject to maintain focus while adding an extra layer of visual interest.
Here are some ideas to creatively incorporate reflections:
- Water puddles: Use small puddles to reflect figures and create symmetry.
- Mirrors: Position mirrors to capture multiple angles of the toy in a single frame.
- Glass surfaces: Place figures on glass to introduce subtle reflections without overpowering the subject.
- Foil backgrounds: Use crumpled foil as a background for a textured, reflective effect.
Experiment with these techniques to elevate your shots!
Post-Processing Tips for Reducing Reflections
When shooting toy photography, unplanned reflections can sometimes distract from the main subject, but the right post-processing techniques can help you minimize them effectively. Start by using a clone stamp or healing brush tool in your editing software to carefully remove or reduce unwanted reflections on the toy’s surface. Zoom in to guarantee precision and maintain the toy’s original textures and colors.
Adjust the highlights and shadows to balance the image, making sure the reflections don’t overpower other elements. Use layer masks to apply changes selectively, allowing you to refine specific areas without affecting the whole picture. Finally, consider using a polarizing filter effect digitally to further reduce reflections. These steps will help you retain focus on your toy’s enchanting details.
Frequently Asked Questions
How Can I Prevent Lens Flare During Outdoor Toy Photography?
To prevent lens flare during outdoor shoots, position yourself with the sun at your back or use a lens hood. Adjust your angle carefully and consider a polarizing filter to reduce unwanted light reflections and enhance your photos.
What Materials Can I Use to Create Custom Backgrounds for Toy Shoots?
You can use materials like colored paper, fabric, or foam boards to create custom backgrounds. Incorporate textures with materials like sandpaper or felt. Experiment with printed images or digital screens to add depth and creativity to your shots.
How Do Weather Conditions Affect Reflections in Toy Photography?
Oh, so you thought the weather wouldn’t mess with your perfect shot? Rain adds unwanted reflections, while bright sunlight creates harsh glare. Overcast skies, ironically, provide the best lighting. Embrace the unpredictability and adapt to nature’s whims.
Can I Use Natural Elements to Enhance Toy Photography Compositions?
Absolutely, you can use natural elements like leaves, rocks, or water to enhance your compositions. They add depth, textures, and context, making your photographs more dynamic and visually engaging. Experiment with different elements to find unique combinations.
What Are Some Budget-Friendly Lighting Solutions for Beginners in Toy Photography?
Explore affordable lighting by using desk lamps or LED strips. You can also make a DIY lightbox with white sheets and cardboard. Don’t overlook natural light; it’s free and can create stunning effects for your photography.
At a Glance
In toy photography, mastering reflections requires a mix of mindfulness and method. By choosing clever lighting, carefully crafting angles, and cleverly using diffusers, you can conquer glare and create enchanting compositions. Don’t forget to play with polarizing filters and experiment with exciting angles. Embrace the beauty of reflections when they enhance your scene, and employ post-processing to perfect your piece. With patience and practice, you’ll produce polished and powerful photos that pop with personality.


