For toy photography lighting, strategically position your lights to enhance mood, depth, and capture detail. Use LED lights for adjustable brightness, a ring light for even, diffused illumination, and softboxes to eliminate harsh shadows. Place backlights to create silhouettes and side lights to emphasize texture. Avoid harsh direct light and consider colored gels for emotional effects. Explore different setups and light placements to tell engaging stories with your toys. Discover more secrets beyond just these tips!
Understanding the Basics of Light in Photography
Light is the essence of photography, shaping how we perceive and capture images. Understanding its behavior is essential when photographing toys. You’ll notice that light direction, intensity, and color temperature all influence your final photo. Direct light can create harsh shadows, while diffused light softens them, bringing out details in your subject. Pay attention to how light falls on your miniature scenes, highlighting different textures and shapes.
Experiment with natural and artificial light sources. Natural light offers a softer, more even illumination, perfect for a lifelike effect. Artificial light, on the other hand, gives you control over intensity and direction. Move your lights around to see how shadows and highlights change. This dynamic exploration will enhance your ability to tell stories through toy photography.
Choosing the Right Lighting Equipment for Mini Sets
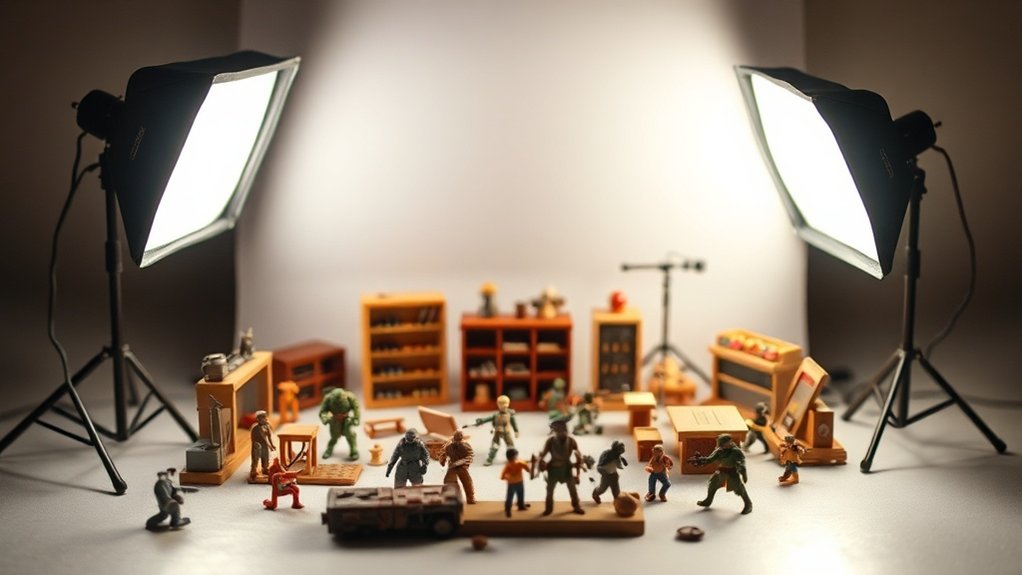
When setting up your mini sets for toy photography, selecting the right lighting equipment is essential for achieving the desired effect. You’ll want gear that complements your vision and highlights the miniature details. Here are three pieces of equipment to evaluate:
- LED Lights: They’re versatile, energy-efficient, and offer adjustable brightness and color temperature, which is perfect for capturing the nuances of your mini set.
- Ring Lights: These provide even, diffused light that minimizes shadows, making them great for close-up shots of your toys.
- Softboxes: Ideal for creating soft, natural-looking light, they eliminate harsh shadows and can be easily positioned around your set.
Crafting Mood and Atmosphere With Light Positioning

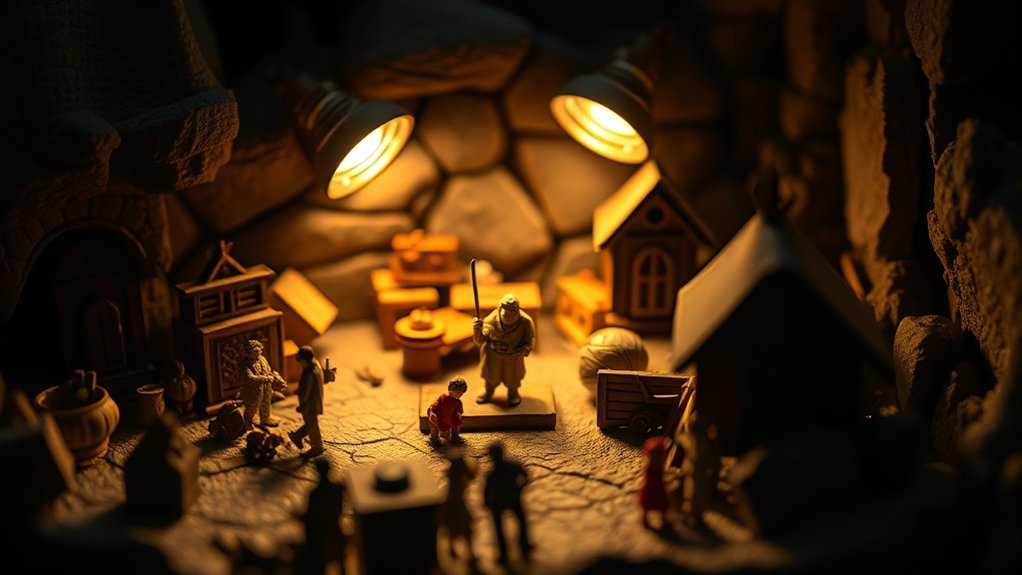
Visual storytelling in toy photography goes beyond just selecting the right equipment; it also involves strategically placing your lights to craft the mood and atmosphere of your scene. Start by deciding the emotion you want to convey. Position lights to create shadows for a mysterious vibe or use soft lighting for a calm, serene setting. Try placing a light behind your subject to create a silhouette, adding drama and intrigue. Experiment with colored gels over your lights to add emotion—warm tones for comfort or cool tones for tension. Remember, light direction can highlight specific features or details, drawing the viewer’s eye to what matters most. By thoughtfully positioning your lights, you’ll transform your toy photography into compelling visual narratives.
Techniques for Creating Depth and Dimension
To create depth and dimension in your toy photography, consider how various lighting techniques can bring your scene to life. Use shadows, highlights, and contrast to add a three-dimensional feel. Here are some techniques to help:
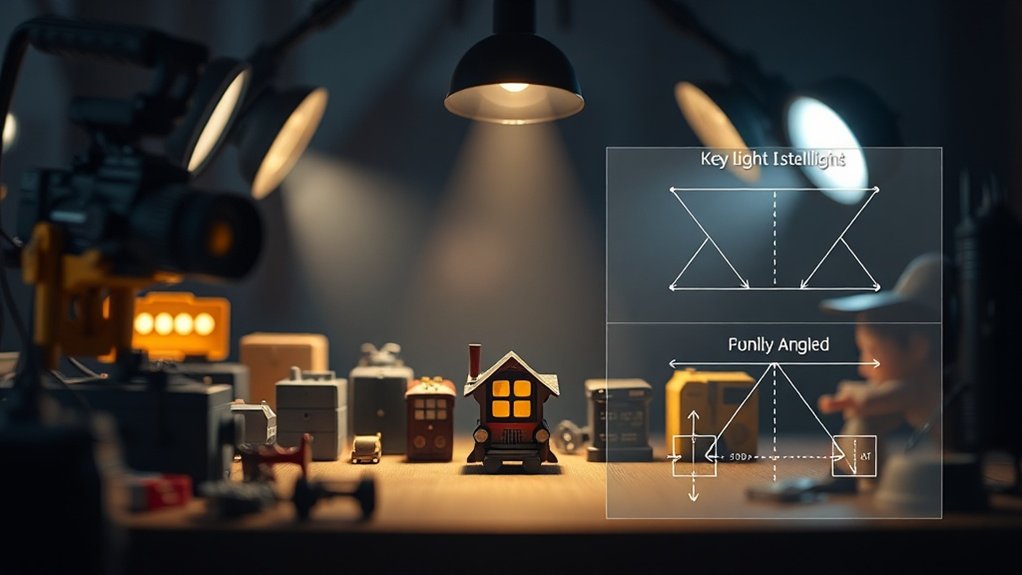
- Backlighting: Place a light source behind your subject to create a silhouette effect. This adds depth by separating the subject from the background.
- Side Lighting: Illuminate your subject from the side to enhance textures and contours. This technique emphasizes details and gives a sense of volume.
- Layered Lighting: Use multiple light sources at different intensities and angles to build layers of light and shadow. This creates a more complex and realistic scene.
Experiment with these methods to make your toy photography pop with dimension.
Common Lighting Mistakes and How to Avoid Them
Although lighting can make or break your toy photography, common mistakes often go unnoticed until you review your photos. One frequent error is using harsh, direct light, which creates unwanted shadows and highlights. To fix this, soften the light with a diffuser or bounce it off a nearby surface. Another mistake is neglecting the background light, which causes your subject to blend into the backdrop. Use a backlight to separate your toy from the background and add depth.
Additionally, don’t forget about color balance. Mixing different light sources without considering their temperatures can lead to strange color casts. Stick to one type of light or correct colors in post-production. By being mindful of these pitfalls, you’ll enhance your toy photography dramatically.
Frequently Asked Questions
How Can I Simulate Natural Light With Artificial Sources for Toy Photography?
To simulate natural light, use soft diffusers and position your light sources at an angle. Adjust intensity to mimic daylight. Experiment with white balance settings on your camera to achieve a natural look. Practice makes perfect!
What Color Temperatures Work Best for Different Toy Themes?
You’ll want to match color temperatures to your toy’s theme. Use warmer tones for cozy, nostalgic scenes, and cooler temps for futuristic or sleek themes. Adjust lighting to highlight details and enhance the mood of your shot.
How Do I Manage Reflections on Shiny Toy Surfaces?
Imagine taming a dragon’s gleam. You’ll use diffused lighting and adjust angles to dodge unwanted reflections. Apply polarizing filters to your lens, and remember, a soft cloth can work wonders in absorbing excess shine.
Can Smartphone Lights Be Effectively Used in Toy Photography?
Absolutely, you can use smartphone lights effectively in toy photography. They offer portability and adjustable brightness. Remember to diffuse the light with a cloth or paper to avoid harsh shadows and achieve a soft, even glow.
How Do I Achieve Consistent Lighting Across Multiple Mini Set Scenes?
Channel your inner Da Vinci; maintain consistent lighting by keeping your light sources fixed and using diffusers. Adjust exposure settings and take notes. Consistency’s key, and practice makes perfect. You’ll master the art with time.
At a Glance
You’ve got the power to transform your toy photography from ordinary to extraordinary with just a flick of a light switch. By mastering the art of light positioning, you’ll create scenes so immersive and dynamic that viewers will swear they’re stepping into another world. Avoid those common mistakes, and you’ll wield light like a magician, crafting breathtaking depth and mood. So go ahead, become the maestro of miniatures, and let your creativity shine brighter than ever!


