For dynamic toy photography, use rim lighting to make action poses pop with a dramatic glow. Position your light slightly behind the toy and adjust angles to control shadows. Utilize a dark background to enhance the halo effect, and experiment with colored gels for added flair. Use a diffuser to soften harsh light and a reflector to highlight details. With precise positioning, your action shots will gain vibrant depth and intrigue, promising further insights ahead.
Understanding Rim Lighting in Toy Photography
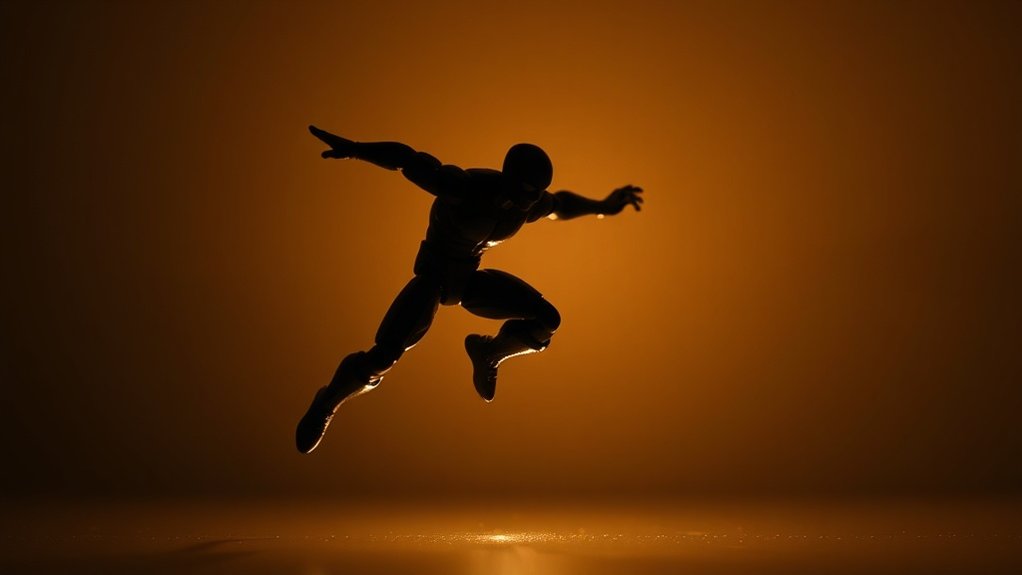
When capturing the magic of toy photography, understanding rim lighting can elevate your images to a new level. You’ll discover how a subtle glow around your subject highlights details and adds dimension. Rim lighting creates a halo effect that separates the toy from the background, making it pop. Position your light source behind the toy, aiming it directly at the edges. This technique emphasizes contours and enhances the scene’s mood. Be mindful of your background; a darker one enhances the rim light’s effectiveness. Experiment with different angles and distances to control the intensity and direction of light. As you master this, you’ll find your toy photos gaining depth and drama, capturing the viewer’s attention with striking visual appeal.
Essential Equipment for Rim Lighting
To achieve effective rim lighting in toy photography, the right equipment is essential. Start with a reliable light source. A small LED panel or a flashlight works wonders for creating that striking outline. You’ll want a light stand or a clamp to hold your light steady and at the proper angle. Diffusers are vital too—they soften the light, preventing harsh shadows. You can use anything from a professional-grade diffuser to a simple piece of parchment paper.
Reflectors help bounce light onto your toy’s details, enhancing the effect. A simple white card or a commercial reflector can do the trick. Finally, don’t forget about gels to add color to your rim light. They’re perfect for adding drama and mood to your action poses.
Setting Up Your Lighting Environment
Having gathered the necessary equipment for rim lighting, it’s time to focus on setting up your lighting environment. Your goal is to create a space where you can control light effectively. Start by choosing a room with minimal natural light interference. This helps you manage how light interacts with your toys. Keep the area clutter-free to avoid unwanted reflections or shadows. Here are some tips to enhance your setup:
- Dark Backdrop: Use a plain backdrop to make the rim light pop.
- Blackout Curtains: Block out natural light for complete control.
- Tripod Stability: guarantee your camera’s on a sturdy tripod.
- Power Strips: Use them to handle multiple lights easily.
- Adjustable Light Stands: Allow flexibility in light placement.
Creating the right environment sets the stage for stunning shots.
Techniques for Positioning Rim Lights
When positioning rim lights in toy photography, you’ll want to focus on finding the ideal light angles to highlight your subject’s edges and create depth. Aim to place your rim lights slightly behind the toy, pointing towards it from either side. Don’t forget about background light placement, as this can help separate the toy from the backdrop and enhance the scene’s overall impact.
Optimal Light Angles
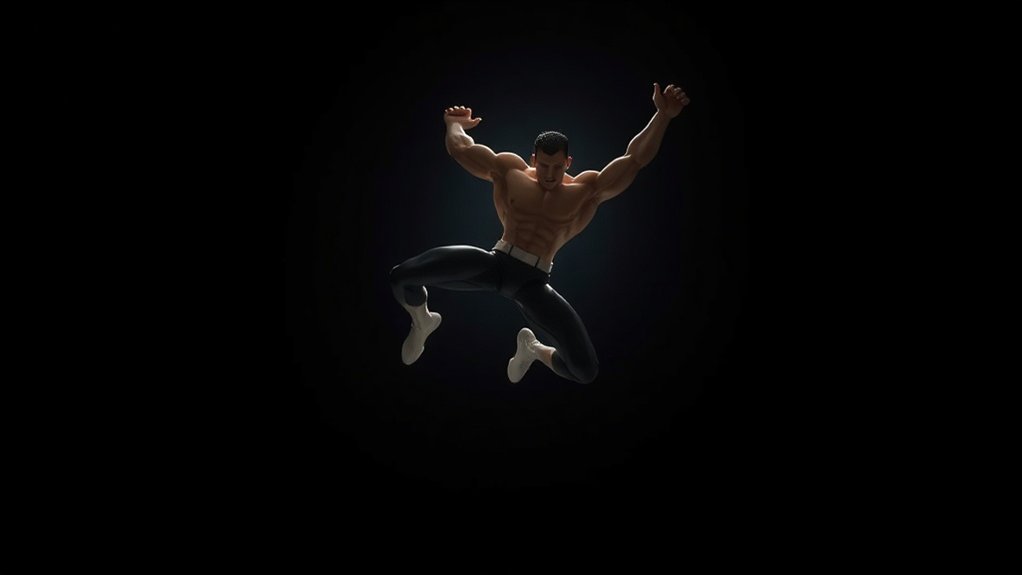
Although capturing the perfect image can be challenging, positioning rim lights at ideal angles can greatly enhance your toy photography. Experimenting with different angles allows you to create striking silhouettes and highlights that bring your action figures to life. Here are some techniques to evaluate:
- 45-Degree Angle: Place your rim light at a 45-degree angle behind the subject to create a balanced glow.
- Side Lighting: Position the light directly to the side for dramatic shadows and depth.
- Overhead: An overhead angle can add a mysterious halo effect around your toy.
- Low Angle: Lighting from below can make your toys appear larger and more imposing.
- Backlighting: Direct the light straight from behind to emphasize outlines and separate the subject from the background.
Background Light Placement
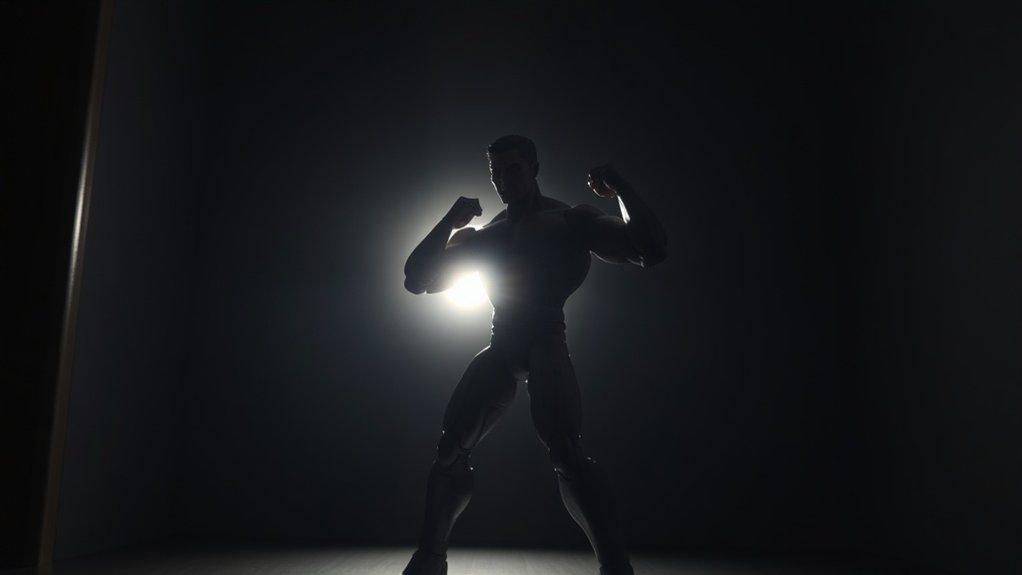
Why is the placement of background light essential in toy photography? It highlights the toy’s silhouette, adding depth and drama to your shots. Properly positioned, the background light can create that striking rim light effect, emphasizing the toy’s contours and action poses. To achieve this, place the light source behind and slightly above or to the side of the toy. Experiment with angles; a slight shift can dramatically change the mood and focus.
Avoid direct light on the toy’s face to maintain the rim effect. Consider using diffusers if the light is too harsh. Remember, the goal is to accentuate the action and movement in your composition, not overpower it. With practice, you’ll master the art of background light placement.
Experimenting With Color and Intensity
When experimenting with color and intensity in toy photography, adjusting the light temperature can dramatically change the mood of your images. Don’t be afraid to play with different hues to give your photos a unique feel. Balancing brightness levels is also essential to guarantee details aren’t lost in shadows or blown out by highlights.
Adjusting Light Temperature
Light temperature plays an essential role in toy photography, adding depth and mood to your shots. By adjusting the color temperature of your lights, you can evoke different emotions and atmospheres in your action poses. Experiment with warm tones to create a cozy, nostalgic feel, or use cooler hues for a more dramatic, high-energy vibe. When tweaking your light temperature, consider the story you want to tell and how colors contribute to it.
Here are some quick tips to help you:
- Use a warm light for sunset or sunrise scenes.
- Opt for cool tones to simulate a moonlit environment.
- Mix warm and cool lights for dynamic contrast.
- Adjust light intensity to highlight specific features.
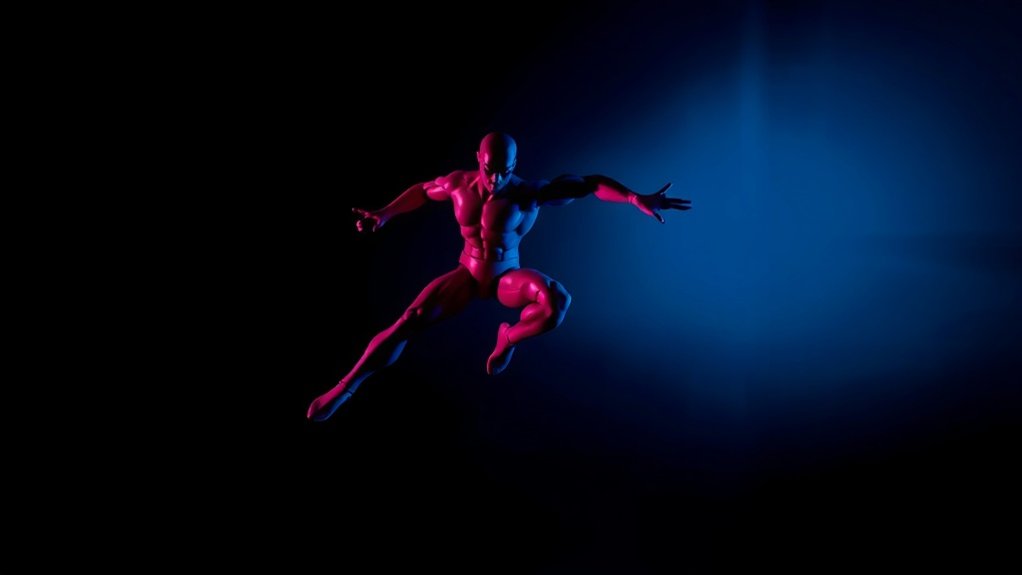
- Experiment with gels to add unique color effects.
Balancing Brightness Levels
Building on the power of light temperature to set the mood, balancing brightness levels becomes your next focus in toy photography. Start by experimenting with different light intensities to highlight your action figures’ dynamic poses. Use a dimmer switch or adjustable lights to control brightness precisely. You’ll want to guarantee your rim light isn’t overpowering the entire scene but rather accentuating the edges and contours of your subject.
Explore colors, too. Colored gels can add dramatic flair or subtle mood shifts to your shots. Mixing different colored lights can create depth and make your photos pop. Remember, balance is key. Too much intensity or color might drown out details, while too little can leave your figures looking flat and uninteresting.
Post-Processing Tips for Enhancing Rim Light Effects
Enhancing rim light effects in post-processing can greatly elevate the drama and depth of your toy photography. With just a few tweaks, you can make the rim lights pop and add that extra flair to your action poses. Here are some tips to get you started:
- Dodge and Burn: Use these tools to selectively lighten or darken areas, enhancing the rim light’s contrast.
- Layer Masks: Apply these to fine-tune and isolate the rim light effect without affecting the rest of the image.
- Adjust Curves: Modify the curves to boost the highlights, making the rim light stand out more.
- Color Balance: Tweak the colors to guarantee the rim light complements the overall mood.
- Sharpening: Enhance the details around the rim-lit edges for extra clarity.
These steps will make your photos truly shine!
Frequently Asked Questions
How Can Rim Lighting Affect the Mood of a Toy Photograph?
Rim lighting can dramatically influence your photograph’s mood by highlighting edges and creating a sense of depth. You’ll achieve a more dynamic feel, adding drama or intensity to the scene, making your subject stand out.
What Challenges Might Arise When Using Rim Lighting for Action Figures?
Rim lighting can be a double-edged sword. It creates drama but might cast unwanted shadows or highlight flaws. You’ll need to tweak angles and intensity, ensuring your action figures shine without losing their heroic allure.
How Can Rim Lighting Enhance the Details of a Toy’s Features?
Rim lighting can enhance a toy’s details by creating a glowing outline that highlights its contours and textures. You’ll notice how it emphasizes edges, making every curve and detail pop, adding depth and drama to the image.
Are There Any Safety Precautions When Using Rim Lights for Toy Photography?
When your creative spark illuminates, don’t let it burn uncontrolled. Always keep lights cool to prevent accidental fires, use stands to avoid toppling, and guarantee cords aren’t trip hazards. Your masterpieces deserve a safe stage to shine.
Can Rim Lighting Be Combined With Other Lighting Techniques for Unique Effects?
Yes, you can combine rim lighting with other techniques like key or fill lights for unique effects. Experiment with angles and intensities to create dynamic shadows and highlights that enhance your subject’s depth and visual interest.
At a Glance
In toy photography, mastering rim lighting transforms your action figures from ordinary to extraordinary. By juxtaposing shadows and highlights, you create depth and intrigue, drawing the viewer’s eye to the scene’s dynamic elements. Remember, it’s not just about the equipment; it’s your creativity in positioning and experimenting with light and color that truly shines. Enhance your shots further with post-processing, ensuring every detail pops. With practice, your toys won’t just be captured—they’ll come alive.


