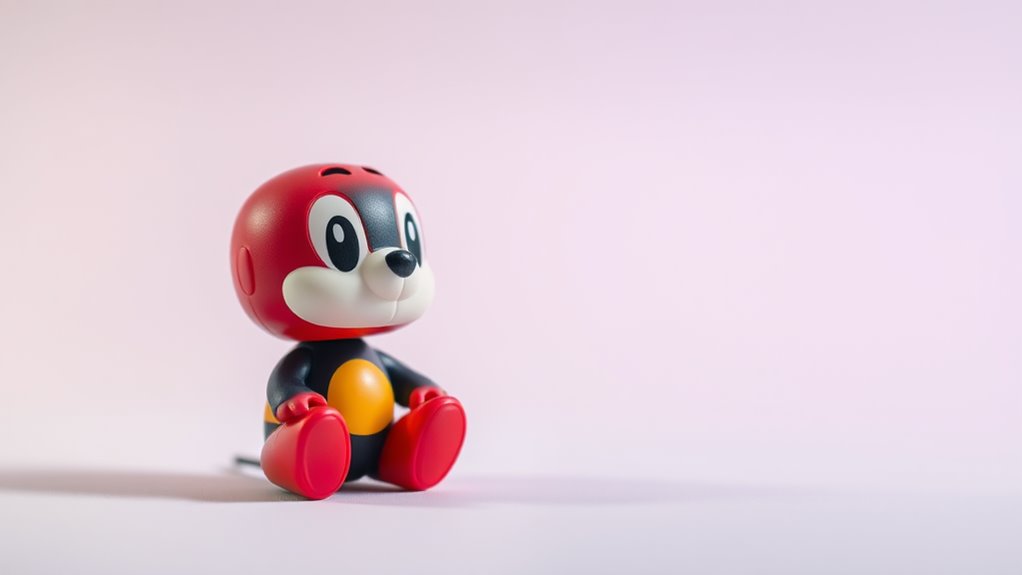
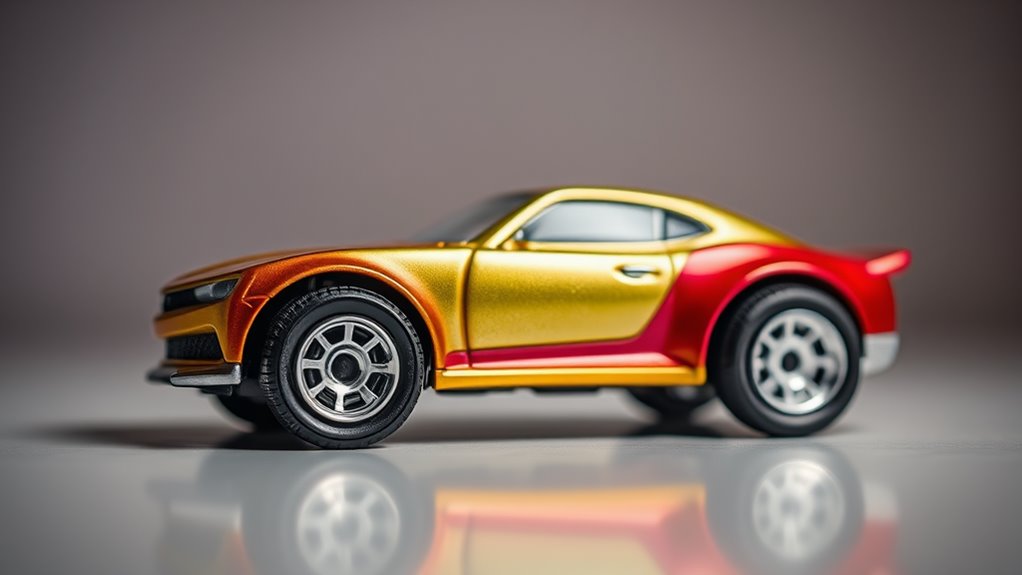
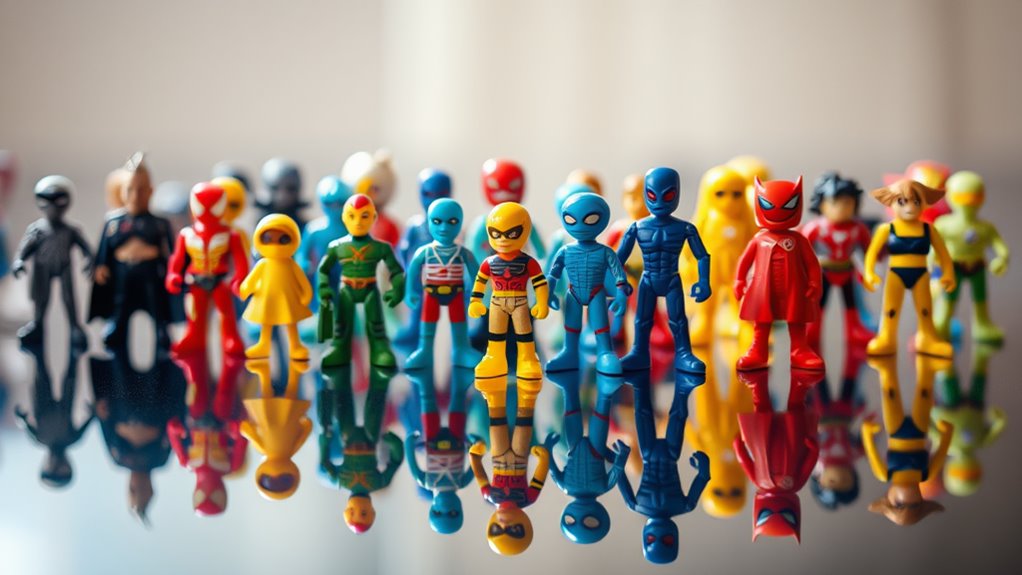
To excel in toy photography, master lighting by using natural and diffused artificial light, and eliminate harsh shadows. Enhance color vibrancy with precise adjustments and maintain accuracy for a realistic look. Utilize depth of field to create interest and sharper toy details. Efficiently clean up backgrounds for a professional finish, ensuring toys stand out. Finally, apply creative filters to evoke moods while balancing contrast. There's much more to discover in achieving stunning toy images.
Mastering Lighting Adjustments
When you're perfecting your toy photography, mastering lighting adjustments is key to creating enchanting images. You'll want to start by understanding how different light sources affect your composition. Natural light can be your best friend, offering soft, even illumination. Position your toys near a window to capture this effect. If you're working indoors or during evening hours, consider using diffused artificial lighting to avoid harsh shadows.
Experiment with different angles and distances to see how they alter your scene. A reflector can help bounce light into shadowy areas, bringing out hidden details. Don't be afraid to play with shadows; they can add depth and drama to your photos. Remember, practice makes perfect, so keep adjusting until you find the right balance that highlights your toys beautifully.
Enhancing Color Vibrancy
Though lighting sets the stage for a great photo, enhancing color vibrancy can make your toys truly pop. You'll want your figures to stand out and grab attention. Here's how you can do it effectively:
- Adjust Saturation: Increase saturation to make colors richer and more intense but be careful not to overdo it. Subtlety is key.
- Use Hue Shifts: Fine-tune hues to correct any color cast or to match the scene's mood, ensuring your toys look their best.
- Experiment with Contrast: Boost contrast to highlight details and create a dynamic look that draws the eye.
- Utilize Vibrance Tools: Use vibrance adjustments to selectively enhance muted colors without affecting already vibrant areas, for a balanced and natural look.
These steps will elevate your toy photography!
Perfecting Background Clean-Up

To achieve a polished look in your toy photography, start by perfecting background clean-up. Begin by removing distractions like unwanted objects or blemishes using tools such as the clone stamp or healing brush. These tools help you maintain the focus on the toy itself, guaranteeing nothing detracts from your subject.
Next, consider adjusting the background's contrast and brightness to make the toy stand out. Use layers to experiment with these settings without affecting the main subject. If the background is too busy, subtly blur it to enhance the toy's prominence.
Finally, use color correction to ensure the background complements the toy's colors. This creates a cohesive and visually pleasing image. With these techniques, your toy photography will look professional and enthralling.
Utilizing Depth of Field Effects
Now that you've mastered background clean-up, let's focus on utilizing depth of field effects to elevate your toy photography further. Depth of field can transform your images by highlighting your subject and creating an enchanting blur around it. Here's how you can make the most of it:
- Use a Wide Aperture: Set your camera to a low f-stop (e.g., f/2.8) to achieve a shallow depth of field, making your toy stand out against a dreamy background.
- Position Your Subject: Place your toy a good distance from the background to enhance the blur effect.
- Experiment with Angles: Shoot from different angles to find the perfect focus point that draws attention to your toy.
- Adjust Focus Manually: Take control by manually focusing to guarantee your toy's details are crisp.
Sharpening Toy Details

To make your toy photos pop, focus on sharpening to enhance texture clarity and bring out fine details. Pay special attention to the edges, ensuring they're crisp and stand out. By reducing noise interference, you'll keep the image clean and the toys looking vibrant.
Enhance Texture Clarity
When you photograph toys, capturing every intricate detail brings them to life, making them pop against the backdrop. Enhancing texture clarity guarantees your photos highlight every ridge, bump, and feature. To achieve this, focus on sharpening techniques that emphasize these details without overdoing it. Here's how you can enhance texture clarity in your toy photography:
- Use High-Pass Filter: Duplicate the layer, apply a high-pass filter, and blend with soft light to sharpen details subtly.
- Adjust Clarity: Increase the clarity slider in your editing software to boost mid-tone contrast, enhancing texture without noise.
- Selective Sharpening: Use a brush tool to apply sharpening only to specific textured areas, avoiding flat surfaces.
- Layer Masks: Apply sharpening to a duplicate layer and use a mask to selectively reveal sharpened textures where needed.
These steps will enhance your toy photos with stunning texture clarity.
Focus on Edges
Capturing crisp edges in toy photography makes your subjects stand out dramatically. To achieve this, focus on sharpening details. Start by using a high-resolution lens and setting a narrow aperture to guarantee depth of field. In post-processing, employ sharpening tools judiciously to enhance those edges. Adjust the radius and amount carefully to avoid over-sharpening, which can cause halos or artifacts around the toy.
Consider using software like Adobe Lightroom or Photoshop, where you can utilize the "Unsharp Mask" or "Smart Sharpen" features. Apply these adjustments selectively, concentrating on areas needing definition like facial features or intricate details. Remember, less is often more; subtle enhancements can make your toys pop without losing their natural charm. Keep practicing, and watch your photography transform!
Reduce Noise Interference
Sharpening toy details involves more than just focusing on edges; reducing noise interference is equally important. Noise can obscure fine details and distract from the toy's vibrant colors. To enhance your toy photos, you'll want to minimize this interference.
- Adjust ISO Settings: Use the lowest ISO possible to reduce noise during the photo shoot. This minimizes the need for heavy post-processing.
- Noise Reduction Software: Employ software like Lightroom or Photoshop. These tools have noise reduction features that help maintain detail while reducing unwanted noise.
- Layer Masking: Apply noise reduction selectively using layer masks. This technique helps preserve sharp areas while softening only the noisy ones.
- Use a Tripod: Stabilize your camera to avoid motion blur, allowing you to use a lower ISO and longer exposure for clearer shots.
Removing Unwanted Reflections
While photographing toys, you might encounter pesky reflections that detract from your image's charm. Don't worry; there are several ways to tackle this issue. First, examine your light sources. Adjusting their position, diffusing them with softboxes, or using reflectors can minimize reflections. If that doesn't help, try changing the angle of your shot. Sometimes, a slight shift can make a significant difference.
In post-processing, you can use software like Photoshop. With the clone stamp or healing brush tool, you can seamlessly remove those unwanted reflections. Be patient and work in small sections for the best results. Additionally, consider using polarizing filters during the shoot to reduce glare. By taking these steps, you'll enhance the toy's visual appeal without distracting reflections.
Balancing Contrast and Highlights
When you're balancing contrast and highlights in toy photography, focus on enhancing shadow details to add depth to your images. Be sure to maintain color accuracy so the toys look true to life and visually appealing. Adjusting these elements carefully will help your photos stand out and capture the essence of your subjects.
Enhance Shadow Details
Capturing the intricate details of toy photography often requires a keen eye for enhancing shadow details while balancing contrast and highlights. You'll want to bring out those dark areas without losing the image's depth. Here's how to do it:
- Use Adjustment Layers: Apply a curves or levels adjustment layer to selectively brighten shadows without affecting the whole image.
- Dodge and Burn: Lightly dodge shadow areas to reveal hidden details, using a soft brush for natural results.
- Histogram Insights: Regularly check the histogram to verify you're not pushing shadows too far, which can lead to a loss of information.
- Layer Masks: Use layer masks to isolate shadow adjustments, allowing for precise control over which areas are enhanced.
These steps will help elevate your toy photography!
Maintain Color Accuracy
Achieving accurate color representation in toy photography is crucial, especially as you balance contrast and highlights. Start by adjusting the white balance to guarantee your colors remain true to life. Use software like Photoshop or Lightroom to fine-tune exposure without washing out colors. Boost contrast subtly to enhance details but be cautious not to oversaturate.
Pay attention to highlights; they can easily get blown out, losing critical detail. Use highlight recovery tools to bring back those details. Always compare your edits to the original photo to verify consistency. Employ a calibrated monitor for precise color correction, as screens may render colors differently. Finally, trust your eye and make adjustments until the toys look vibrant yet realistic, maintaining their intended color profiles.
Applying Creative Filters and Effects
Sometimes, a touch of creativity can transform your toy photography from ordinary to extraordinary. Applying creative filters and effects is an excellent way to add flair and personality to your shots. By experimenting with different styles, you can evoke various moods and atmospheres. Here's how you can effectively use them:
- Vintage Look: Apply a sepia or faded filter for a nostalgic feel. It works wonders for classic or retro-themed toys.
- Dramatic Contrast: Increase contrast to highlight details and create a bold, striking image. Perfect for action figures or intense scenes.
- Soft Focus: Use a soft-focus effect to create a dreamy, ethereal look, ideal for fantasy or fairy tale setups.
- Color Pop: Enhance a single color to draw focus and add vibrancy, making your subject stand out.
Frequently Asked Questions
How Can I Fix Lens Distortion in Toy Photography?
You can fix lens distortion by using photo editing software like Photoshop. Select the "Lens Correction" tool, and adjust the distortion sliders until your image looks right. It's a simple process that'll improve your toy photos.
What Software Is Best for Retouching Toy Photos Efficiently?
Did you know 90% of professionals use Adobe Photoshop for retouching? You'll find it's the best software for efficiently enhancing toy photos. Its powerful tools help you correct colors, fix imperfections, and bring your creative vision to life.
How Do I Prevent Color Banding in My Edited Images?
To prevent color banding, keep your image at 16-bit while editing. Use noise to add texture and reduce smooth gradients. Adjust gradient shifts carefully. Remember, small adjustments in curves and levels can help maintain color depth.
What Is the Best Way to Batch Edit Multiple Toy Photos?
You'll want to use software like Adobe Lightroom for batch editing. Import your photos, apply your desired adjustments to one image, then sync those settings across the rest. It saves time and guarantees consistency in your edits.
How Can I Achieve a Realistic Bokeh Effect in Toy Photography?
Blur backgrounds beautifully by using a wide aperture lens. Position toys properly to enhance depth. In post-processing, apply a Gaussian blur to the background layer. You'll create enchanting and convincing bokeh that boosts your toy photography's realism.
At a Glance
You've got the tools to transform your toy photography! Did you know that 86% of photographers believe retouching elevates their work to a professional level? By mastering lighting, enhancing color, and perfecting background clean-up, your images will pop. Don't forget to play with depth of field, sharpen details, and remove those pesky reflections. Balancing contrast and highlights, along with applying creative filters, adds that final touch. Immerse yourself and watch your toy photos come alive!


